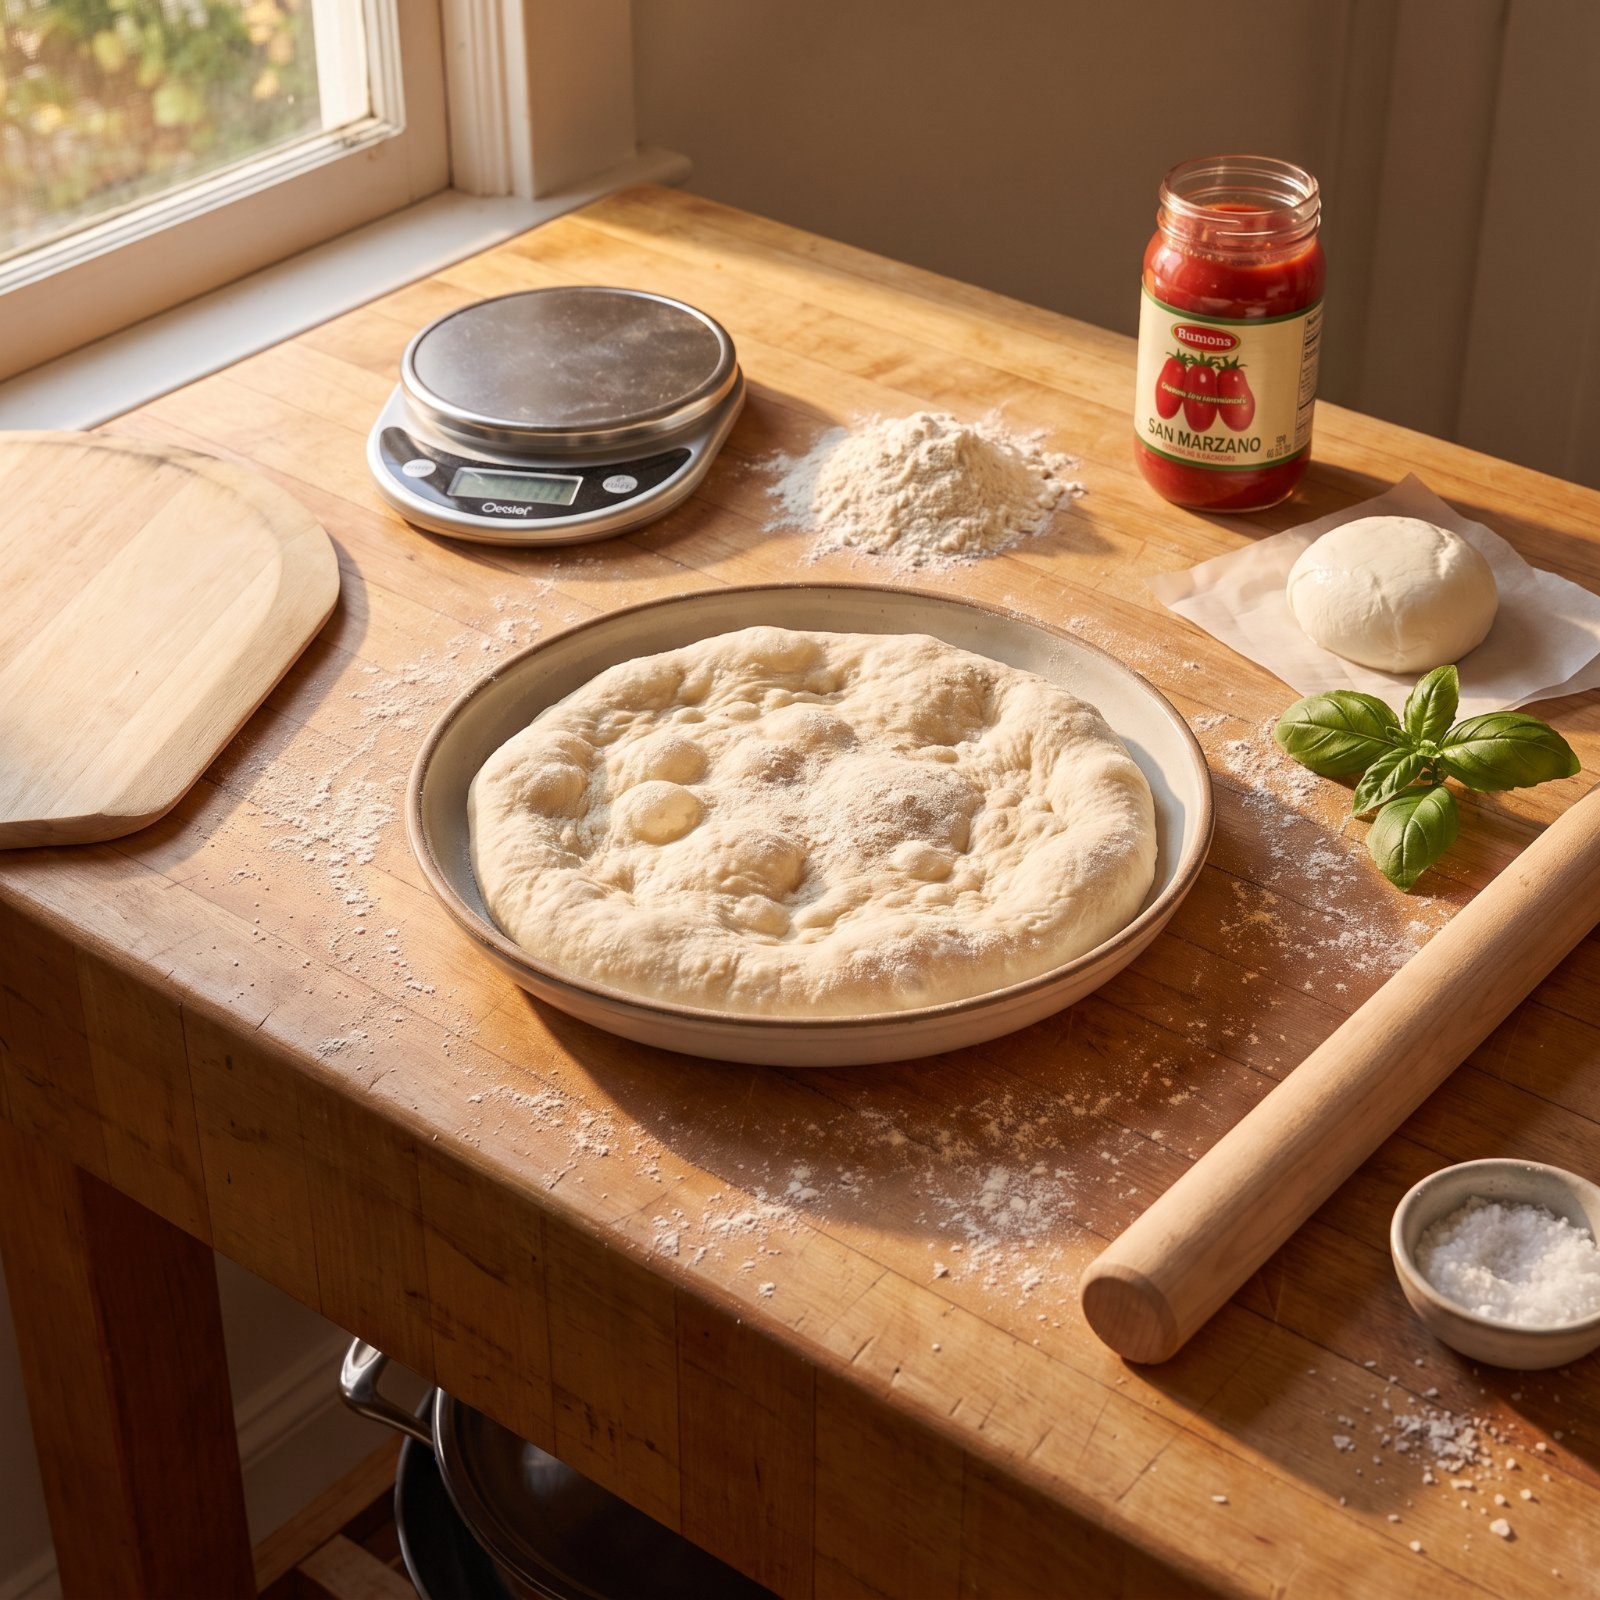
The gap between a flat, bready homemade pie and a blistered, chewy pizzeria slice isn’t talent. It’s a handful of small decisions nobody ever showed you. A scale instead of a measuring cup, an extra day in the fridge, flour you’ve been walking past at the store for years — these are the moves pizzaioli make on autopilot, the ones that turn a Friday-night experiment into something worth bragging about. And the fixes cost almost nothing while changing basically everything.
Please note that some of the images in this article were created with the assistance of AI.
48. Preheat a Pizza Steel for a Full Hour
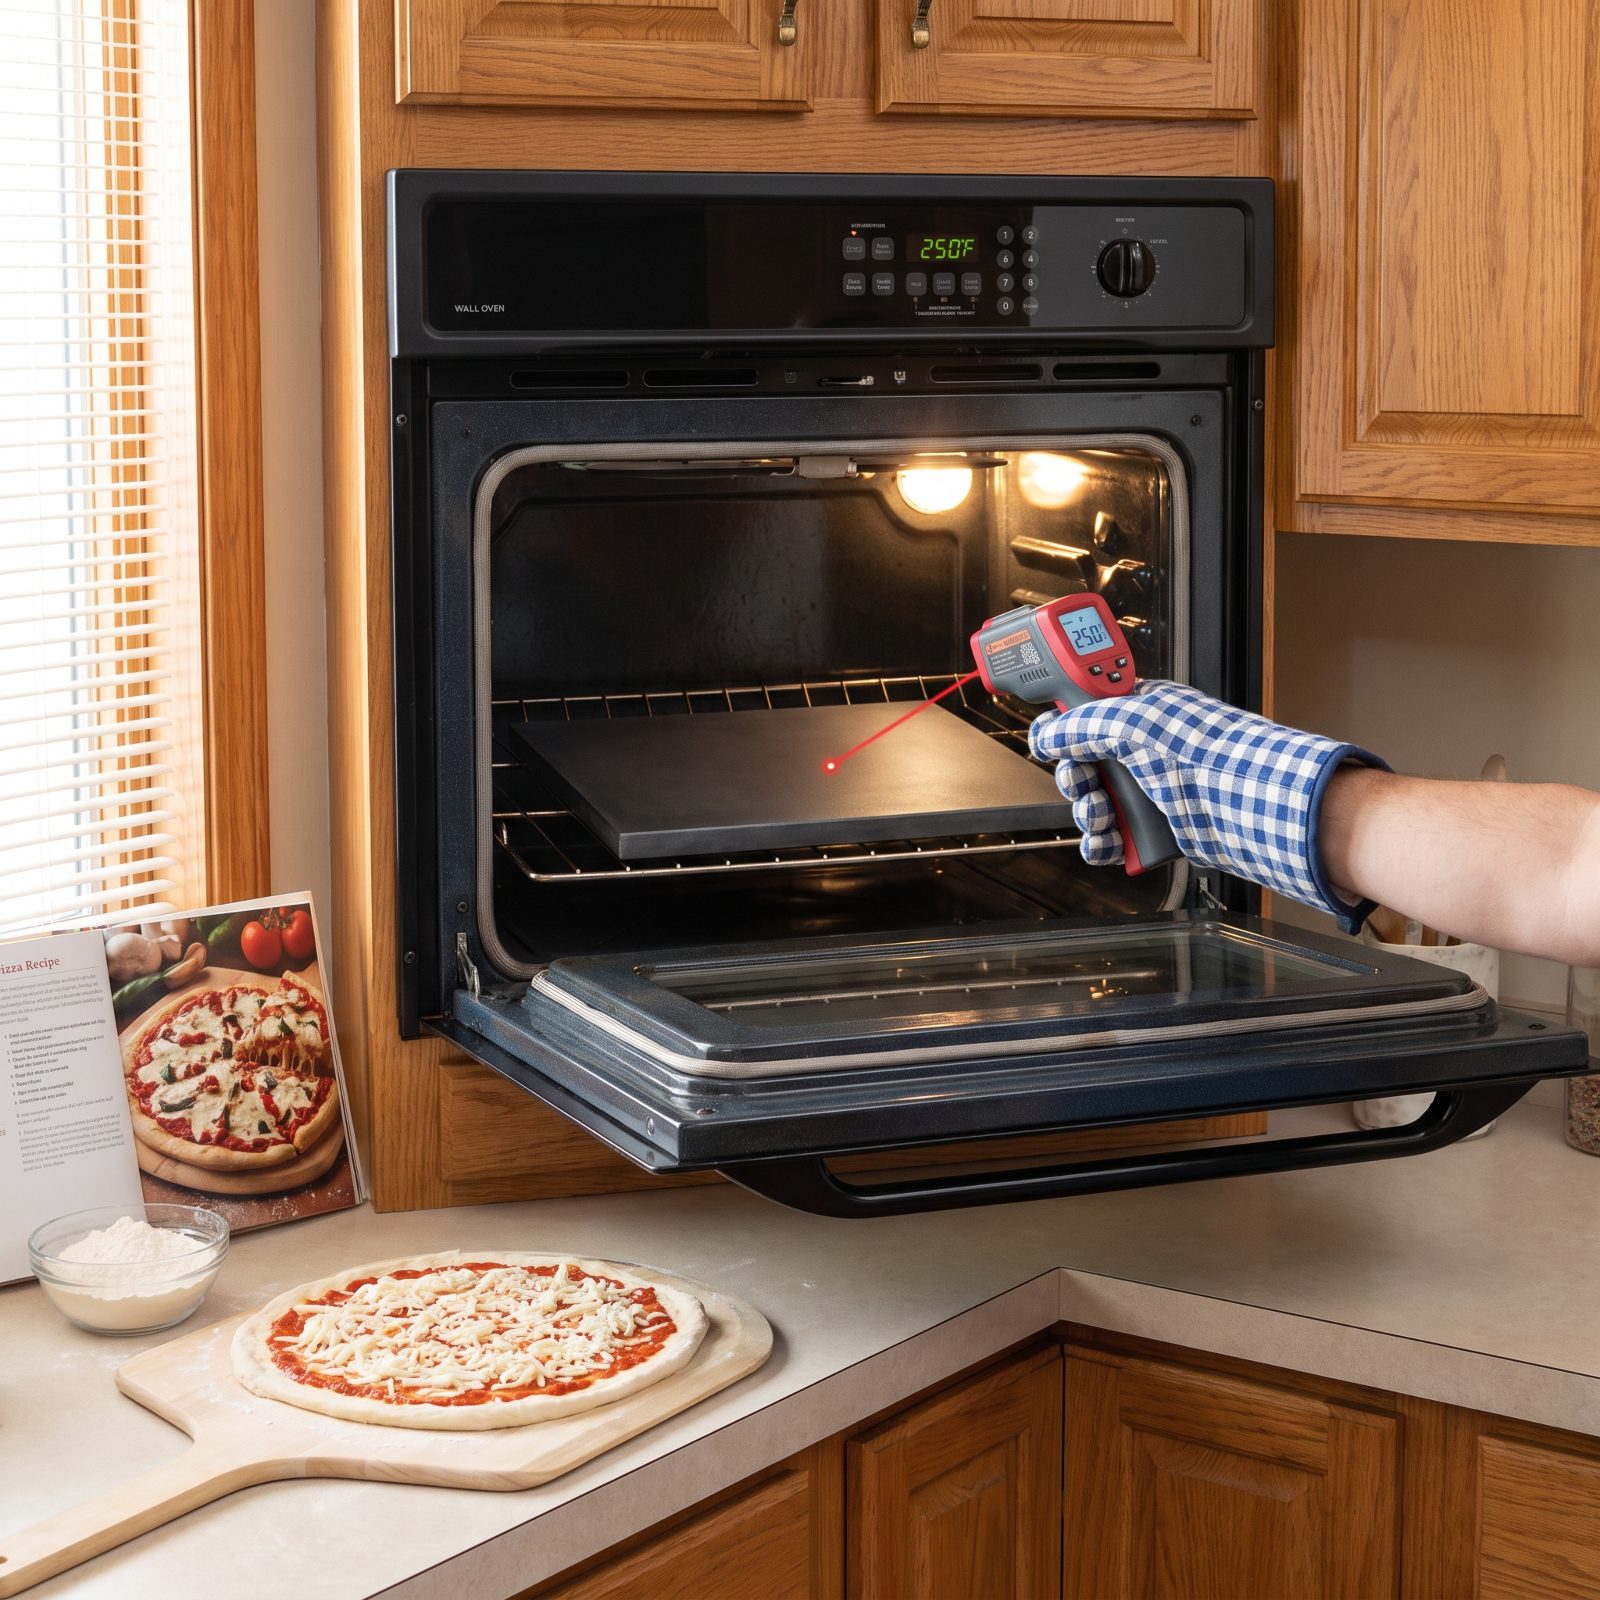
You slide the pizza in when the oven display and your infrared thermometer both read a measly 250°F, and the bottom comes out pale and limp. That’s nowhere near hot enough. Your oven and the steel underneath your pizza need far more heat than that.
A pizza steel needs a full hour at your oven’s max temperature to saturate with heat, and that stored energy is what blasts the underside of the dough the second it lands, giving you the leopard-spotted, crisp bottom you can’t get any other way. Rush it and the dough just sits there soaking up moisture it should be steaming off.
Set the steel in the upper third of the oven, crank the oven well past 250°F to as high as it goes, and walk away for sixty minutes. Then launch.
47. Measure Flour and Water by Weight, Not by Volume
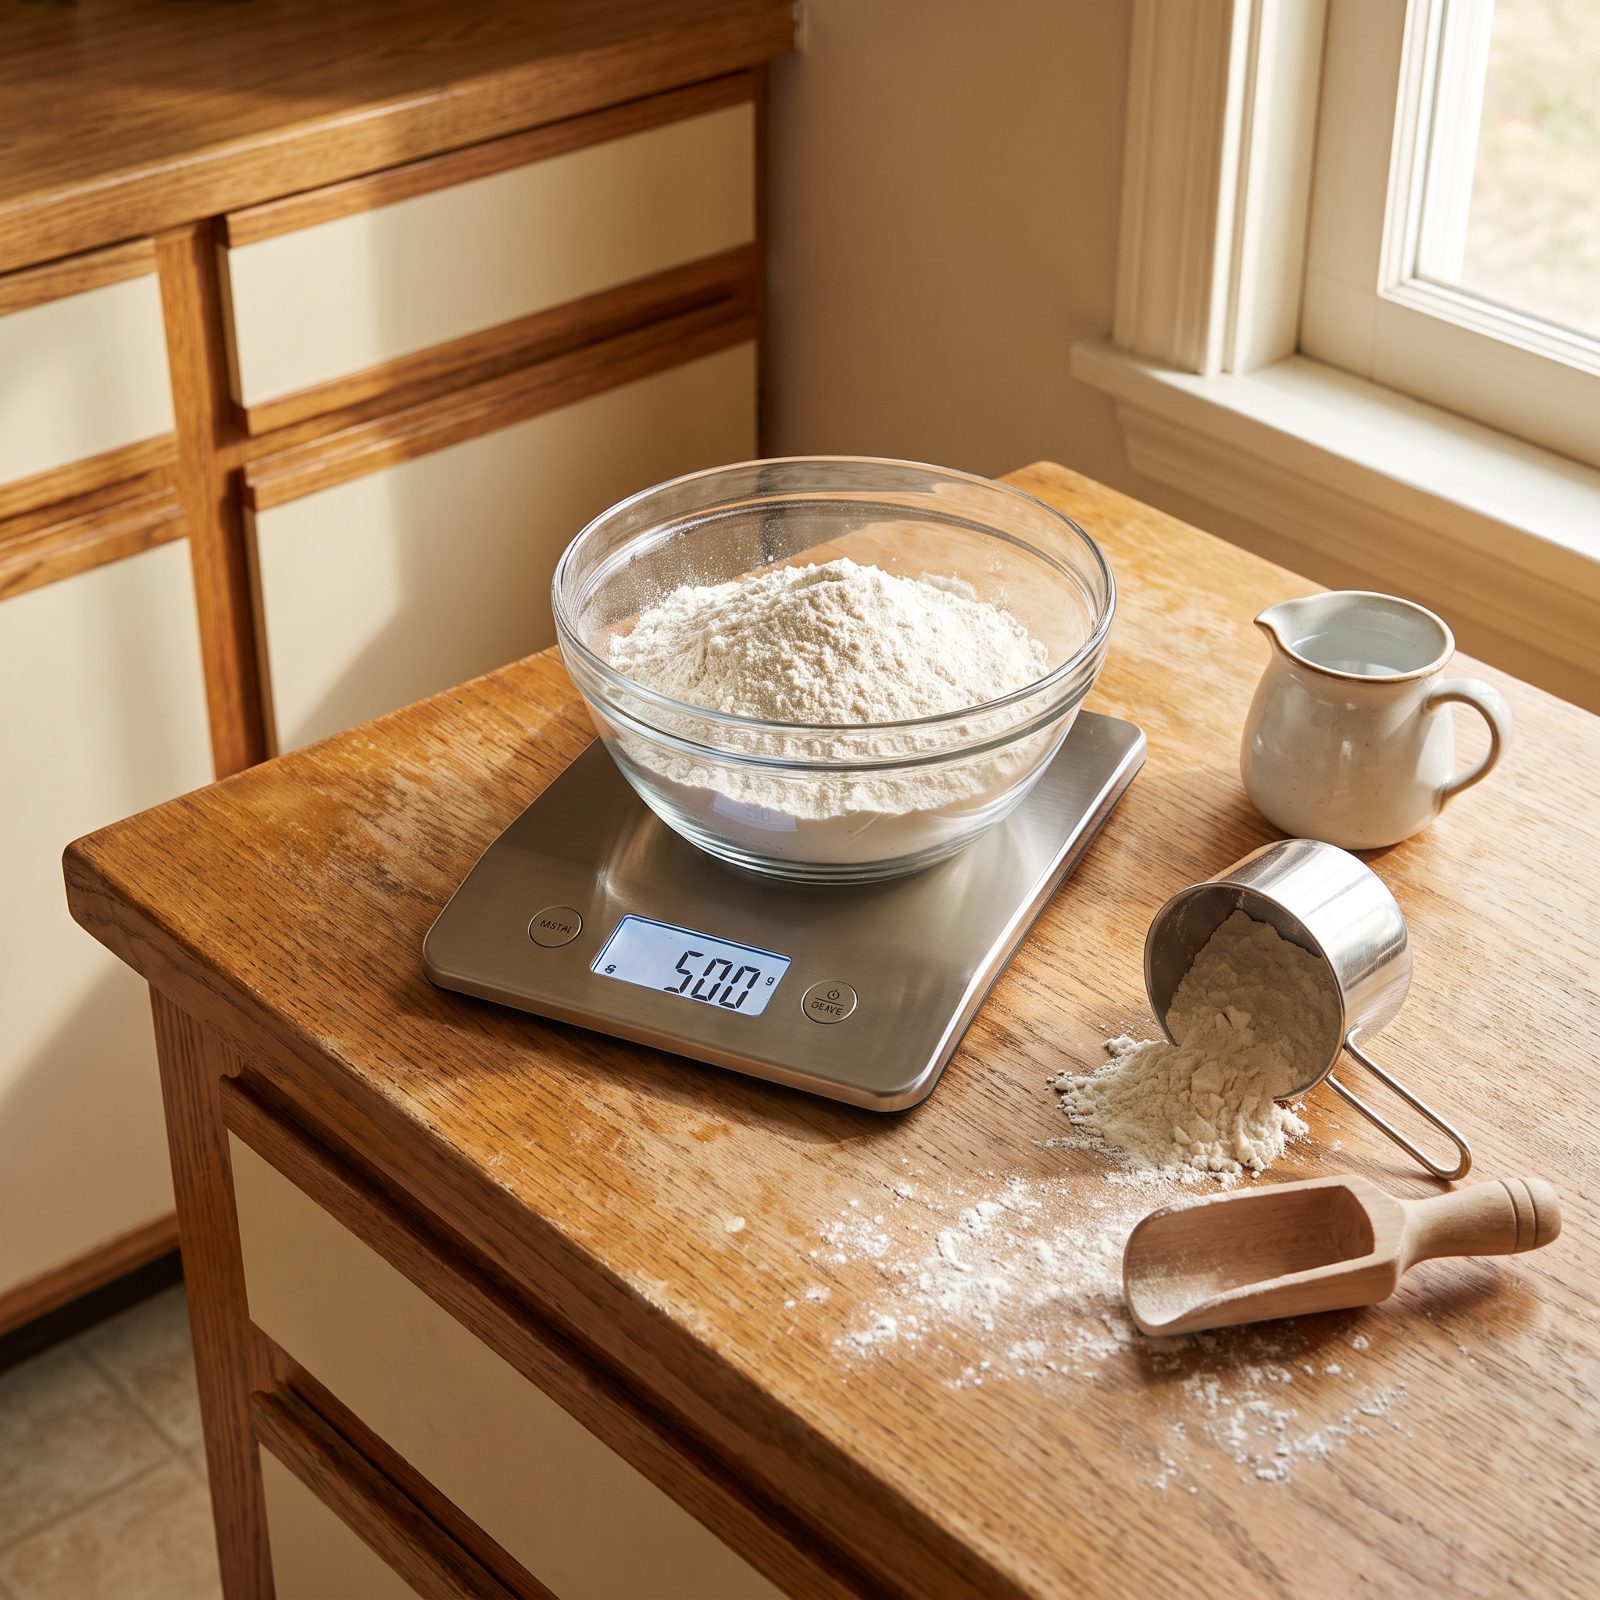
A cup of flour can swing wildly in weight depending on how you scooped it. Pack it down, you’ve got a dense brick. Fluff it, you’ve got a lacy mess. Same recipe, two completely different doughs, and you’ll never figure out which batch was the good one.
Weight ends the guessing. Pizzaioli work in grams and percentages because the dough comes out identical every single time, and once you can repeat a dough, you can improve it.
Grab a digital kitchen scale, zero it out, and weigh your flour and water straight into the bowl. Hydration at 65 percent means roughly two-thirds the weight of water to flour. That’s it. That’s the whole secret the good shops won’t put on a recipe card.
46. Choose High-Protein Flour for a Chewier Pizzeria Crust
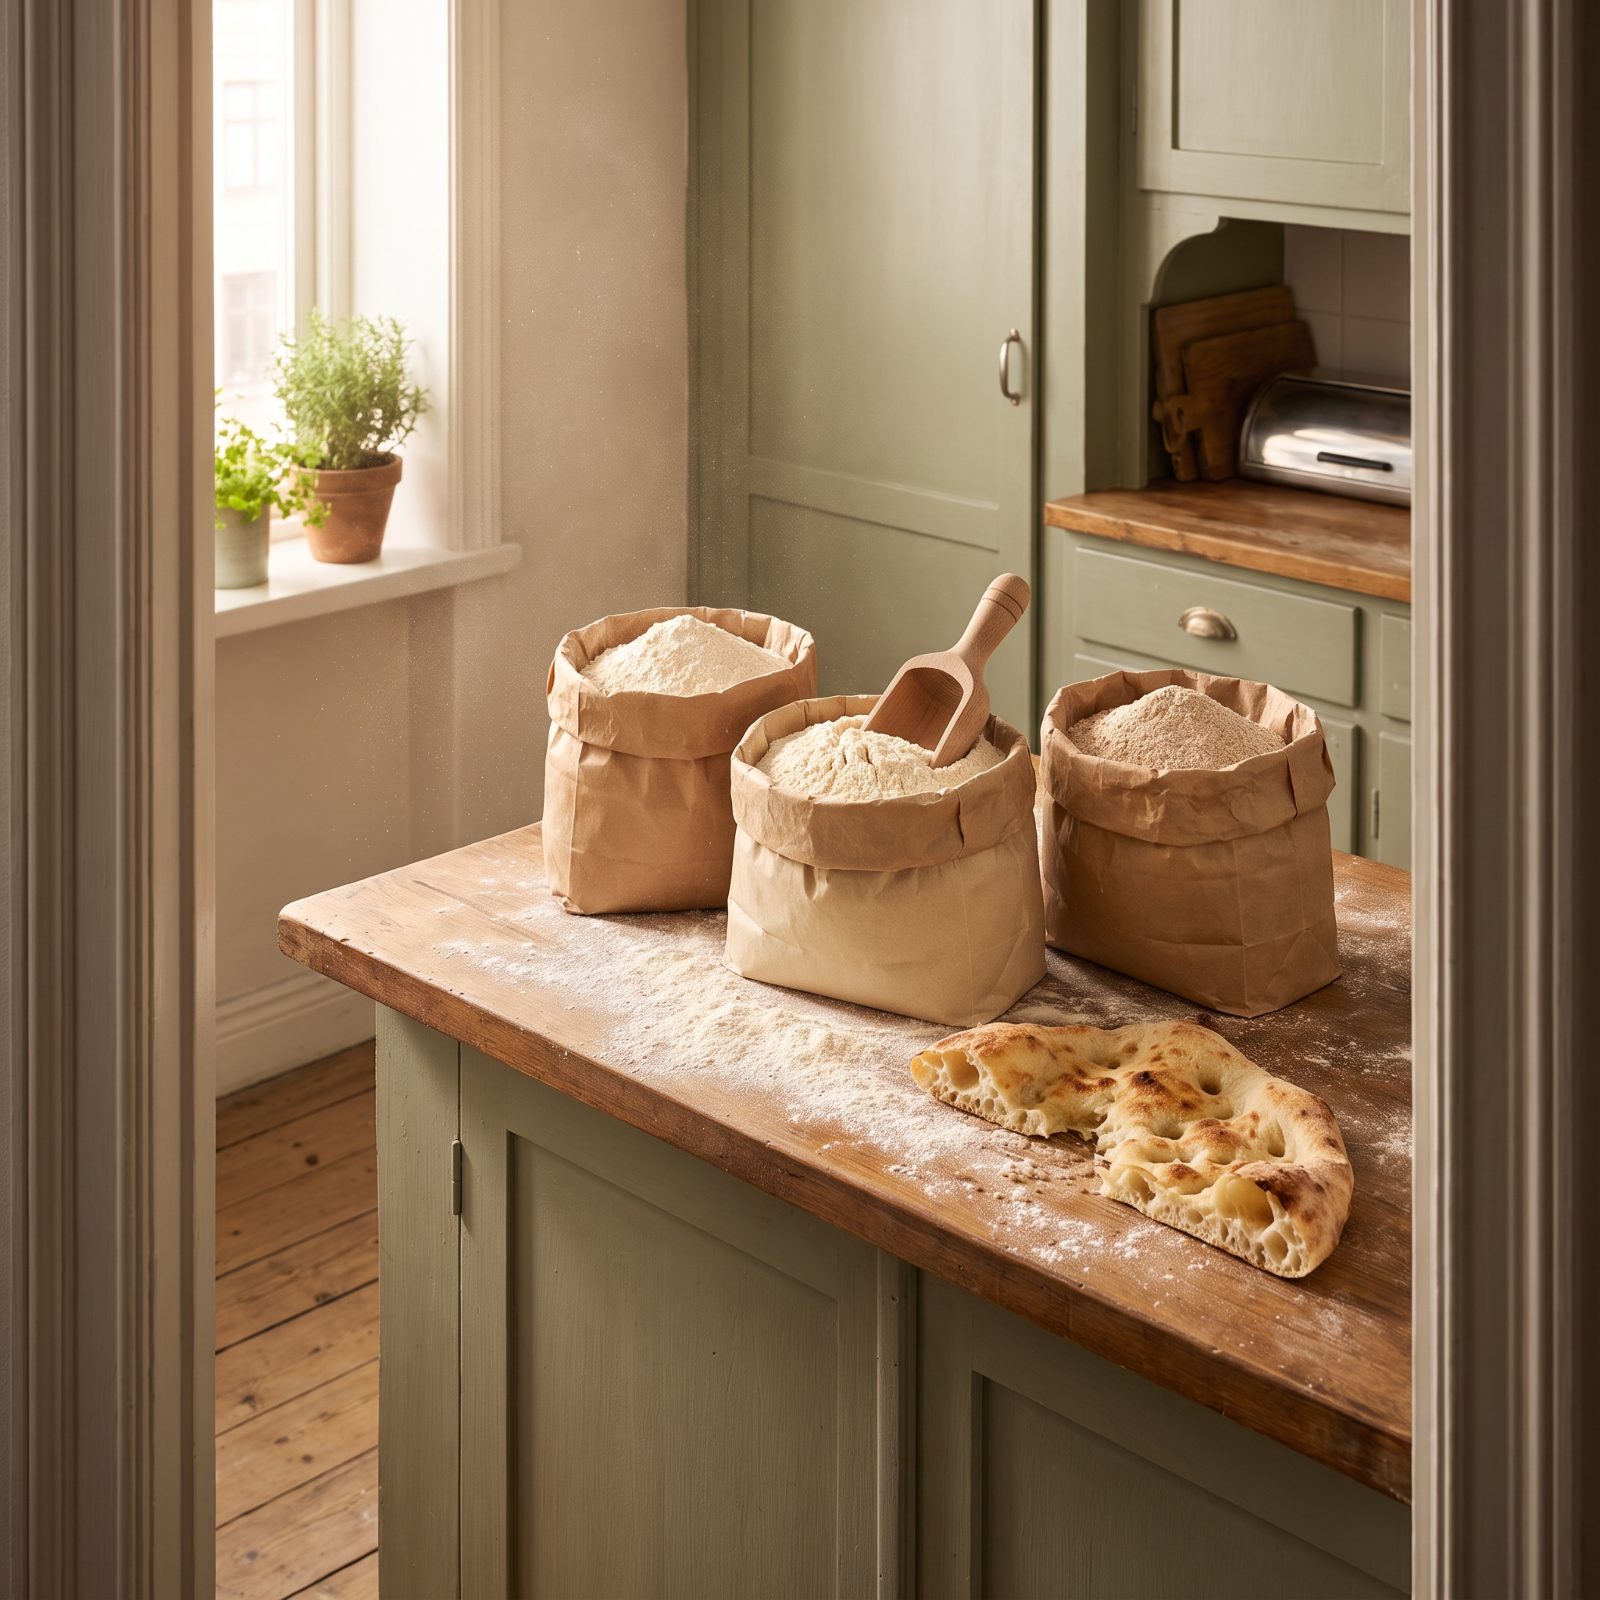
Protein is what gives a crust its tug. All-purpose flour runs on the lower end, and it bakes up soft and a little cakey — fine for a biscuit, wrong for a slice you want to fold.
Gluten develops from protein, and gluten is the elastic web that traps gas and gives you that satisfying chew with the crisp edge. Too little and the dough can’t hold air or structure, so you get bread instead of pizza.
Reach for a bread flour on the higher end of the protein scale, or splurge on a Caputo 00 if you’re chasing Neapolitan. King Arthur Bread Flour is the easy grocery-store answer and it never lets me down.
45. Use Less Yeast for Dough That Ferments Slowly and Tastes Better
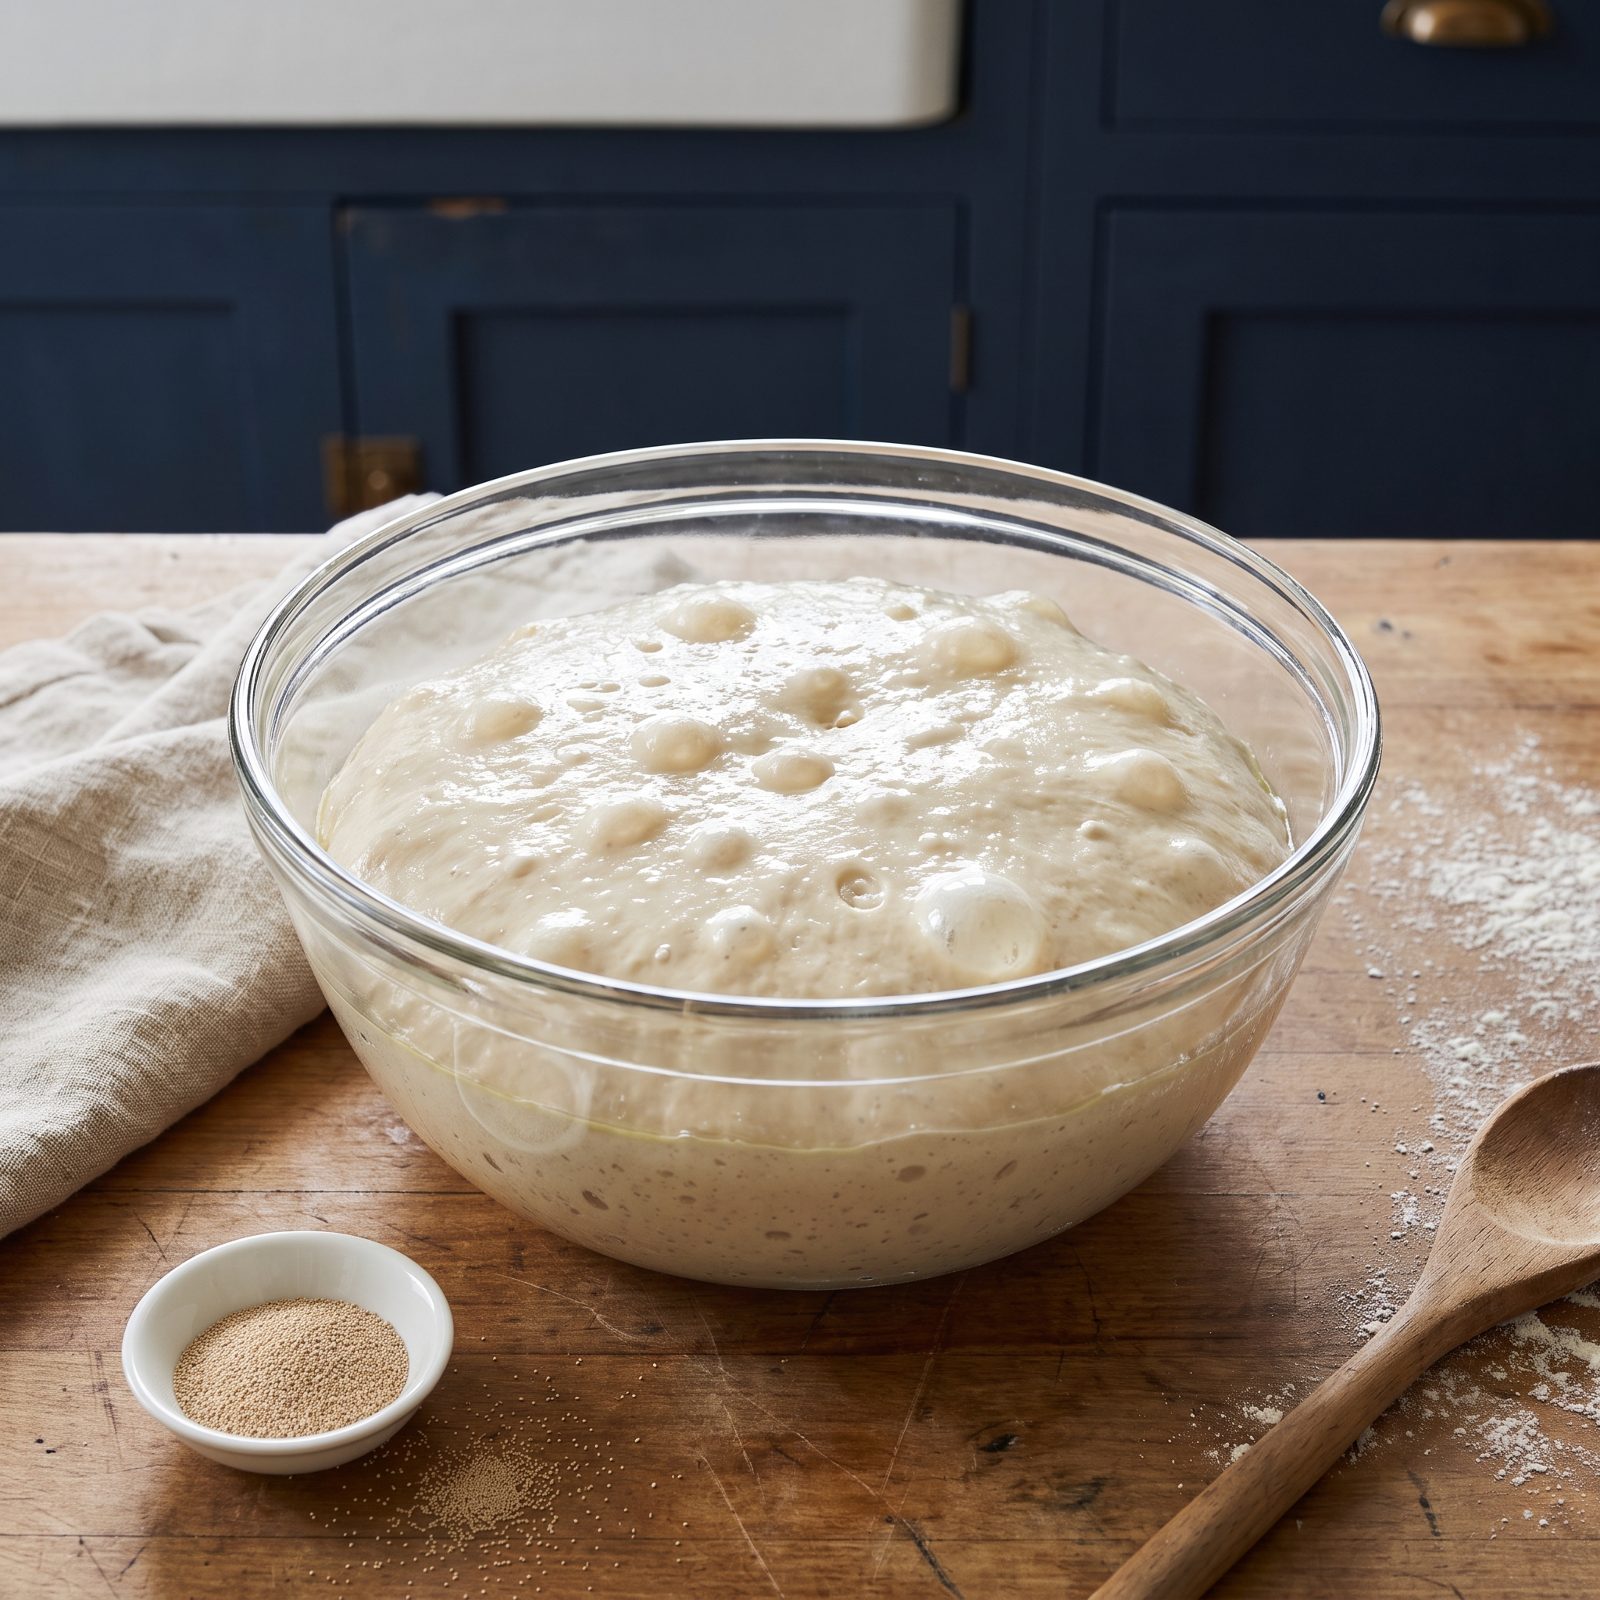
Now here’s the counterintuitive part. Less yeast makes better pizza. More yeast just makes faster pizza, and fast pizza tastes like yeast and not much else.
When you dump in a full packet to rush the rise, the dough puffs up before any real flavor develops. Slow fermentation is where things get interesting: the yeast and the flour’s natural enzymes break down starches into sugars and acids, building the faintly tangy, almost-sourdough depth that separates a great crust from a bland one.
Drop down to a quarter teaspoon of instant yeast per batch, or even less, and let time do the heavy lifting. I was a packet-dumper for years, and the day I cut back was the day my crust got interesting.
44. Cold-Ferment Dough for at Least 24 Hours
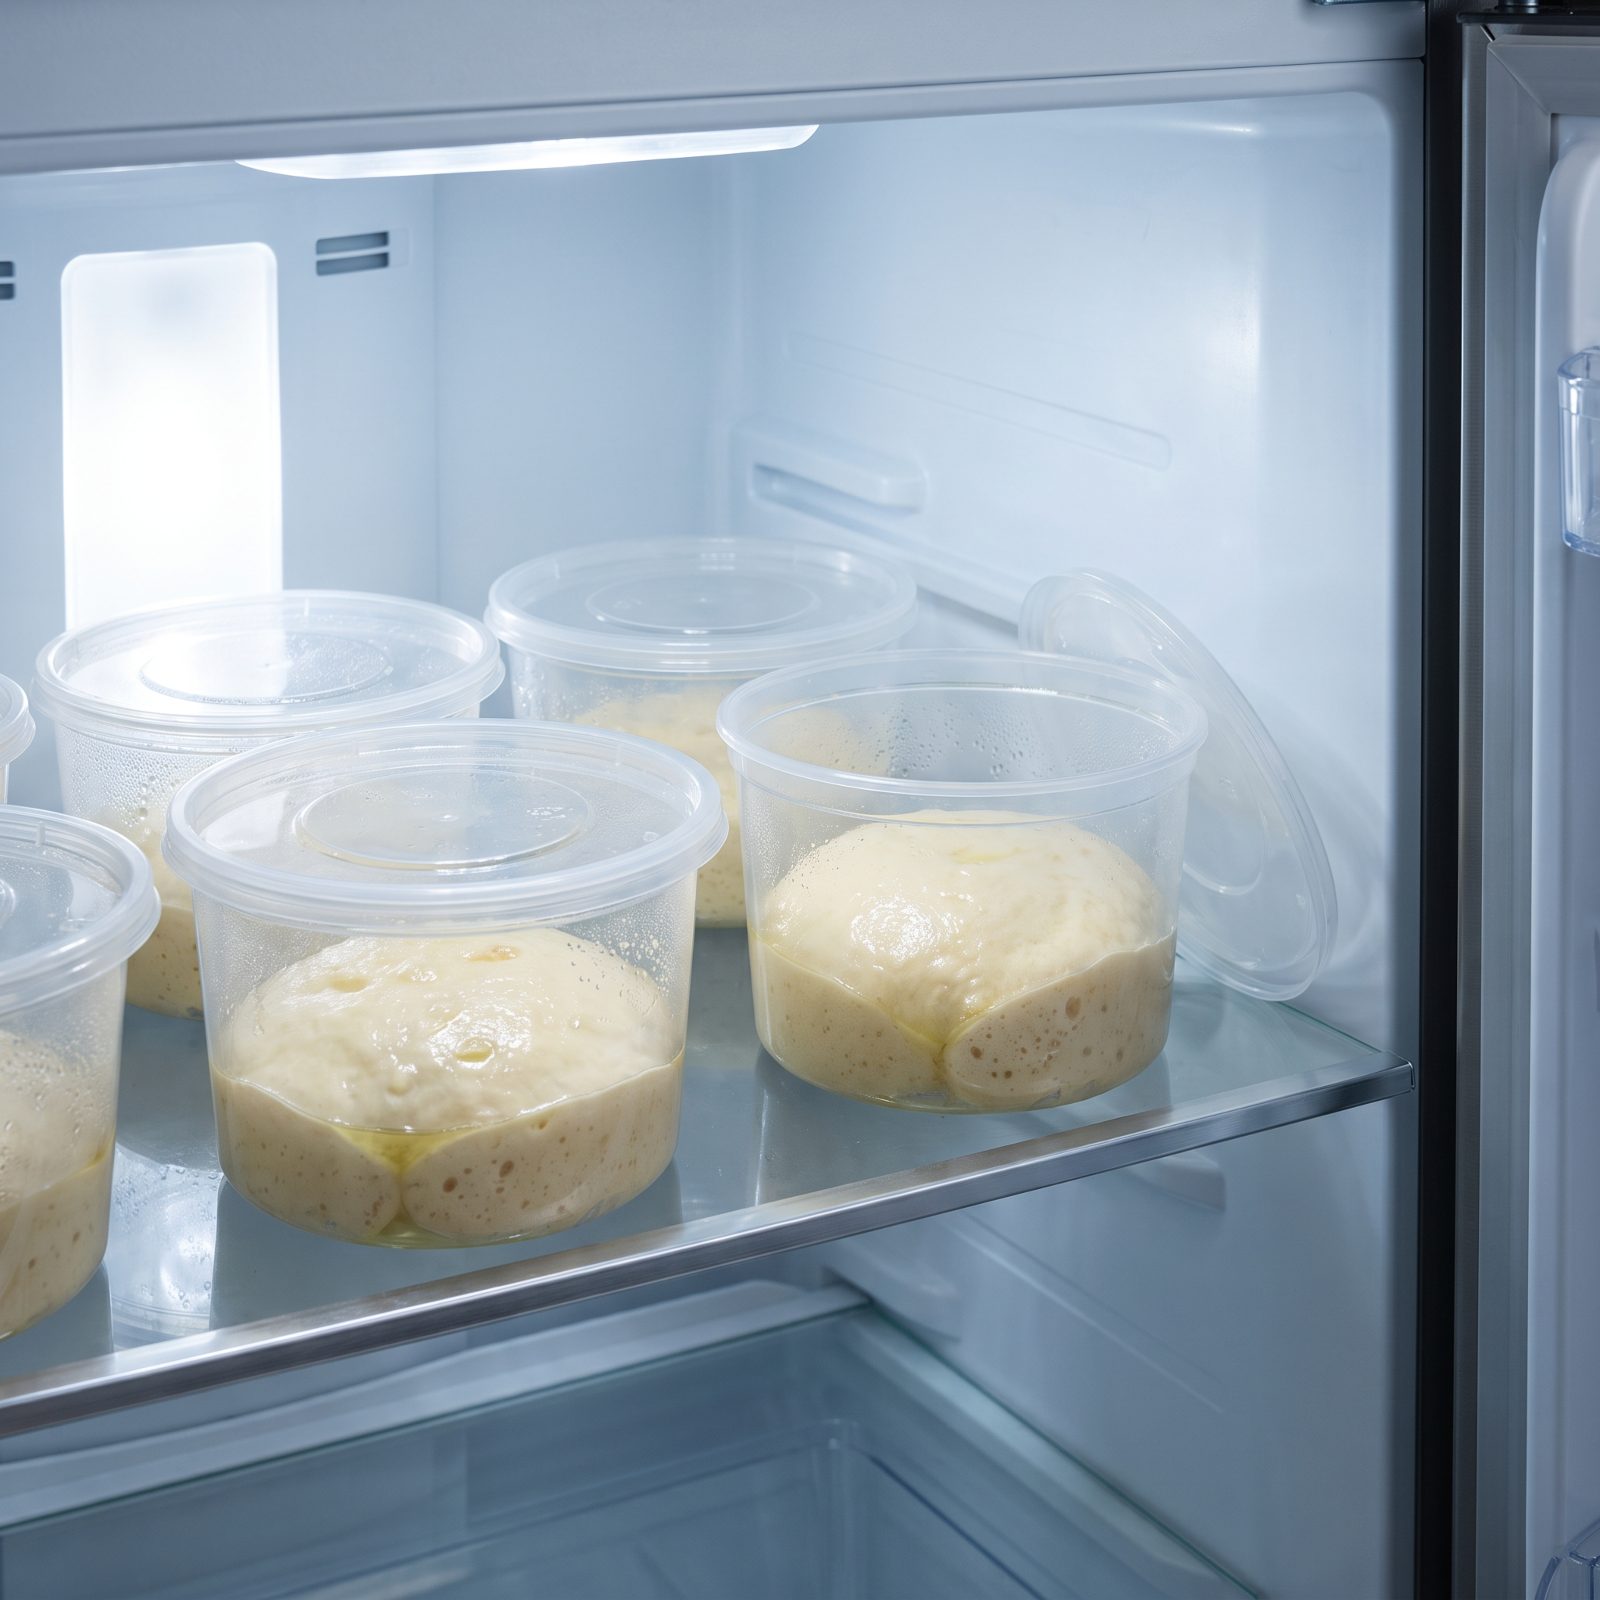
You’ve tasted the difference even if you couldn’t name it. Same-day dough is flat and flabby. Dough that spent a night or two in the fridge has that complex, slightly sour, bready aroma the minute it hits the oven.
Cold fermentation slows the yeast way down while the enzymes keep working, breaking proteins and starches into flavor compounds. And the dough relaxes as it sits, becoming far easier to stretch, so it’s doing you two favors at once.
Ball your dough, oil it lightly, set it in lidded containers (a loosely resting lid is fine), and let it sit in the fridge for a minimum of 24 hours. Forty-eight is better. Seventy-two is where a lot of pros stop, because the flavor peaks and then the gluten starts to give out.
What Our Readers Say
- When Piaci Pizza readers loved a food photo, the top reasons they tapped were nostalgia and comfort, at 22% each, ahead of looks good and ingredients.
From Piaci Pizza reader polls and votes.
43. Knead Until the Dough Passes the Windowpane Test
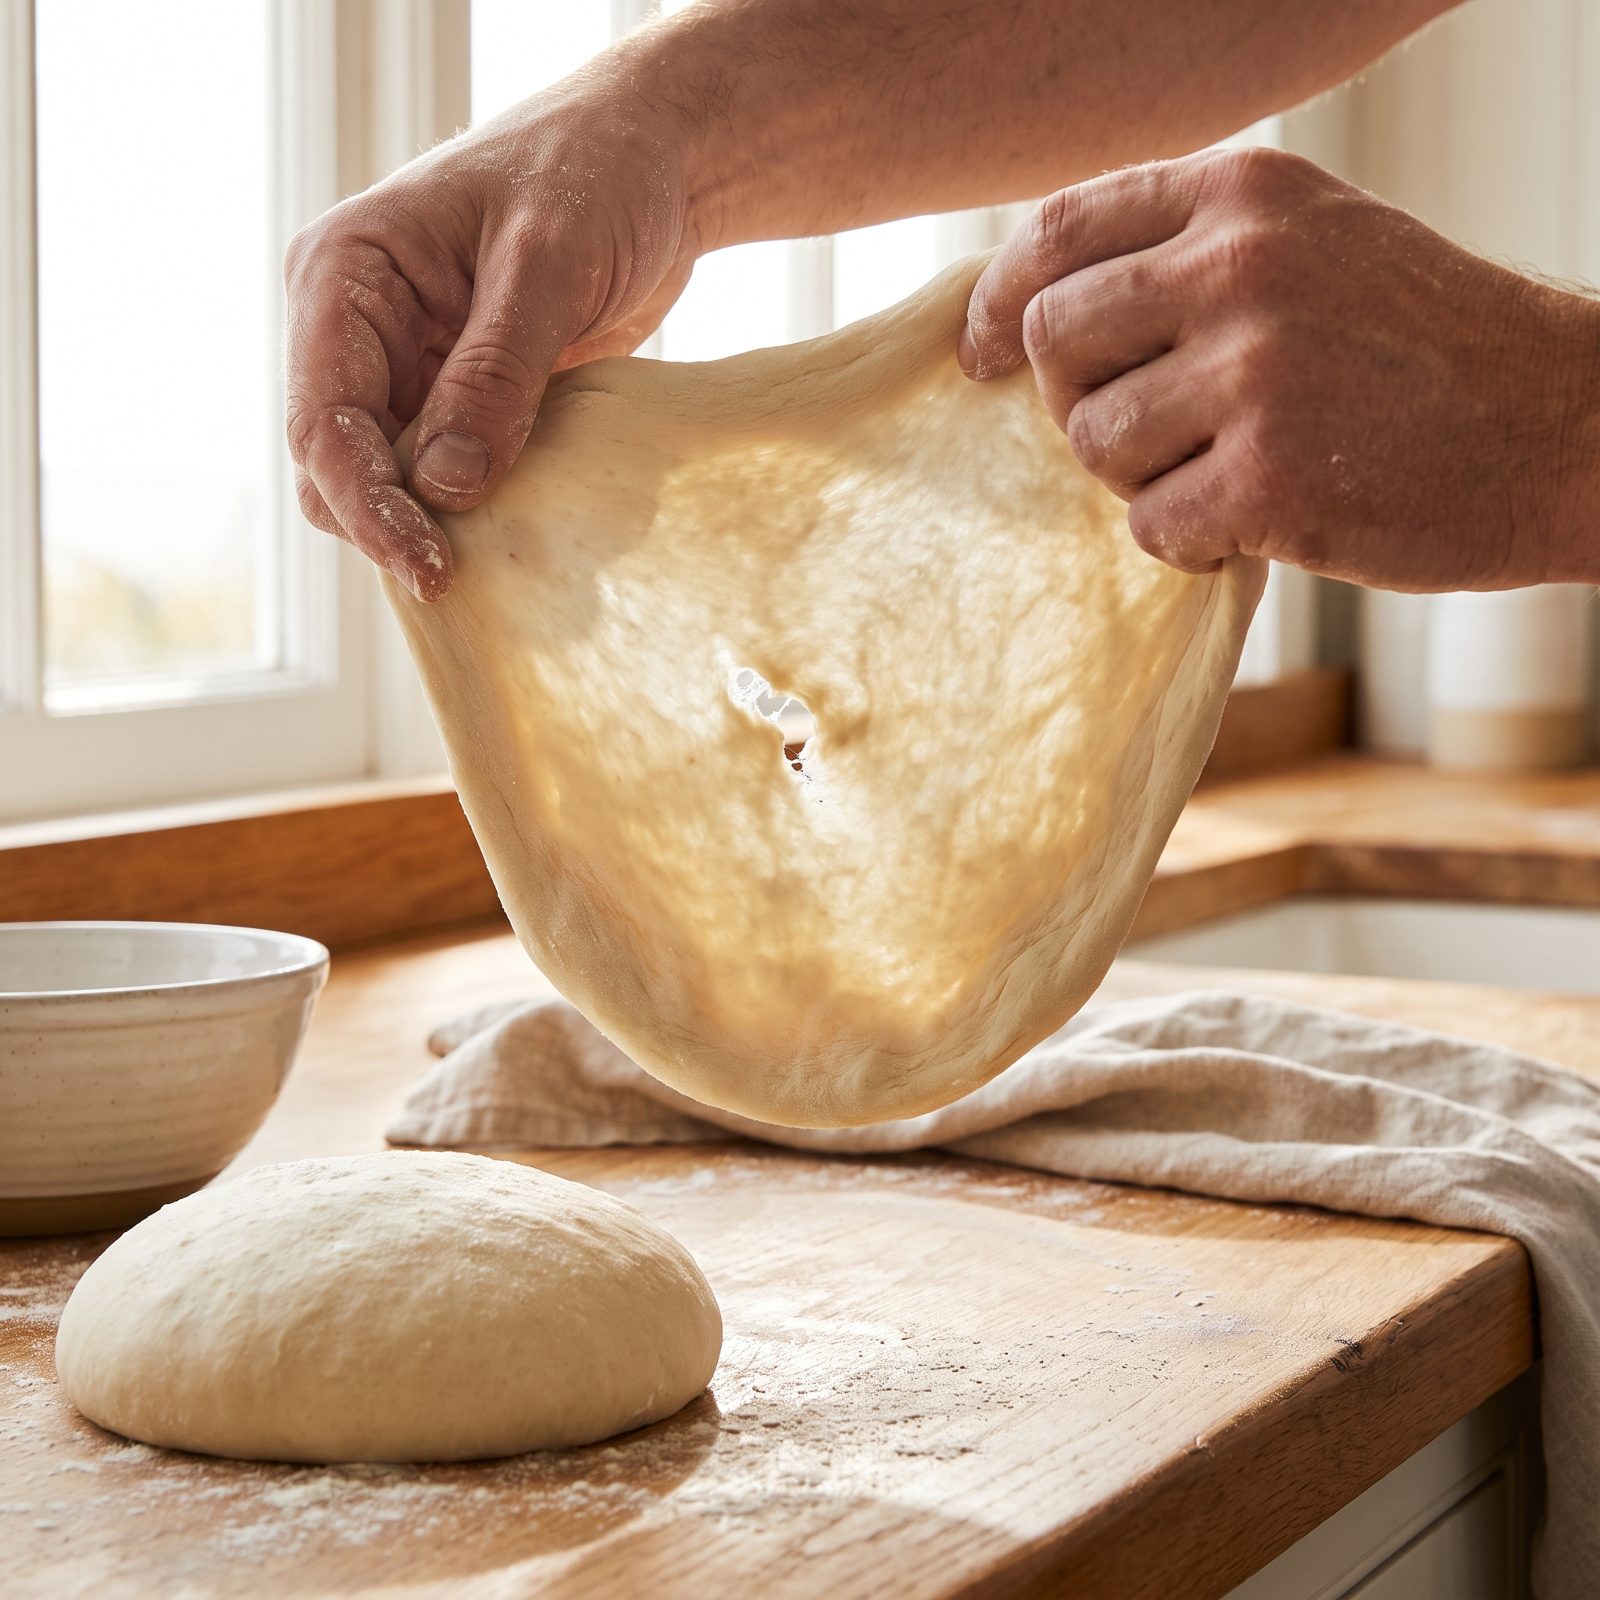
Underkneaded dough tears when you stretch it and bakes up crumbly, because the gluten network isn’t built and there’s nothing holding the whole thing together.
The windowpane test tells you exactly when you’re done — no guessing on minutes. Pinch off a piece and stretch it slowly between your fingers. If it pulls into a thin, translucent sheet you can almost see through without ripping, the gluten is developed and the dough is ready to rest. If it tears, keep going.
By hand that’s usually 10 to 12 minutes of real work. In a stand mixer with a dough hook, more like 8 on medium-low. Either way, the dough should feel smooth and tacky, not sticky, and spring back when you poke it.
42. Handle Sticky Dough with Damp or Oiled Hands Instead of Adding Flour
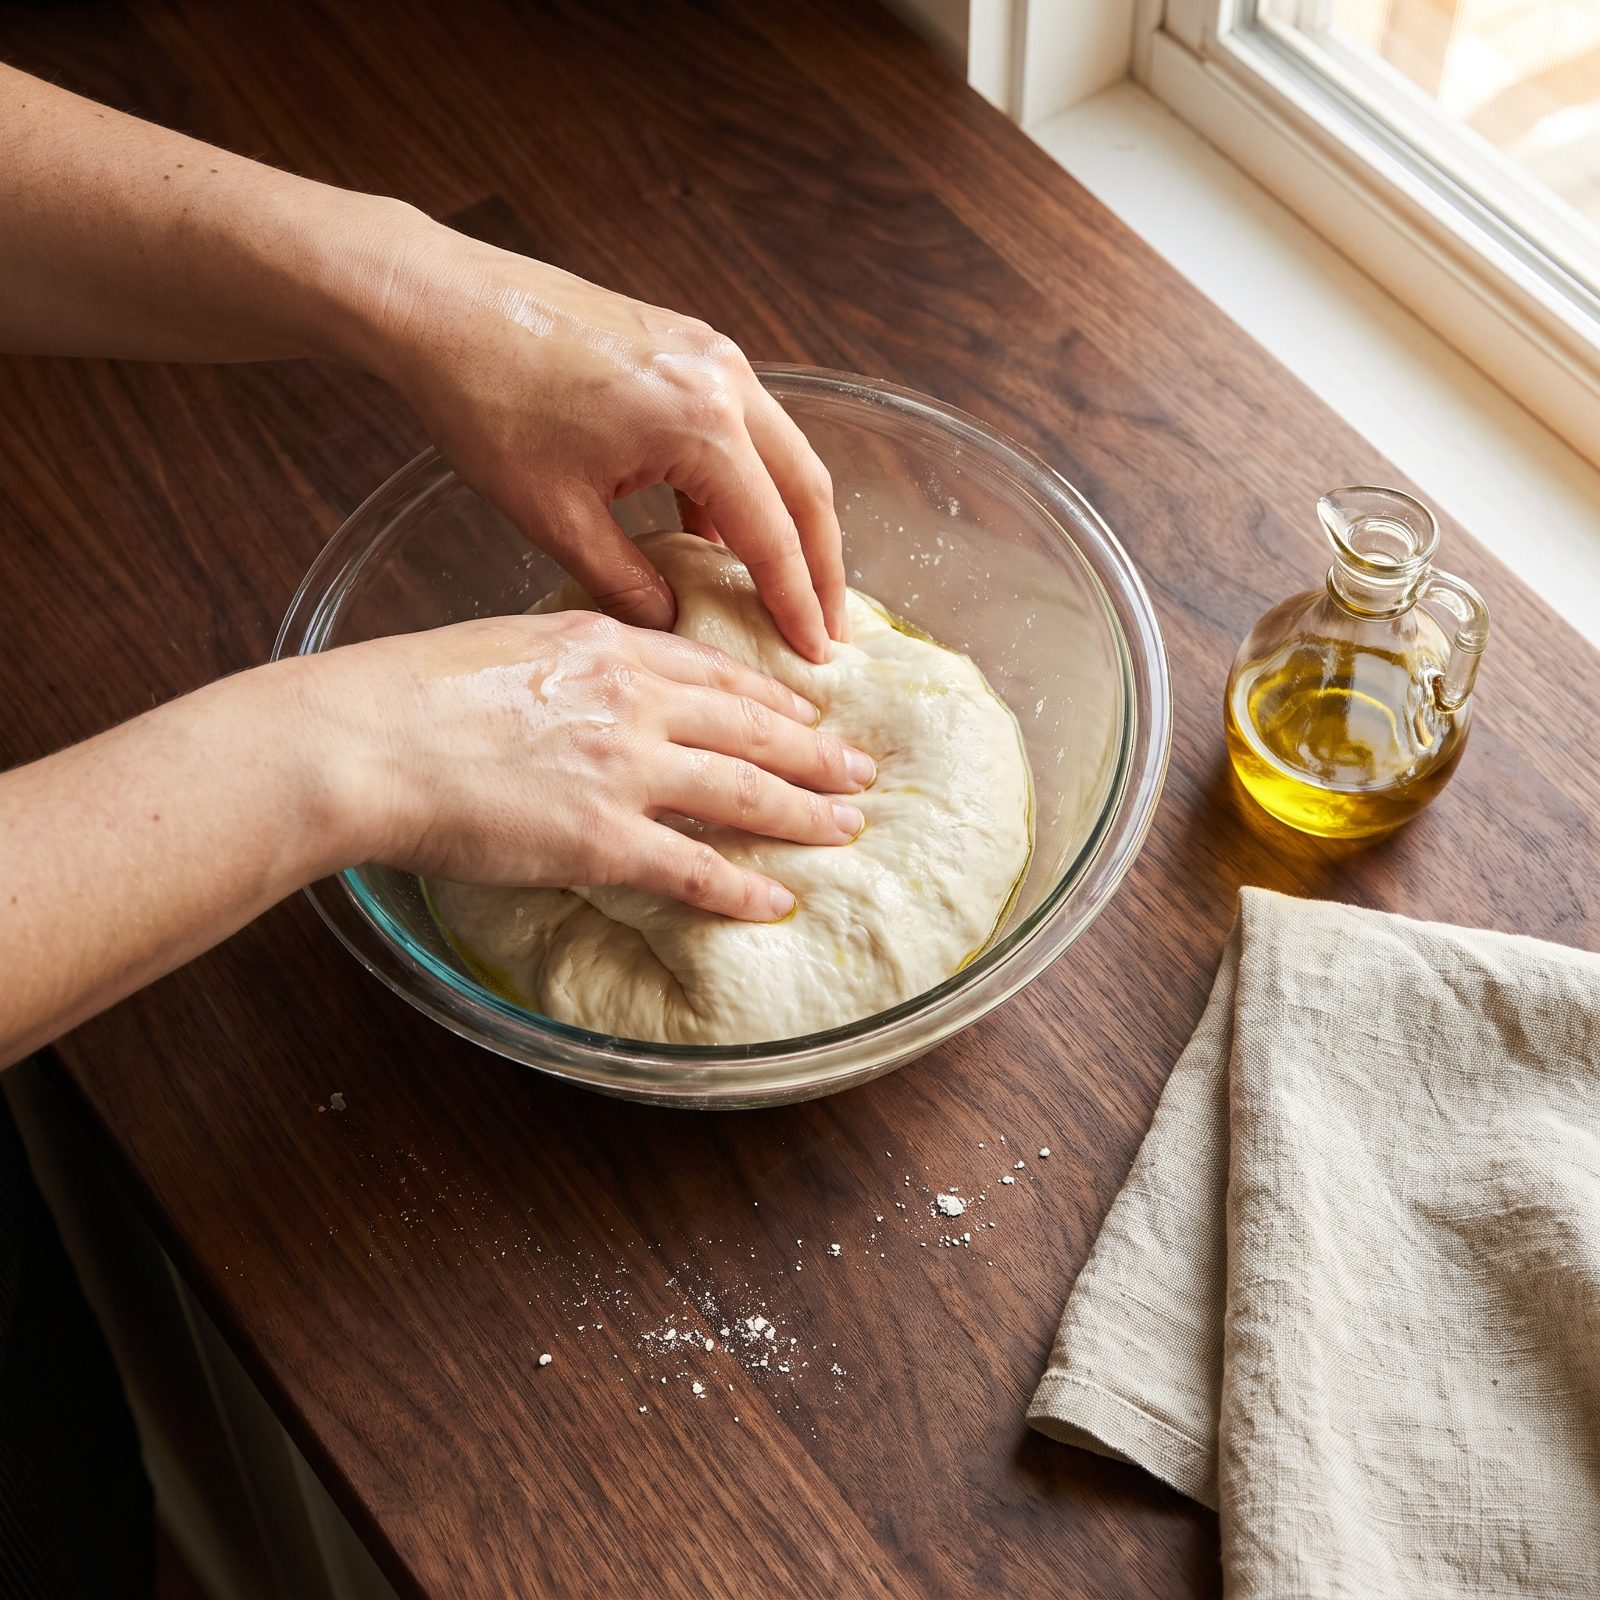
The dough sticks to your hands, panic sets in, and you start dusting flour on it like you’re trying to put out a fire. Stop. Every pinch you add to a finished dough drops the hydration and stiffens the crumb. High-hydration dough is supposed to be sticky — that’s the wet dough that bakes into an airy, open interior.
Wet your hands with cold water or coat them with a film of olive oil instead. The dough slides right off and your hydration stays exactly where you set it.
And a plastic bench scraper is the other hand you didn’t know you needed, perfect for scooping and folding without the mess.
41. Bring Cold Dough to Room Temperature Before Stretching
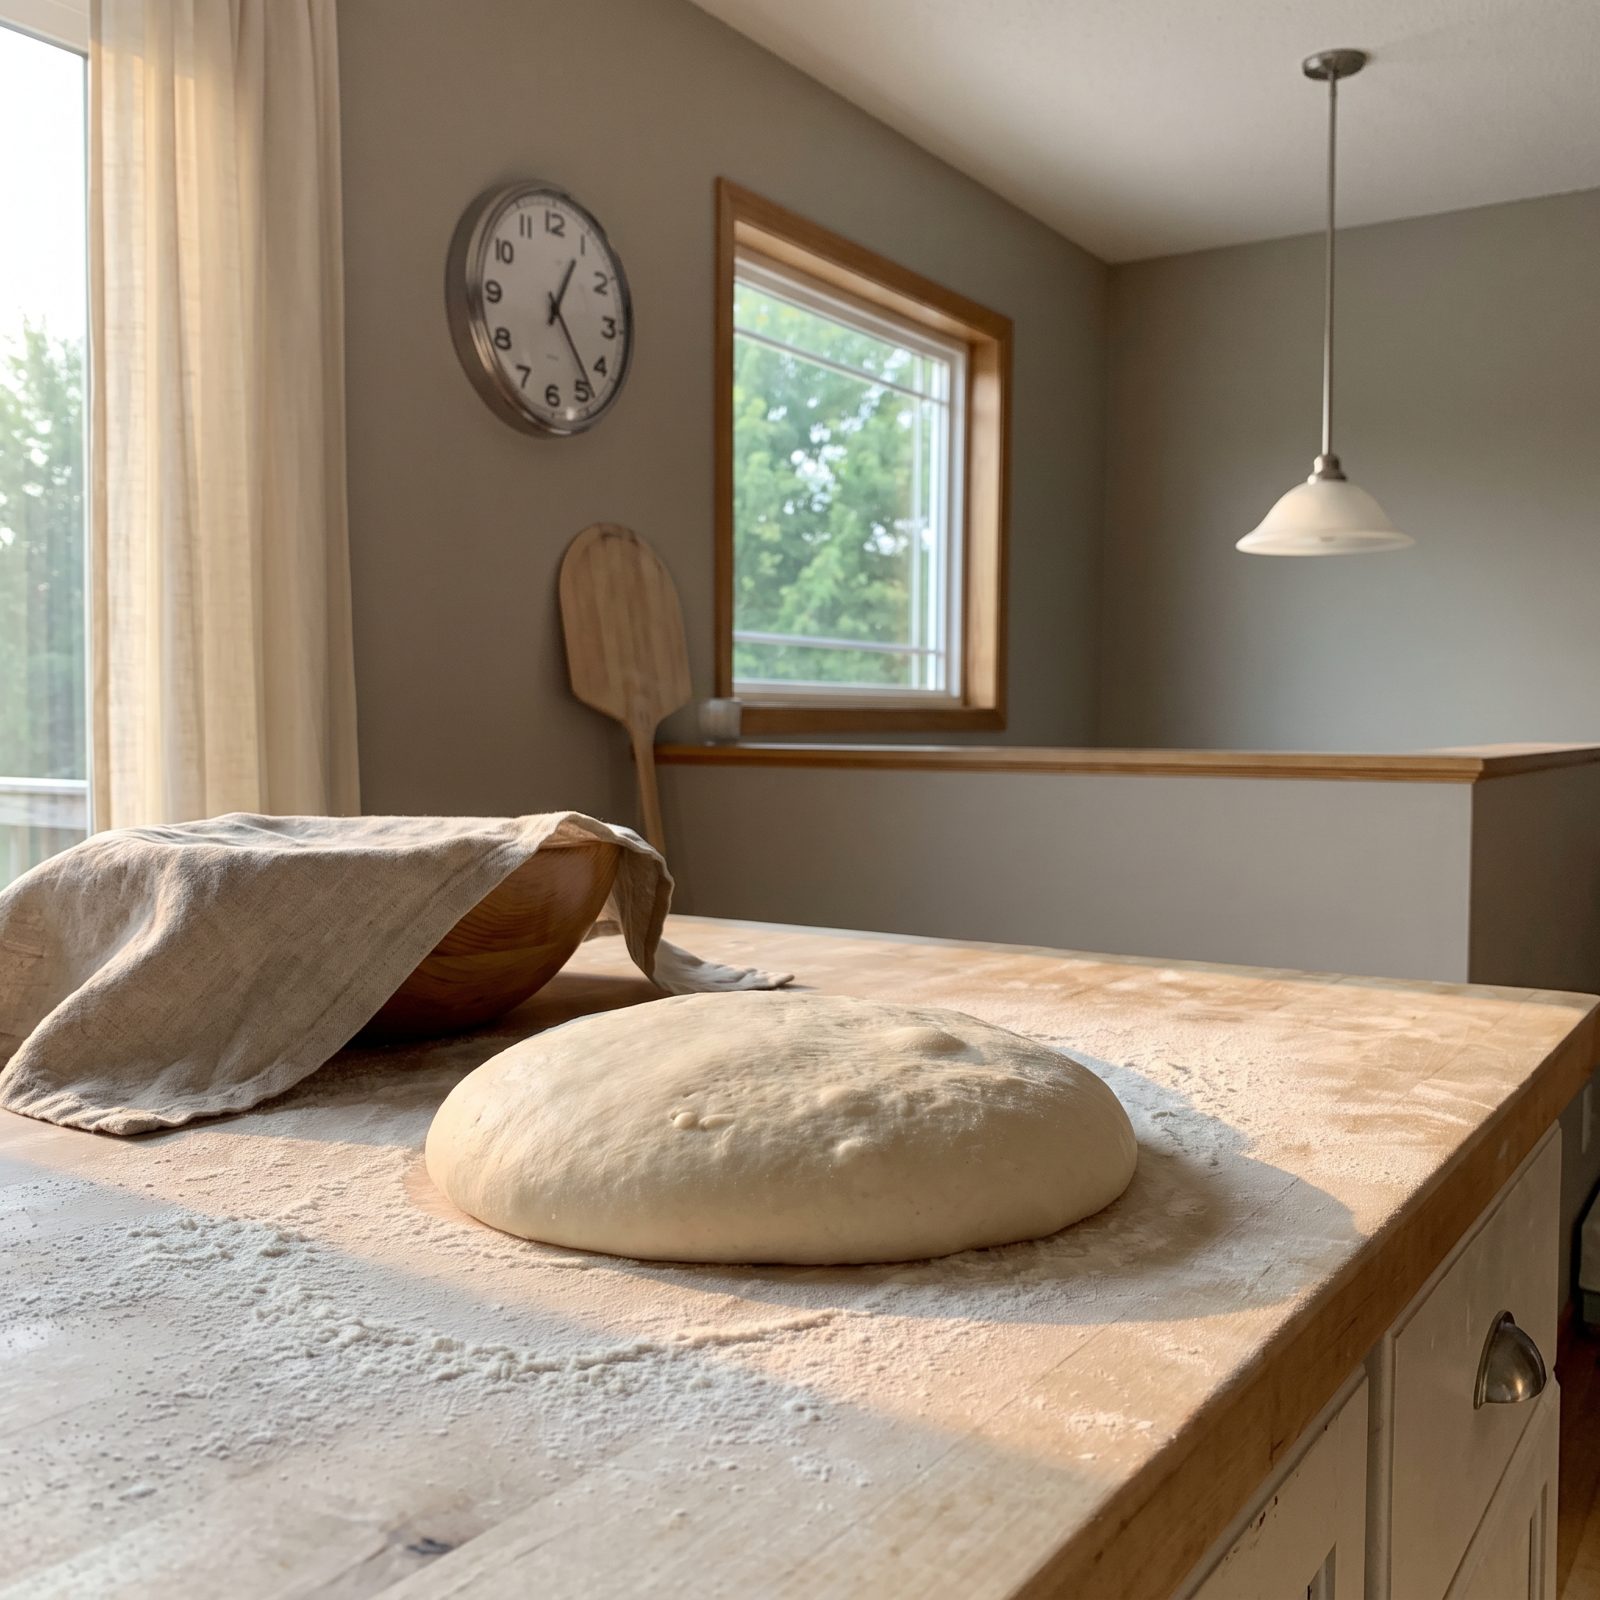
Pull a dough ball straight from the fridge, try to stretch it, and it fights you the whole way. It snaps back, tears at the edges, and leaves you wrestling a cold rubber disc that’ll never go thin.
Cold gluten is tight and inelastic. Warm gluten is loose and cooperative. The dough needs to come up to around room temperature so the proteins relax and it stretches like it actually wants to.
Take your dough balls out one to two hours before you plan to bake, leave them covered on the counter, and let them warm up and finish their final rise. You’ll feel the difference the second you touch them — they go from stubborn to soft.
40. Let Dough Rest When It Keeps Snapping Back
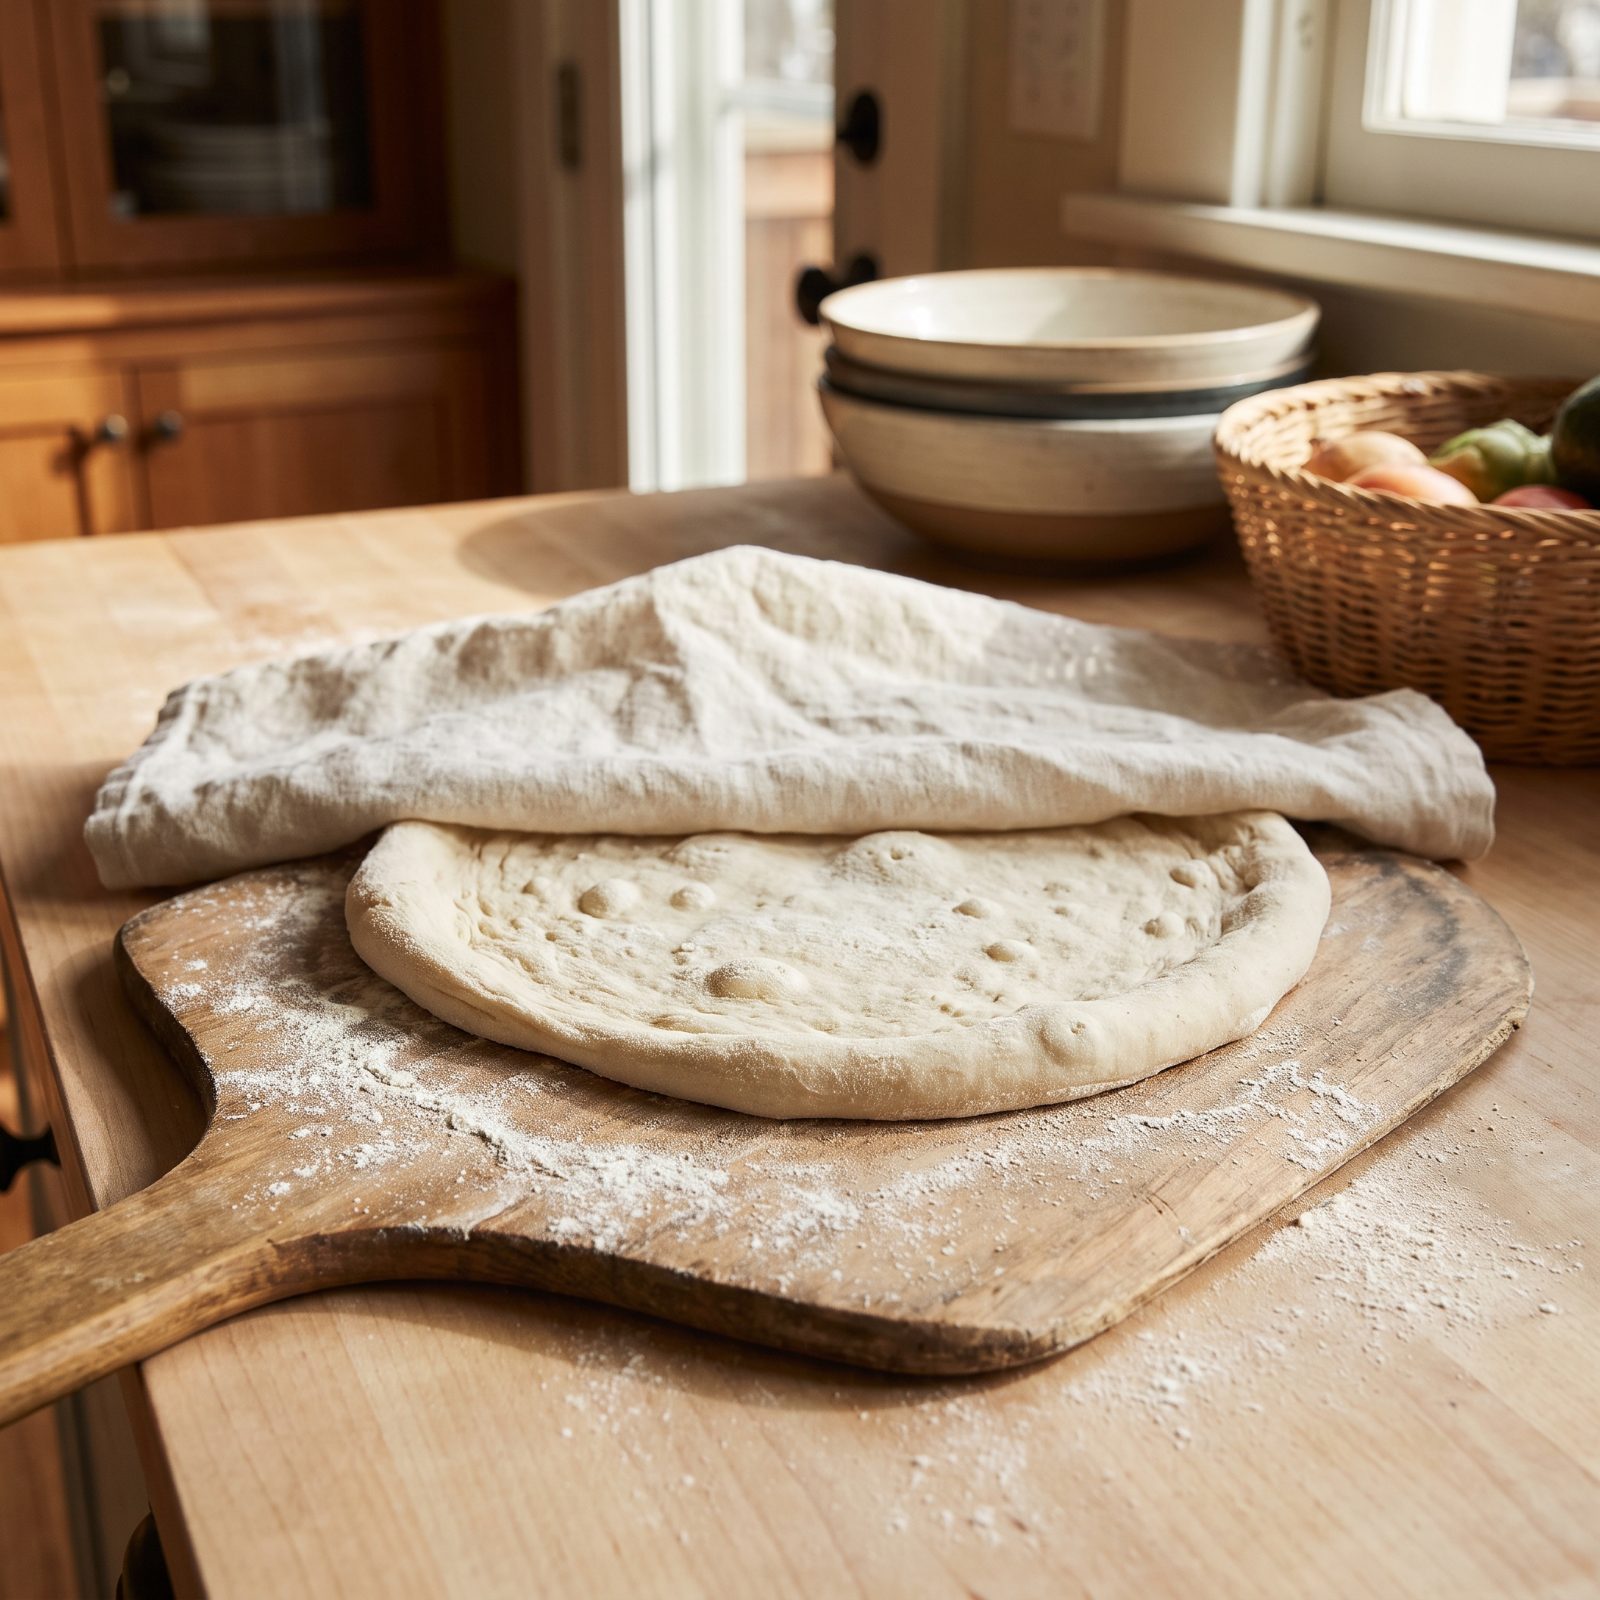
You stretch the dough out and it pulls right back in like a rubber band, over and over, until you’re ready to throw it across the kitchen. Fighting it harder just makes it tougher and risks tearing a hole.
When dough snaps back, the gluten is tensed up and simply needs a minute to relax. Keep pulling and you’re working against the dough’s own elasticity.
So walk away. Cover it with a towel, let it rest five to ten minutes, then come back. It’ll stretch half again as far with no resistance. Patience here is the whole game, and I learned it the slow, frustrating way.
39. Dust the Work Surface Lightly Instead of Burying the Dough in Flour
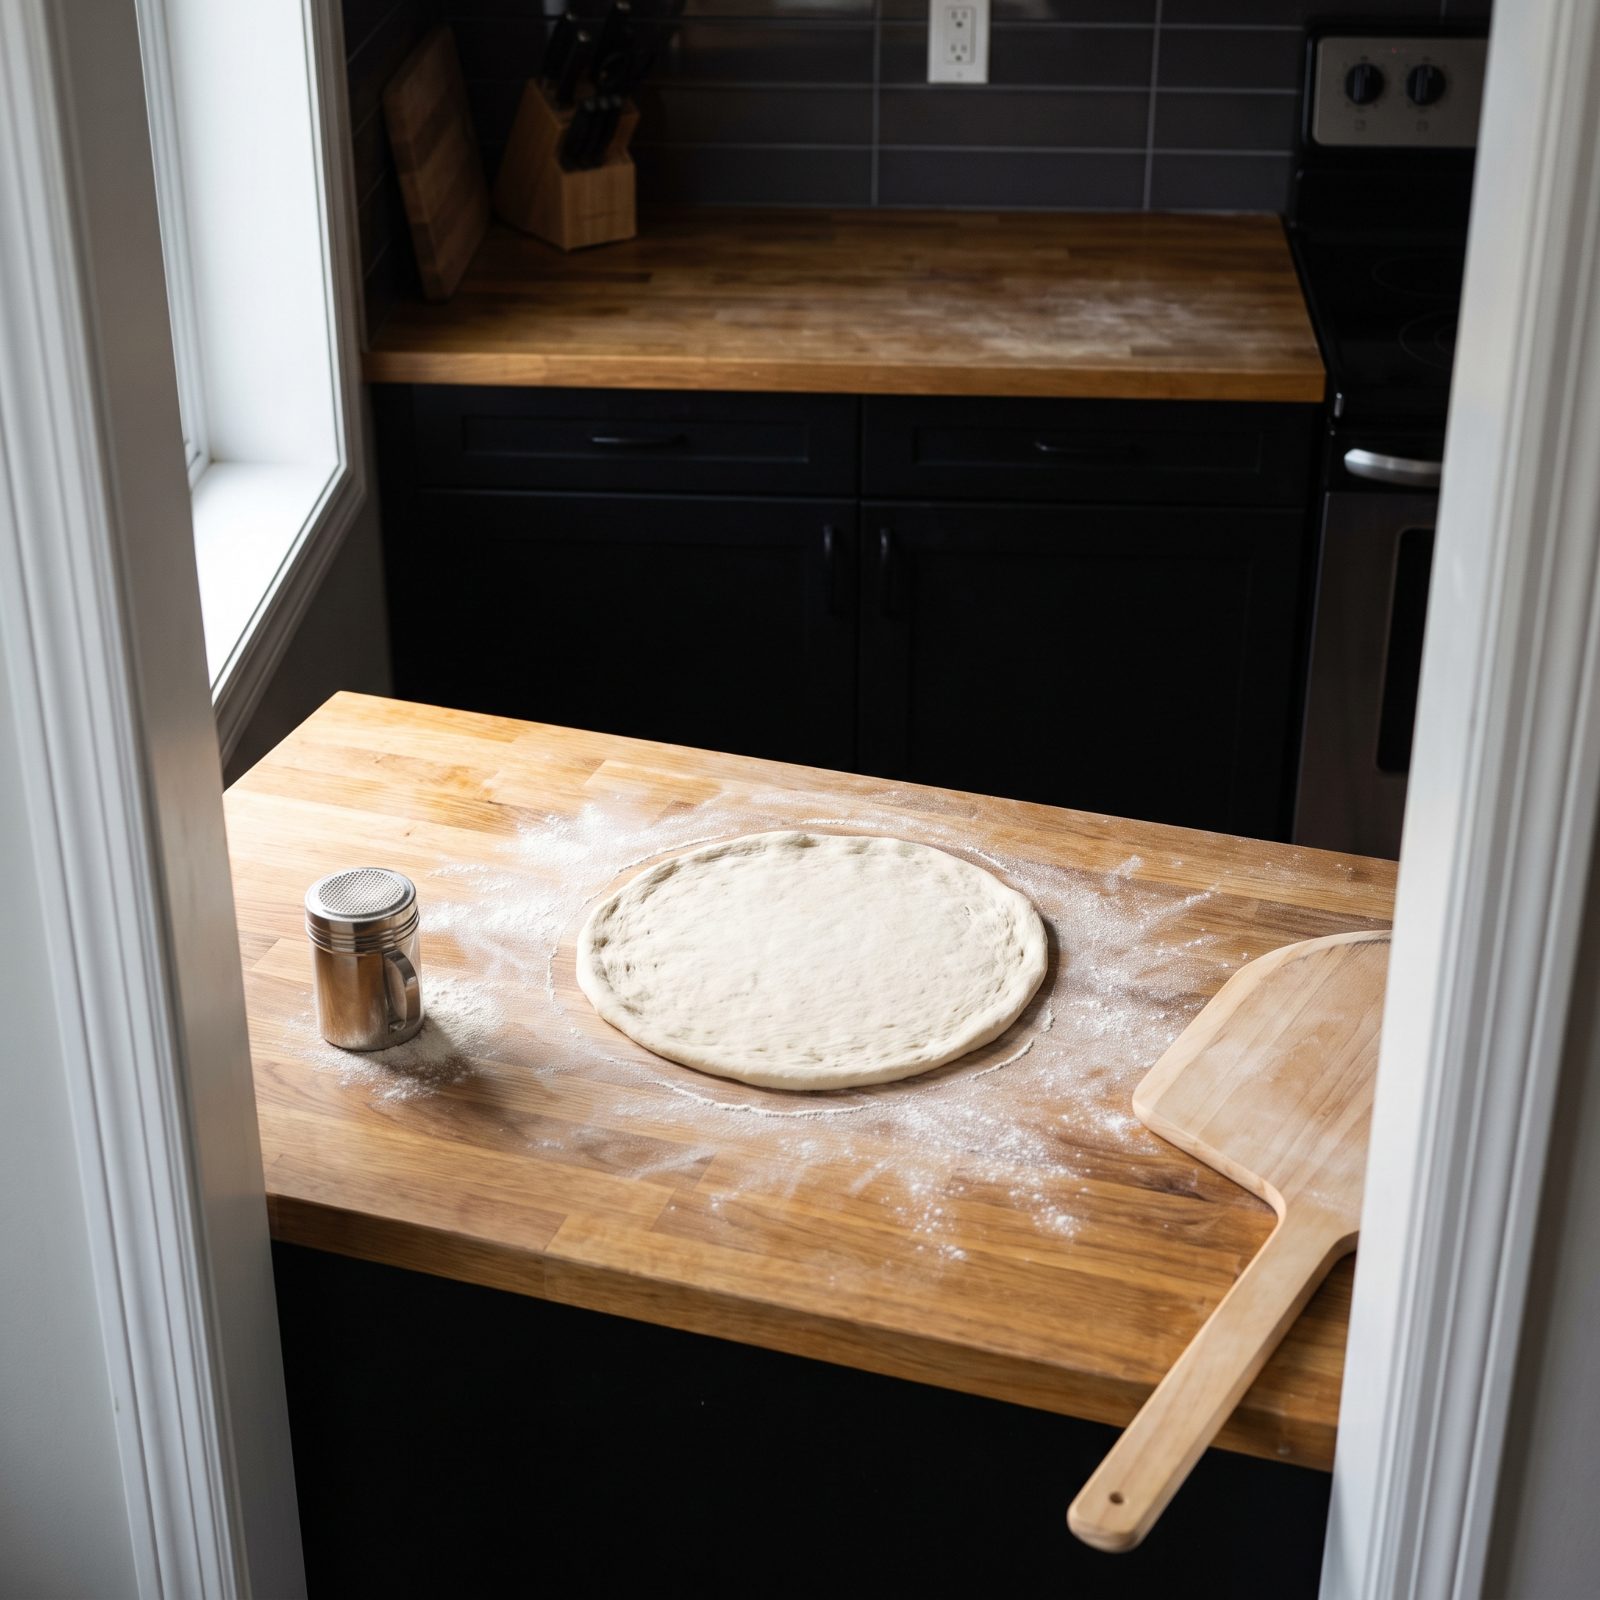
A thick bed of flour feels like insurance against sticking. It’s actually sabotage. All that excess clings to the dough, gets dragged into the oven, and scorches into bitter black specks on the bottom of your pie. It dries the crust out, too, right where you want it supple.
You need just enough flour so the dough slides, nothing more. A fine-mesh shaker gives you a thin, even veil you can actually control, instead of handfuls that end up everywhere. A semolina blend works even better for launching off the peel — it rolls under the dough like tiny ball bearings.
Dust light, shake off the excess before the pizza goes in, and your crust bottom stays clean and golden instead of speckled and burnt.
38. Blend Fine Semolina with Rice Flour for a More Reliable Peel Release
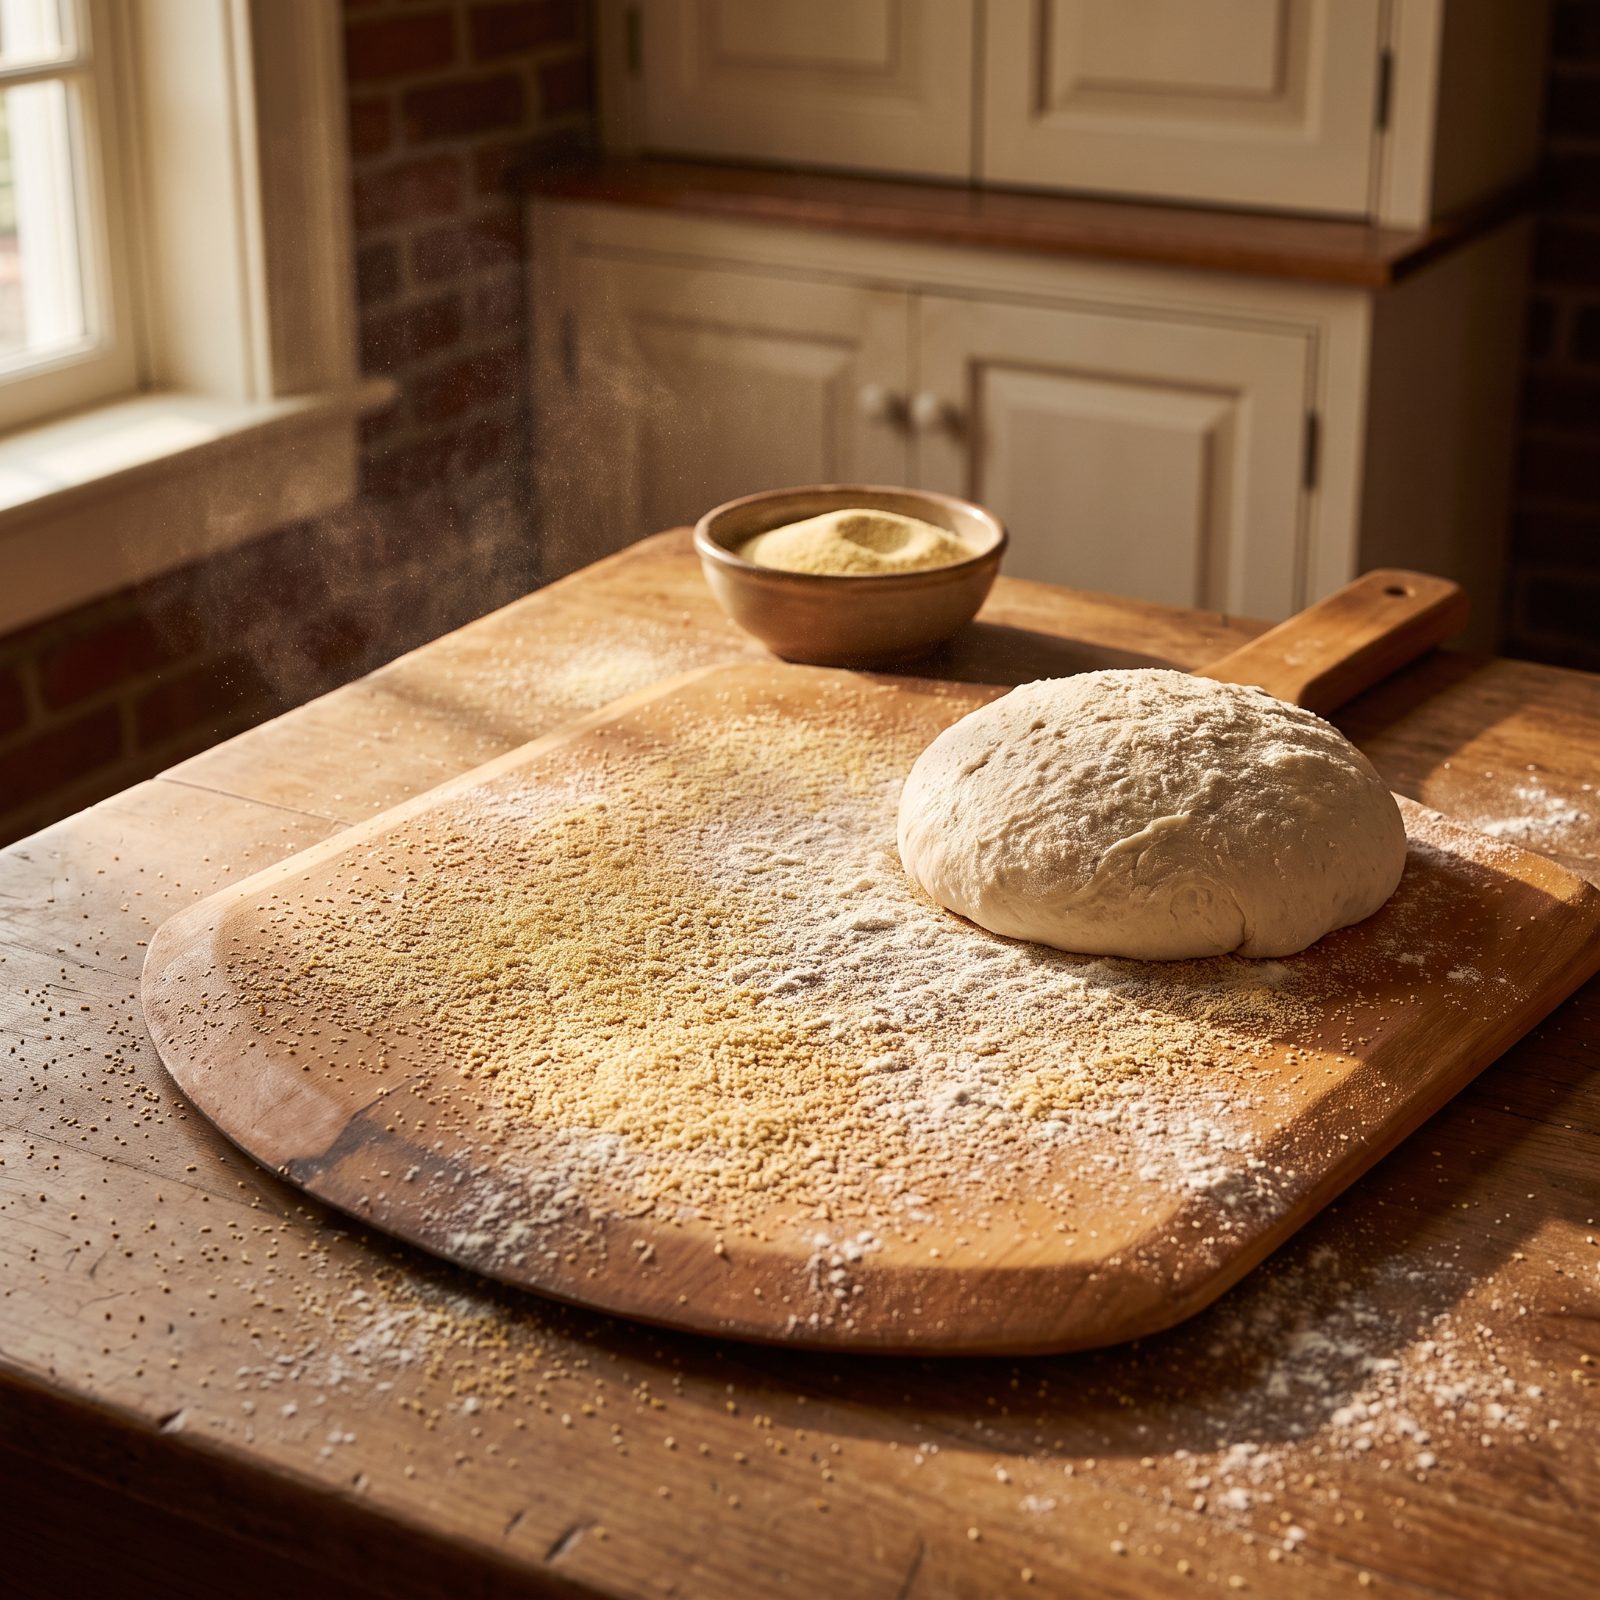
Pure semolina is good at one thing: sticking around when the heat hits. Dust your peel with it alone and you get a gritty, scorched layer on the underside of the crust that tastes like someone took sandpaper to the bottom of your pie.
Here’s the split. Semolina gives you ball bearings, those little rolling grains that let dough slide across the wood. Fine rice flour brings heat tolerance — it doesn’t burn as fast, and it won’t clump on you. Mix them roughly half and half, keep the jar by the oven, and dust a thin, even layer right before the dough goes down.
37. Press the Center While Leaving the Outer Rim Untouched
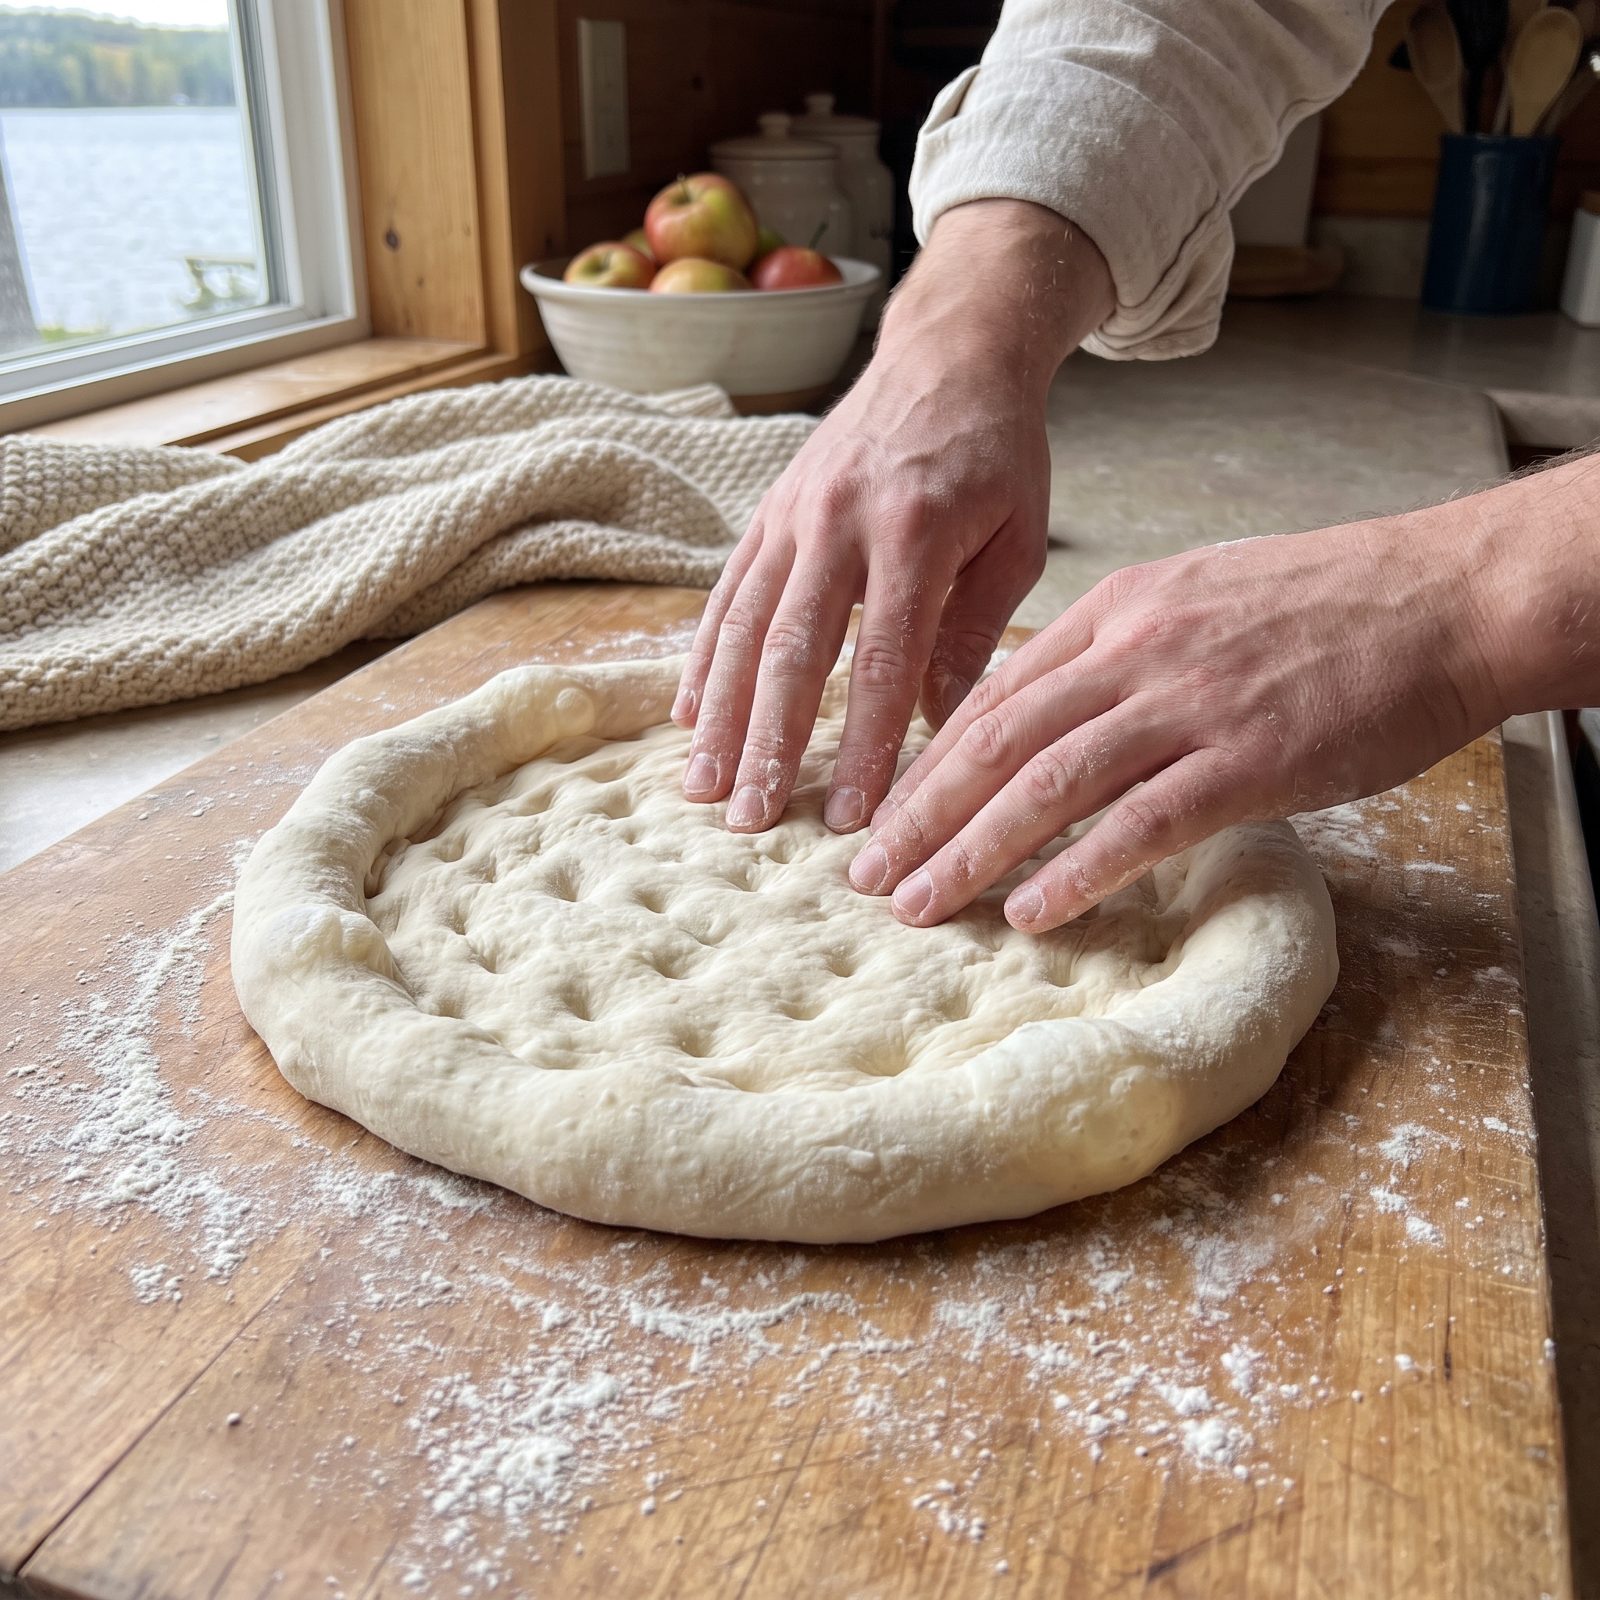
Watch someone flatten dough into one even pancake and you can predict the pizza already. No rise at the edge, no airy lip, just a cracker with sauce on it.
That outer inch is where your cornicione lives — the puffed, blistered rim that separates a real pizza from a flatbread. All the gas the dough built during fermentation hides out there. Press it flat and you squeeze every bubble out before it ever sees the oven.
So press only the center. Fingertips work from the middle outward, stopping a solid inch shy of the edge, and that border stays thick and untouched. When it hits the heat, the trapped gas expands fast and hands you the open, charred rim you’ve been chasing.
36. Stretch Dough Over Your Knuckles to Avoid Thin Finger Marks
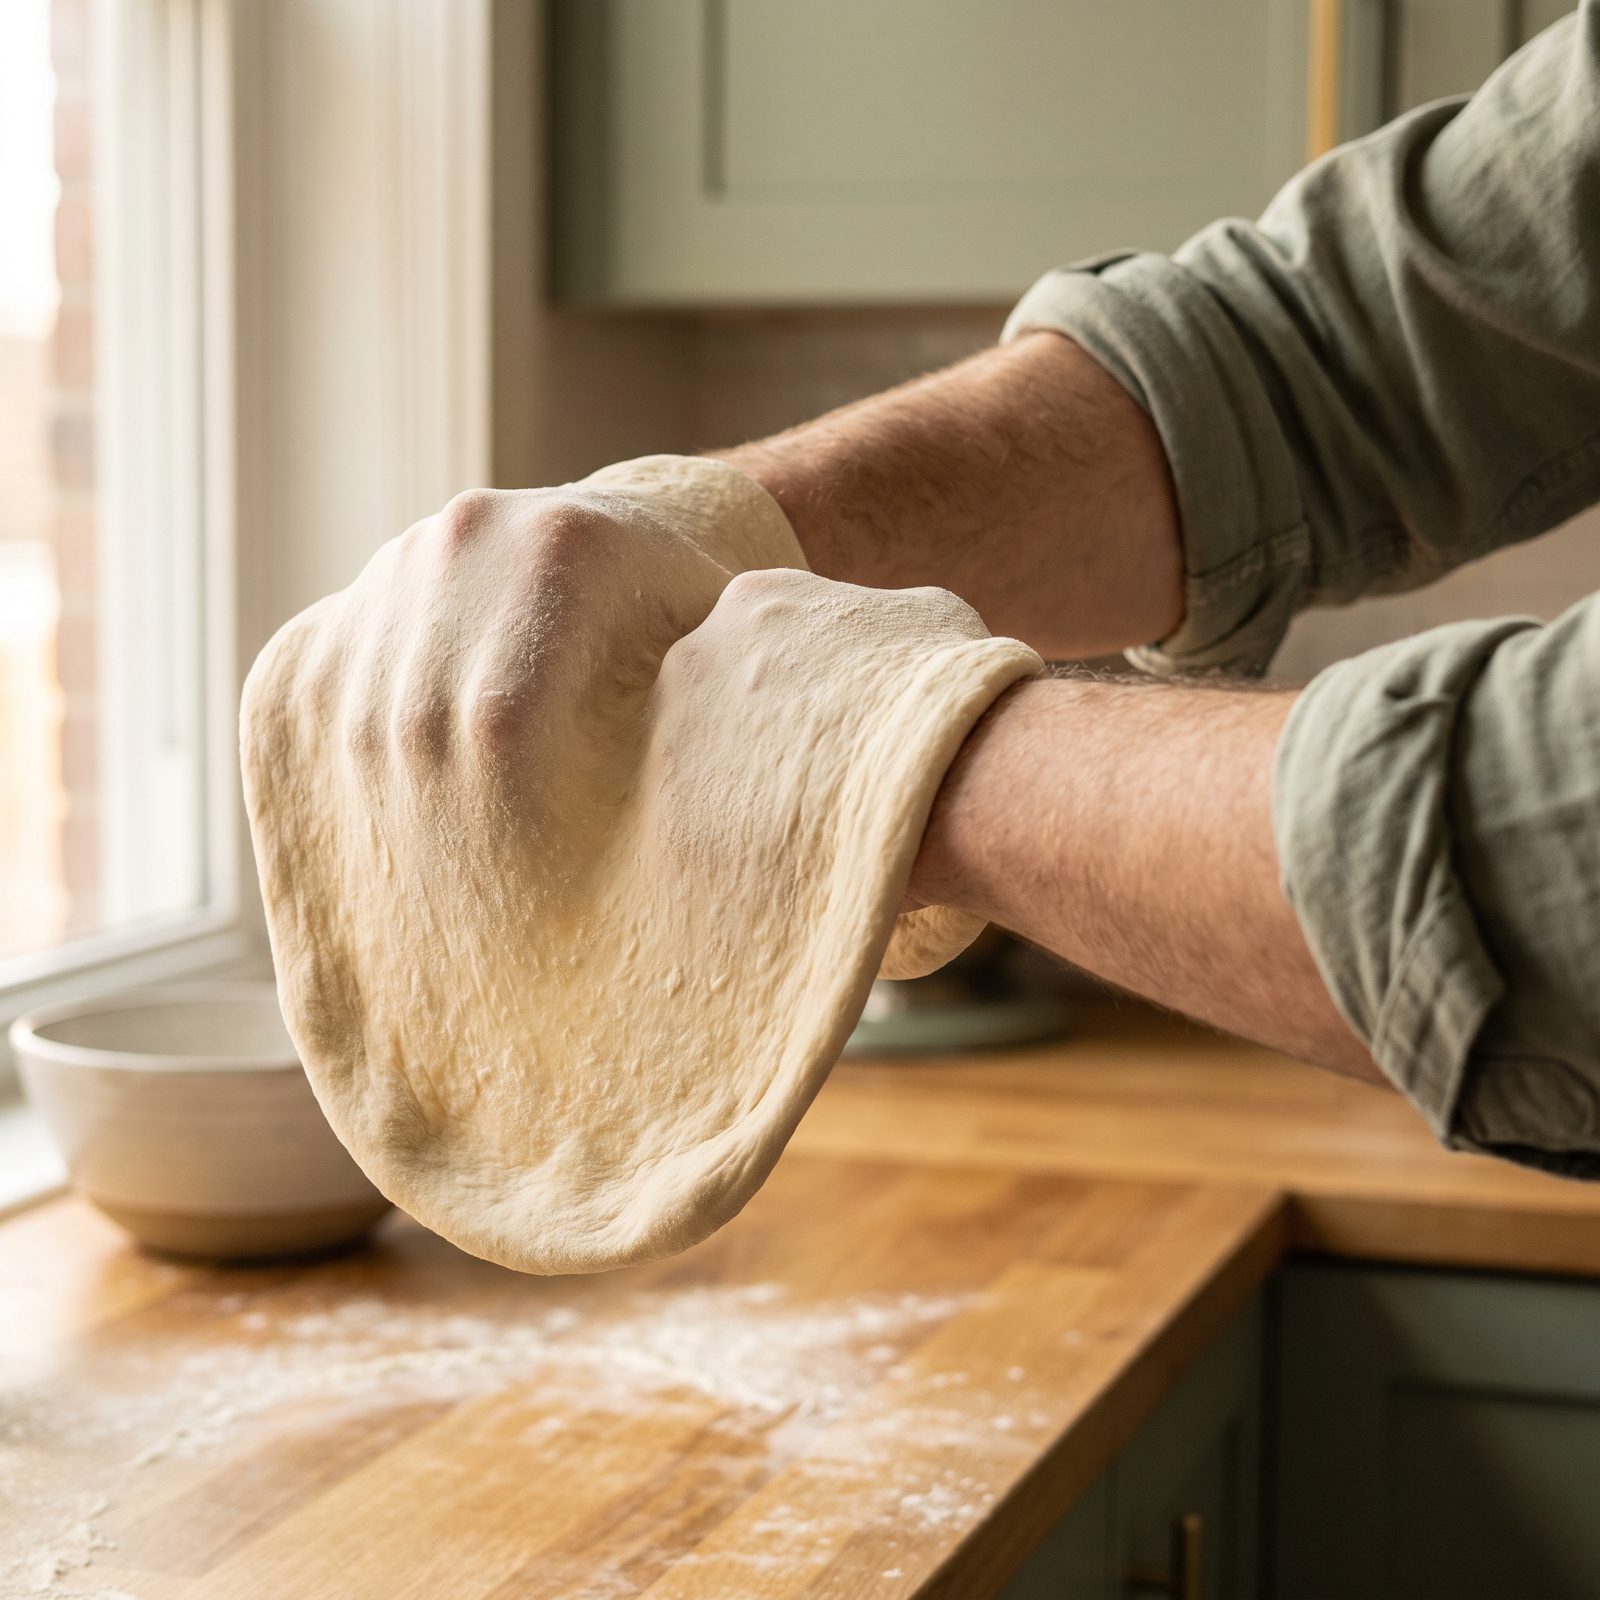
Fingertips are precision tools, and that’s exactly the problem. Poke and pull at the thin center of the dough with them and you leave a map of tiny divots — thin patches that tear in the oven and let sauce burn straight through to the stone.
Knuckles spread the load instead. Make loose fists with both hands, drape the dough over the backs of them, and let gravity pull while you gently ease your fists apart beneath it. The dough thins out evenly. No hot spots, no holes.
35. Skip the Rolling Pin to Preserve Fermentation Bubbles
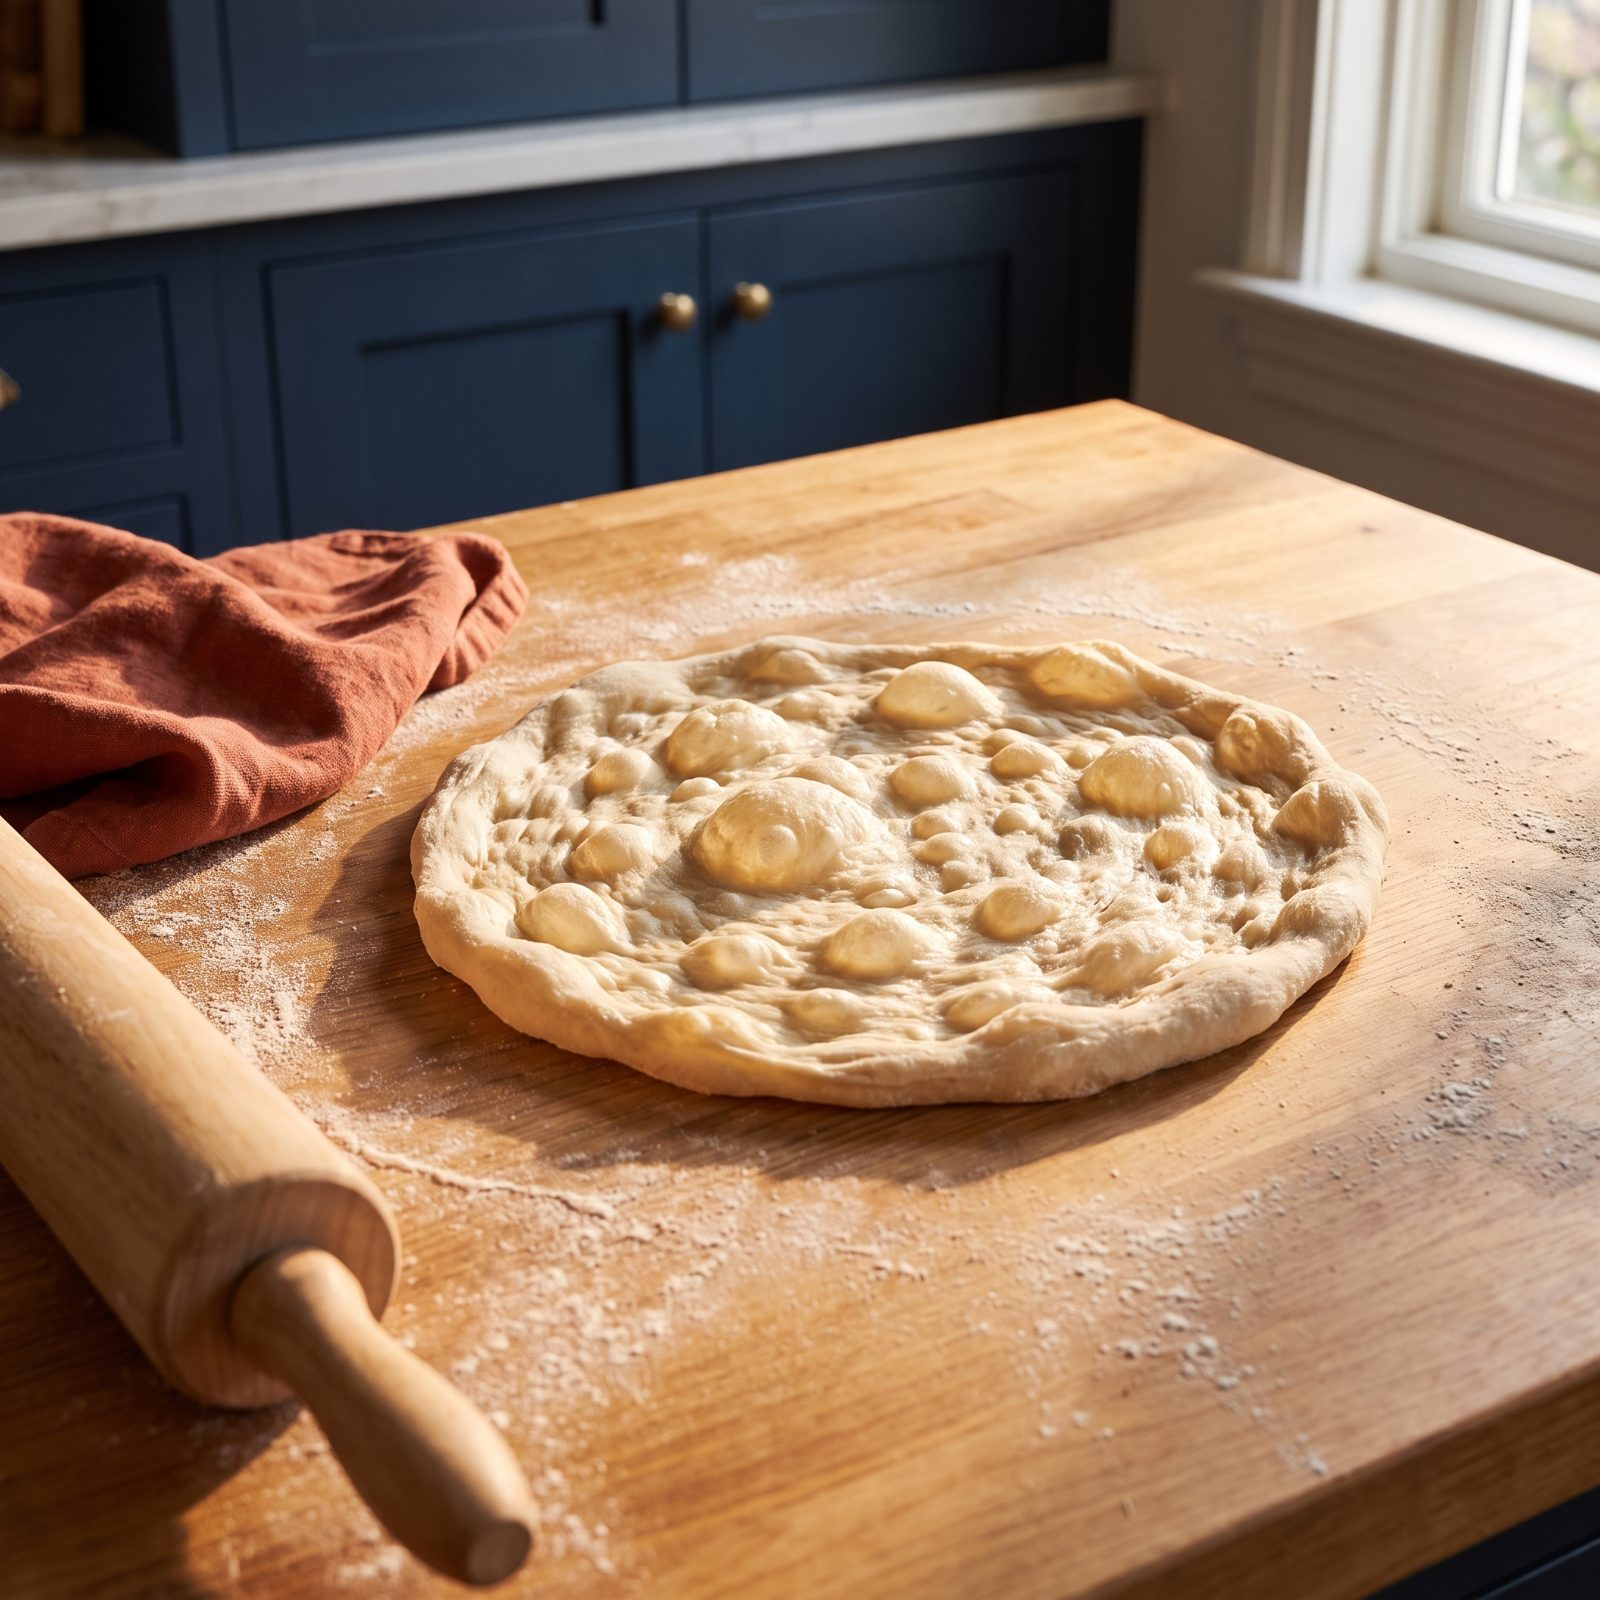
A rolling pin feels like the responsible choice. Even thickness, perfect circle, no guesswork. It also drives every bubble of air out of your dough like a steamroller flattening a field of balloons.
And fermentation is the whole point of good dough. Those pockets of gas are what give the crust its chew and its char. Roll them flat and you’ve thrown away days of patience for a neater shape.
Stretch by hand. Your first few pizzas will come out a little lopsided — the oval, the off-center thick spot, the slightly torn edge. Those are the fingerprints of living dough, not failures, and the crumb they give you is one no pin can fake.
34. Keep the Pizza Smaller Than the Peel
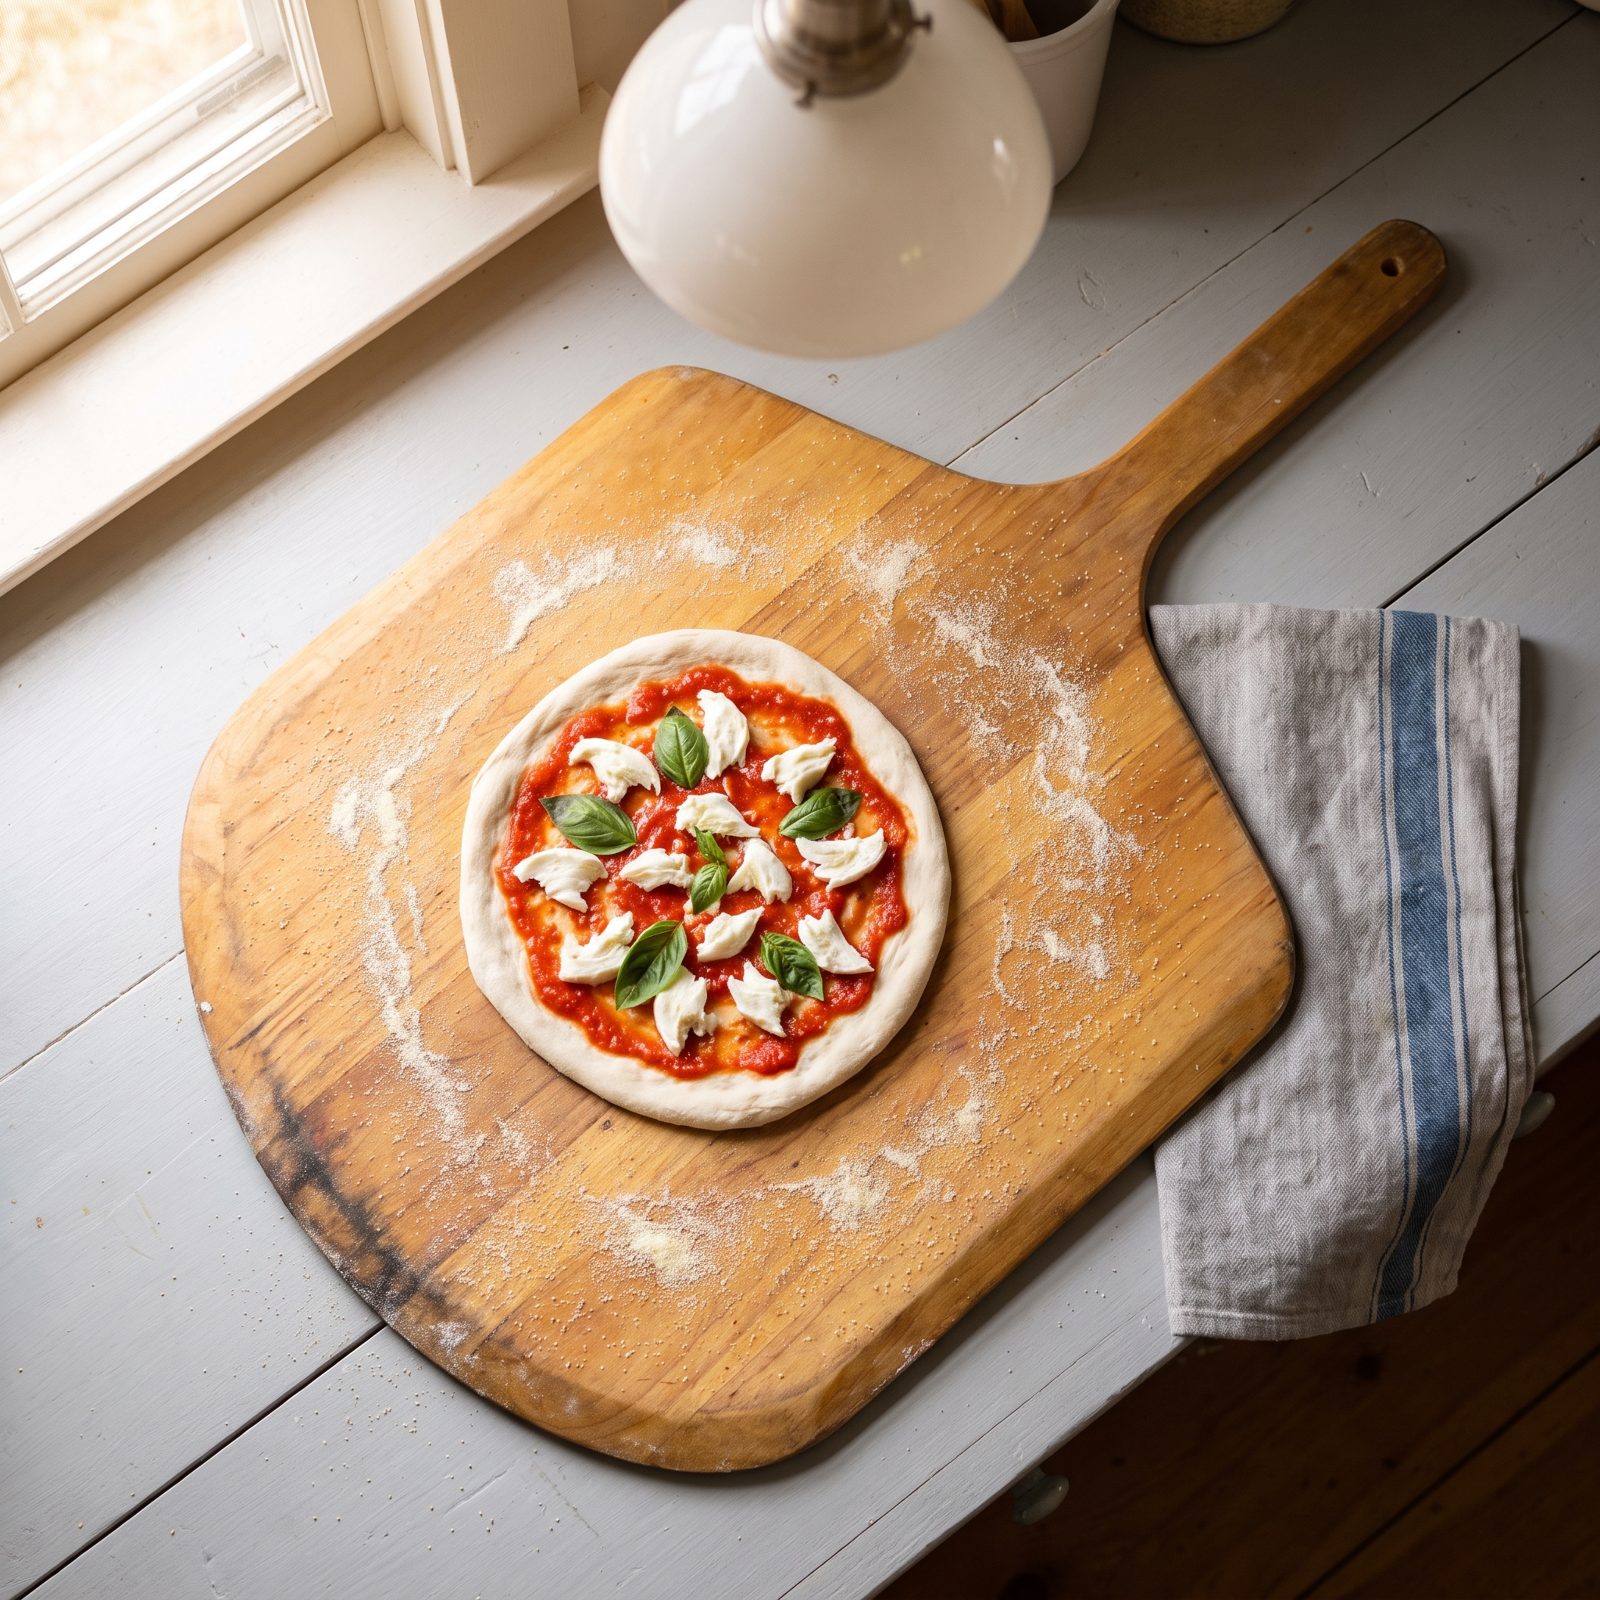
Build a pizza right out to the edge of the peel and you’ve set a trap for yourself. The moment any topping hangs over the rim, it catches the oven door, the dough buckles, and your launch turns into a cheese avalanche.
Give yourself a border — keep the whole pizza, rim and all, at least an inch inside the peel on every side. That margin is your runway, room to shake and aim and slide without anything dragging as the pie leaves the wood.
A twelve-inch pie belongs on a fourteen-inch peel. Size up the tool, not the ambition.
33. Build the Pizza Quickly Once It Is on the Peel
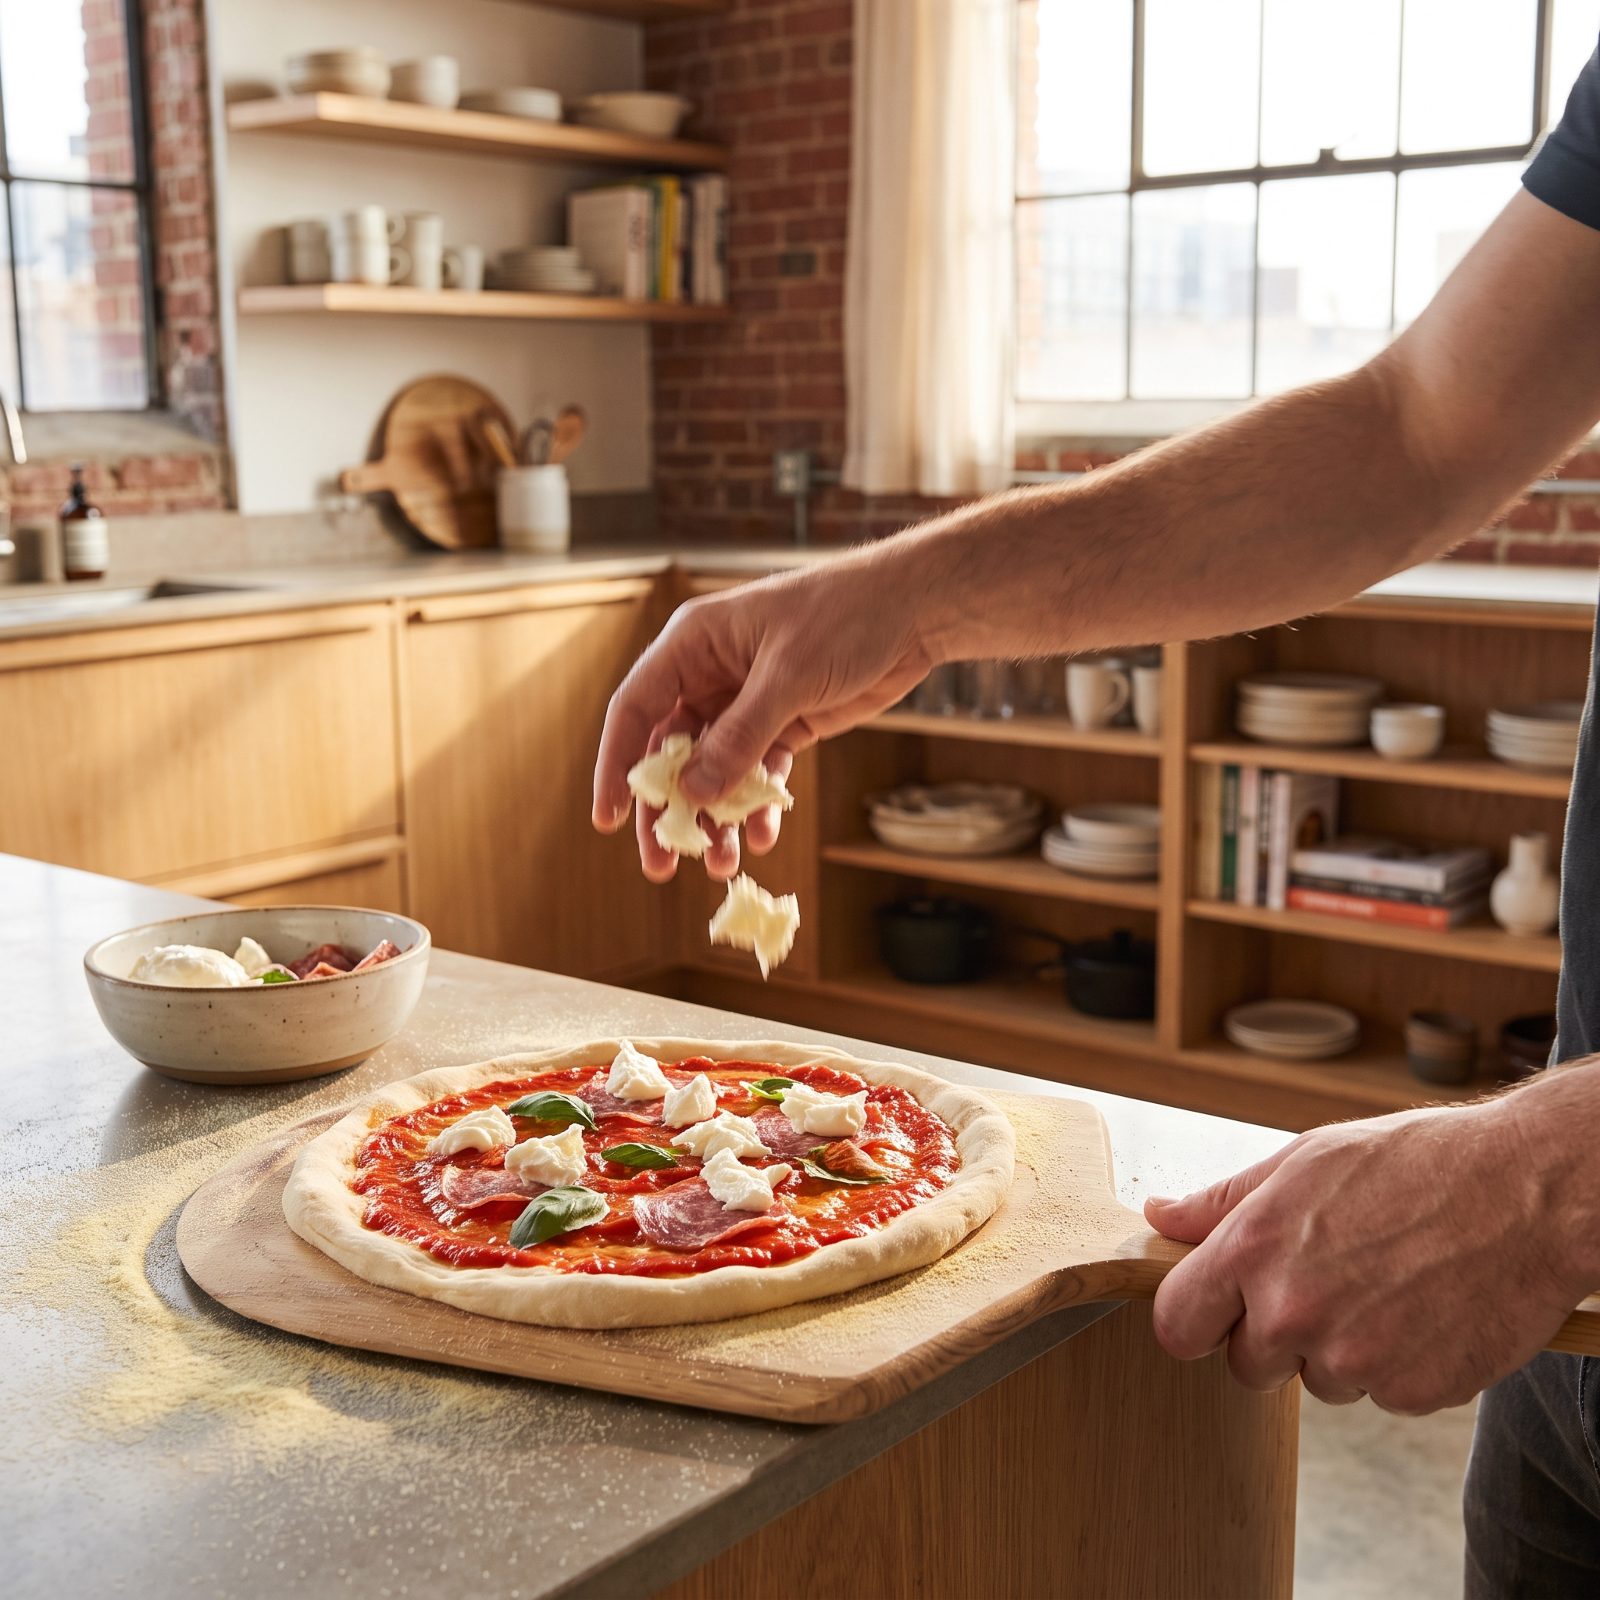
Nobody tells you this part: the clock starts the second the dough hits the peel. Dough is wet, semolina is dry, and wet dough slowly drinks up the dusting underneath it. Dawdle over your artful basil placement and the pizza welds itself to the wood.
Spread sauce, scatter cheese, drop toppings, go. Thirty seconds, maybe forty-five. Prep everything in bowls beforehand so your hands never leave the build.
32. Shake the Loaded Peel Before Approaching the Oven
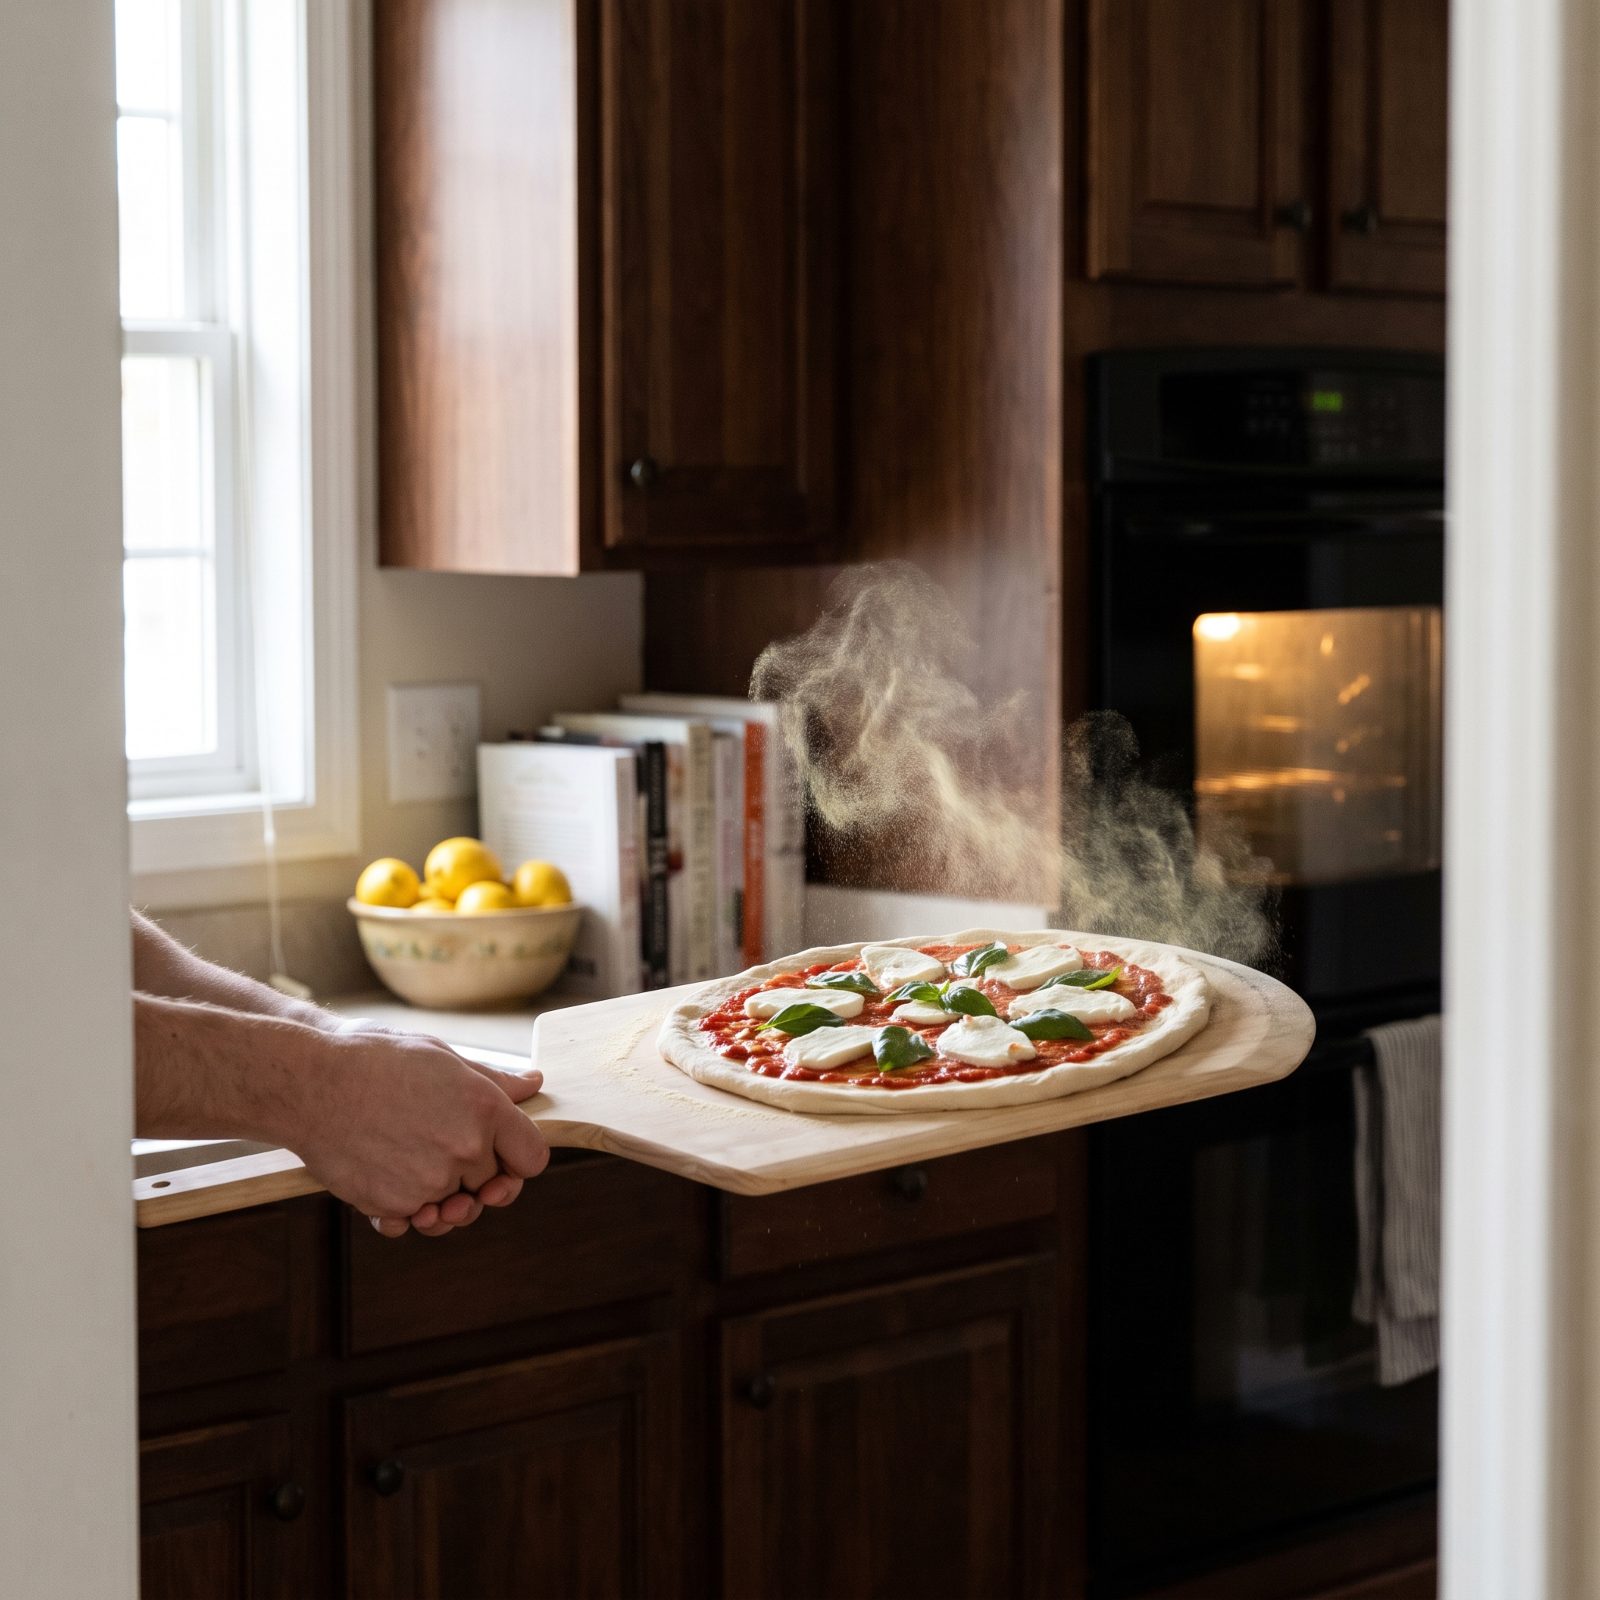
Never walk toward a screaming-hot oven trusting that your pizza will slide. Trust nothing. Test it.
Before you take a single step, give the peel a short, firm back-and-forth shake. If the pizza glides freely, you’re clear. If it’s stuck in one spot, you’ve just found the problem while you can still fix it — not while a half-launched pie folds in half onto the stone.
Got a stuck spot? Lift that edge of the dough with your fingers and puff a little semolina underneath. Shake again. Only move once the whole pizza drifts across the wood like it’s on ice.
31. Launch with a Wooden Peel and Retrieve with a Metal Peel
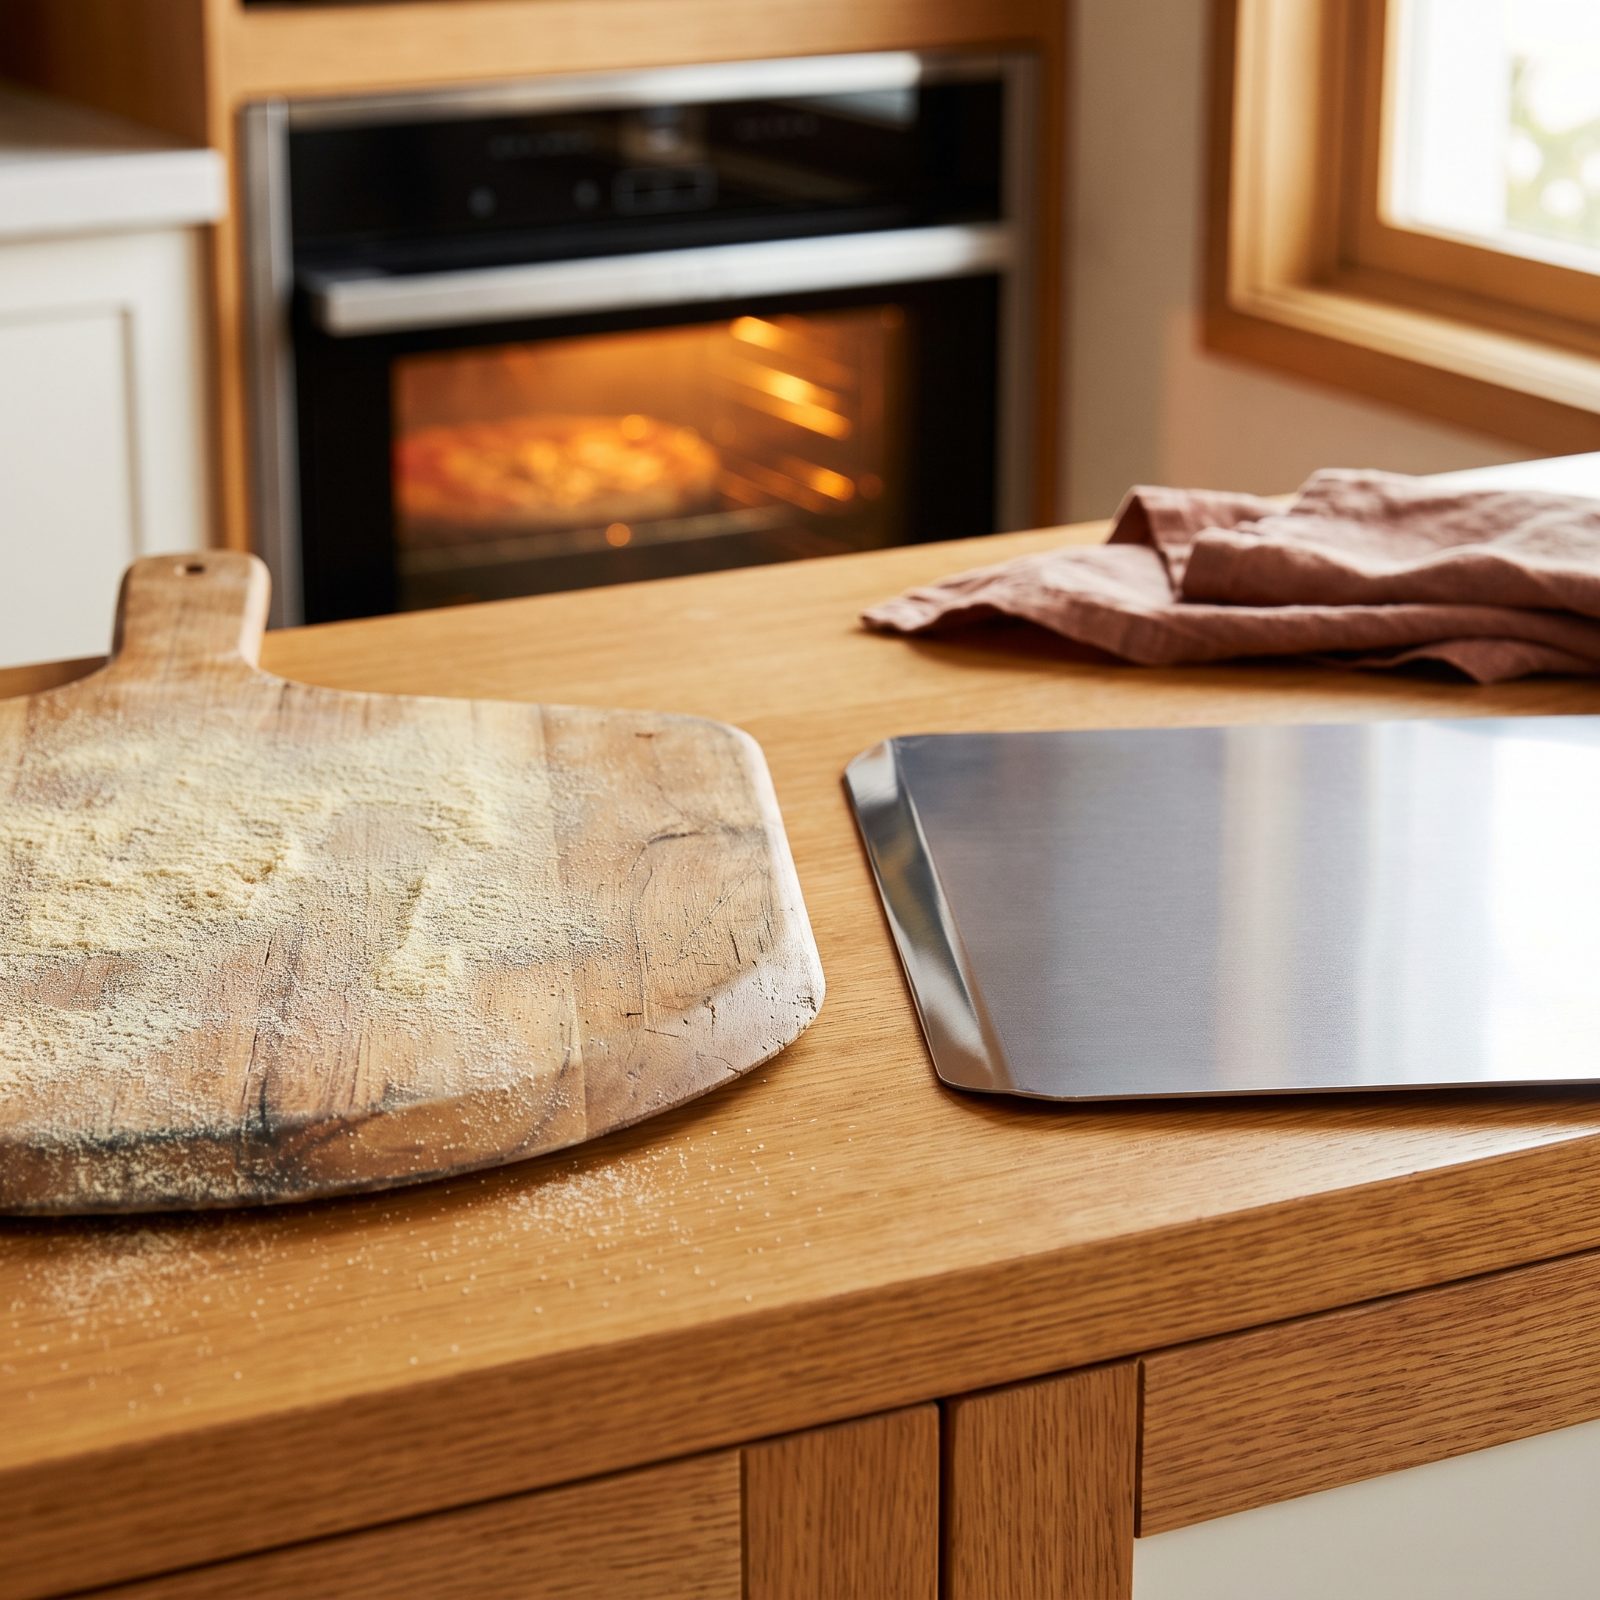
One peel can’t do both jobs well, and most home cooks learn this the hard way with a metal peel that refuses to let the raw dough slide.
Wood for the launch. Its grain and thickness keep raw dough from sticking, and it’s gentle on a delicate unbaked pie. Metal for the retrieval — the thin, sharp front edge slips under a baked crust without dragging or tearing, and it won’t scorch inside a 500-degree oven the way wood eventually does.
30. Place the Baking Surface in the Upper Third of the Oven
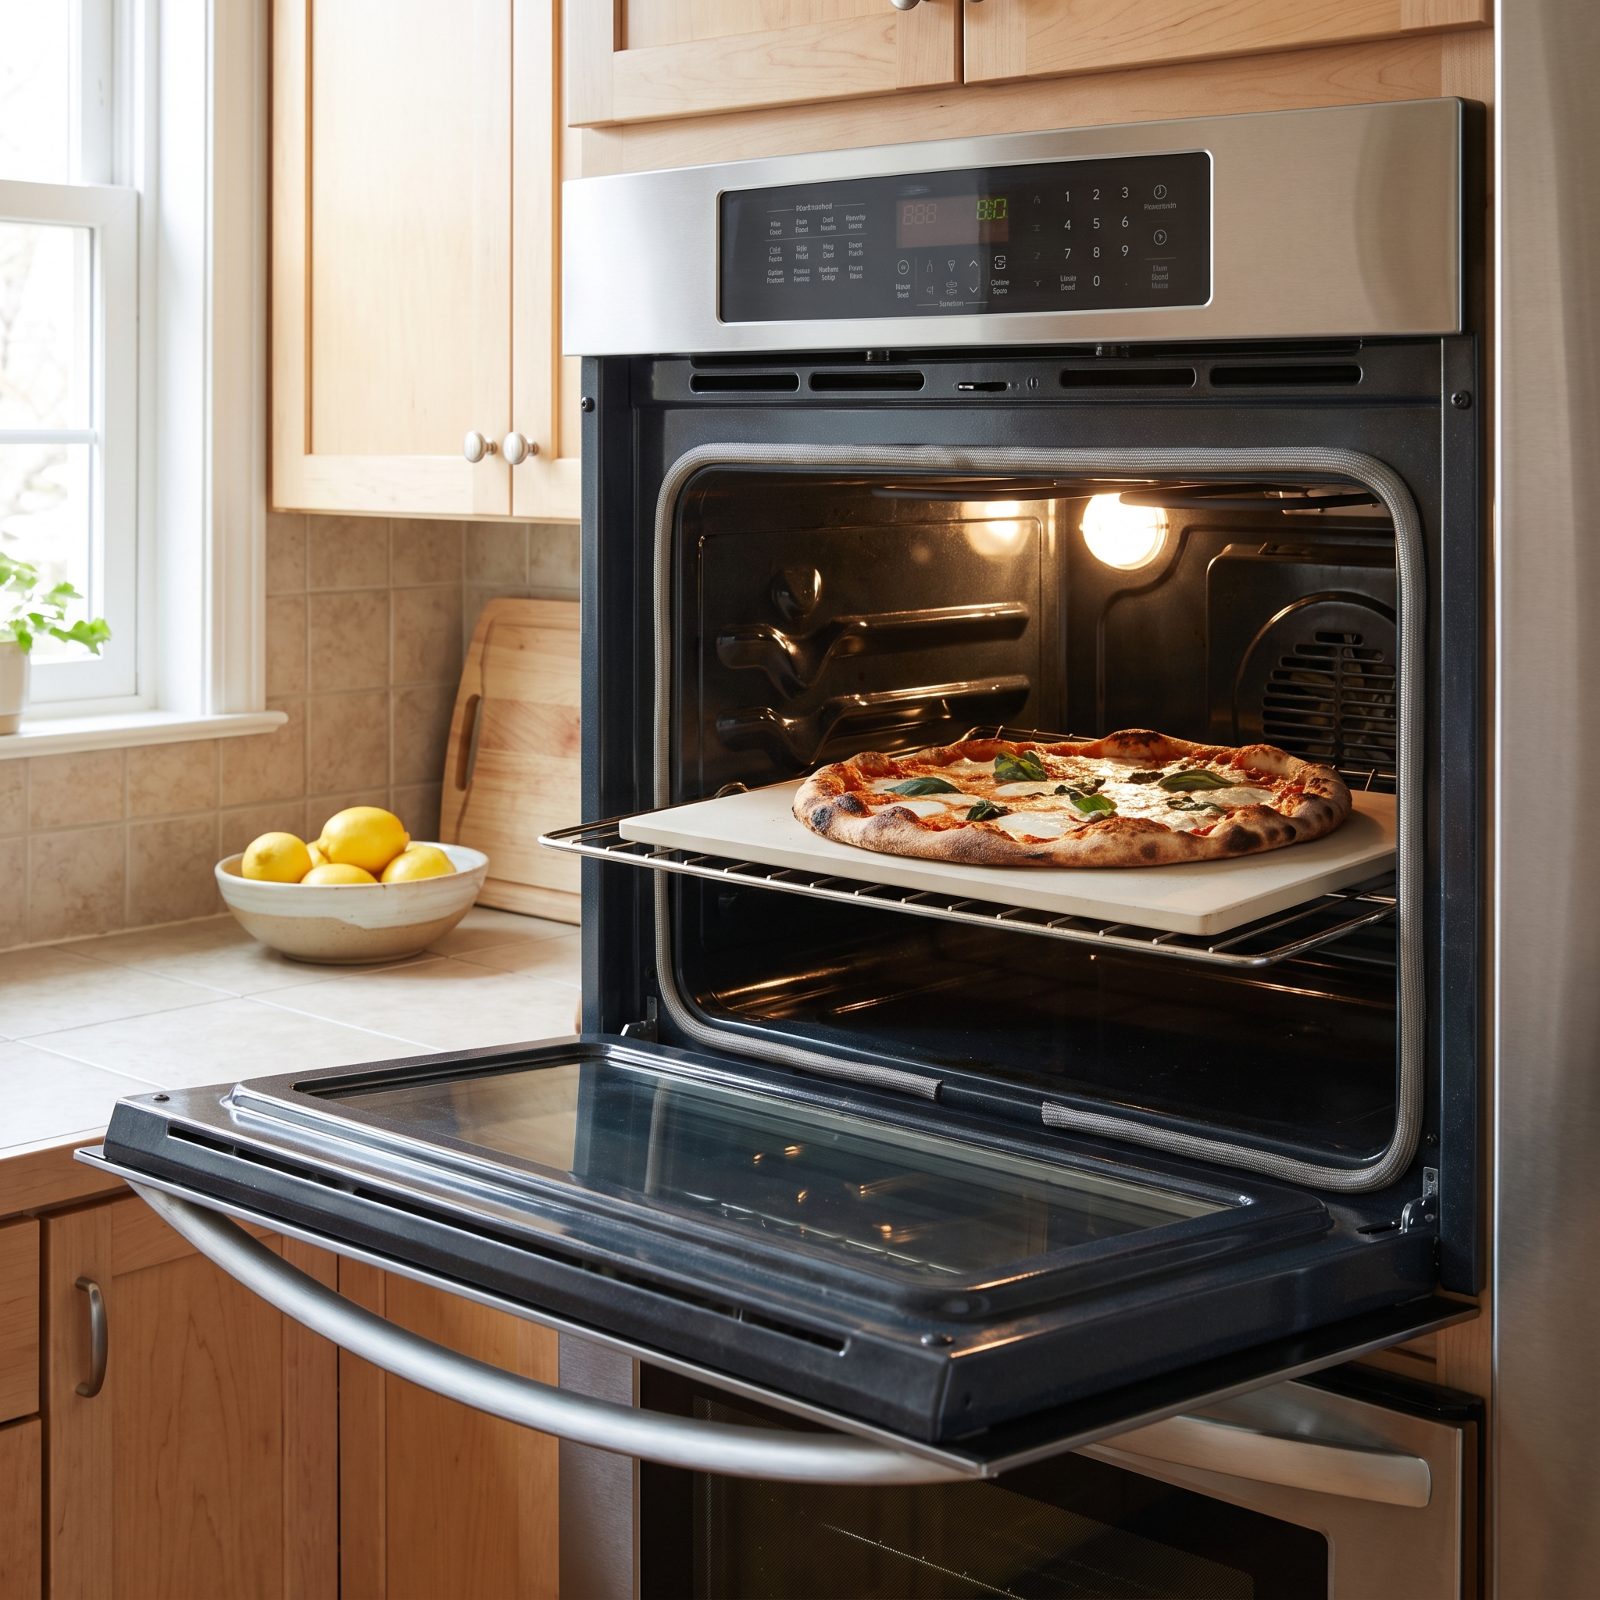
Most people slide the stone onto the middle rack because that’s where the stone usually lives. Then they wonder why the bottom cooks faster than the top and the cheese never blisters.
Heat rises, so the hottest air in your oven collects up top, right near the broiler. Move your stone or steel to the upper third and the top of the pizza cooks as fast as the bottom. The cheese bubbles and browns, the rim chars, and you dodge the pale, rubbery top that plagues a stone sitting too low.
In a home oven that can’t crack 550, this one move buys you the char that separates a backyard pie from a pizzeria one.
29. Check the Baking Surface with an Infrared Thermometer
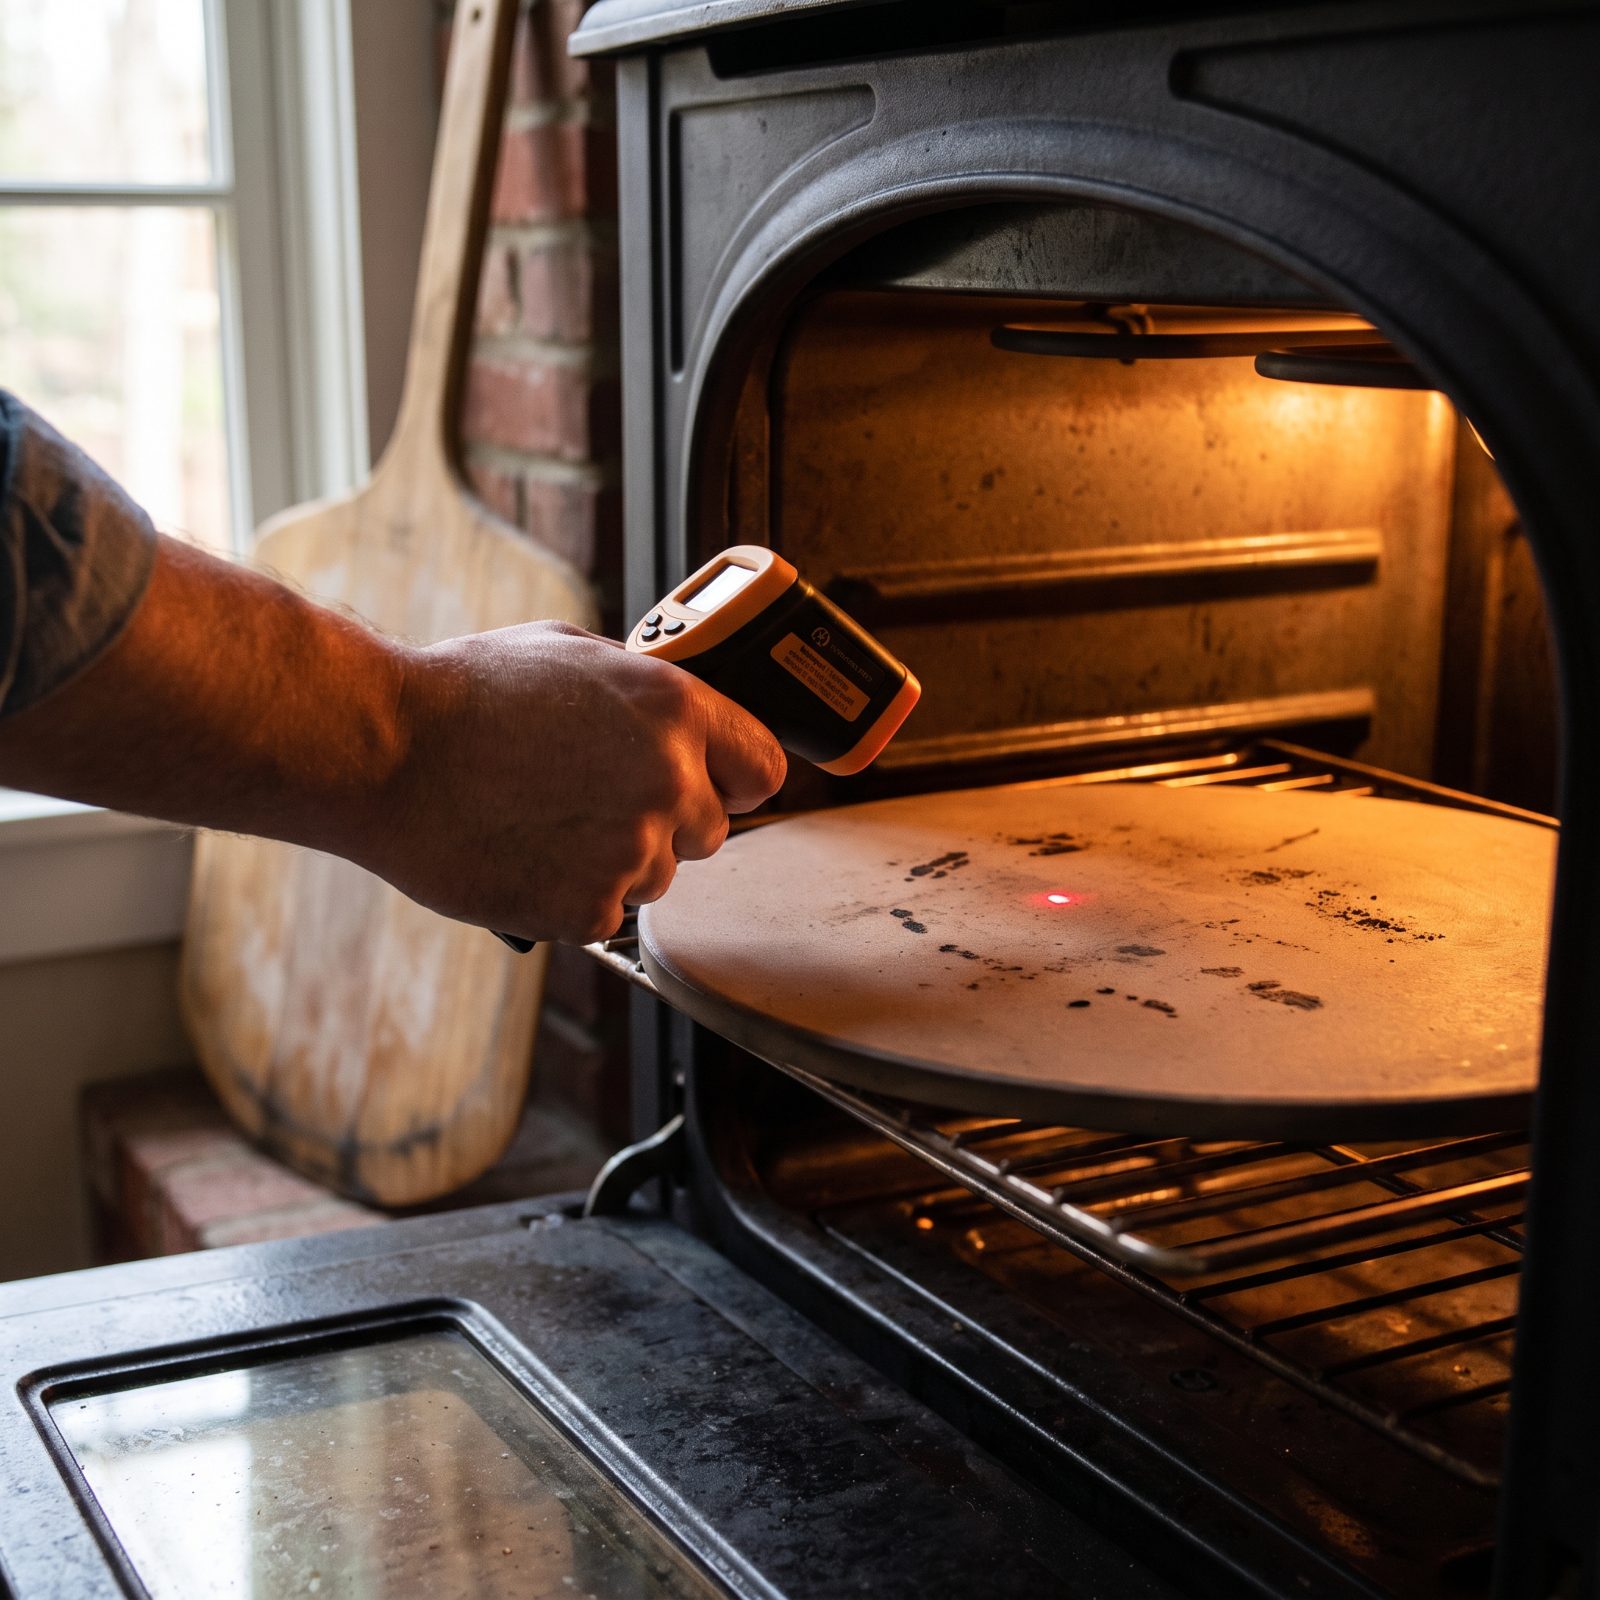
The oven dial is a liar. It reports the air temperature, not the surface temperature, and those two numbers can sit a hundred degrees apart. A stone reading 450 while the dial insists on 550 will give you a pale, sad bottom every single time.
Point a cheap infrared thermometer right at the stone before you launch. You want at least 500, ideally higher. If it’s low, wait. Preheating for an hour isn’t overkill — a thick stone needs the time to fully soak up the heat.
28. Switch on the Broiler for a Pizzeria-Style Finish
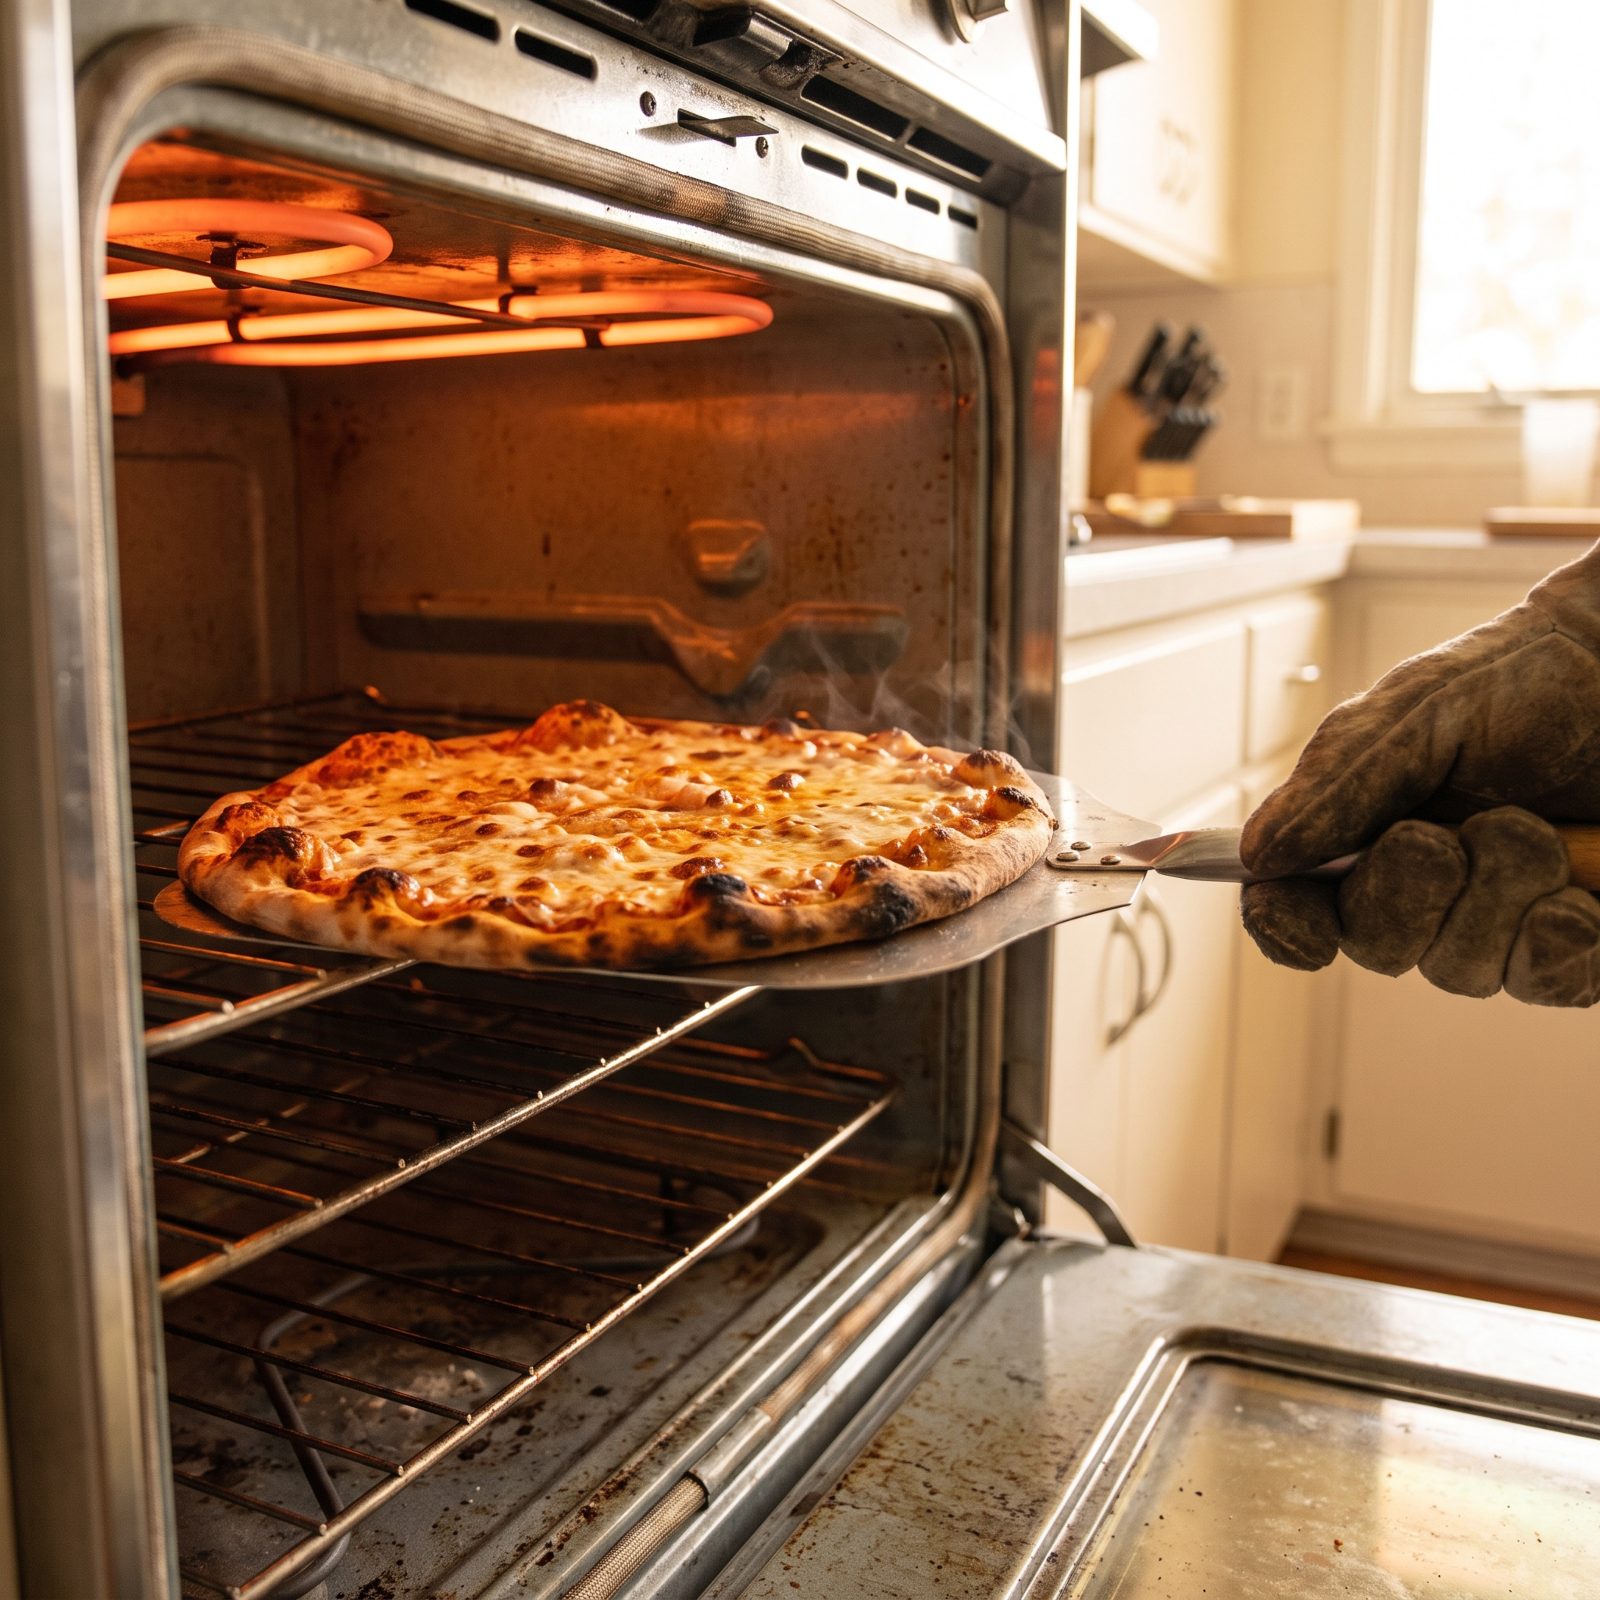
Your home oven tops out around 500 or 550 while a real pizza oven runs 800 and up, and that gap is exactly why the cheese on your pie goes flat and pale instead of bubbling with those little scorched freckles you remember from the booth at your corner spot.
The broiler is the cheat. It throws fierce overhead heat right where a deck oven’s dome does, which gives you blistered cheese and leopard-spotted crust without dropping $900 on equipment.
Bake the pizza on your stone or steel until it’s almost done, then switch the broiler to high and slide the pie to the top rack. Watch it like a hawk. Ninety seconds to two minutes, no walking away, no checking your phone. The second the cheese bubbles and catches color at the edges, pull it.
27. Use an Inverted Sheet Pan When You Do Not Own a Pizza Stone
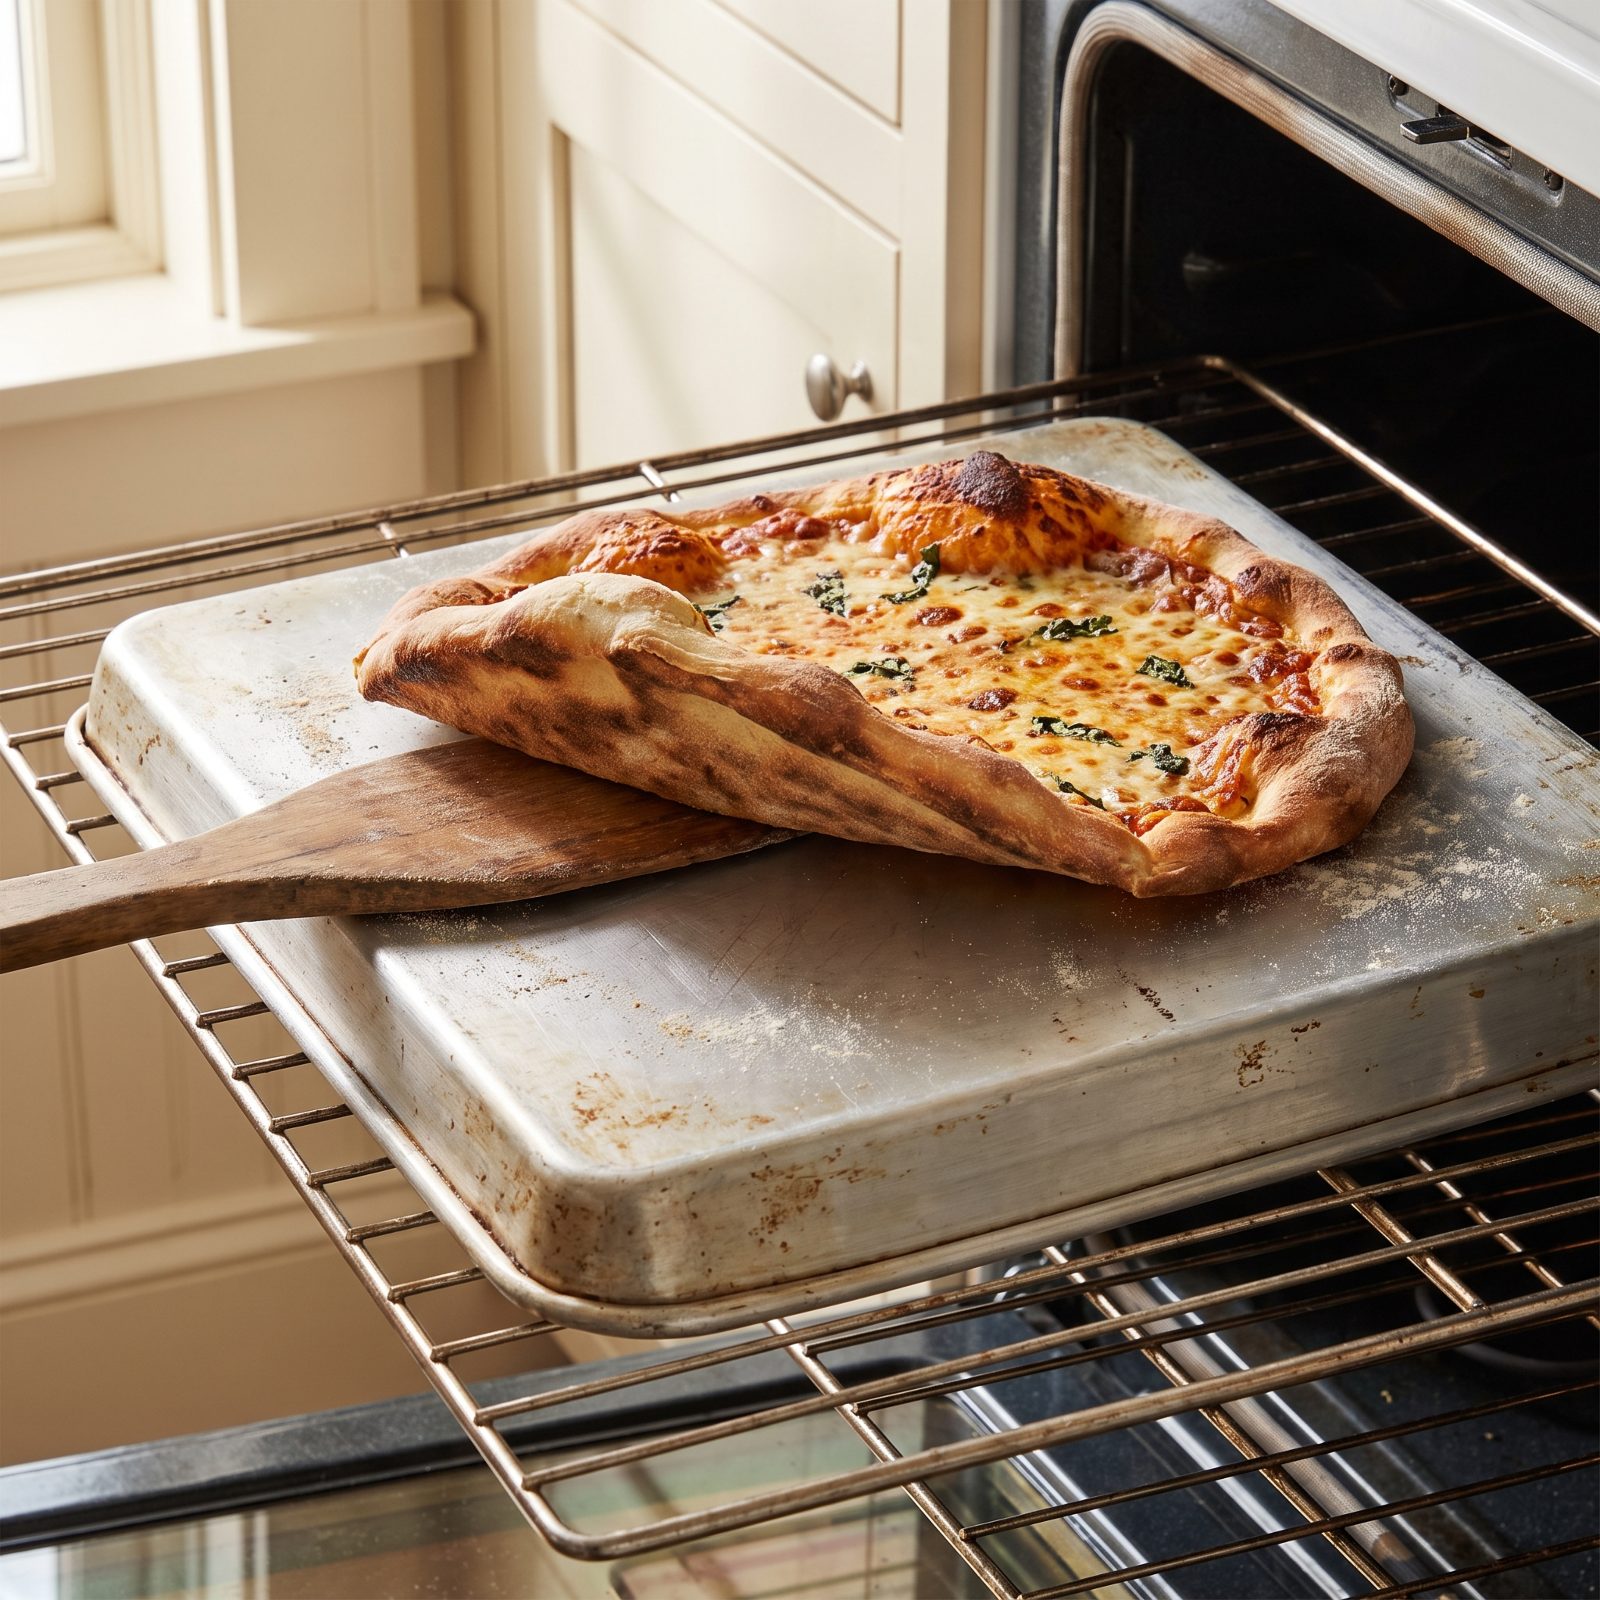
No stone, no steel, no problem. Flip a heavy sheet pan upside down and preheat it with the oven, because the flat underside gives you a continuous hot surface with no raised lip getting in the way of your peel.
A cold pan absorbs heat from your dough and leaves the bottom soft and pale. A preheated metal surface does the opposite — it slams heat into the underside the instant the dough lands, and that’s how you get a deeply browned, blistered crust. Slide your peel under it carefully, though, or the edge can fold right back over itself.
Get the inverted pan screaming hot for a full 45 minutes at your oven’s max. Build your pizza on parchment, slide the whole thing onto the hot pan, and pull the parchment out after a few minutes once the dough has set. I cooked on a stoneless oven for years and nobody ever complained.
26. Par-Bake Crusts That Carry Especially Wet Toppings
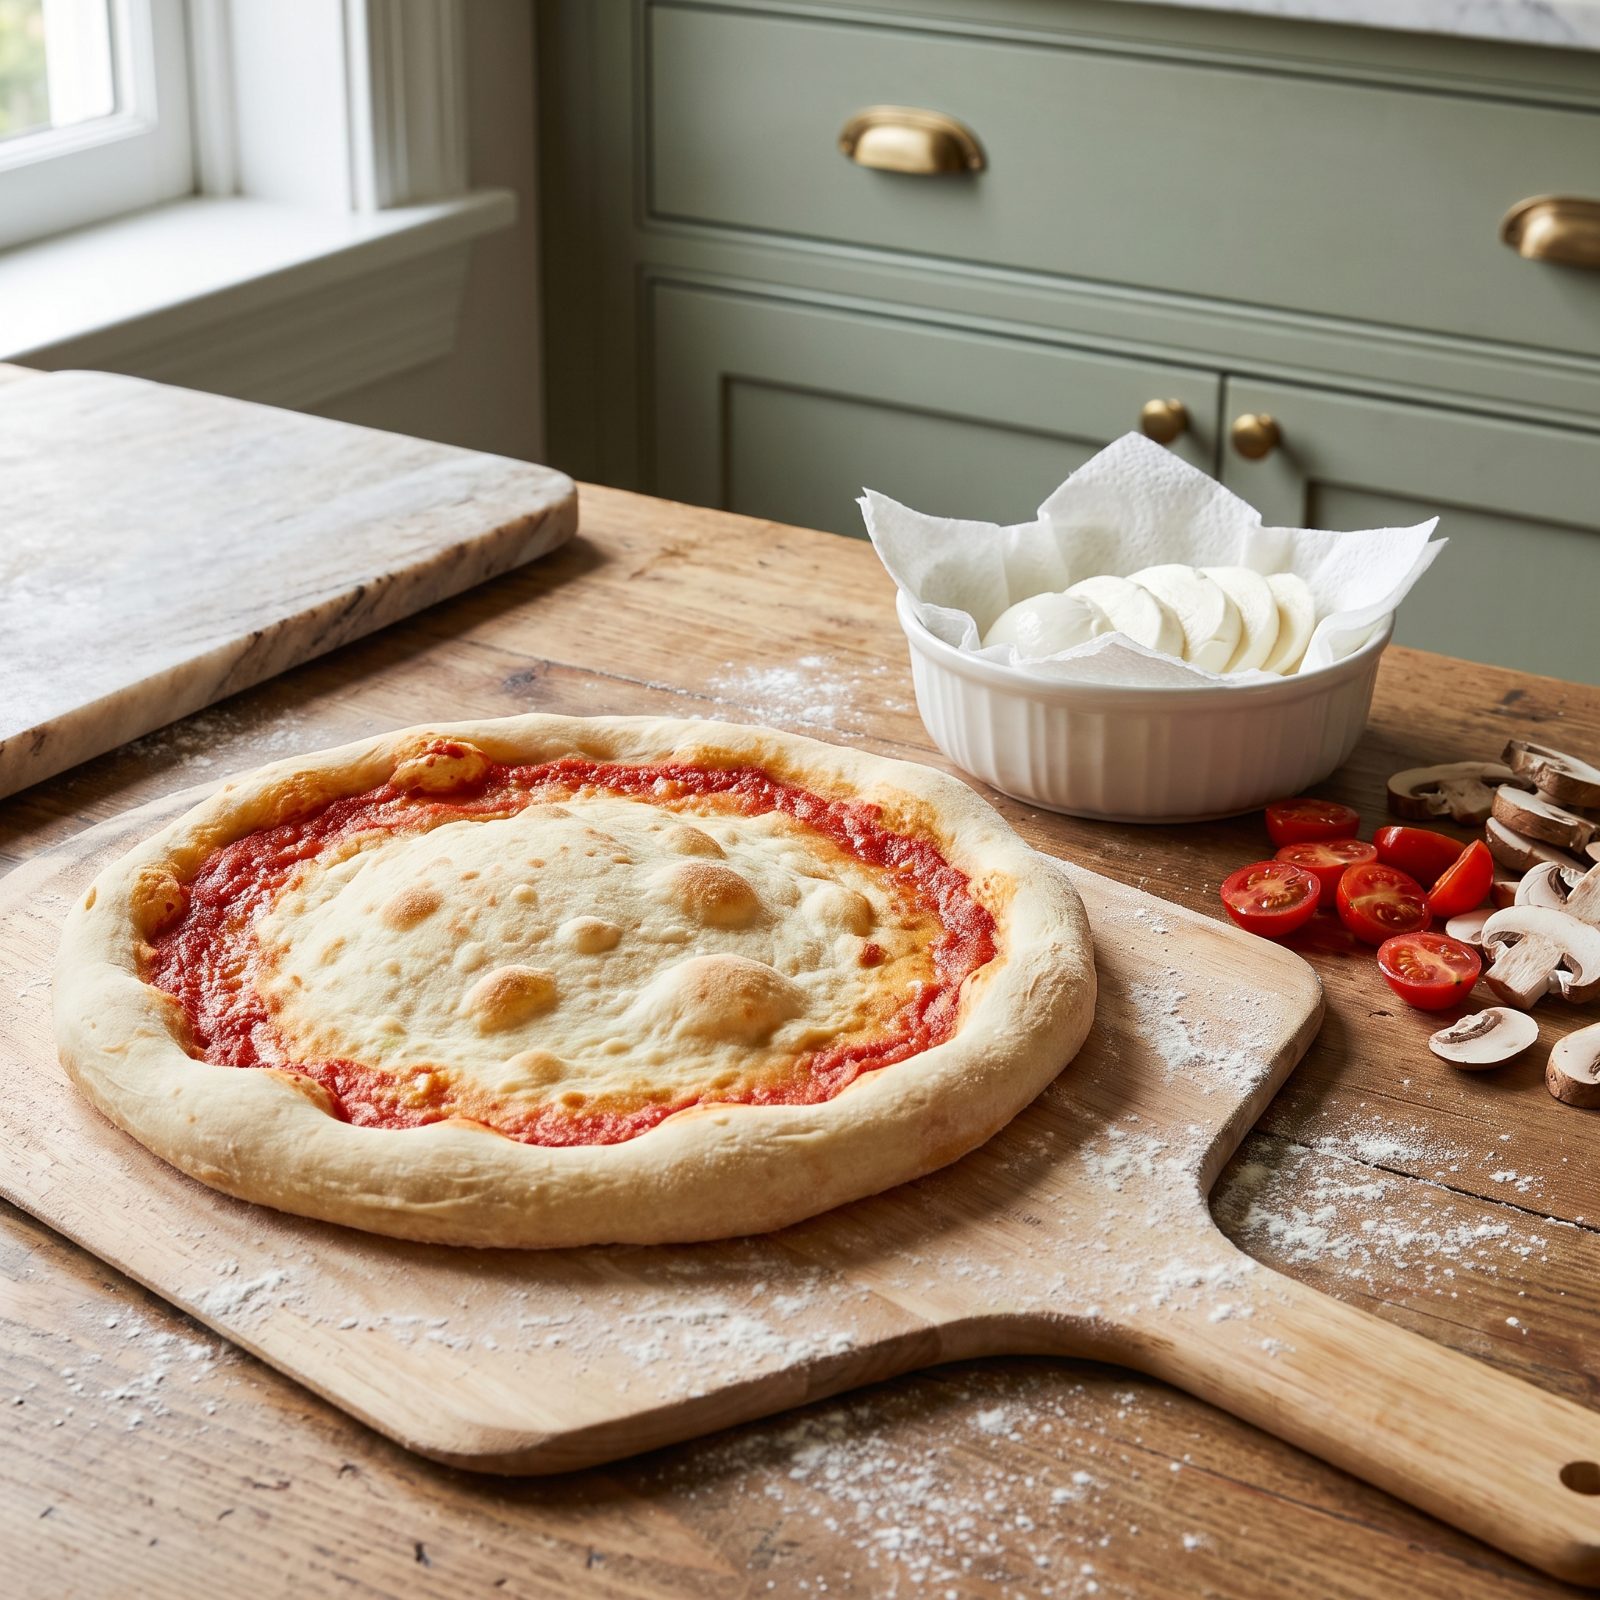
Fresh mozzarella, sliced tomato, mushrooms, zucchini. All of it weeps water as it heats, and that water pools on raw dough and steams it from the top down. You end up with a gummy center under toppings that slide off in one sheet. The dreaded soup pizza.
Par-baking fixes the timing by setting the crust before the wet stuff ever touches it, so the dough is already firm when the water starts to release.
Bake the bare, lightly sauced crust at full heat for five to seven minutes, until it’s firm and just blond, not browned. Pull it, add your wet toppings, then finish the bake. A dry foundation under a juicy top is the whole trick.
25. Proof Pan-Pizza Dough Directly in Its Oiled Pan
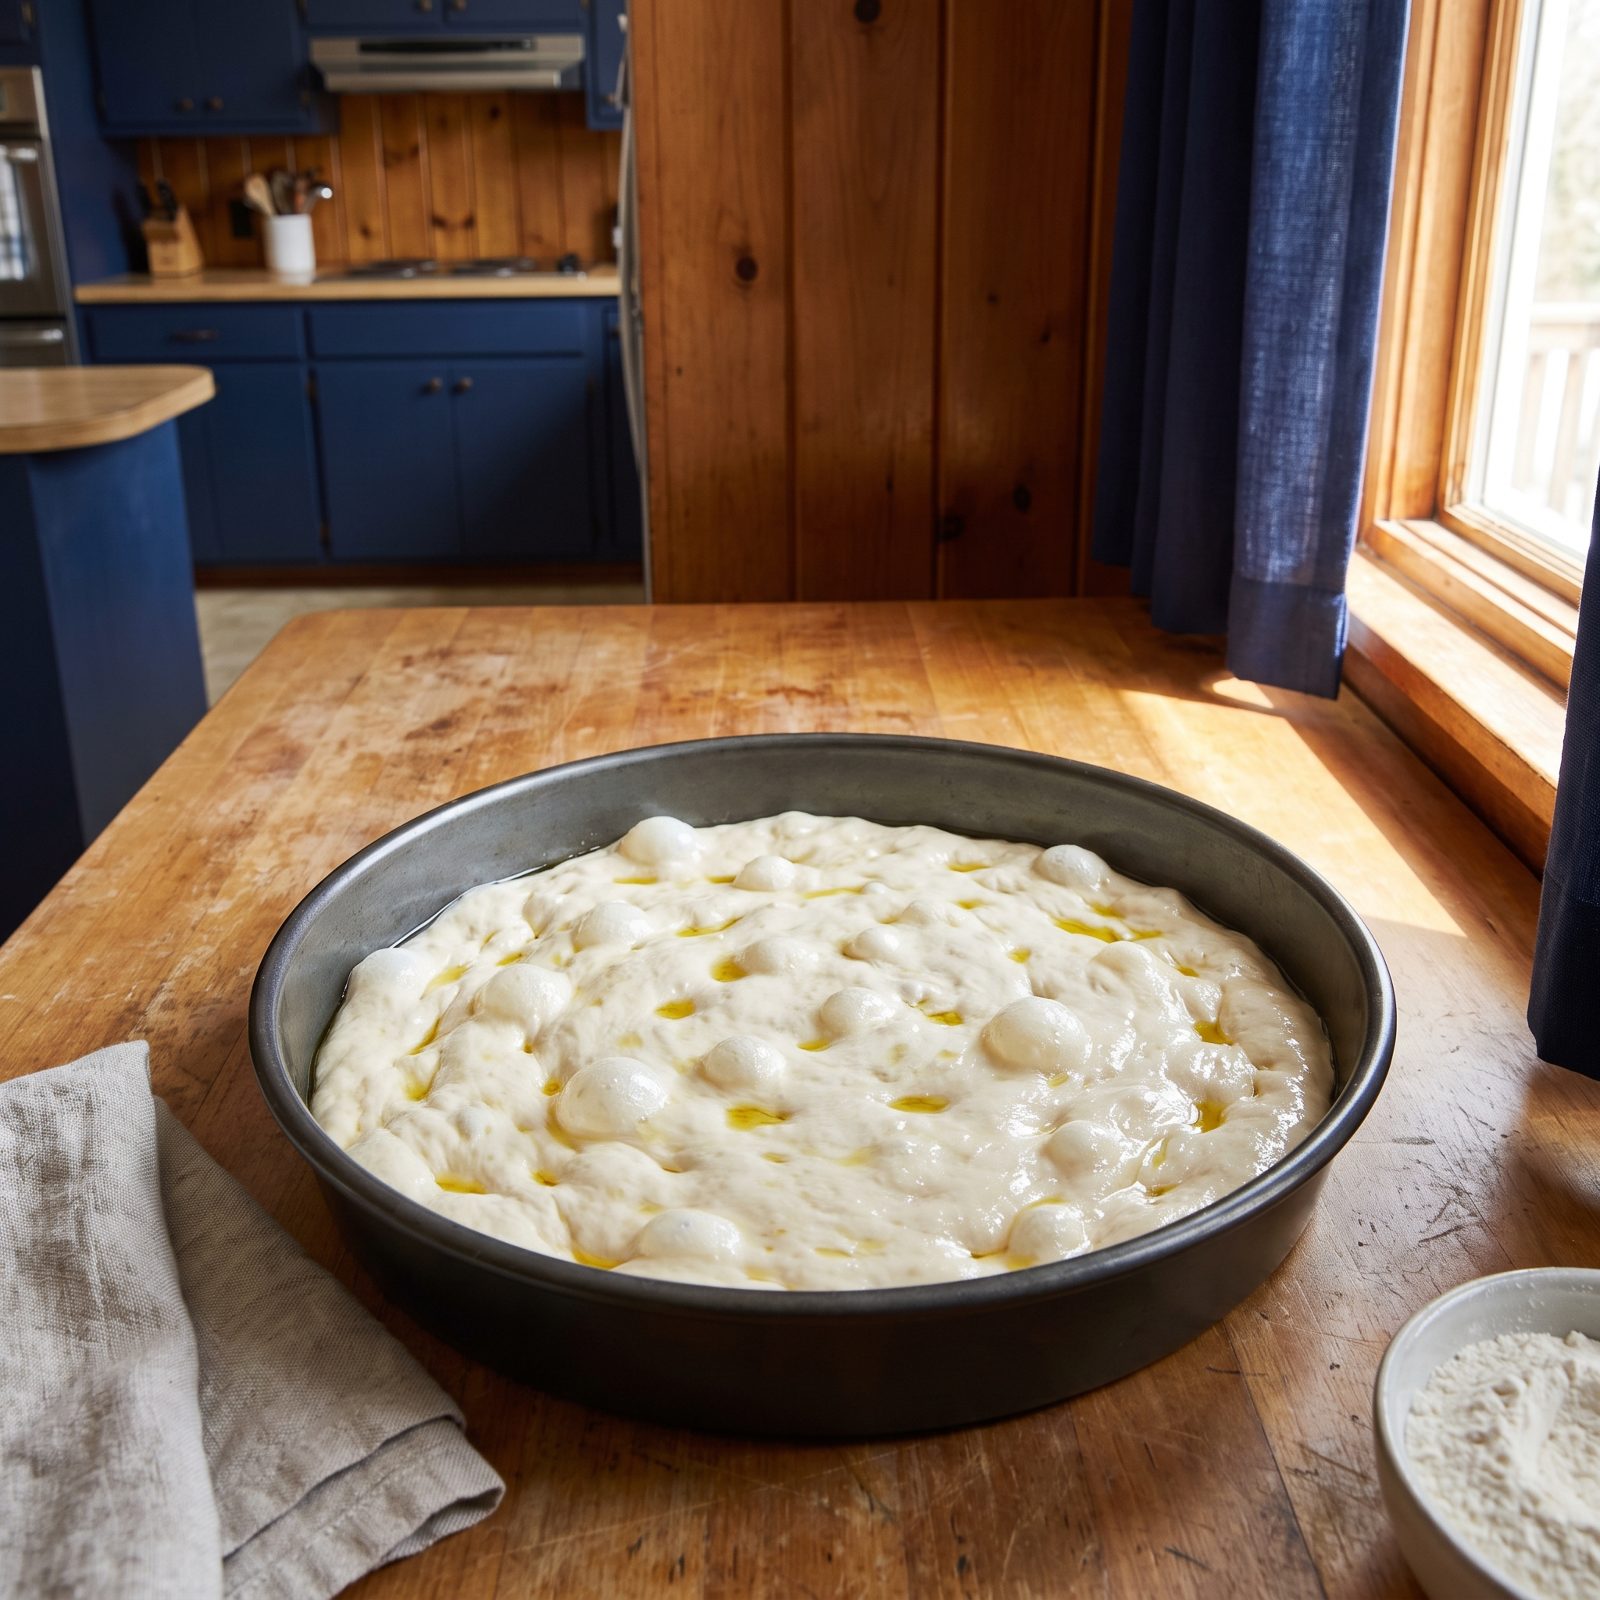
You know the Sicilian square and the Detroit pan pies — the ones with the tall airy crumb and the lacquered bottom. That rise won’t happen if you shape cold dough and shove it straight into the oven.
Oil the pan, drop your dough ball in, and let it proof right there for two to three hours until it relaxes and fills the corners on its own. Press it out gently with oiled fingertips every so often; don’t fight it. The dough tells you when it’s ready by holding the dimples you leave.
Proofing in the pan does two jobs at once. The dough takes the exact shape of the vessel, and all those fermentation bubbles stay intact instead of getting knocked out during a late-stage stretch. That’s where the open, bready interior comes from.
24. Use Enough Oil to Fry the Bottom of a Pan Pizza
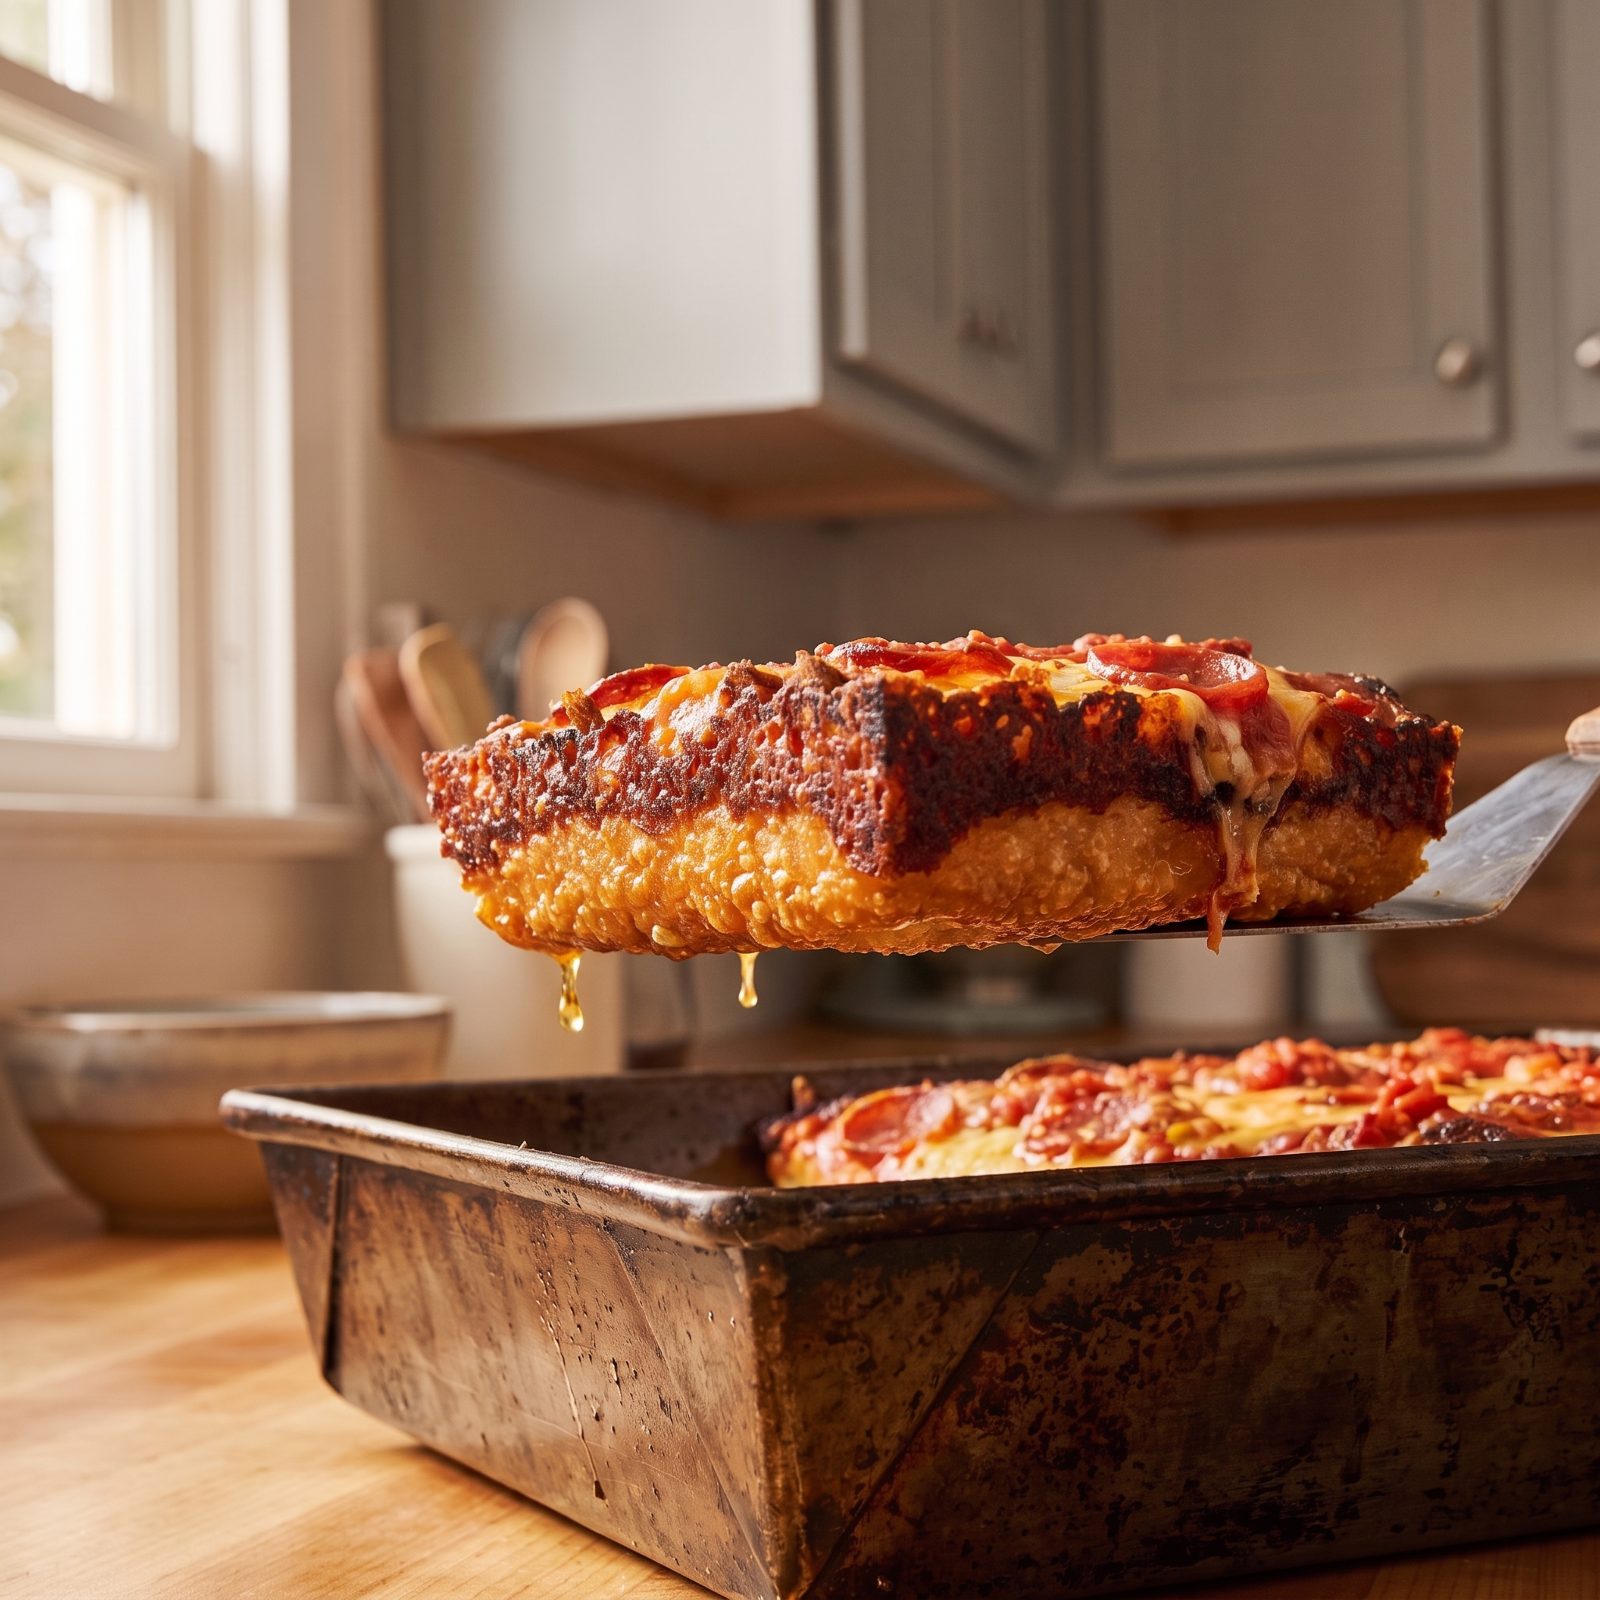
A little oil in the pan gives you a decent crust. A generous pour gives you that shattering, almost-fried bottom that defines a great Detroit or Sicilian slice.
Most home bakers use a timid teaspoon, scared of a greasy pizza, and they end up with a bottom that’s merely baked — soft, bready, forgettable. But fat is a heat conductor. Enough of it in a hot pan effectively shallow-fries the underside, and that’s the whole difference.
Coat the bottom of a steel pan with two to three tablespoons of oil, enough that the dough sits in a thin film of it. Push the cheese all the way to the edges so it caramelizes against the hot pan into a crunchy frico rim. Bake hot. Pull it out and the underside gleams.
23. Dock Thin Crust to Prevent Giant Air Pockets
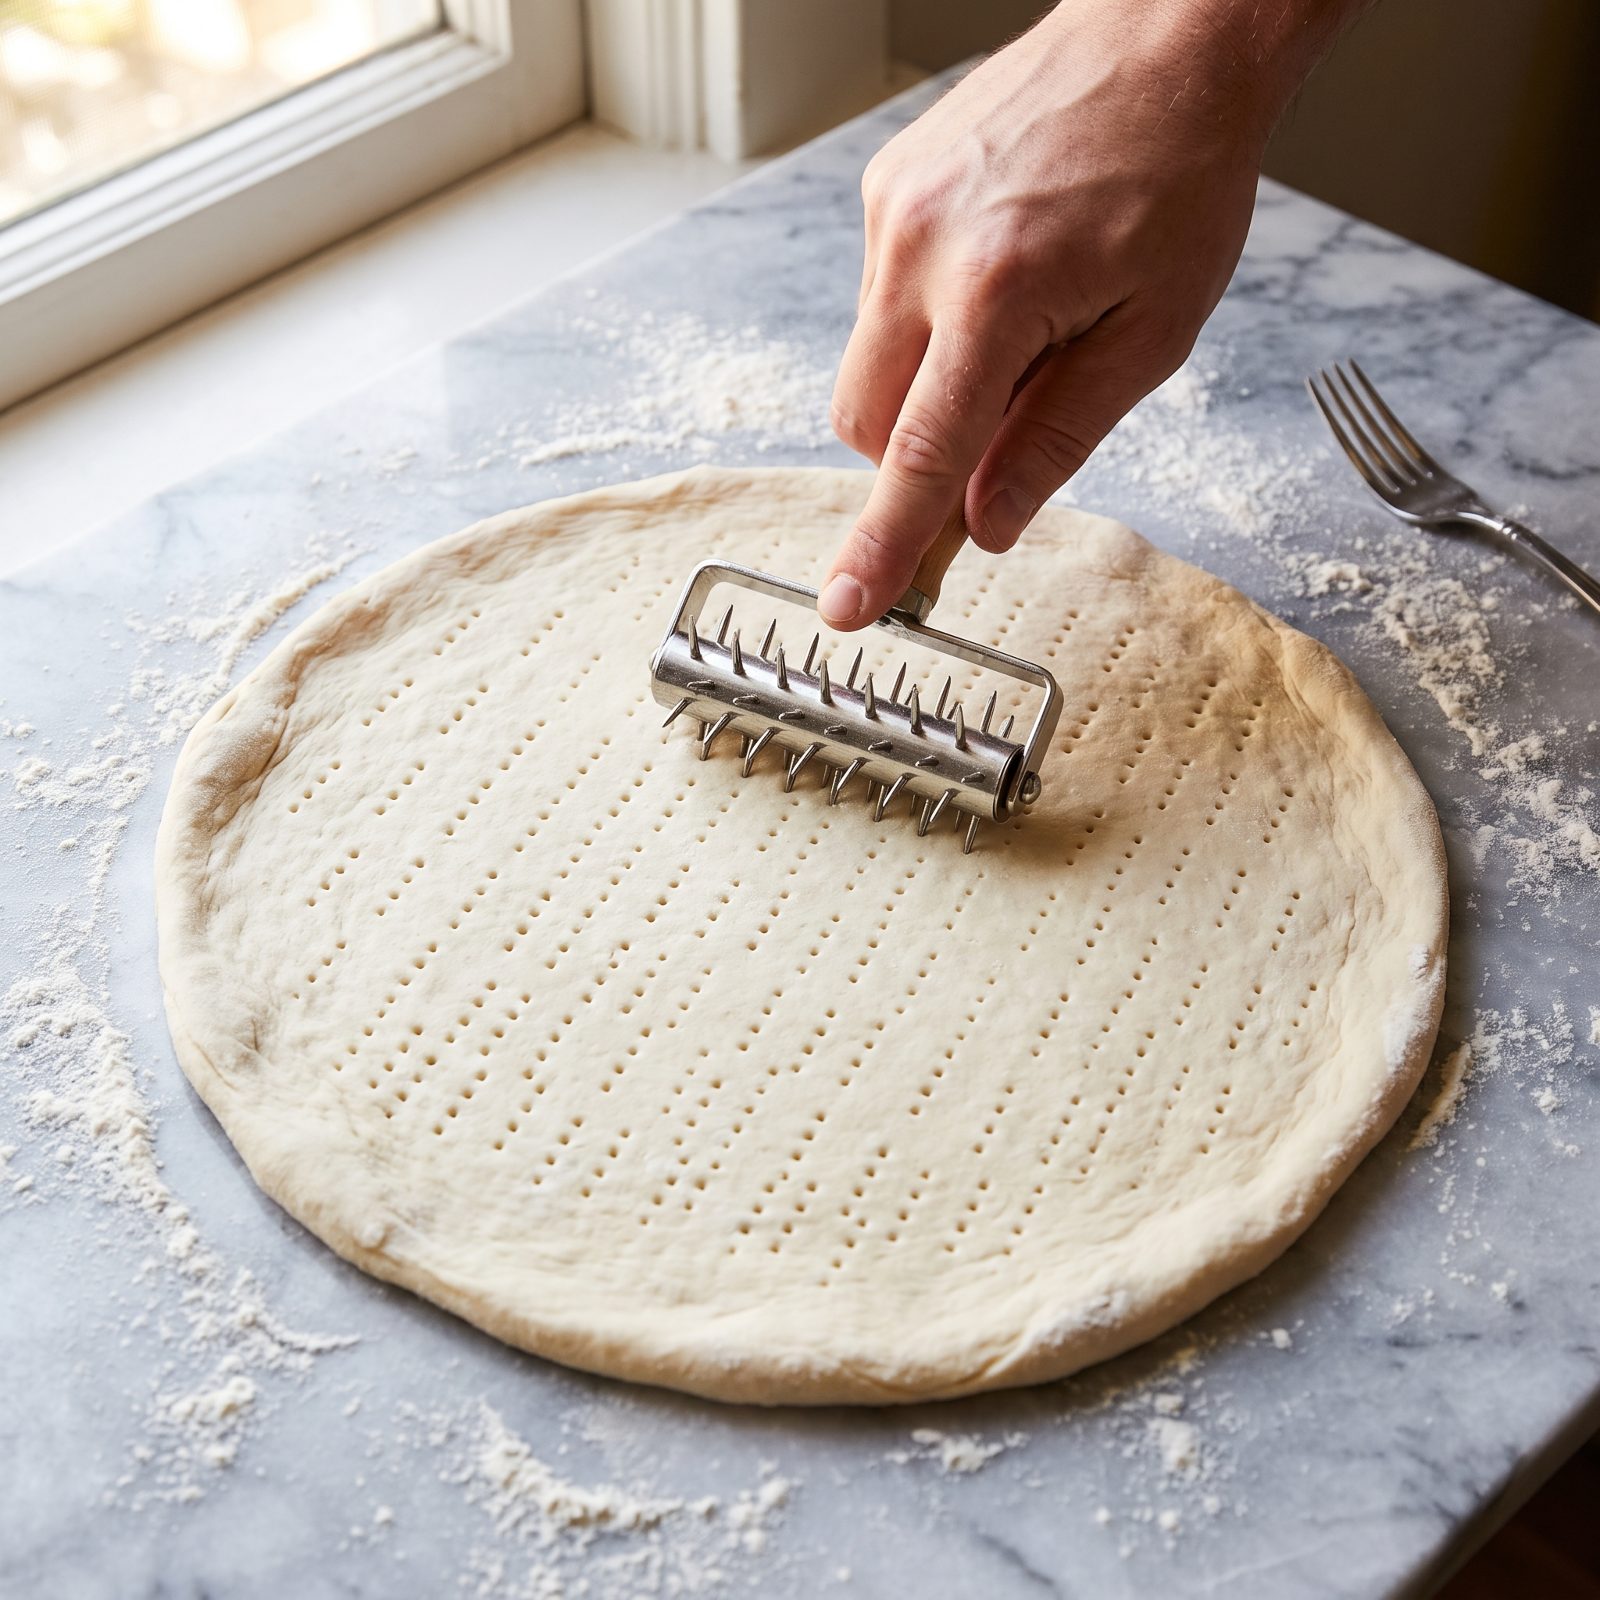
Roll out a thin crust, bake it, and watch one corner balloon into a crater the size of a softball while the rest stays flat. The toppings slide off the dome, the cheese pools in the valley, and your slice ends up looking like a map of the moon.
Trapped steam does it. The steam has nowhere to go, so it lifts the dough into pockets, and docking just gives it an exit.
Run a dough docker or the tines of a fork across the stretched dough before it goes in, but use a light touch. Press too hard and the spikes rip ragged tears and gaping holes beside the roller instead of a neat field of little pinholes. Docked gently, the crust bakes flat and even. Skip docking on thick pan pies, though — those you actually want to puff.
22. Make Sauce from Hand-Crushed Canned Tomatoes
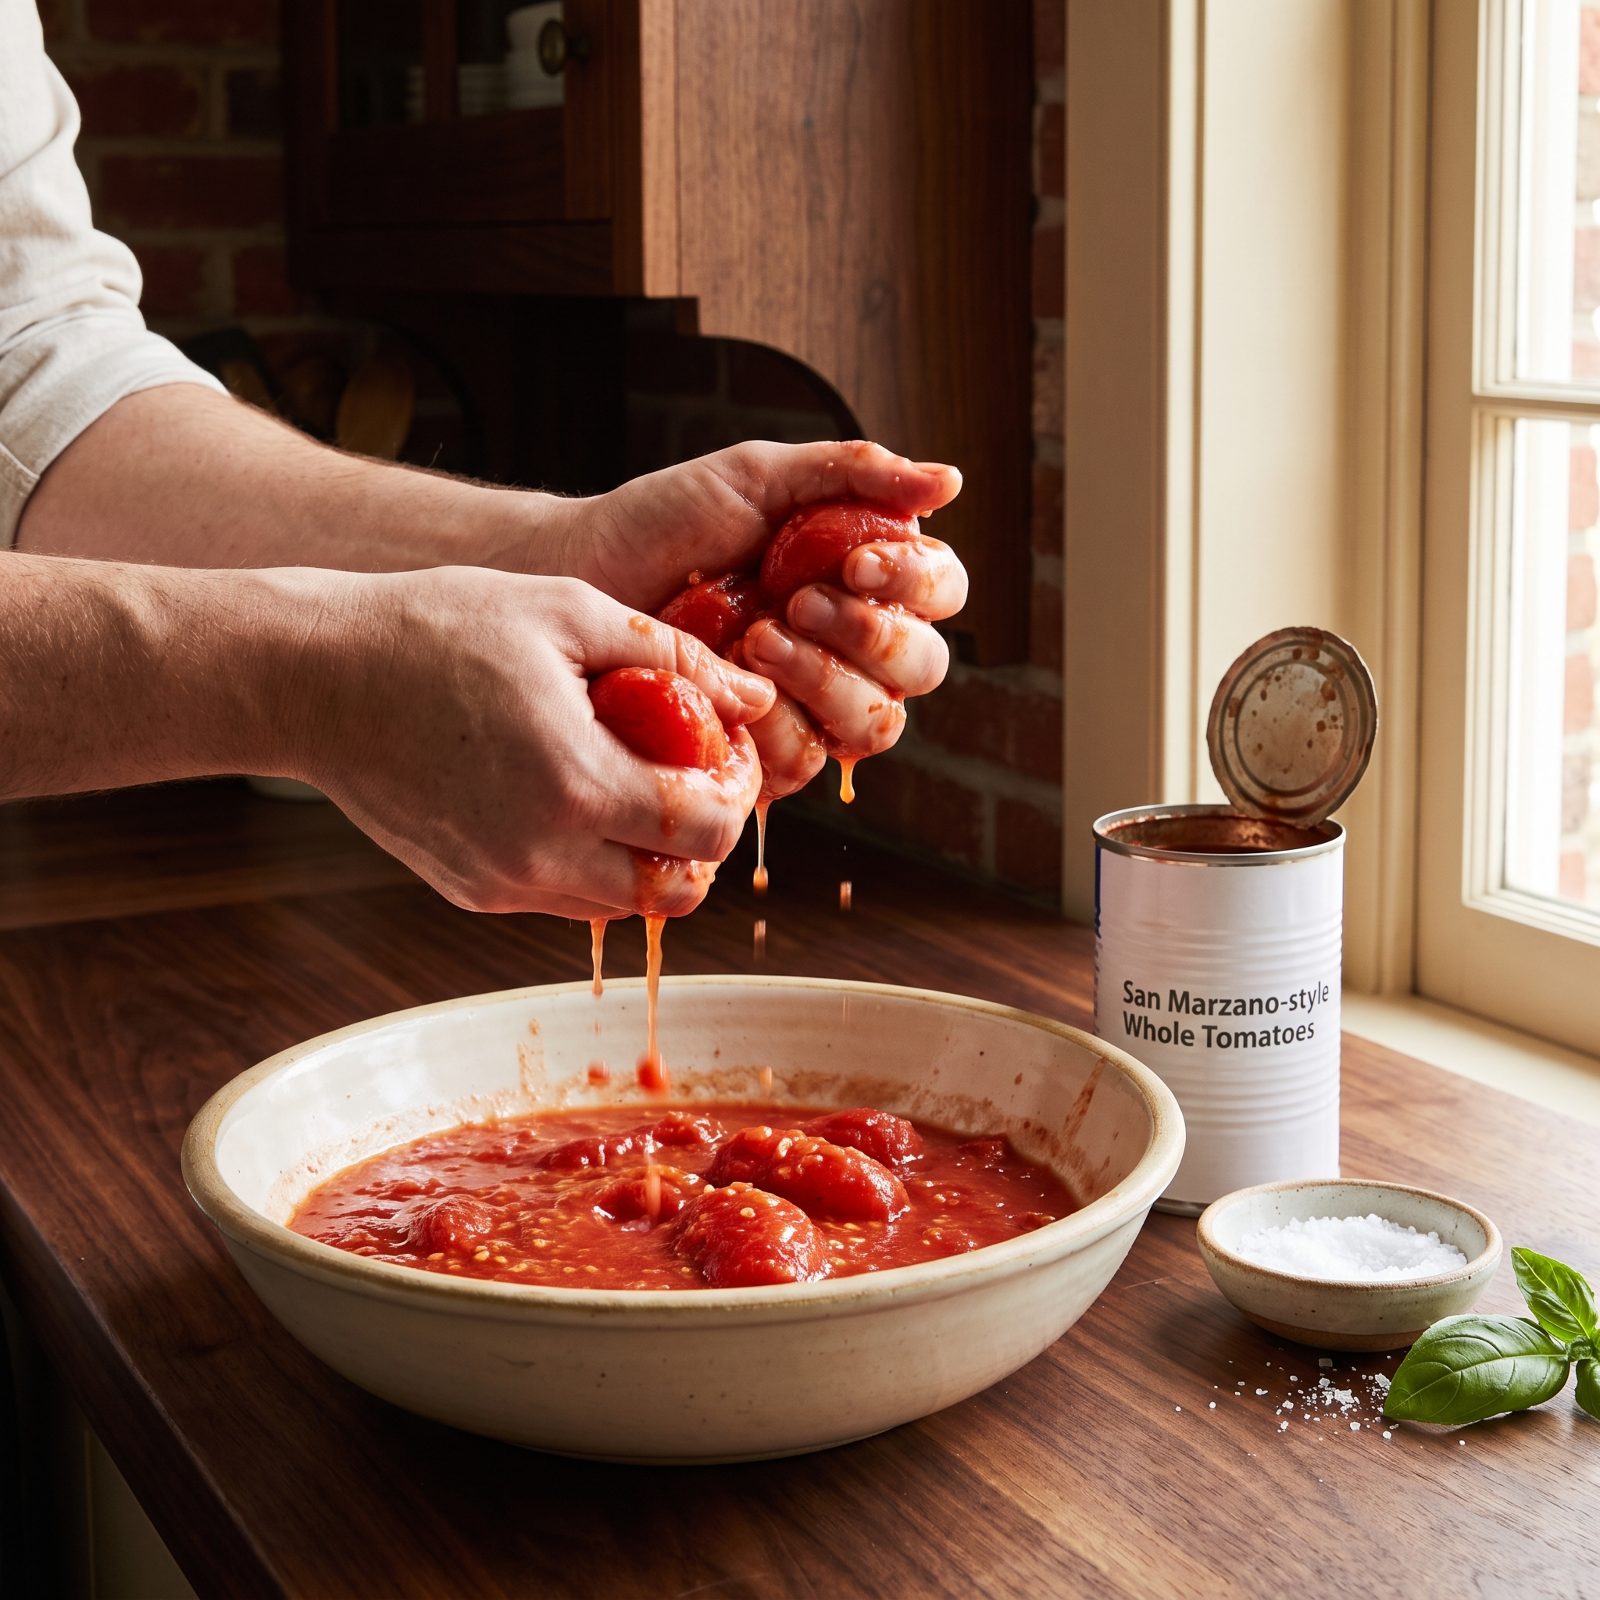
The best pizza sauce is barely a recipe. Open a can of good whole peeled tomatoes, crush them with your hands into a bowl, add salt, a drizzle of olive oil, maybe a torn basil leaf. That’s it. No pot, no simmering, no hour on the stove.
Here’s what people get wrong: they cook the sauce before it ever hits the pizza. But the pizza itself is going to blast at 500 degrees, so cook the sauce first and you’ve double-cooked it into something dull and flat, all that bright fresh acidity simmered right out of it.
Hand-crushing leaves the texture rustic instead of pureeing it into baby food. The sauce finishes cooking on the pie, in the oven, which keeps it tasting like actual tomatoes. Buy the best can you can find — that’s where the whole flavor lives.
21. Use Less Sauce Than Seems Necessary
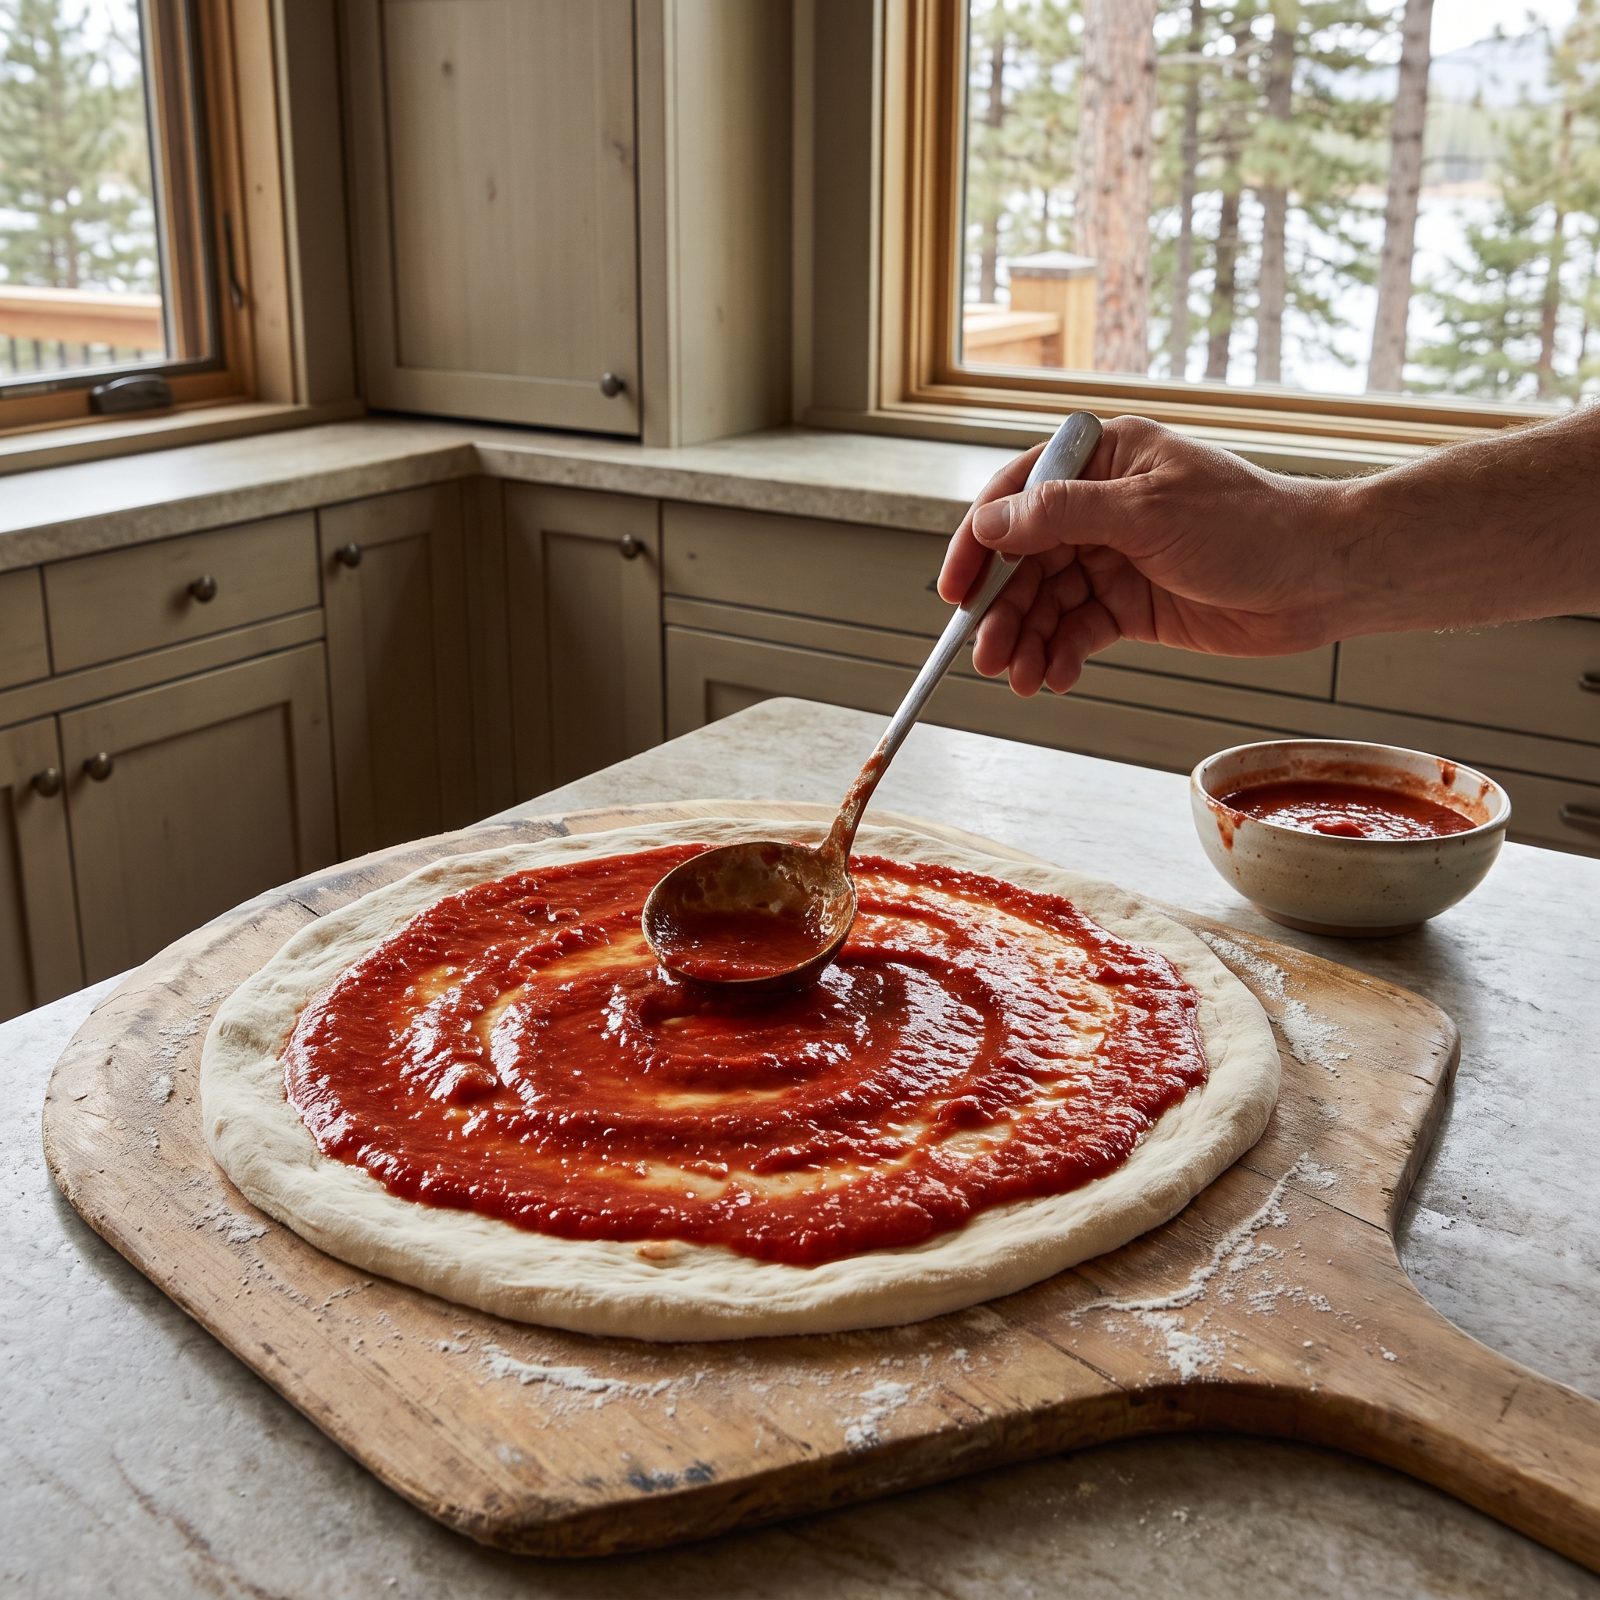
The instinct is to drown the dough. More sauce feels like more flavor and more value, so the ladle keeps going. It’s the single most common thing standing between a home pie and a pizzeria one.
Too much sauce waterlogs the crust from above. The center never crisps, the whole thing goes limp, and the slice droops into a sad flop the second you lift it. You wanted generosity. You got a mess.
Spread a thin layer, maybe a third to half a cup for a 12-inch pie, in a loose spiral with the back of a ladle. Leave a bare rim for the crust. You should still catch the dough faintly through the sauce in spots. Trust me, it’s enough.
20. Choose Low-Moisture Whole-Milk Mozzarella for Even Melting
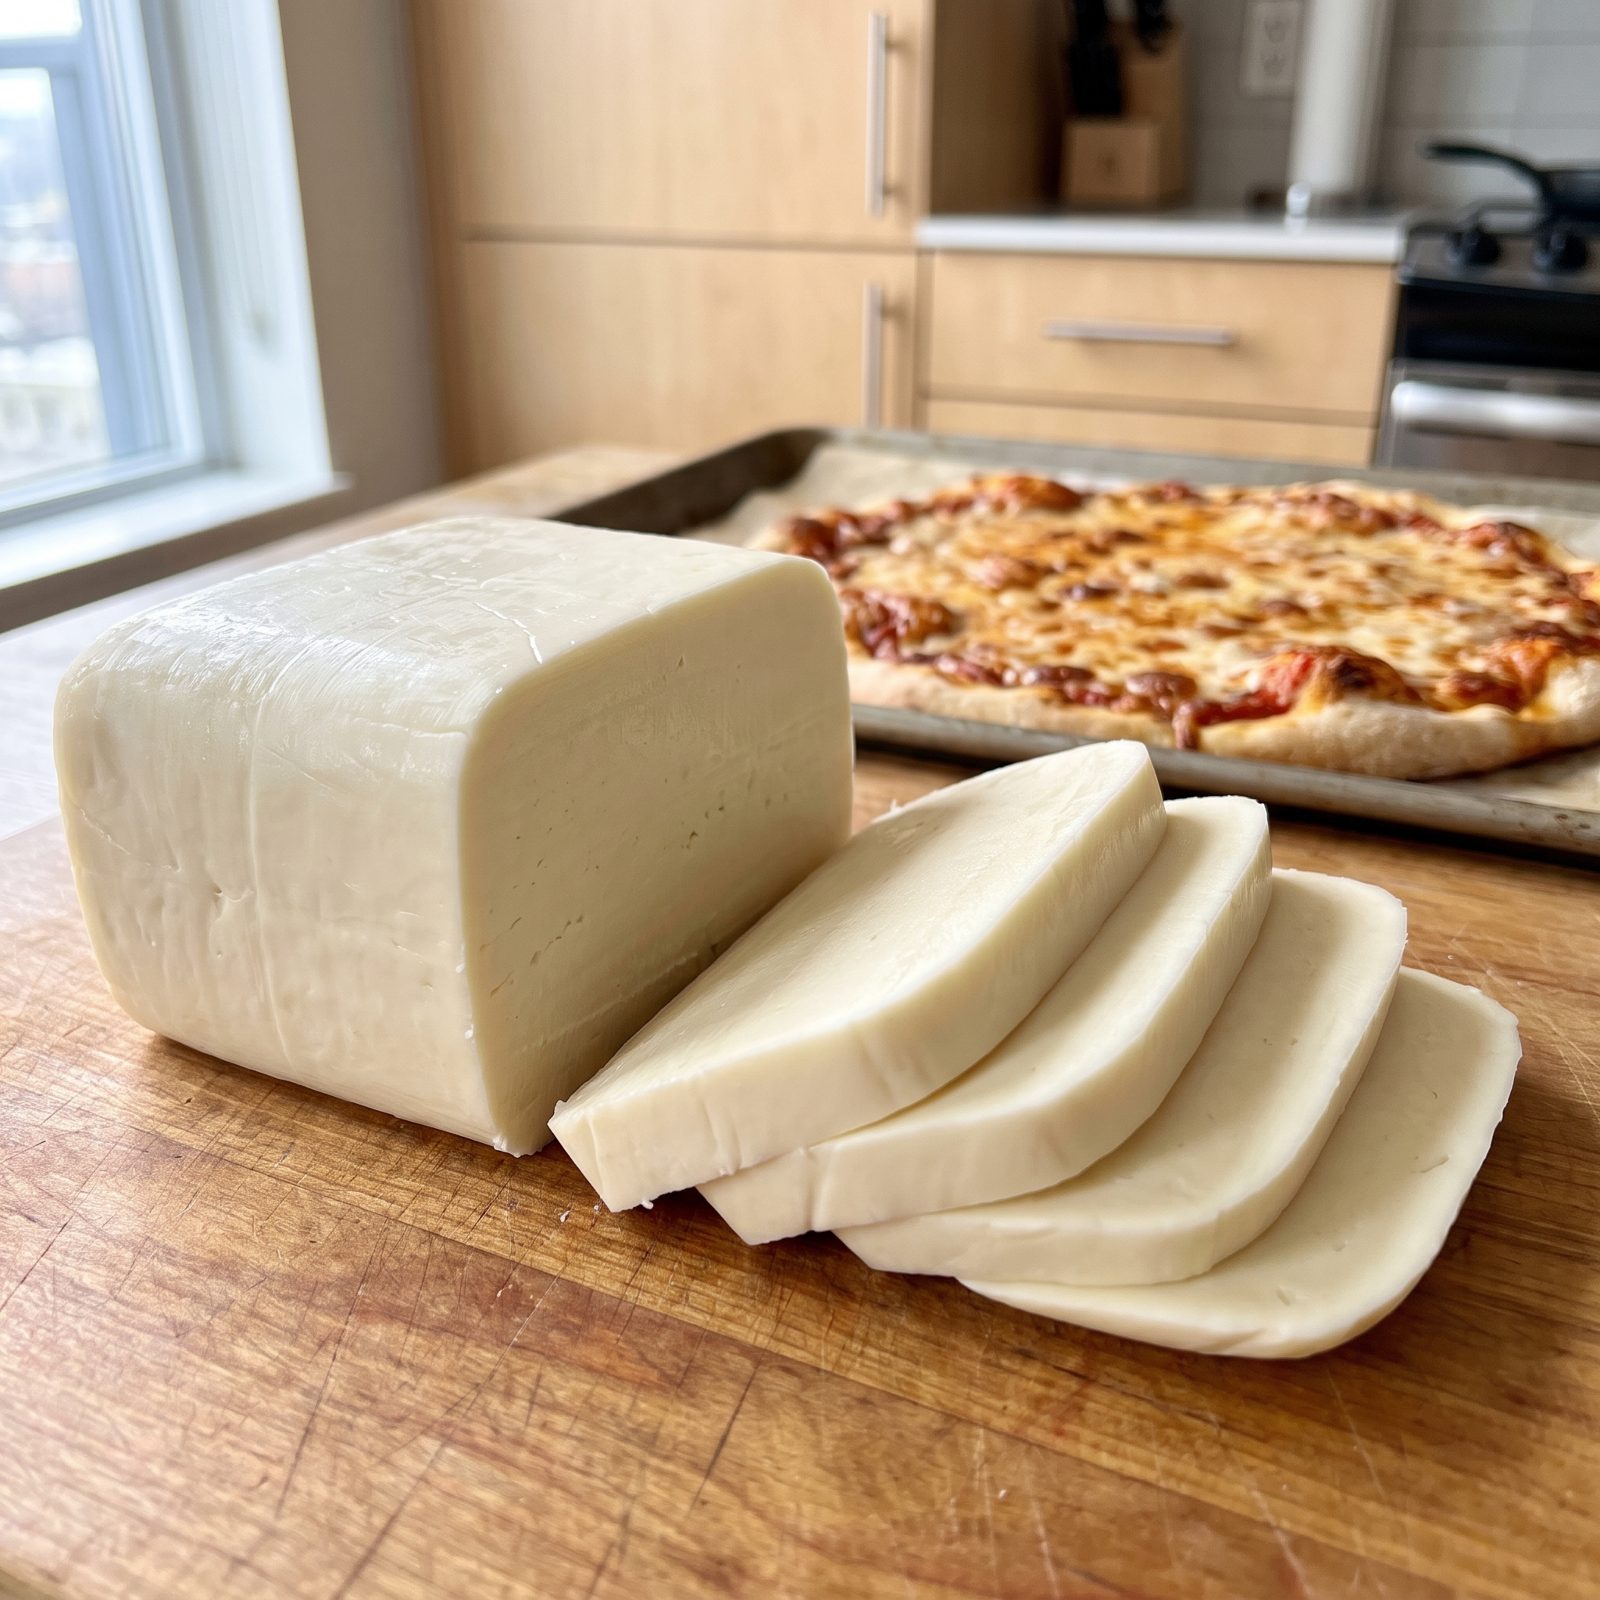
Fresh mozzarella, the soft ball swimming in water, is a beautiful thing on a Caprese plate. On a pizza it releases a puddle that soaks your crust and leaves pale wet spots where it should be browning.
Low-moisture whole-milk mozzarella is the pizzeria workhorse for a reason. Less water, so it melts into an even, glossy sheet and browns to those golden bubbles instead of weeping all over the pie.
Grab the firm block or the deli chunk, the kind that slices clean rather than squishing. Whole-milk over part-skim, always. Part-skim melts stringy and a little rubbery, and life’s too short for rubbery cheese. If you love fresh mozzarella’s flavor, tear a few bits on after baking.
19. Grate Cheese from a Block Instead of Buying Pre-Shredded Cheese
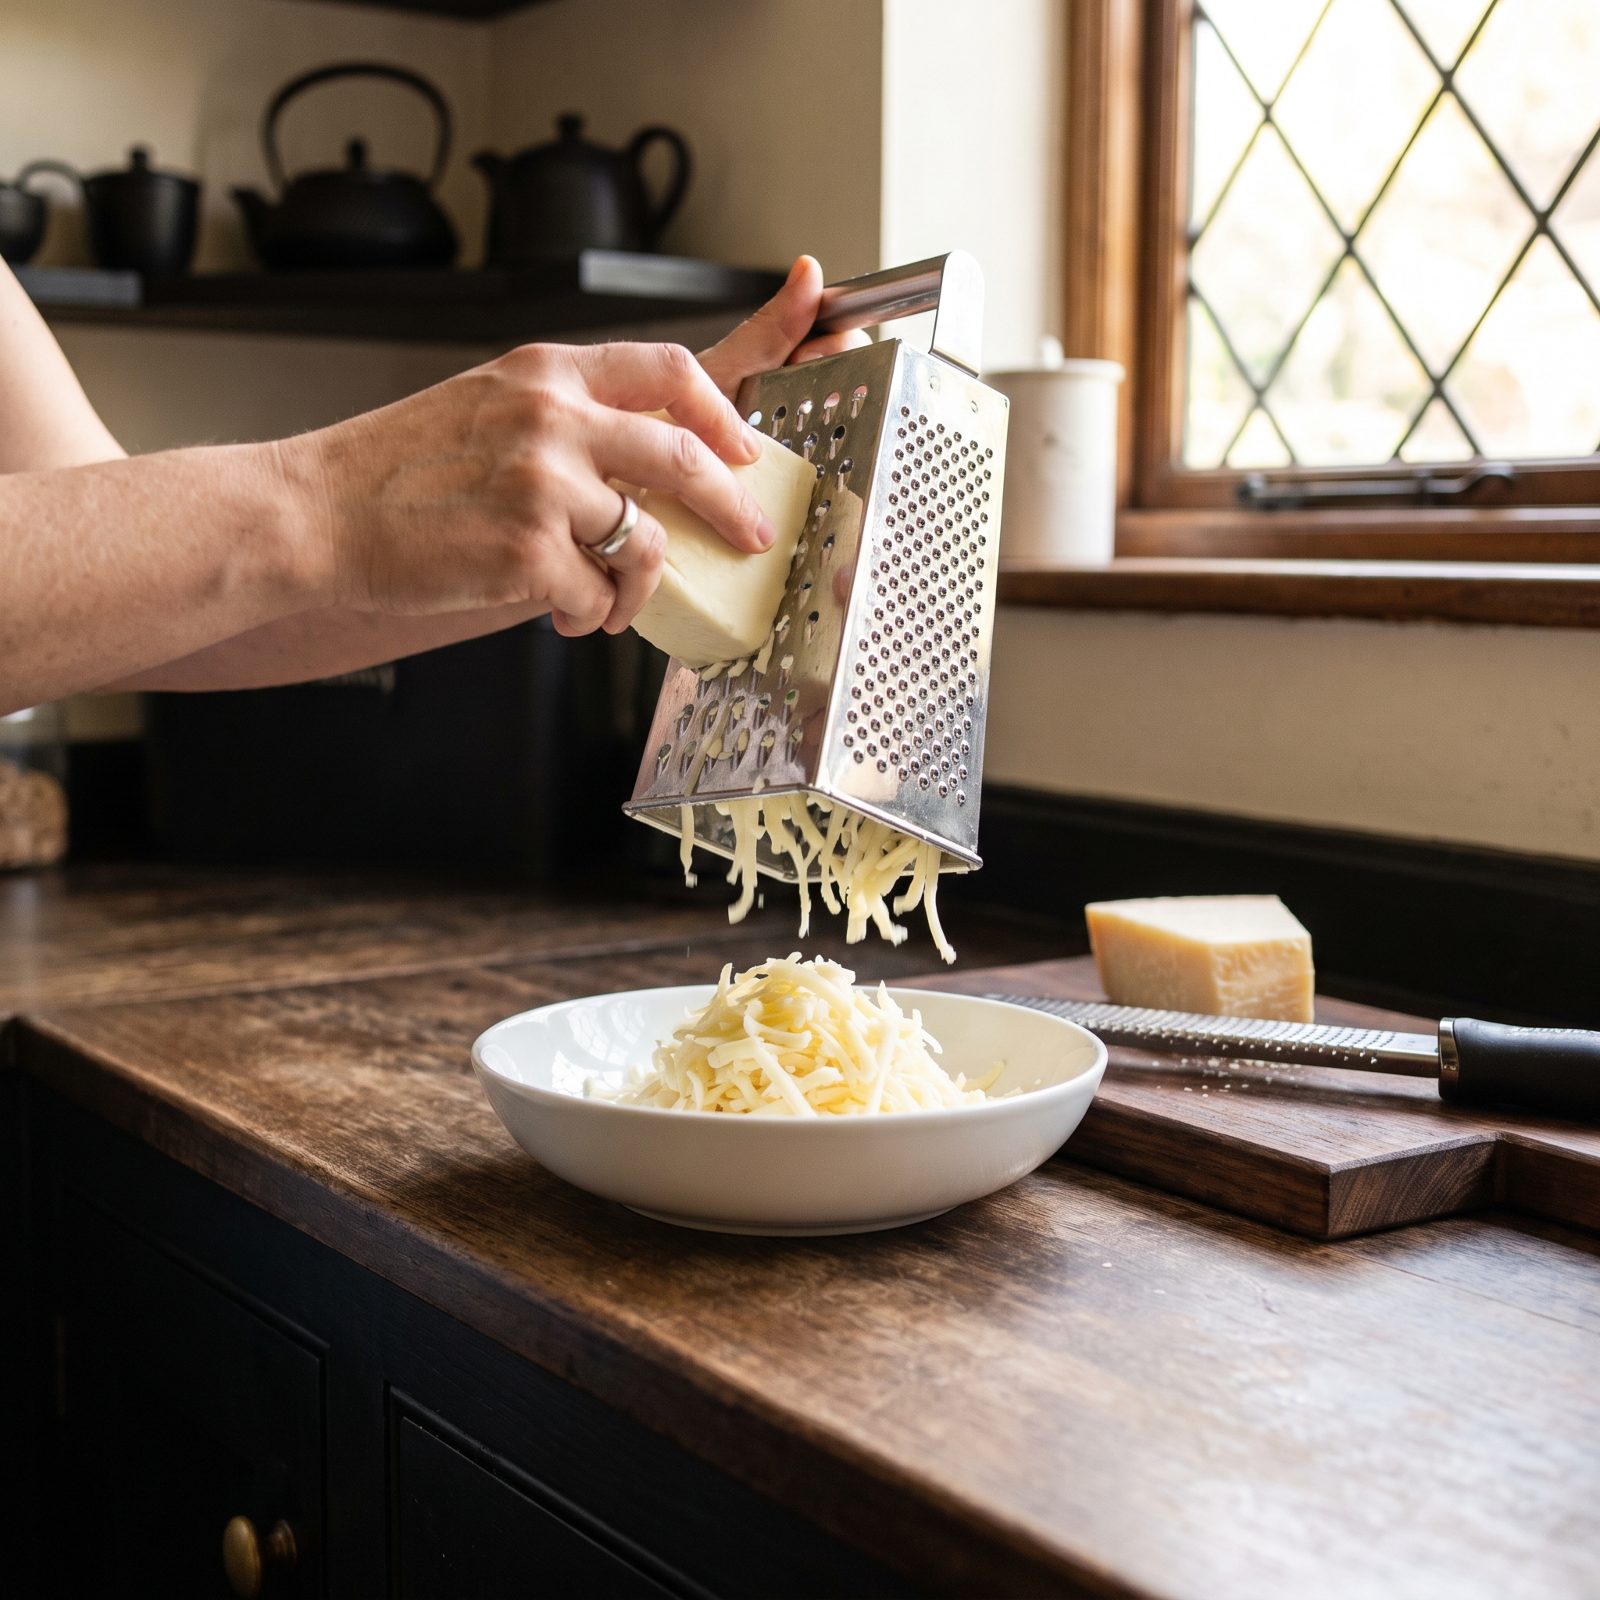
Pre-shredded cheese is coated in cellulose and potato starch to keep the strands from clumping in the bag. Those same anti-caking powders keep the cheese from melting cleanly, so it fights you, melting into a greasy, slightly grainy layer that never quite goes glossy.
Grate your own off a block and the difference hits you immediately. No coatings. It melts into that smooth, bubbling pull you’re after.
Takes about ninety seconds on a box grater. Honestly? I was lazy about this for years and told myself nobody could taste it. They can. Fresh-grated melts better, tastes richer, and costs less per pound than the bagged stuff anyway. Keep the block cold so it grates in clean shreds instead of smearing.
The bag saves you ninety seconds and costs you the melt. That’s a bad trade.
18. Blend Mozzarella with Provolone for Deeper Pizzeria Flavor
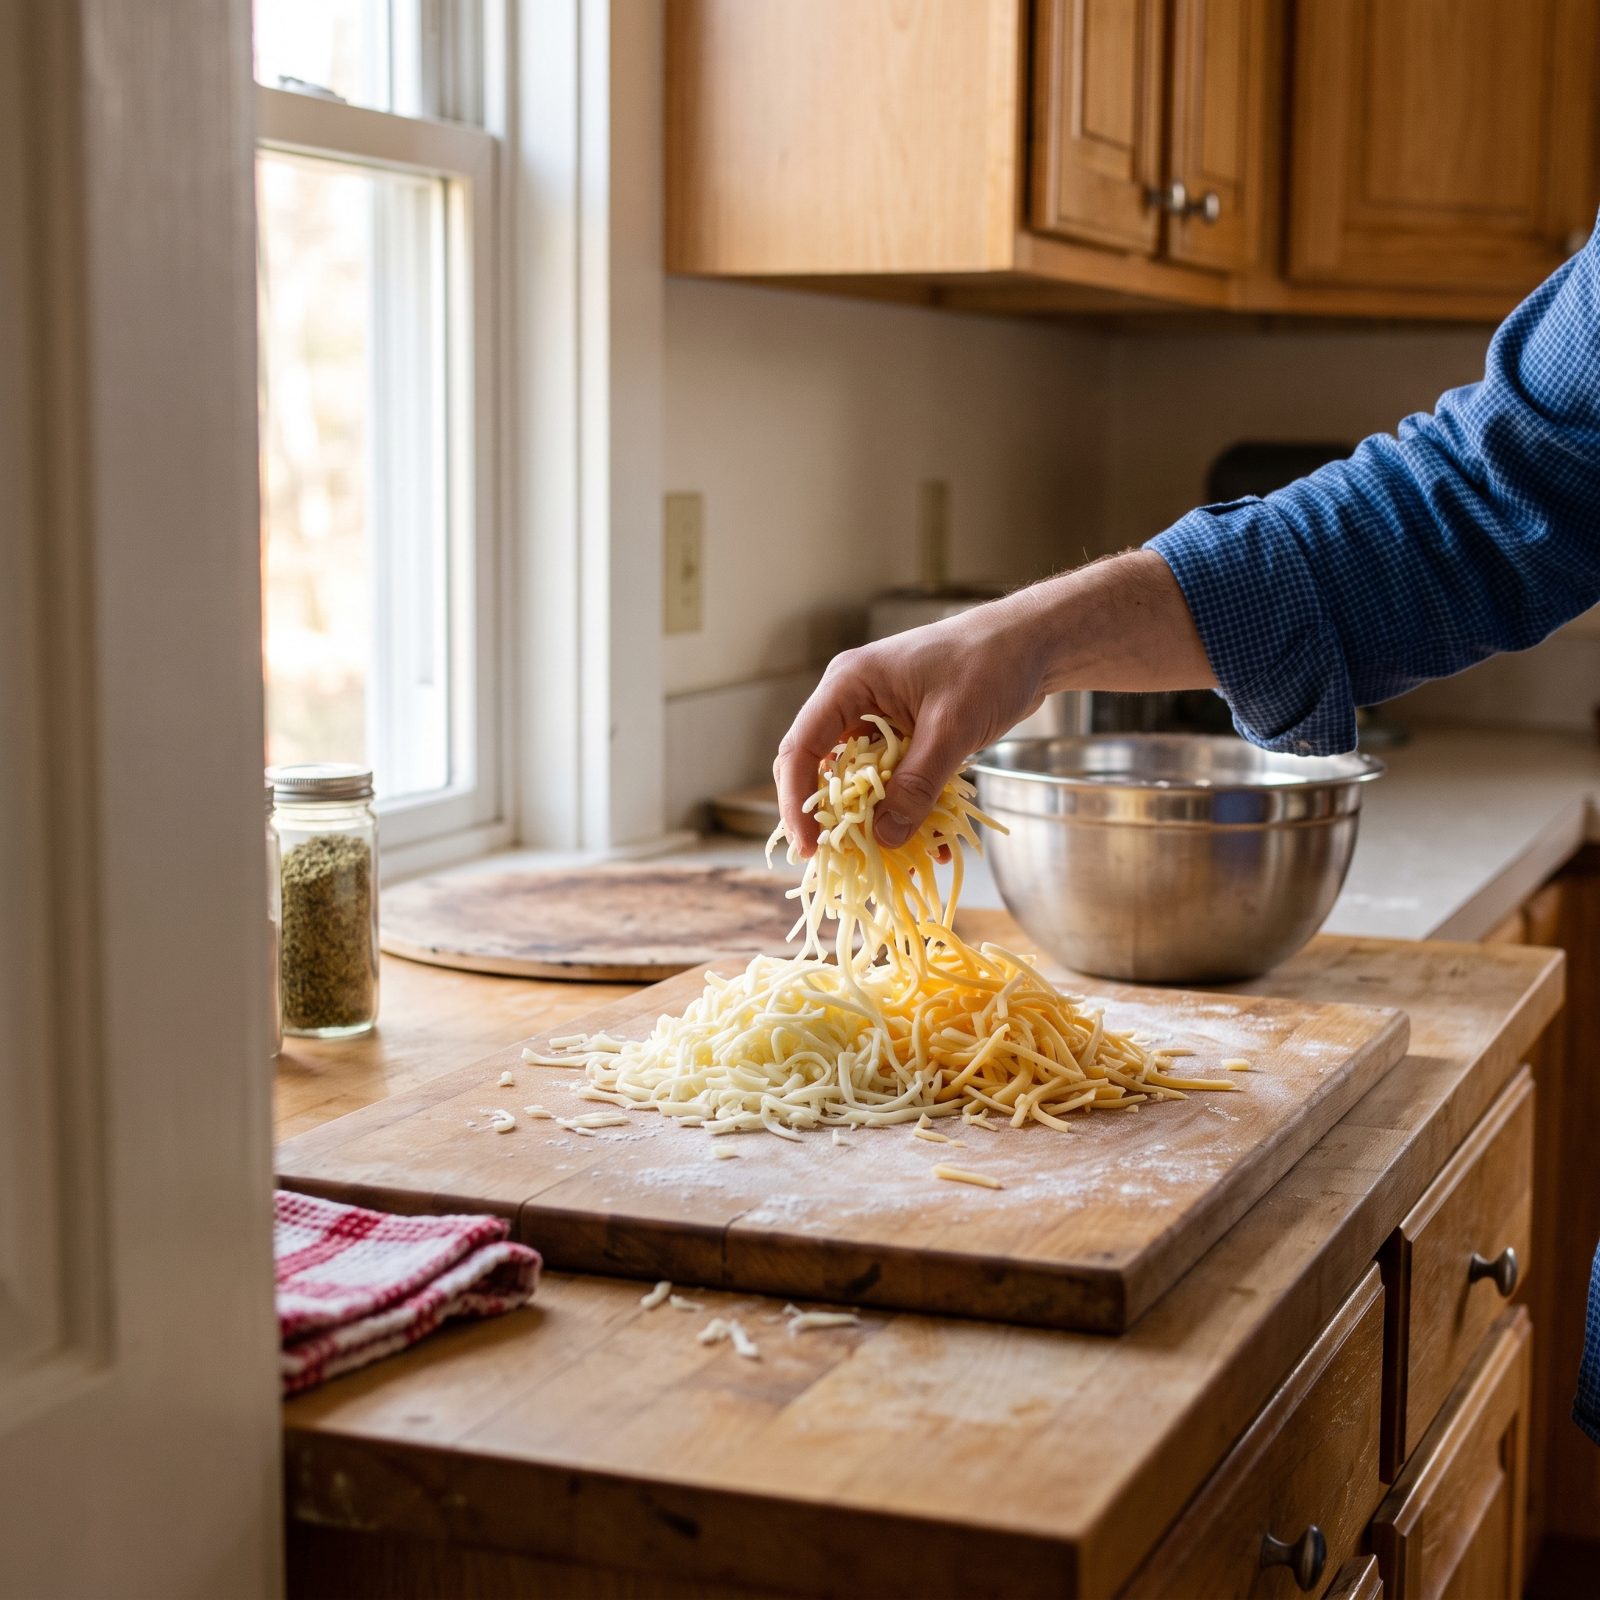
Pure mozzarella melts clean and stretches well, but it tastes flat, and nobody warns you about that. Most neighborhood pizzerias never ran straight mozz. They cut it with provolone, usually around 70/30, sometimes closer to half and half.
Provolone brings a sharper, tangier, almost smoky note — that old-pizzeria flavor you can’t quite name. Mozzarella alone gives you melt and pull. The provolone gives you memory.
Shred both yourself from blocks. Those pre-shredded bags come coated in cellulose and anti-caking powder that keeps the cheese from melting into one surface, which is the whole thing you’re after. Mix the two in a bowl before you ever touch the dough. Low-moisture, whole-milk for both, and let them warm up to room temperature so they melt in step instead of fighting each other.
17. Drain and Blot Fresh Mozzarella Before Using It
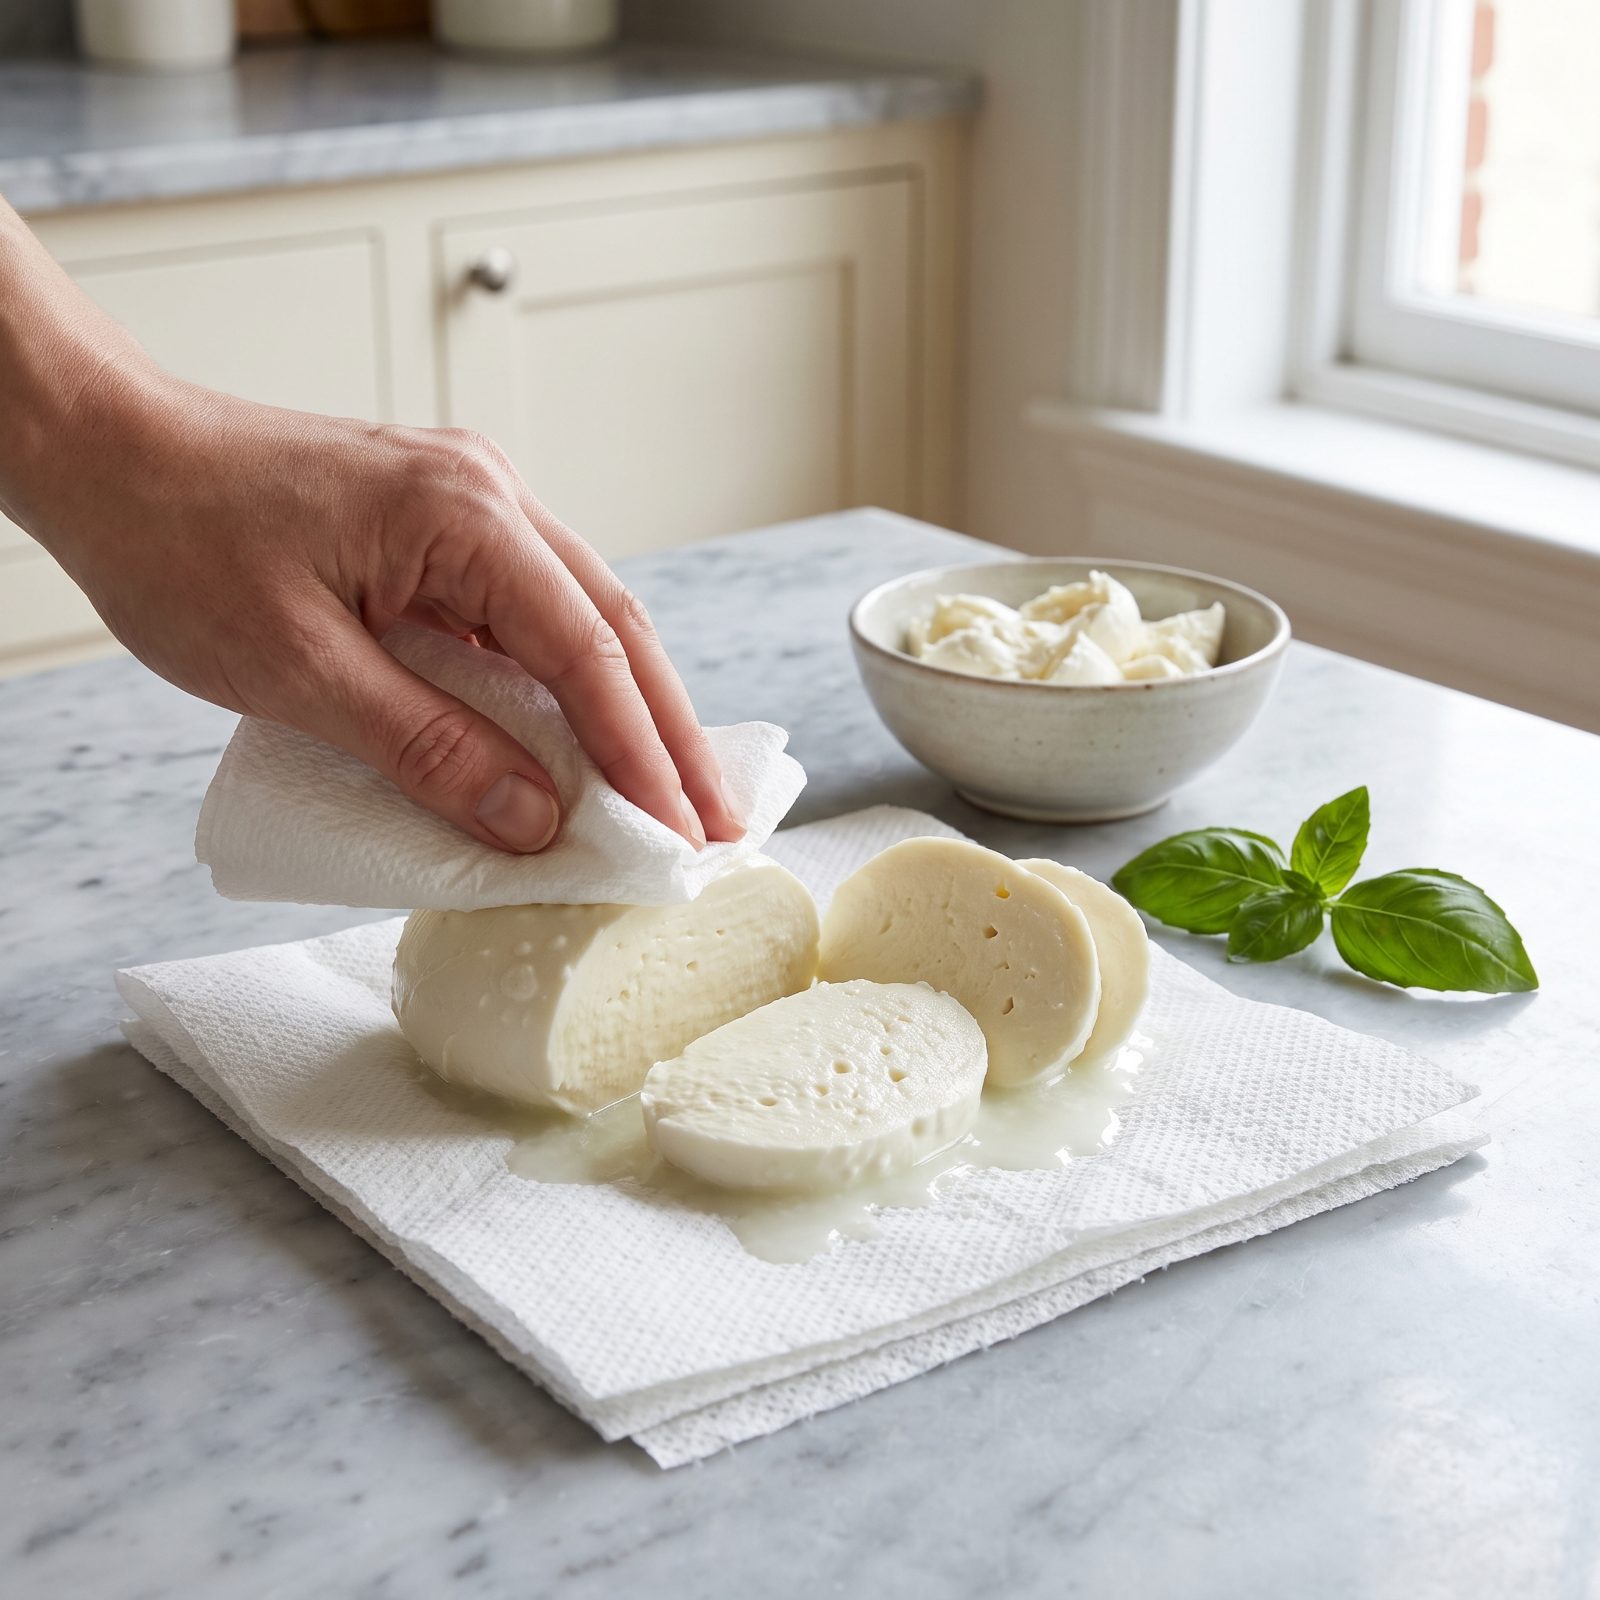
Fresh mozzarella is a trap for home cooks. It looks like the real deal, and in a Caprese it is — but on a hot pie it leaks. Those gorgeous white rounds hold so much water that they flood the crust the second they heat up, and you pull out a pizza with a pale swamp sitting in the center.
Slice it, lay it on paper towels, press gently, and let it sit twenty minutes while your oven heats. Some people salt the slices lightly to pull out more moisture. You’ll be shocked how much whey ends up on that towel.
16. Place Cheese Beneath Wet Toppings to Protect the Crust
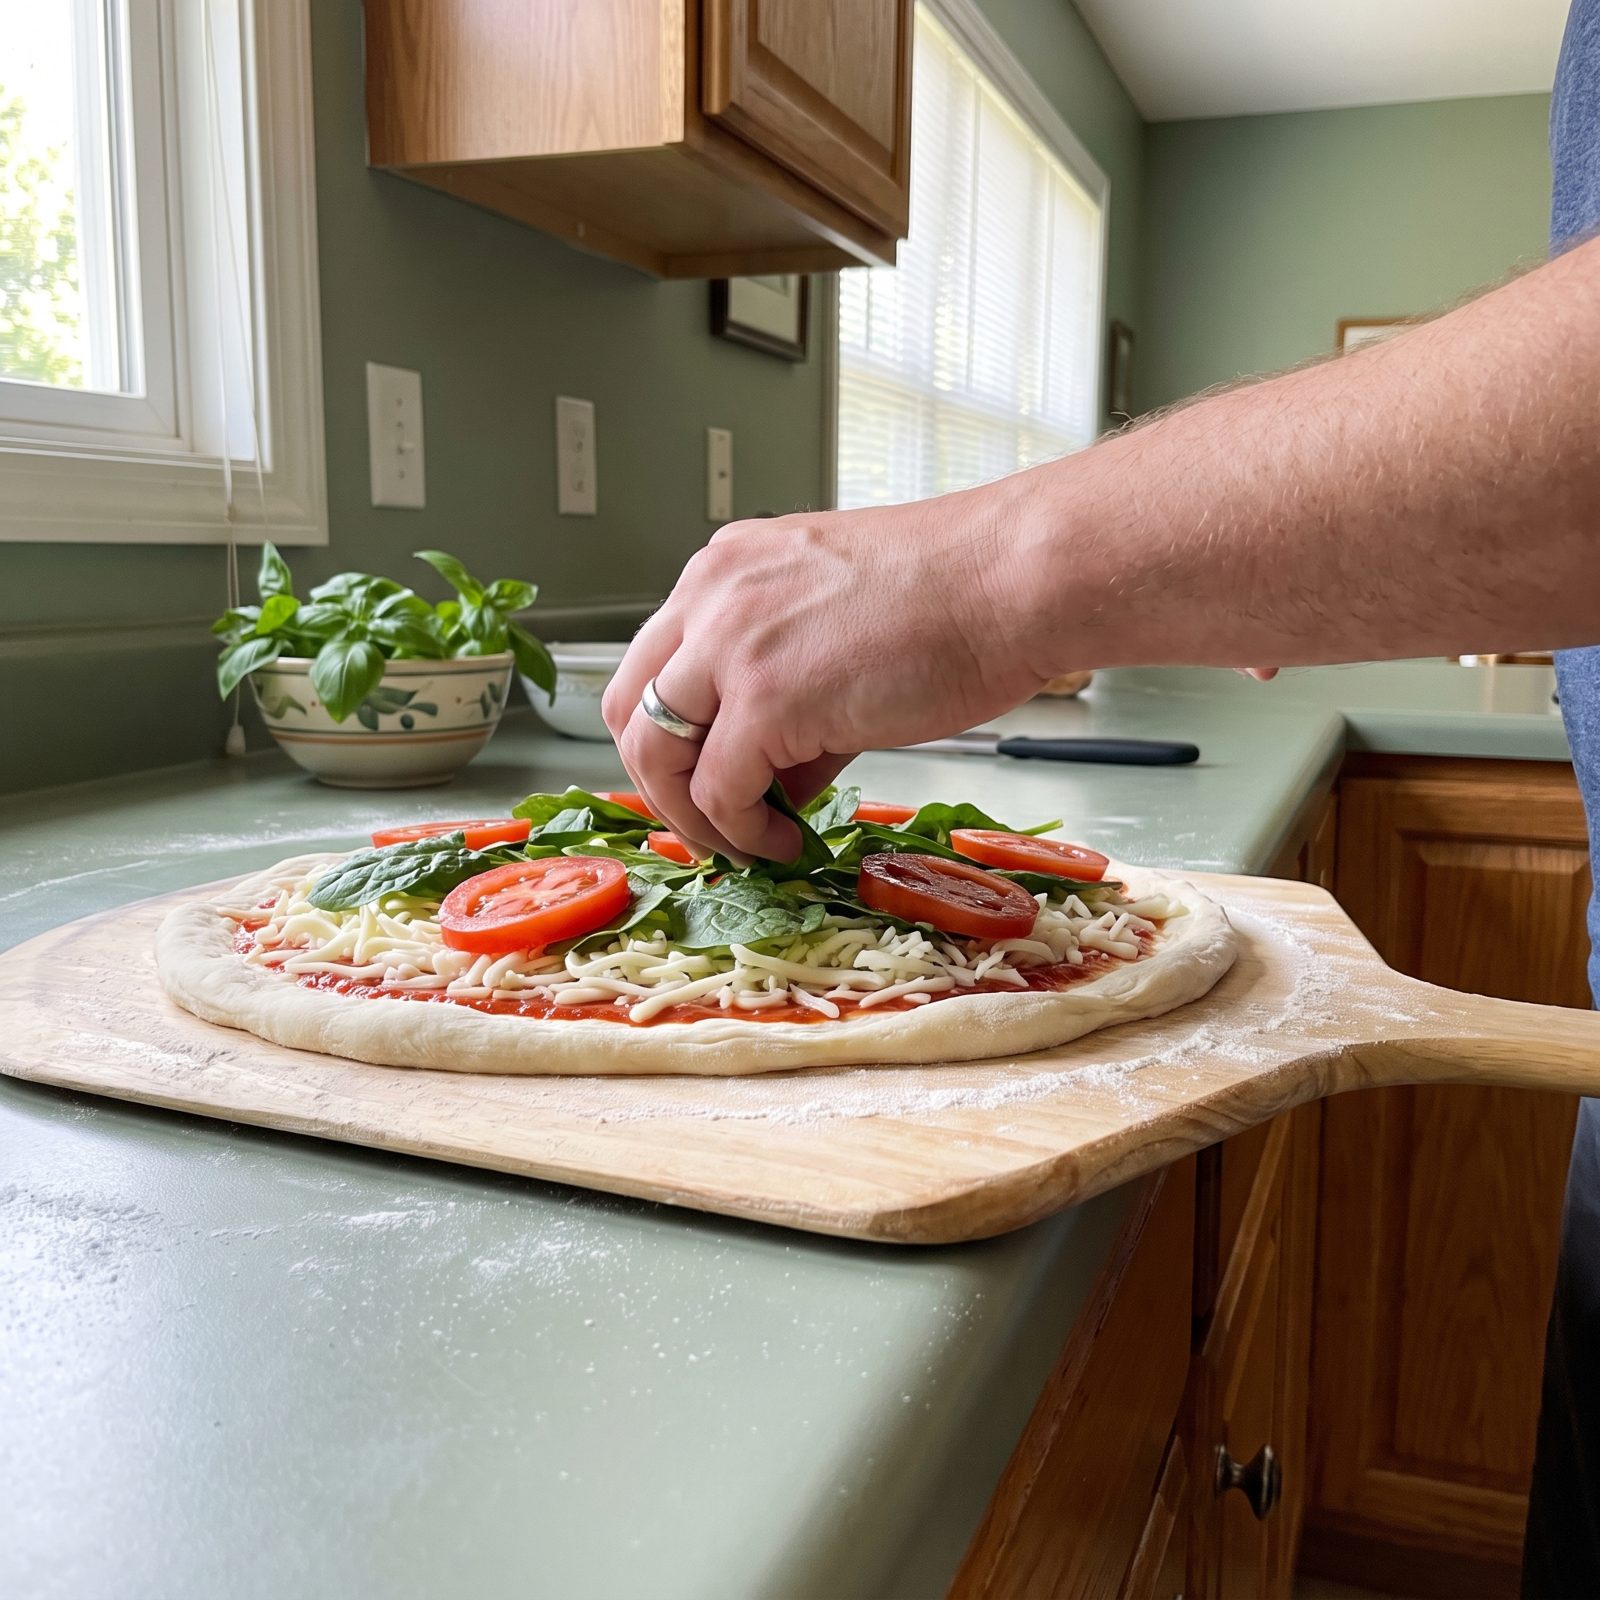
We stack pizza the way it looks in ads: sauce, cheese, then everything piled on top. Flip part of that order when you’re dealing with watery toppings.
Put a layer of cheese down first, right on the sauce, then set your sliced tomatoes, spinach, or fresh mozzarella on top of that. The cheese acts like a gasket — it seals the dough so water from those toppings runs down into the cheese and steams off, instead of soaking the crust and turning the floor gummy.
Feels backwards the first time. Do it once with fresh tomatoes and you’ll never stack them straight on the dough again. The underside tells the whole story.
15. Use a Lighter Hand with Cheese to Prevent a Greasy Center
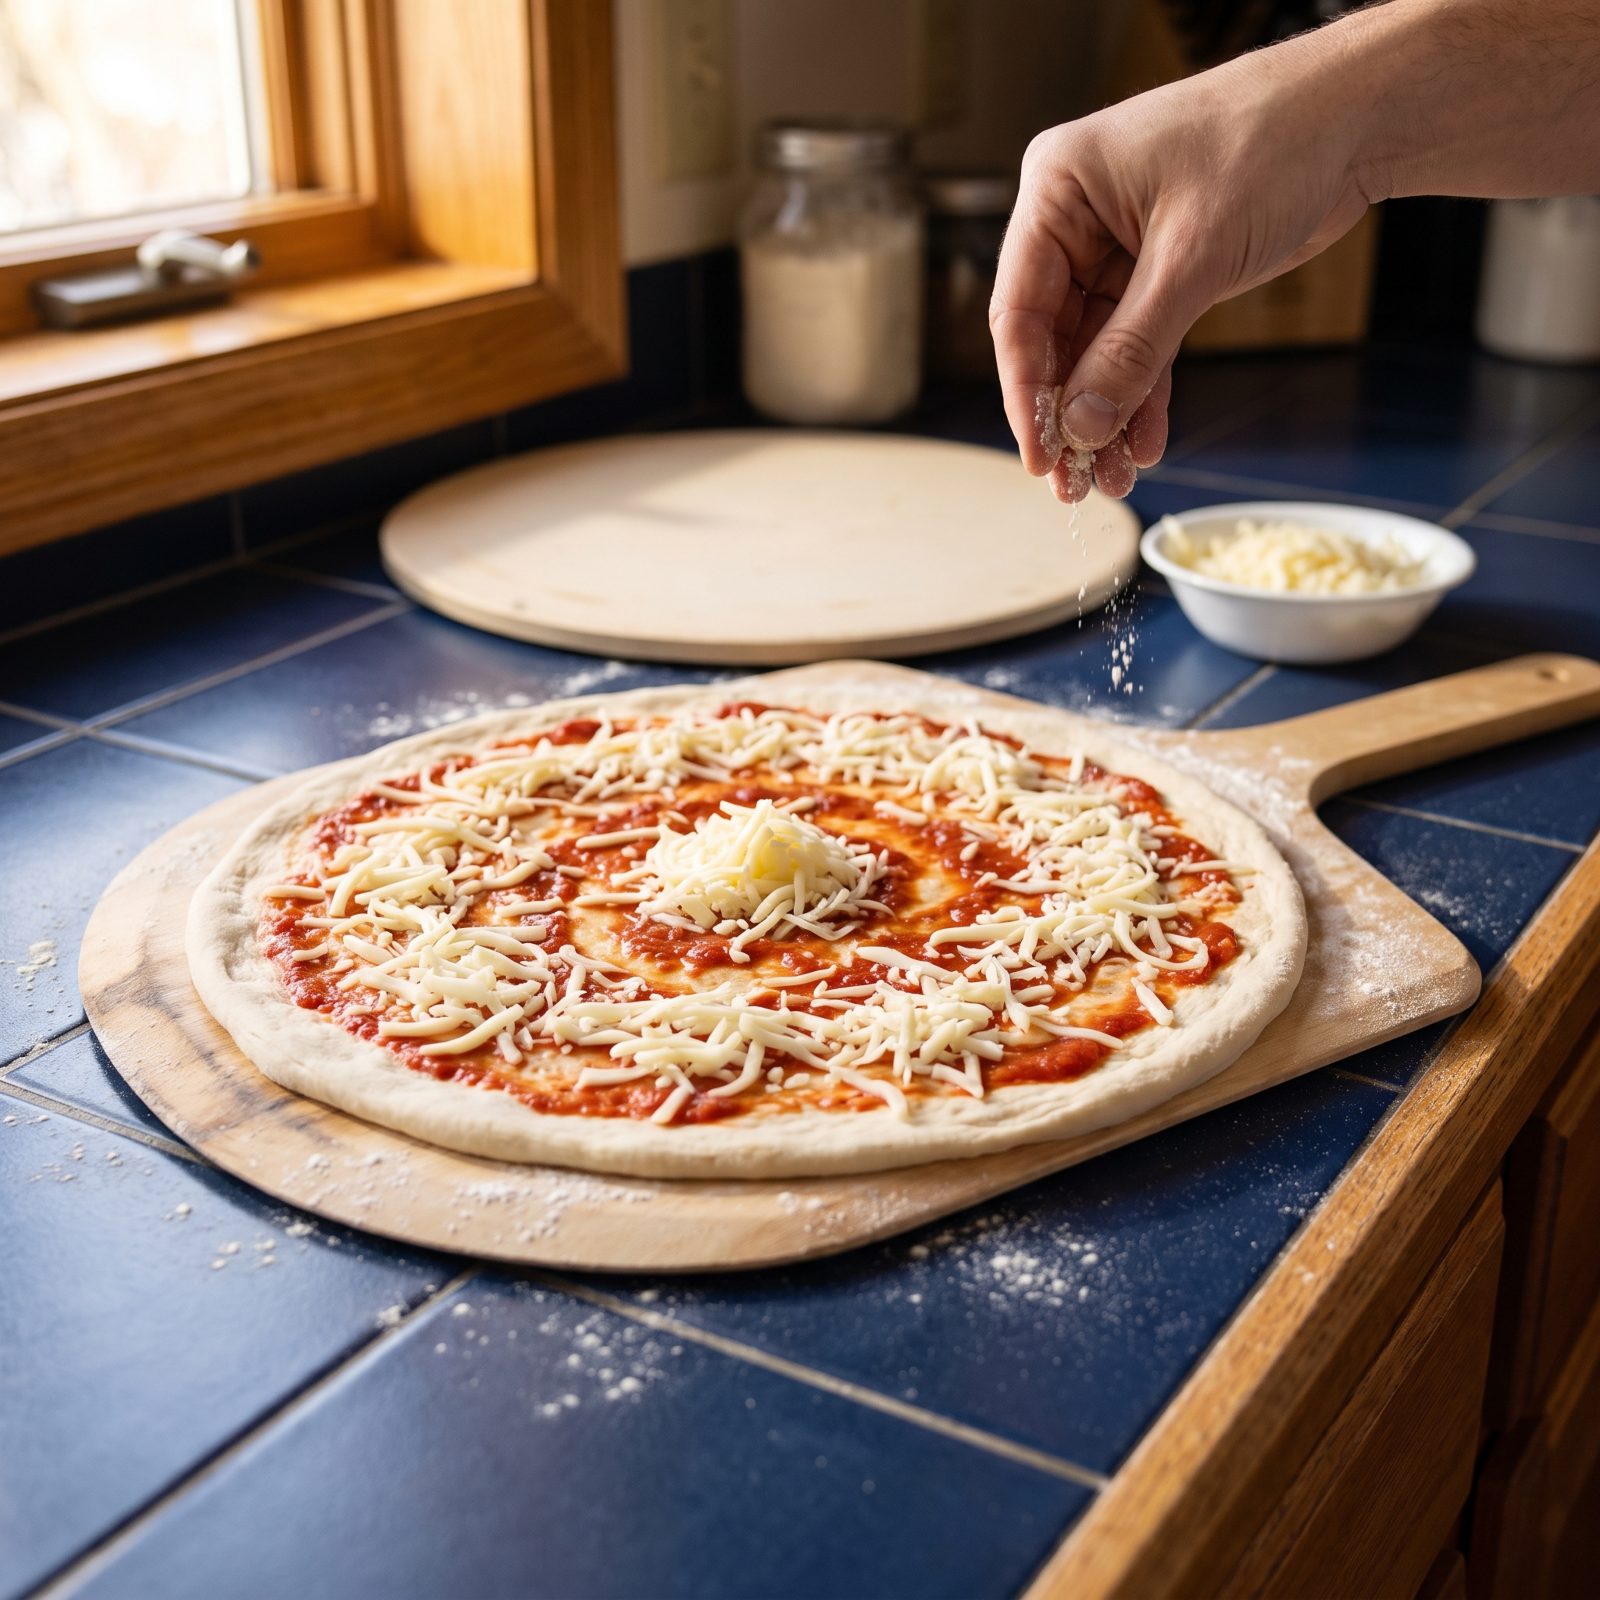
More cheese is not more pizza. It’s a puddle. I piled it on for years because that seemed generous, and every pie came out with a slick orange lake of released fat sitting in the middle.
Too much cheese can’t melt and brown properly. The top layer insulates the bottom, nothing sets, and the fat renders out faster than it can be absorbed. You get grease, not flavor.
Aim for enough that you can still see patches of sauce between the strands — a modest handful on a twelve-inch pie. Let the crust and sauce do some of the talking.
14. Slice Toppings Thinly So They Cook at Pizza Speed
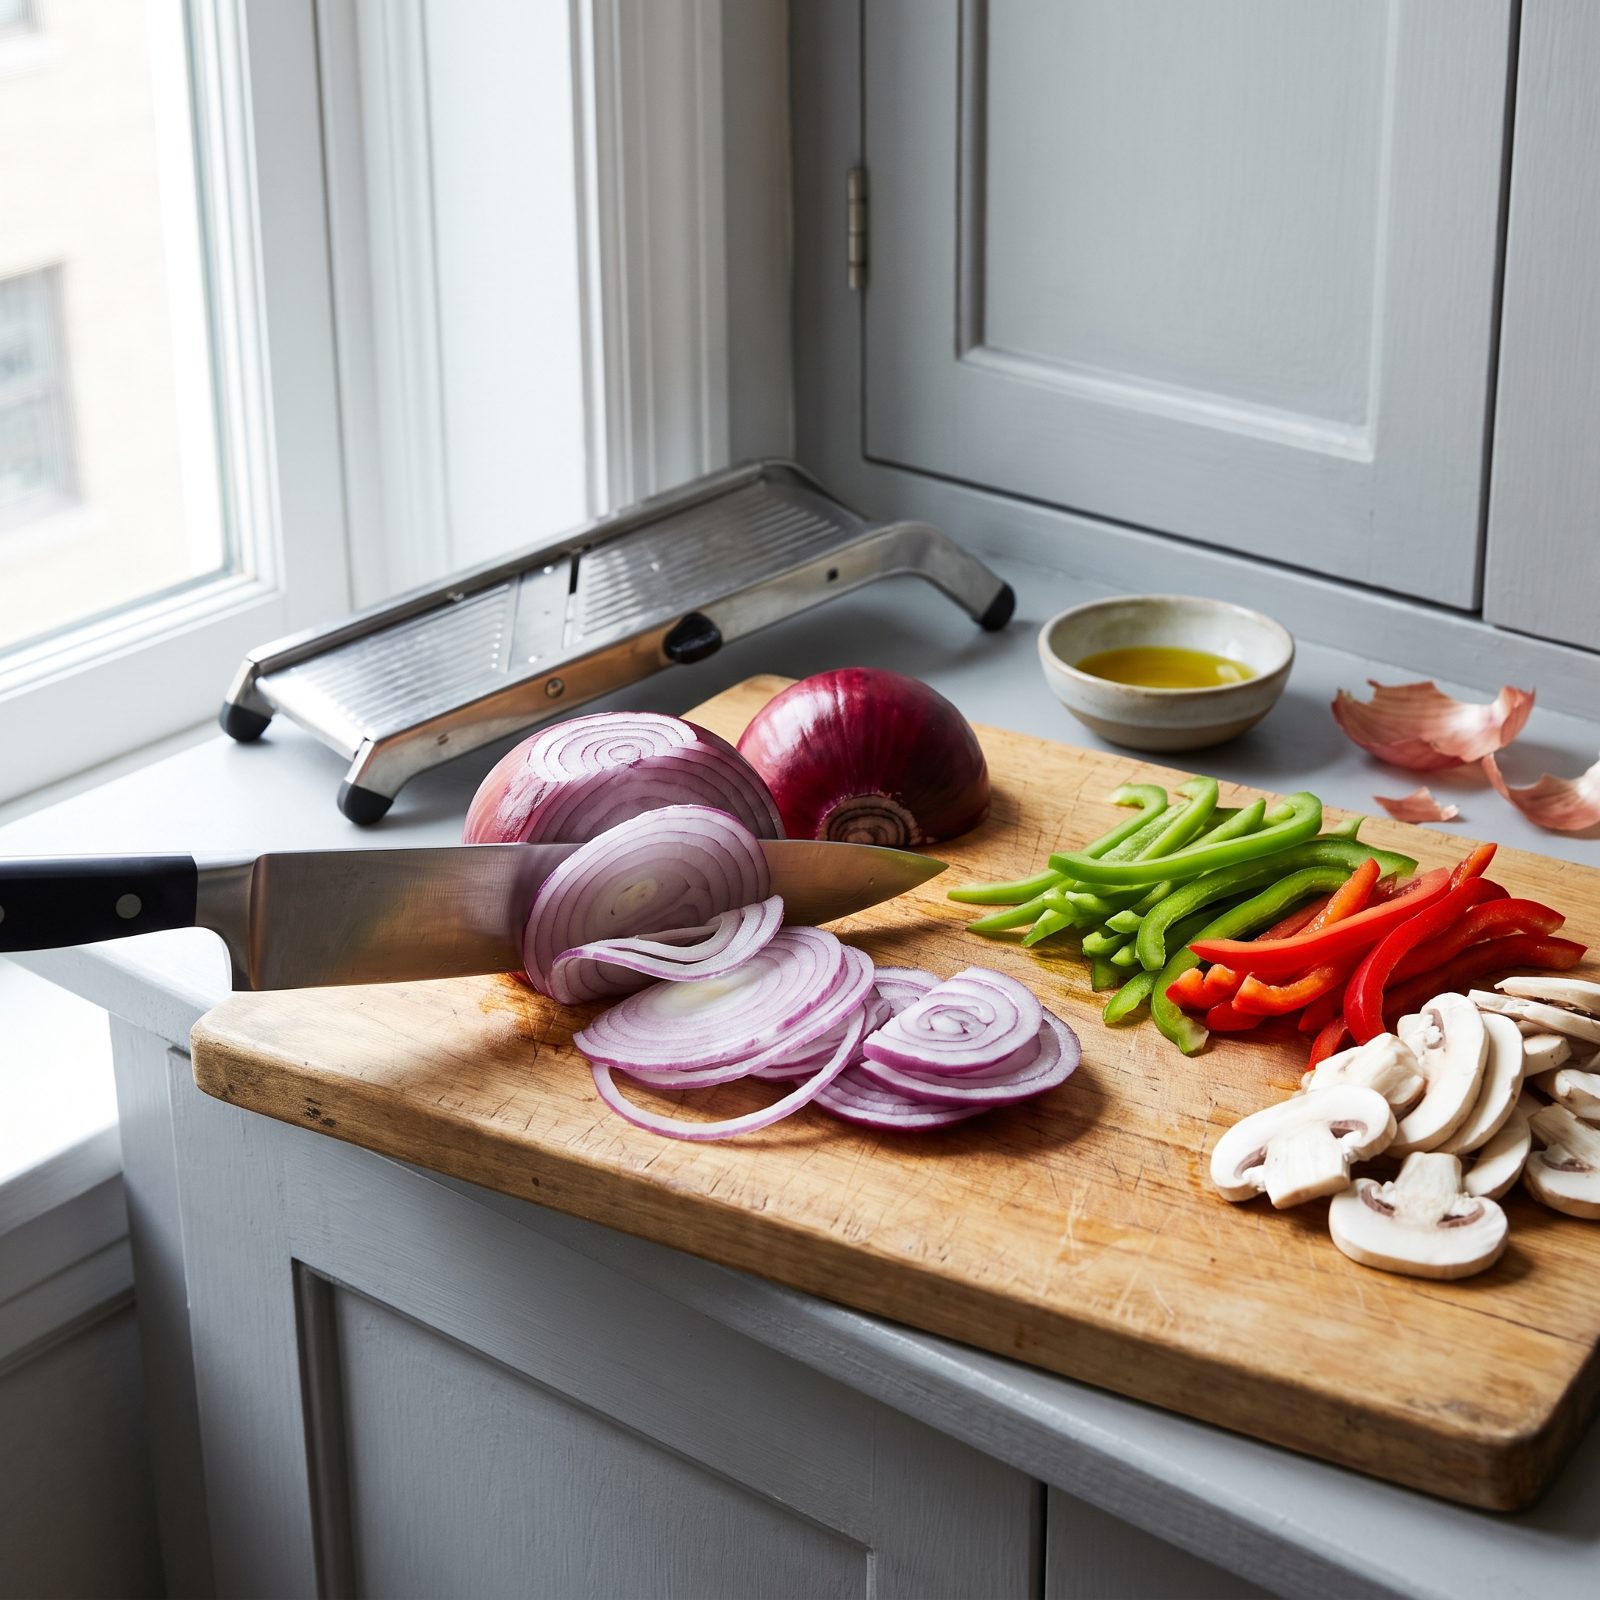
A pizza bakes fast at high heat, and that’s not long enough to cook a thick slab of anything. Chunky onion stays raw and sharp. Fat pepper strips go limp and watery on top of a crust that’s already done.
So slice everything thin. Paper-thin, if you can manage it — onions, peppers, mushrooms nearly translucent. At that thinness they soften and sweeten in the same window the crust needs to set and the cheese needs to bubble.
A mandoline earns its counter space here. Watch your knuckles.
13. Sauté Mushrooms Before They Reach the Pizza
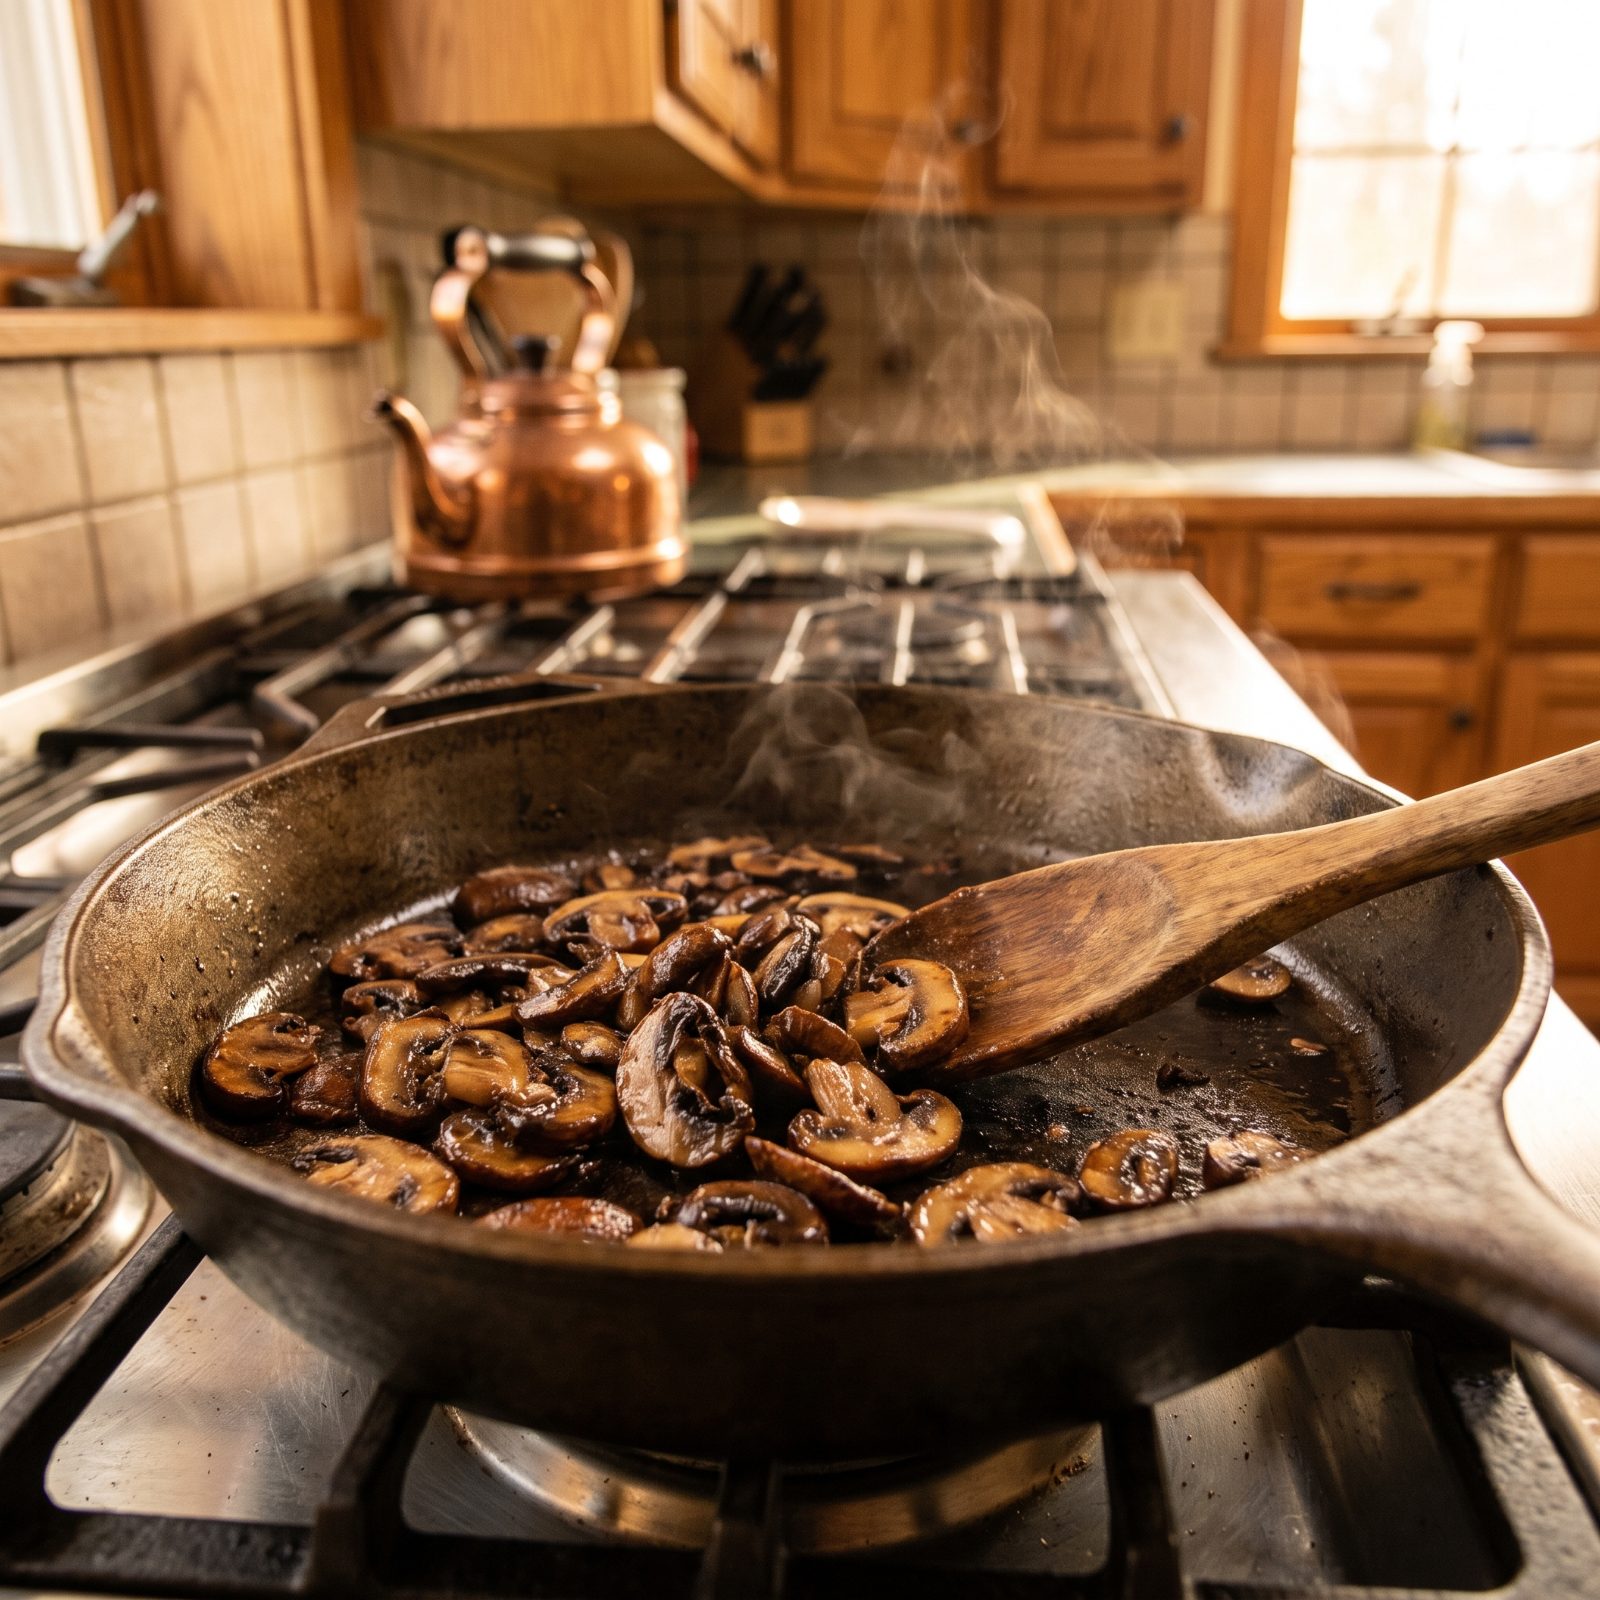
Raw mushrooms are mostly water. Put them on cold and they weep all over your cheese while they shrink to nothing, leaving grey rubbery scraps swimming in their own liquid.
Give them a quick sauté first. A hot pan, a little oil, maybe a pinch of salt, and cook them until they’ve surrendered their water and gone golden at the edges. Five minutes, tops. They’ll already be the size and flavor you want before they ever touch the pie.
You lose the sad, pale, waterlogged mushroom and gain a browned, concentrated one that actually tastes of something. Small extra step. Separates a home pie from a real pizzeria one.
12. Pre-Roast Dense Vegetables Such as Broccoli and Eggplant
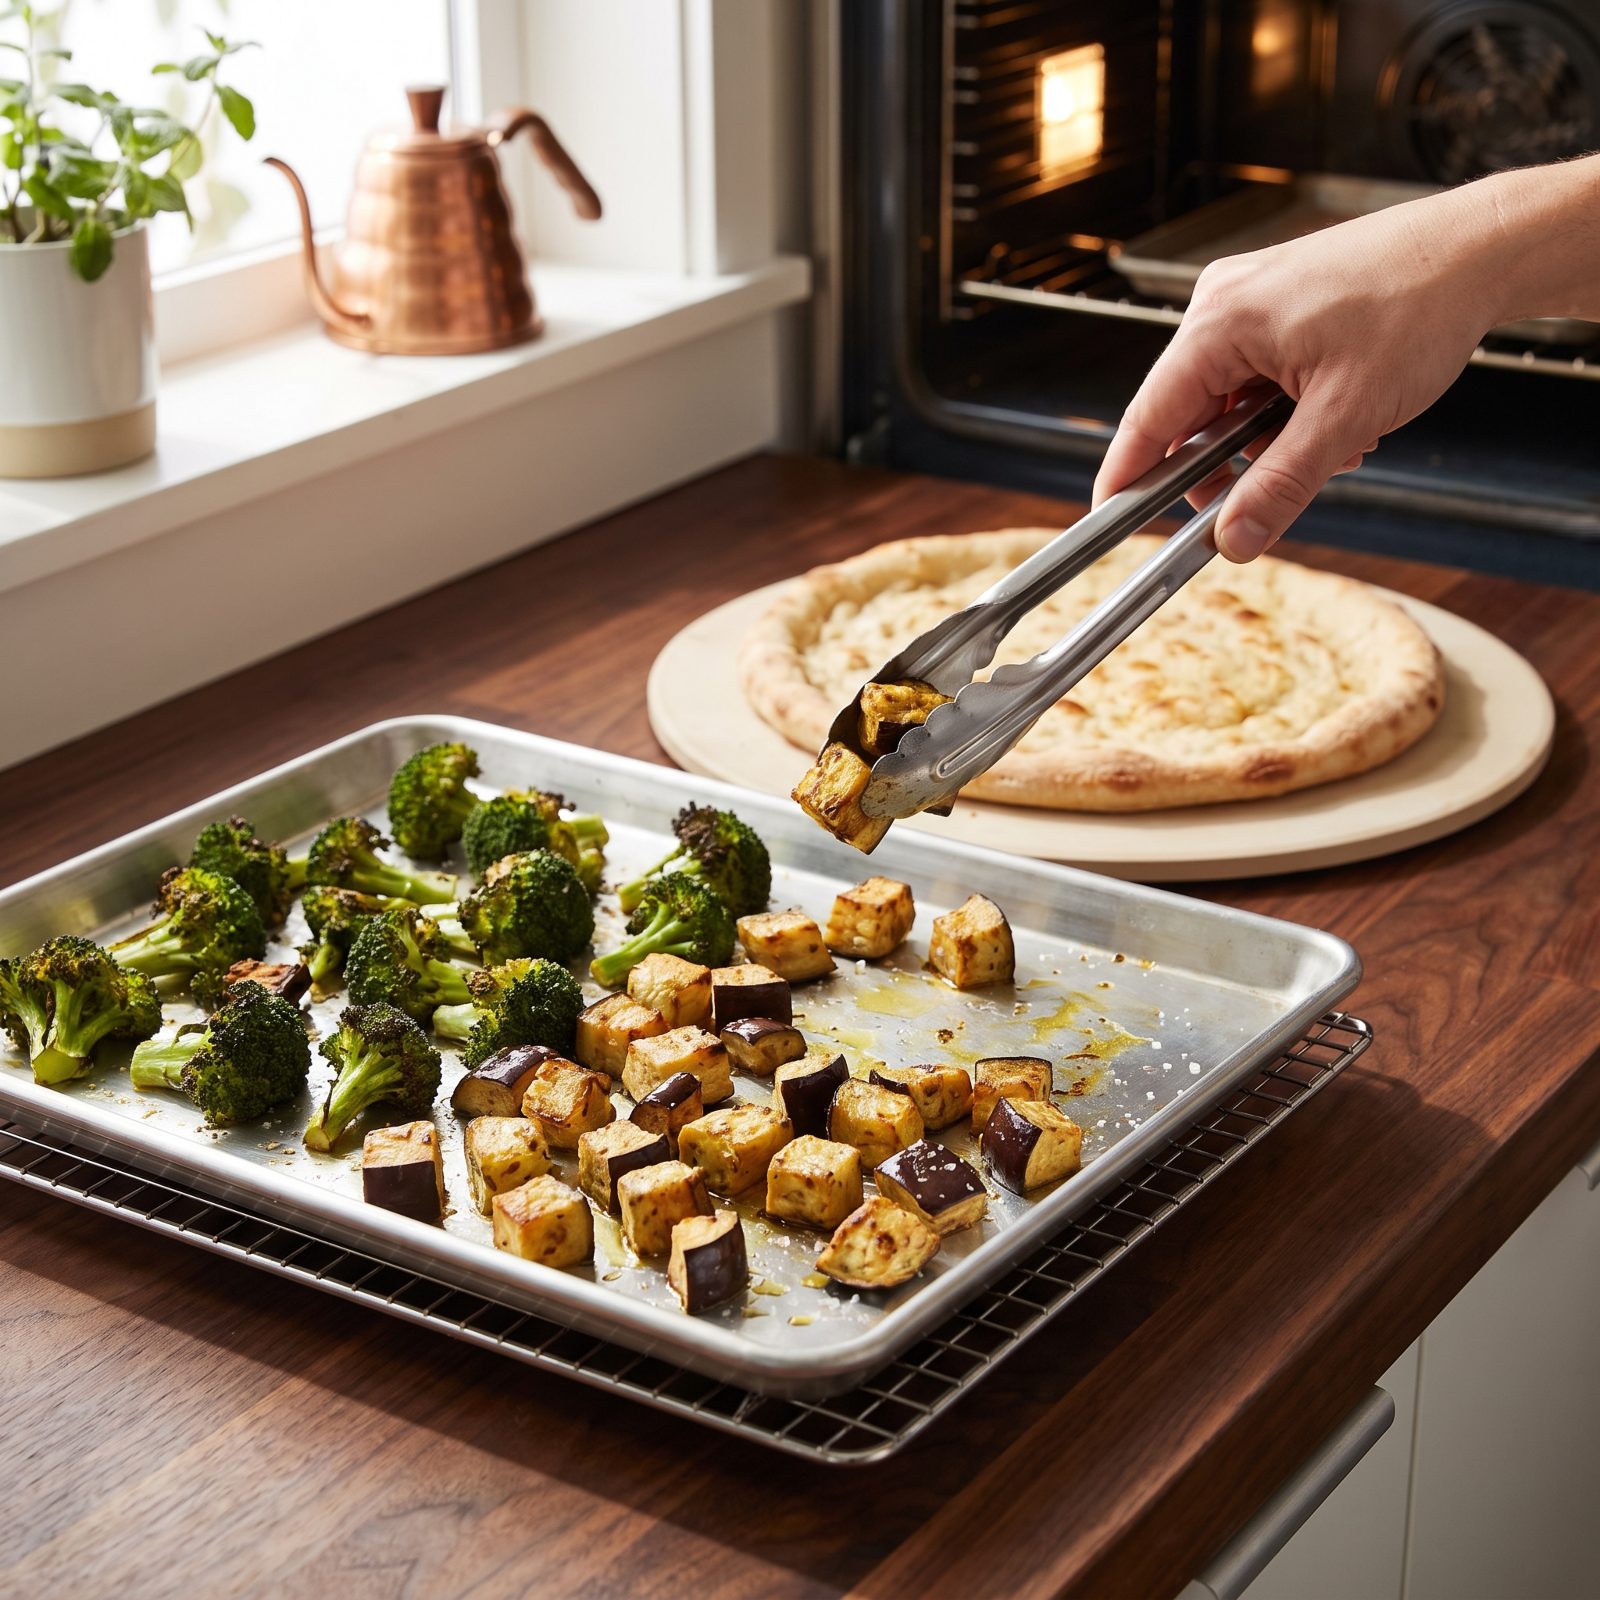
Broccoli and eggplant never cook through in the few minutes a pizza gets. Raw broccoli florets come out woody and squeaky, and raw eggplant turns into a bitter, spongy problem that drinks oil and gives nothing back.
Roast them first. Toss with olive oil and salt, spread on a sheet pan, and roast hot until the edges char and caramelize. Broccoli wants a good while in there, eggplant a bit less. They come out tender, sweet, crisp-tipped.
Now they’re an ingredient instead of an obstacle. Scatter them on in the last minute of baking so those char spots stay sharp rather than steaming soft under the cheese.
11. Partially Cook Bacon Before Putting It on Pizza
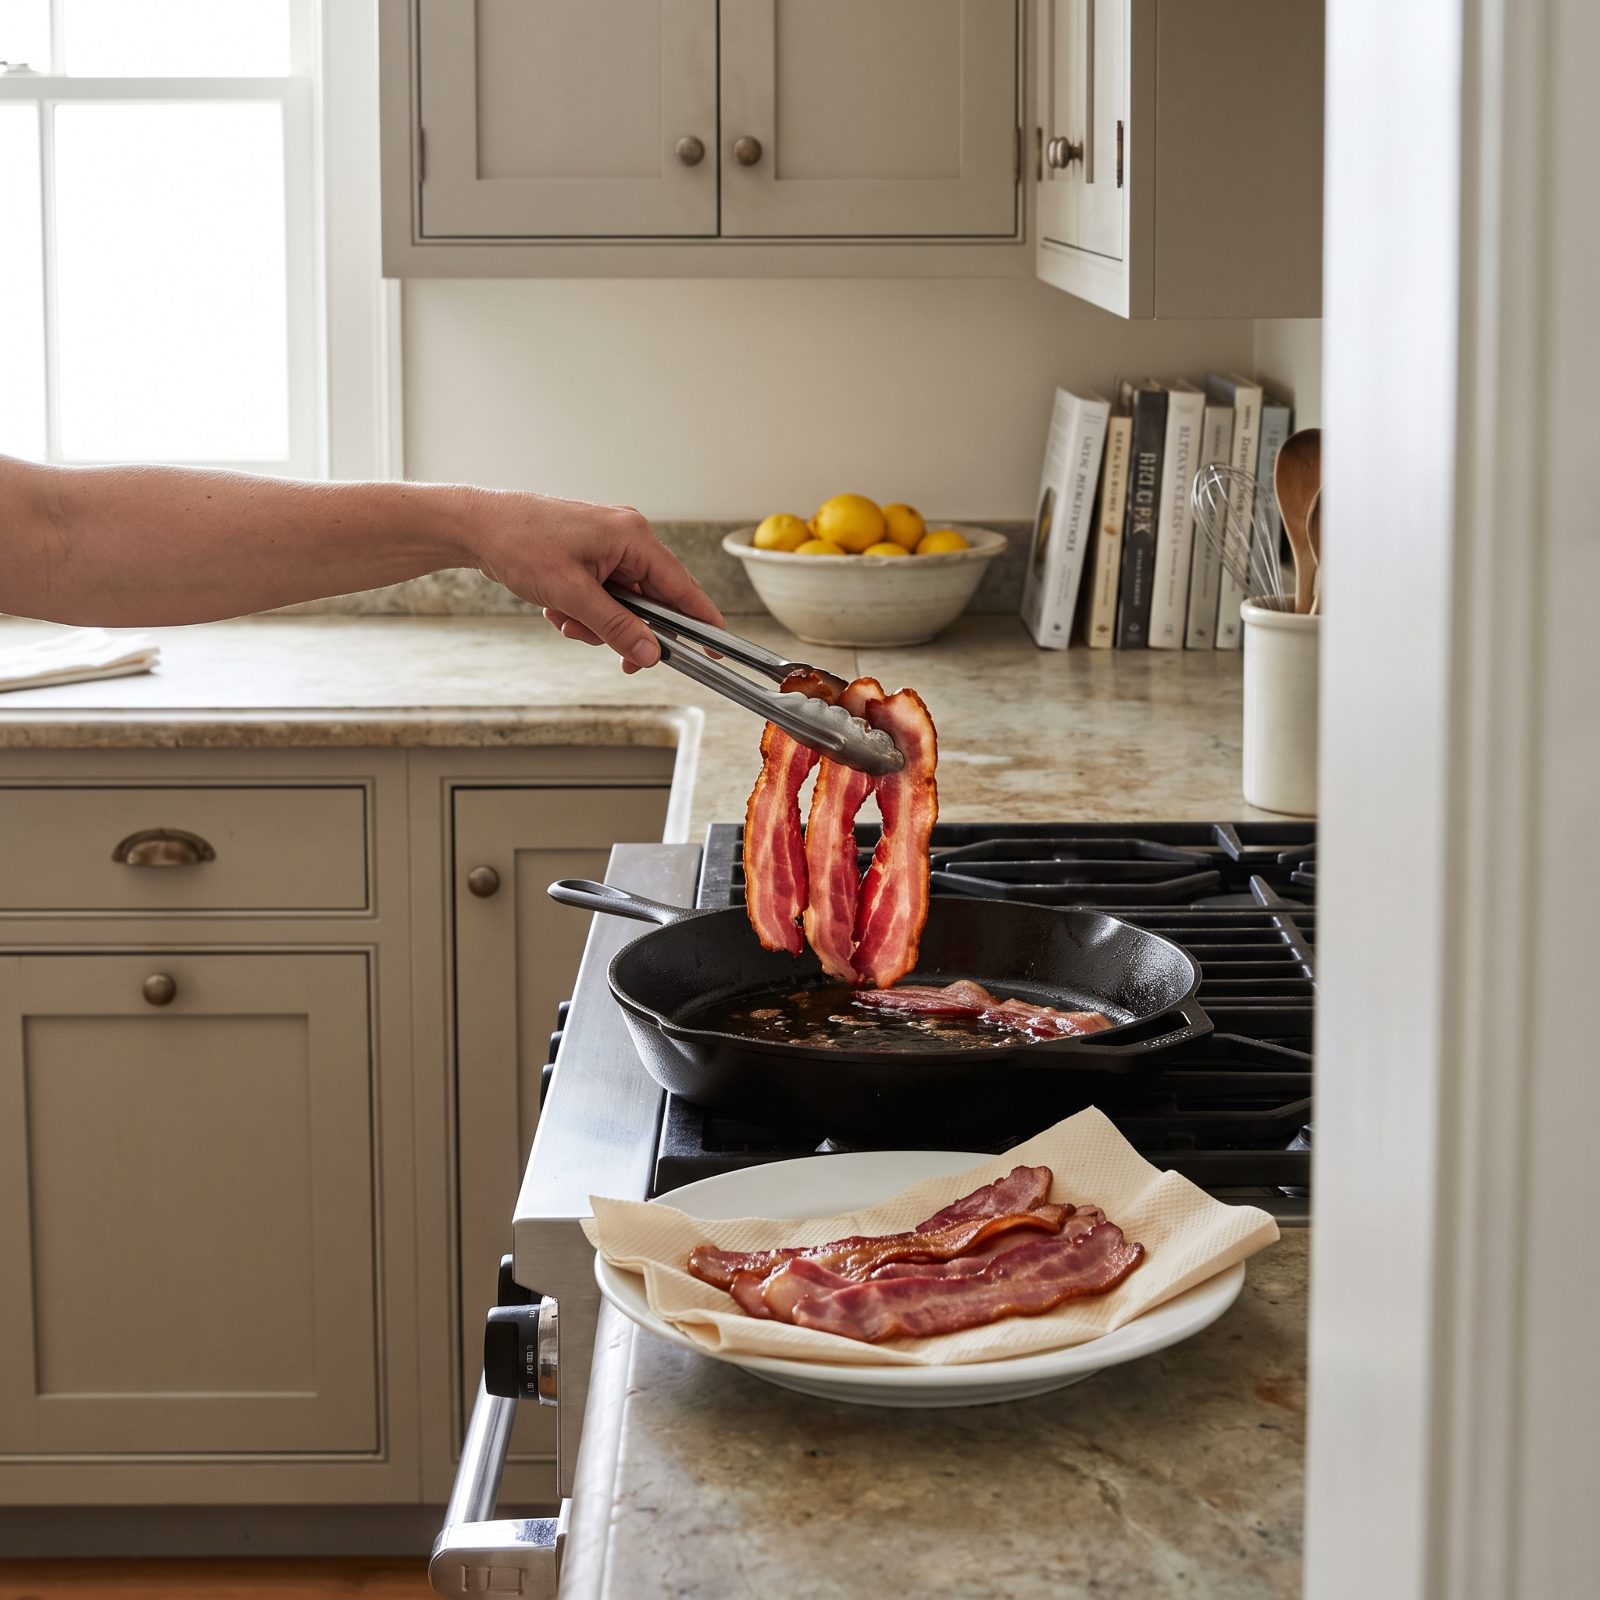
Raw bacon on a pizza is a gamble you lose. The crust and cheese finish long before the bacon renders, so you end up with floppy, pale, chewy strips sitting in a slick of uncooked fat that greases the whole top.
Cook it about halfway first. You want the fat starting to render and the edges turning gold, but the strips still bendable so they drape over the pie. Drain them on paper towel to pull off the excess.
In the oven they finish into crisp, smoky bits instead of limp ribbons. Chop or crumble before scattering so every slice gets some.
10. Use Cup-and-Char Pepperoni for Crisp Edges
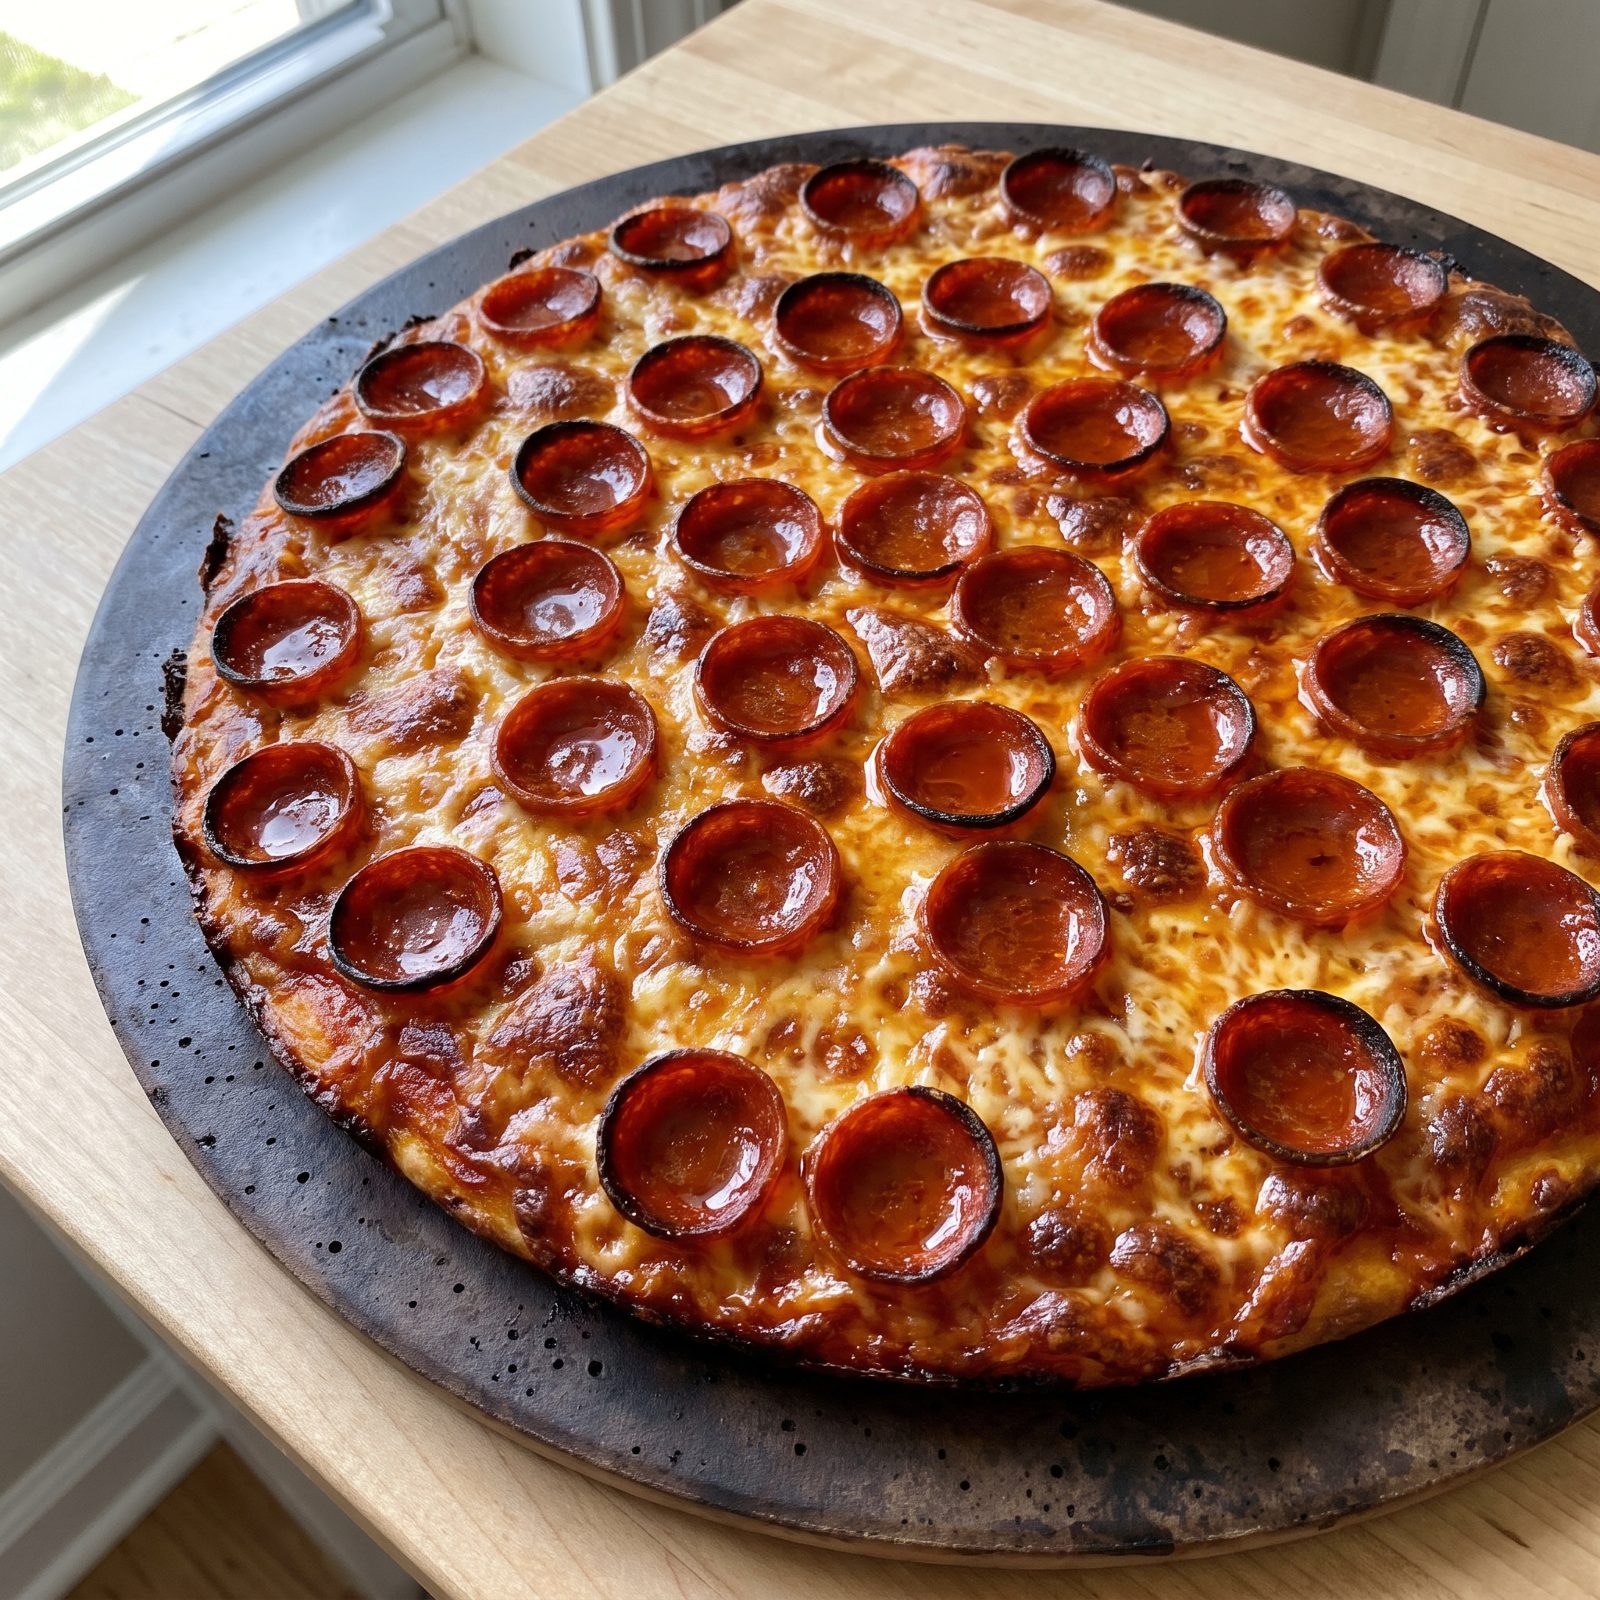
You know the pepperoni everyone fights over — the slices that curl up into little cups with crisp, slightly blackened rims and a shot of spiced oil pooled in the middle. That’s no accident. It’s a specific kind of pepperoni.
Flat deli pepperoni just lies there and stays soft. Natural-casing, smaller-diameter pepperoni curls as it heats because the edges contract faster than the center. Look for cup-and-char or old-world style. Brands like Ezzo and Battistoni are built for exactly this.
Lay the slices right on the cheese, not buried under it — they need open heat to curl and crisp. Those charred cups are the best bite on the pie, and once you’ve had them the flat stuff is dead to you.
9. Distribute Toppings in Small Clusters Instead of Heavy Piles
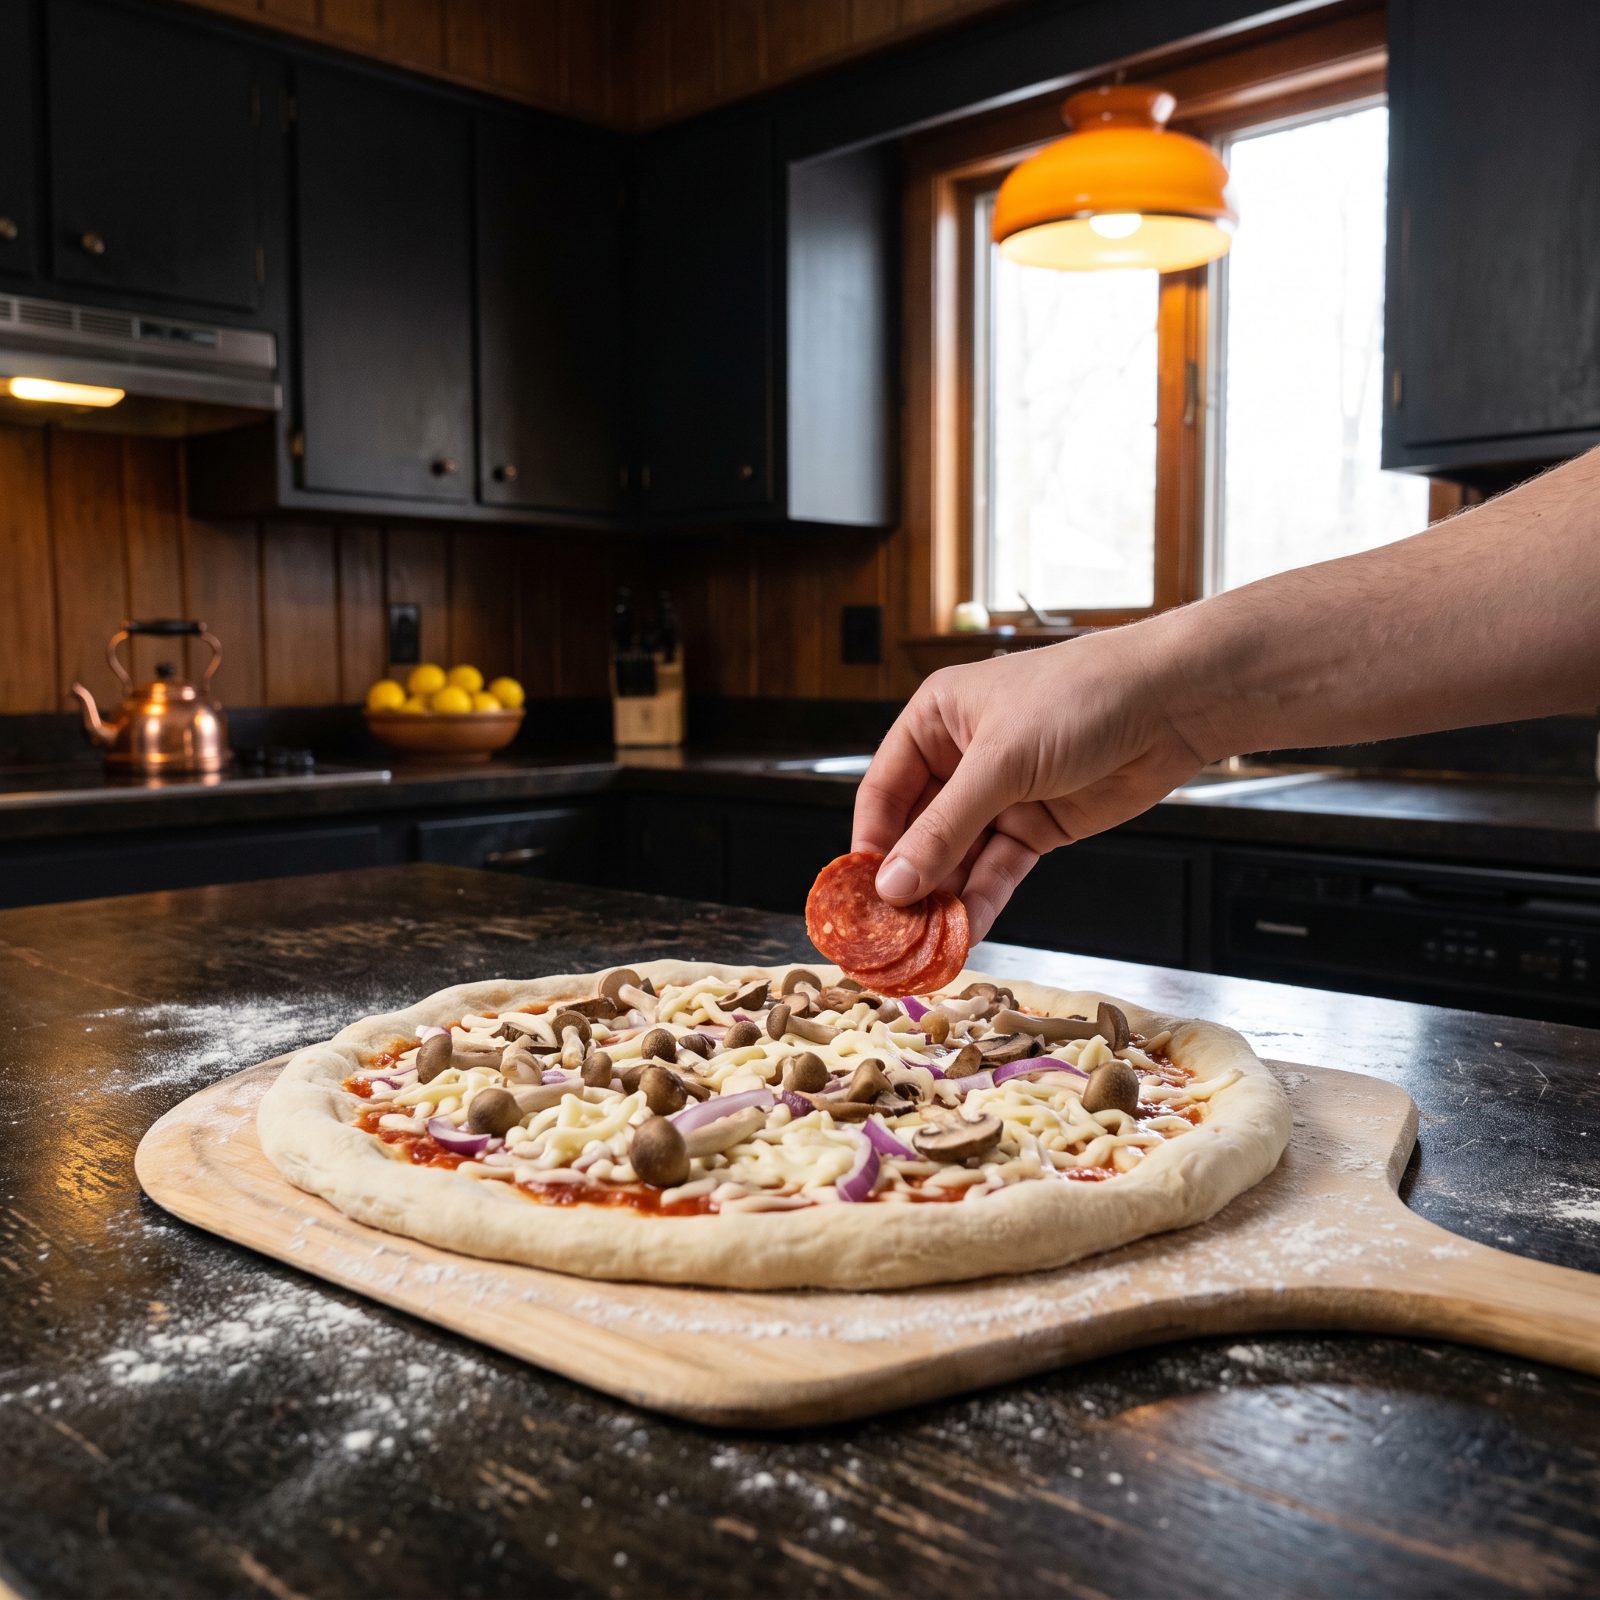
The instinct is to cover every inch, edge to edge, so no bite goes naked. That’s exactly how you get a soggy, dense, undercooked pie. A heavy blanket of toppings traps steam, blocks heat from the cheese, and weighs the whole thing down so the center never sets.
Scatter instead. Small clusters spread across the pie, with gaps where the cheese and sauce show through. Air circulates, everything cooks evenly, and the crust underneath gets a chance to crisp.
Less really is more here. A pie with breathing room bakes faster, bubbles better, and holds its shape when you lift a slice. Trust the gaps, and go pull one out of the oven.
8. Brush the Exposed Rim with Olive Oil Before Baking
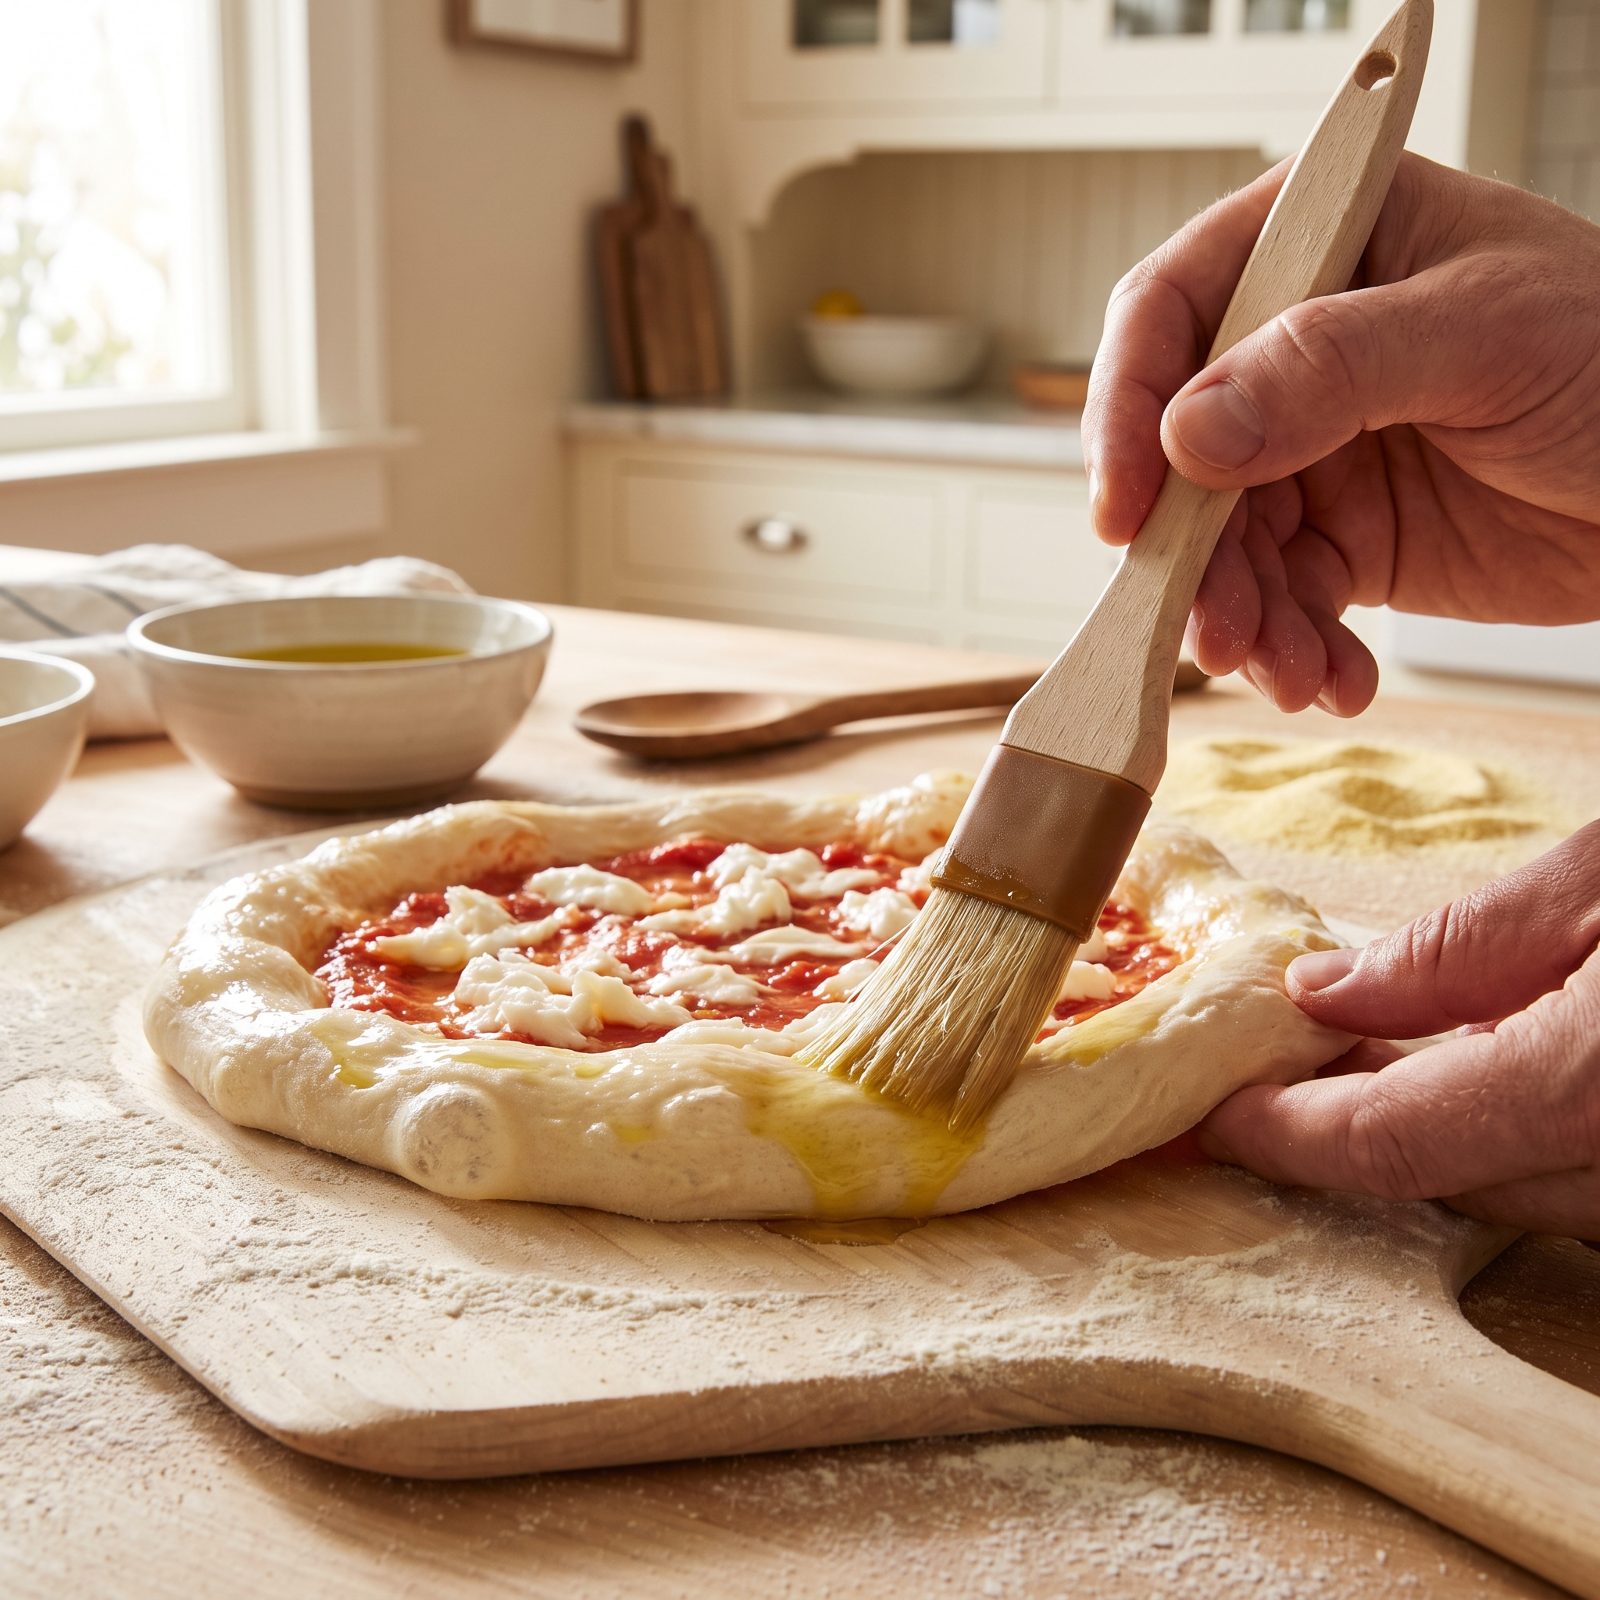
The crust comes out pale and matte, like it never fully woke up in the oven. That naked rim is a missed opportunity, and you taste the difference the second you bite into one that got the oil treatment versus one that didn’t.
A generous brush of olive oil along the exposed edge does two things. It drives heat into the outer dough so the rim blisters and browns instead of just drying out, and it carries flavor right into the chewiest part of the slice. Dry rim means cardboard. An oiled rim gives you that glossy, freckled cornicione you remember leaning on at the counter.
Use a good extra-virgin and a soft brush. Paint the outer inch right before the pizza goes in — a generous coat, even if a little runs down the side and pools on the peel. You want it glistening.
7. Use Garlic-Infused Oil Instead of Raw Garlic That Can Burn
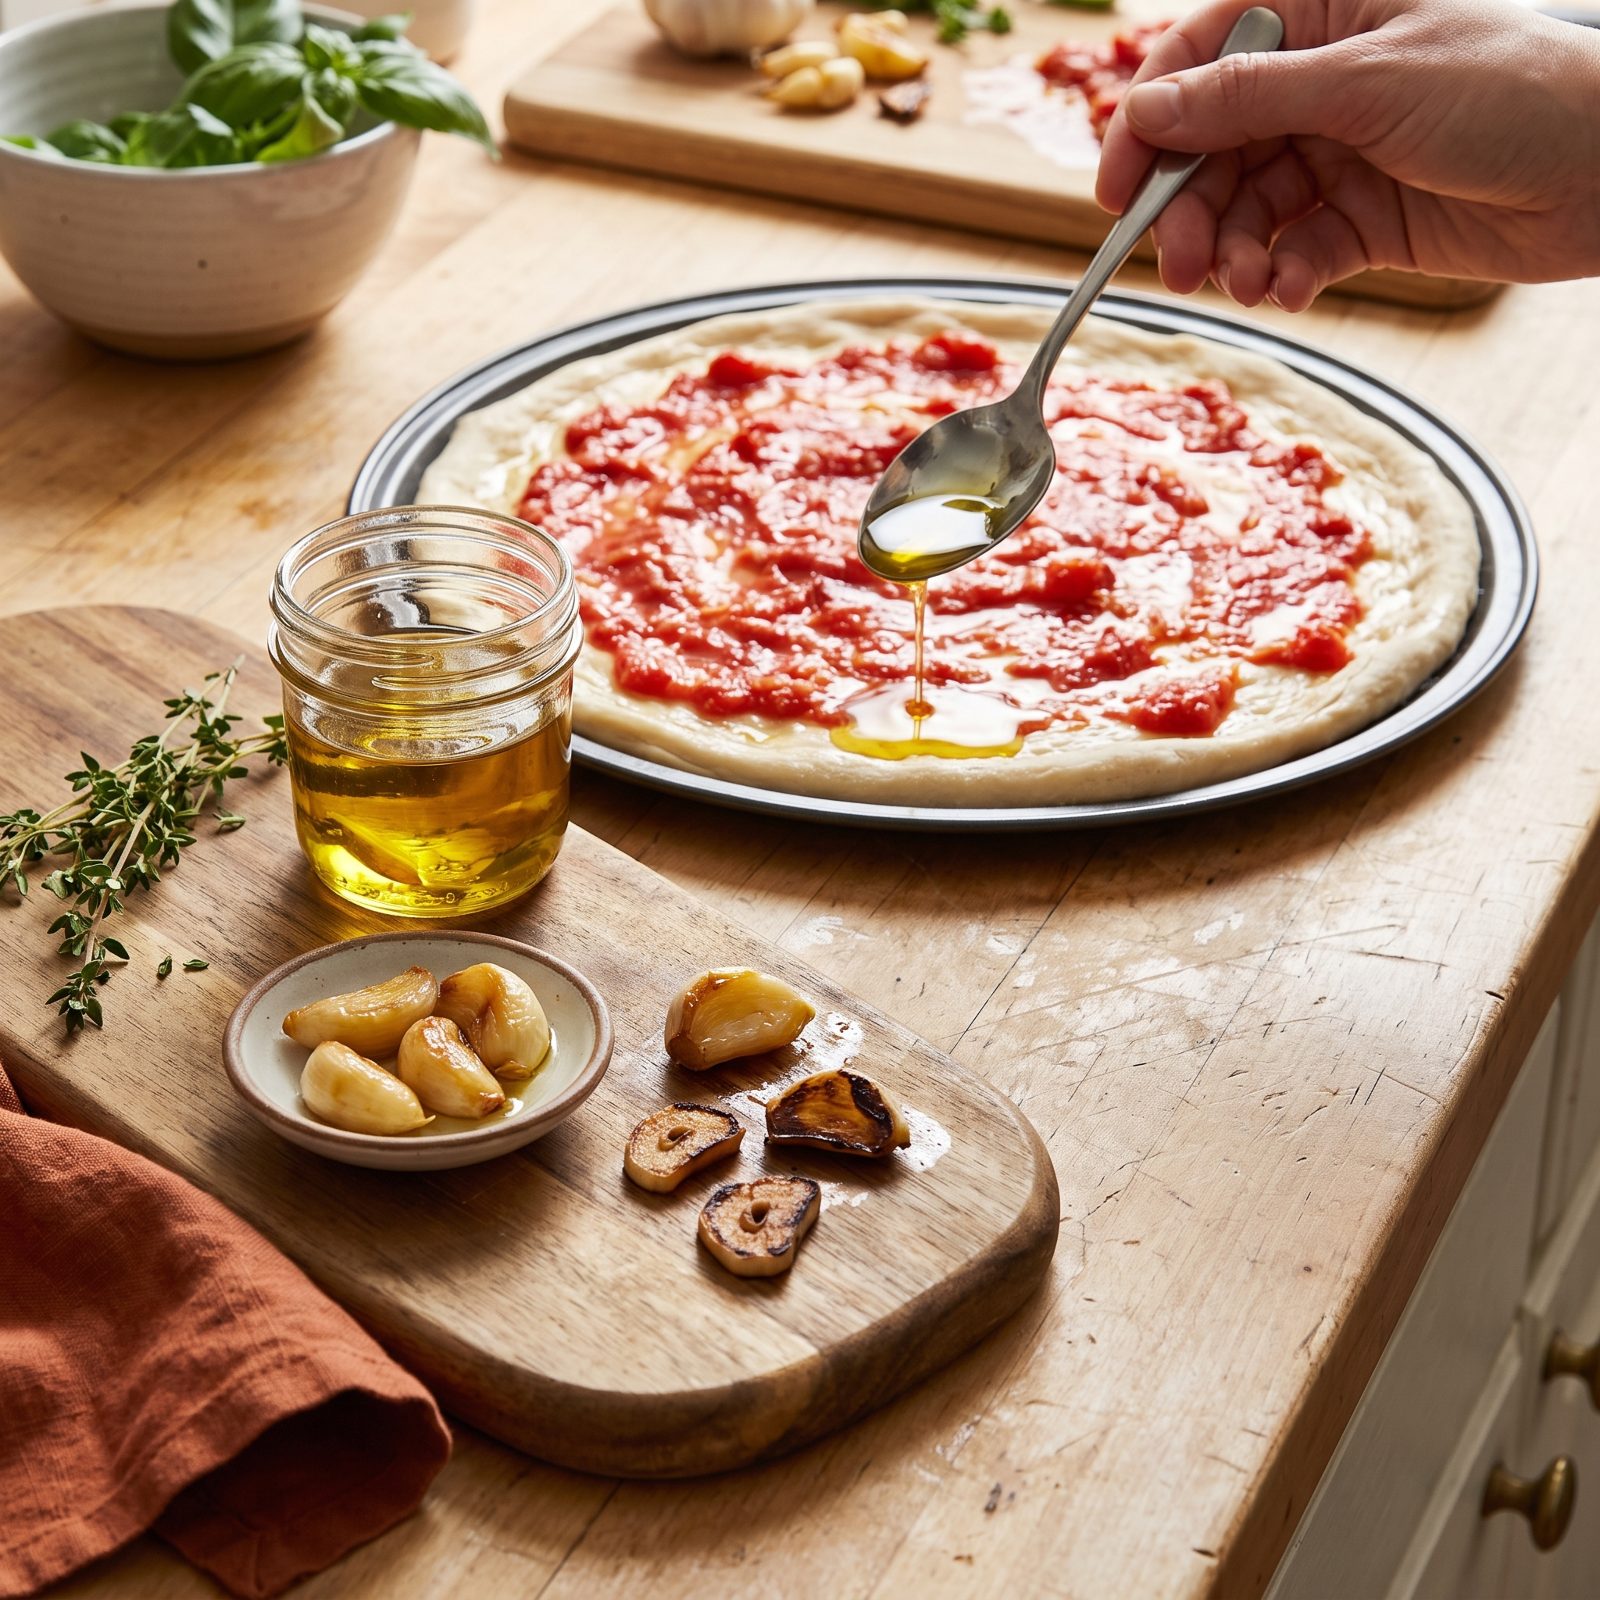
Raw minced garlic scattered on a pie sounds right until you pull it out and find little bitter black flecks where the slivers caught the heat. Garlic scorches fast on a high, dry oven floor, and burnt garlic has a taste that bulldozes everything else on the slice.
Infused oil fixes this without losing a thing — round, mellow garlic flavor woven through the whole pizza, and nothing left to blacken. Warm a cup of olive oil gently with a few smashed cloves over low heat for a while, never letting it bubble hard, then strain it off. Keep the jar handy and brush it on the base or drizzle it after.
I ruined plenty of otherwise fine pizzas before I figured this out. The oven doesn’t care how fresh your garlic is. It only cares that it’s sitting there exposed at 550 degrees.
6. Add Fresh Basil Only After the Pizza Leaves the Oven
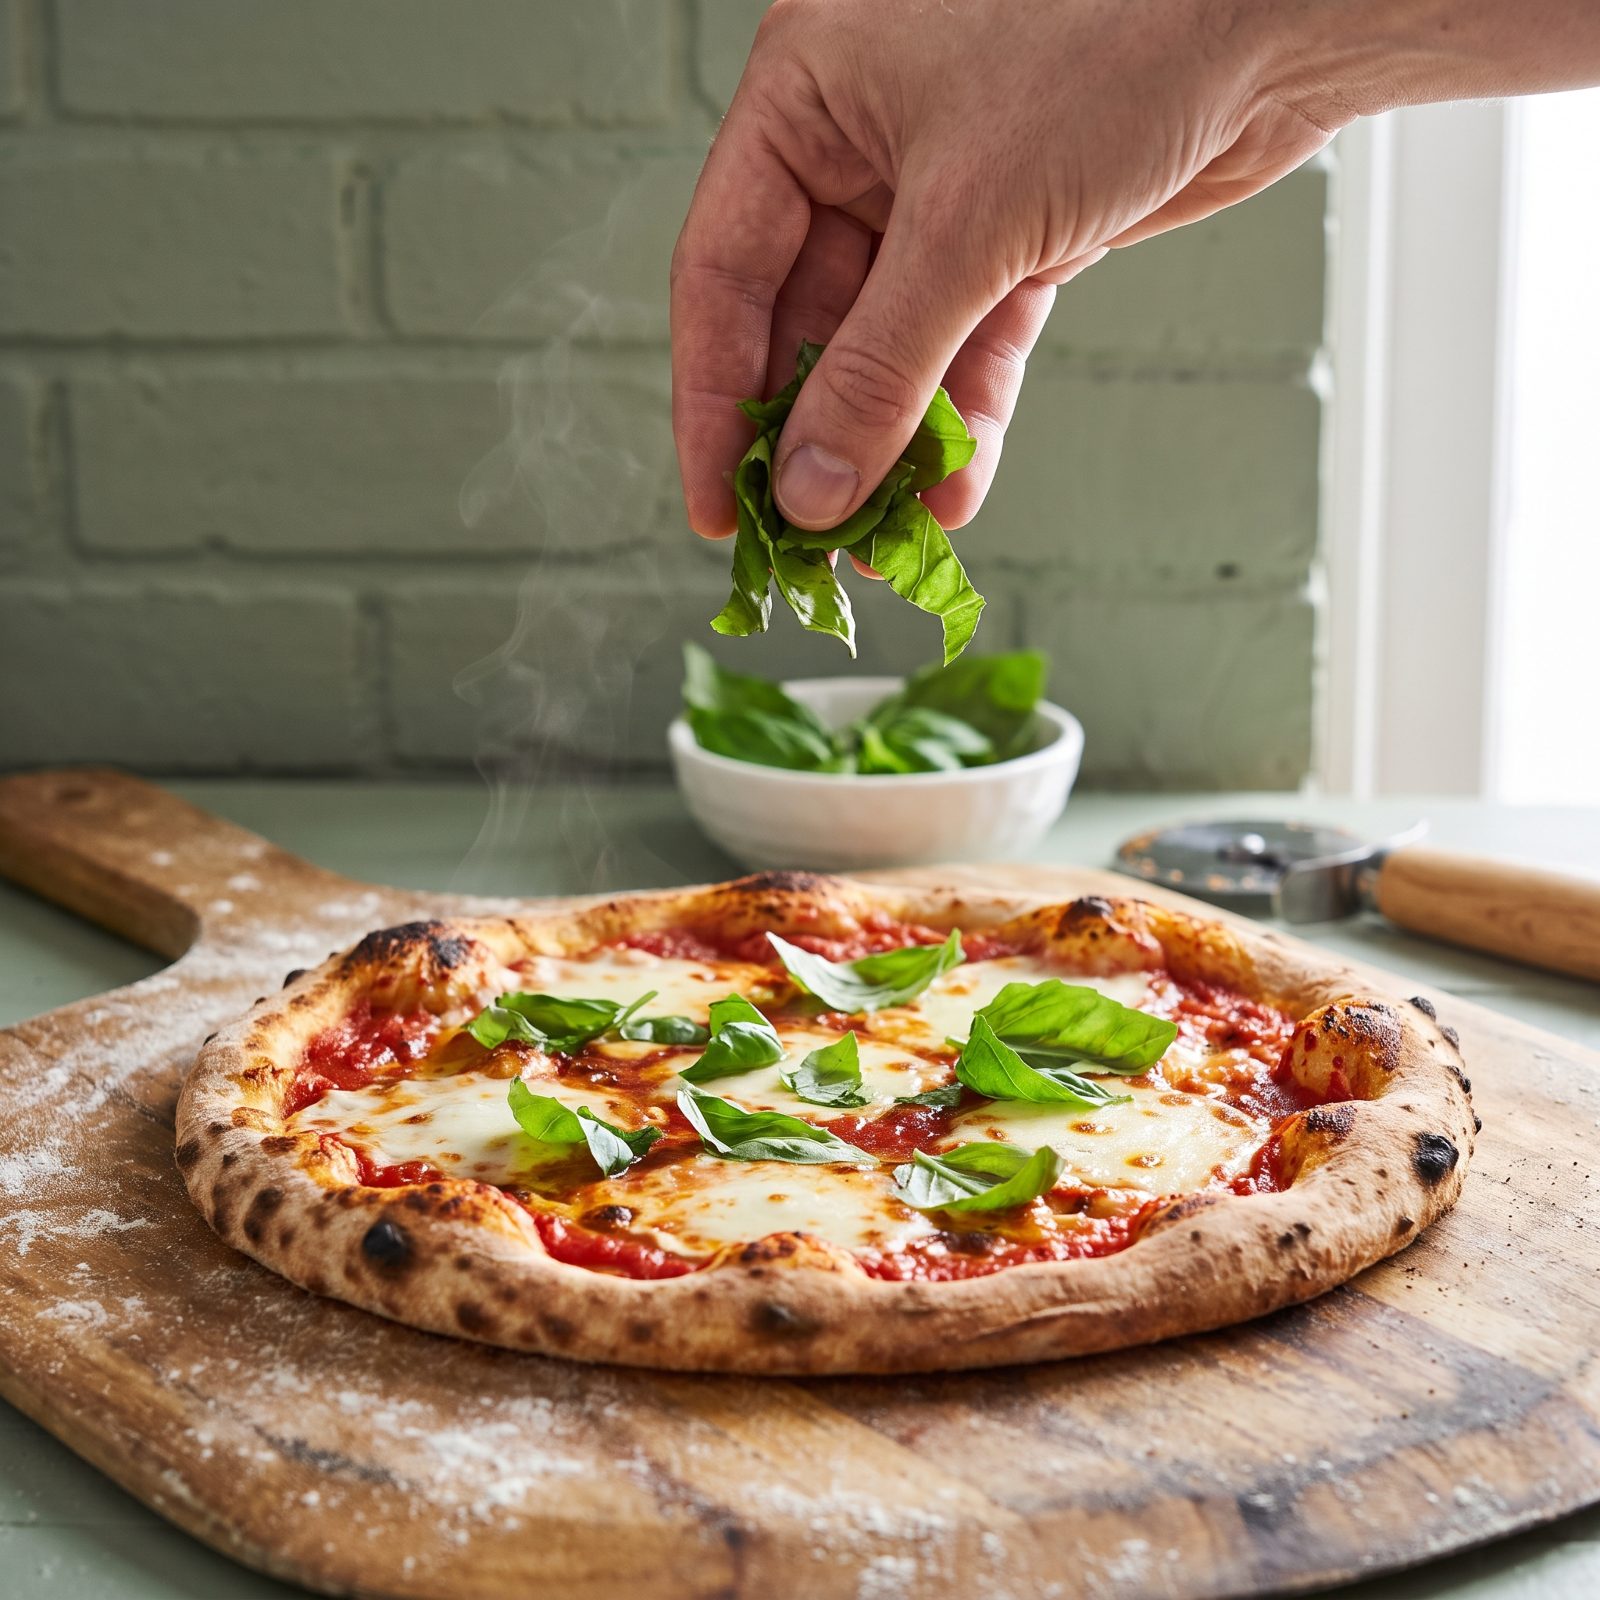
You’ve seen basil go into the oven green and come out looking like wet tobacco — dark, limp, and smelling faintly of hay. Heat wrecks fresh basil in under a minute. The volatile oils that give it that peppery, sweet snap simply cook off, and the leaf blackens at the edges.
The fix is almost too simple. Bake the pizza bare of basil, then tear fresh leaves over the top the moment it comes out, while the cheese is still molten enough to hold them. Residual heat wilts them just slightly and releases the aroma instead of destroying it.
Tear, don’t chop. A knife bruises the leaf and darkens the cut edges within minutes.
5. Finish with Finely Grated Pecorino Romano
Mozzarella gives you the pull and the stretch. What it doesn’t give you is much flavor, and that’s the gap a lot of home pies fall into — they look right and taste flat.
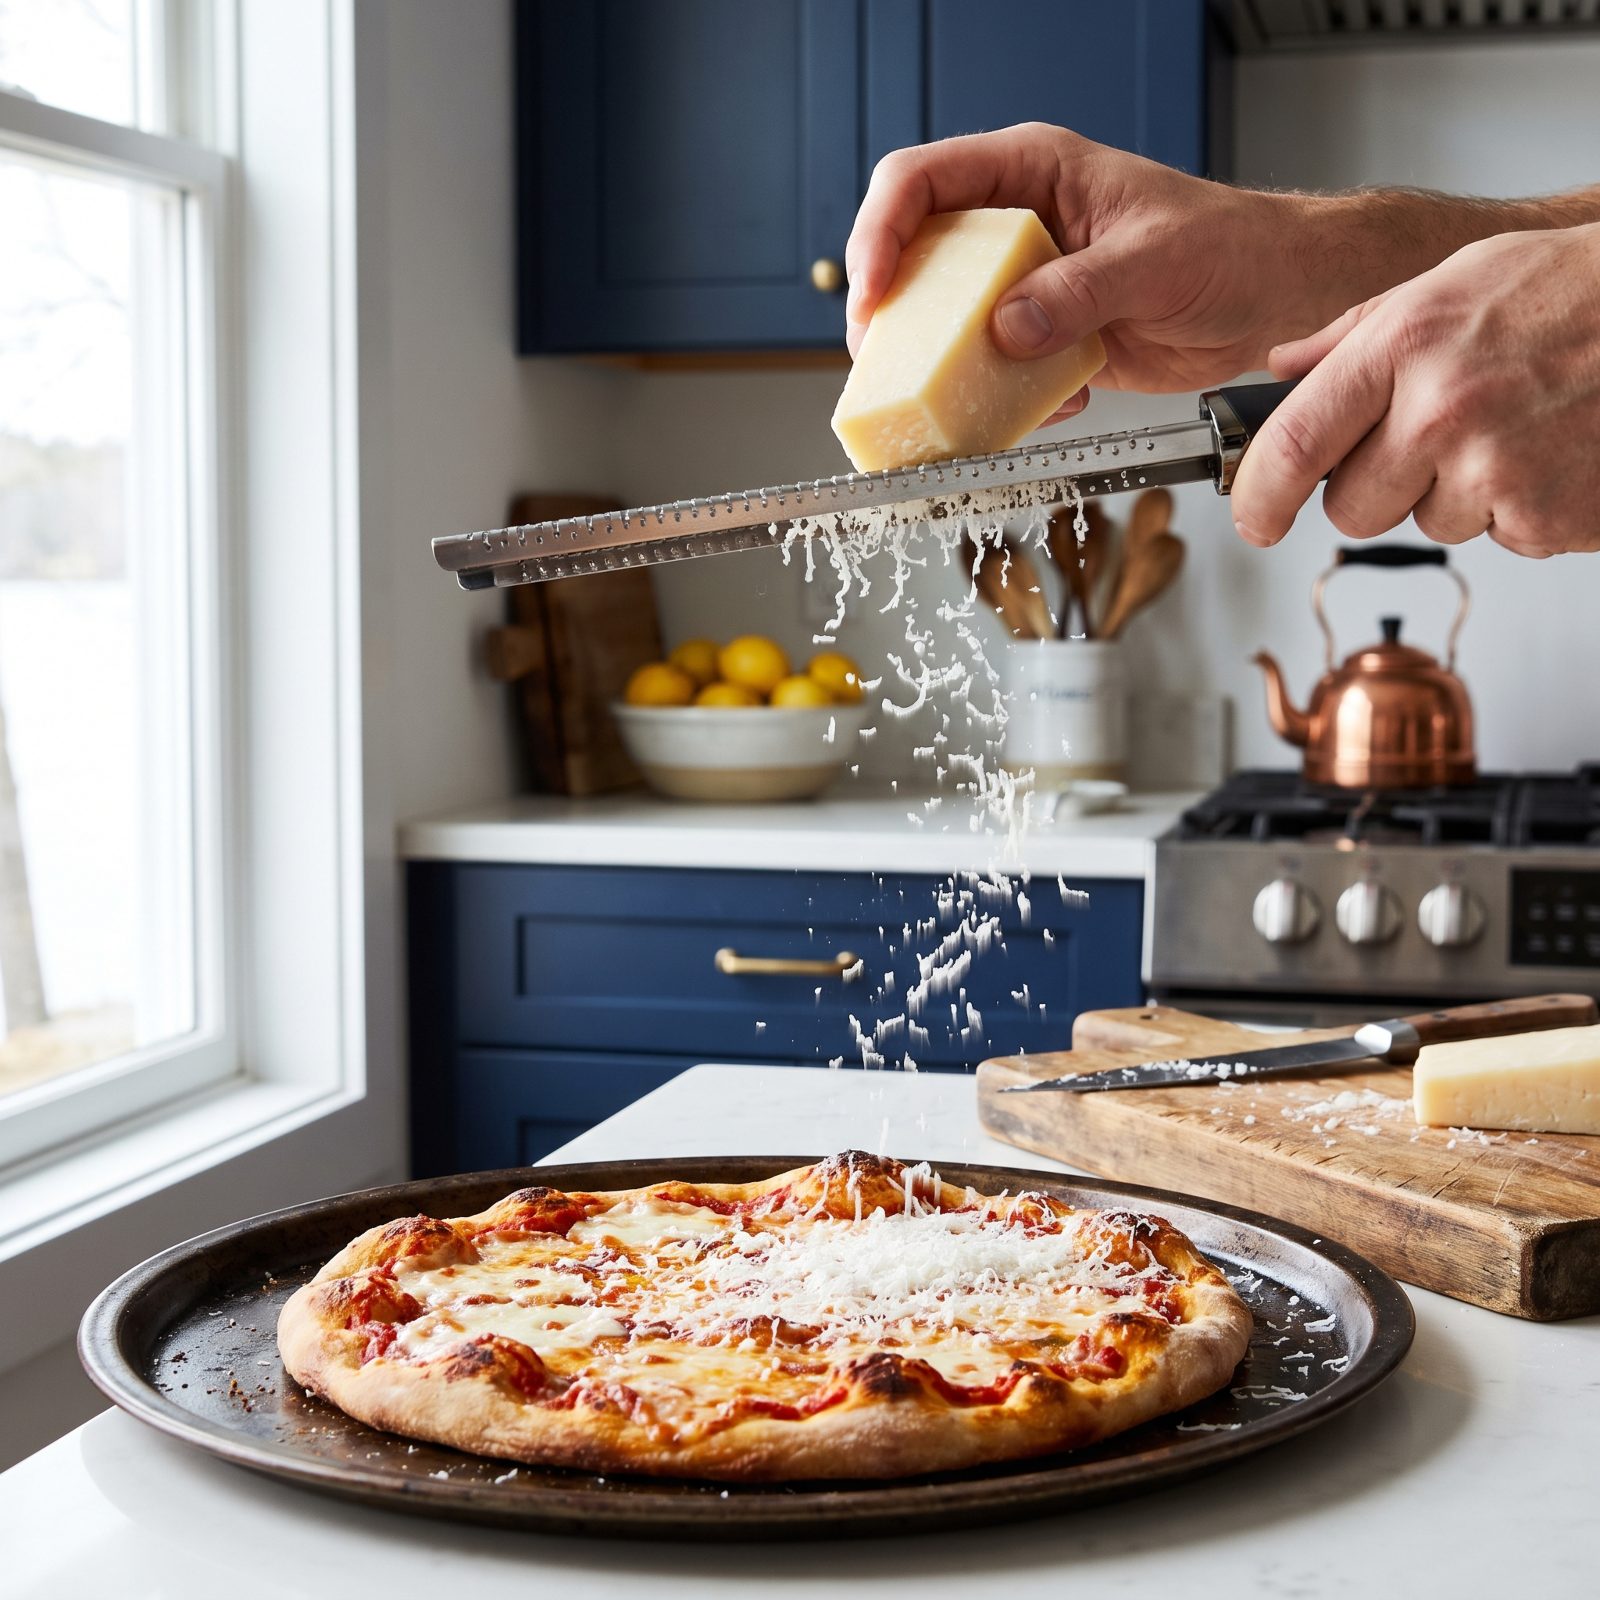
A fine grating of Pecorino Romano over the finished pizza closes that gap in one pass. Pecorino is sharp, salty, and a little funky, the sheep’s-milk cousin to Parmesan with more backbone. Microplaned into a fine dust, it melts against the hot cheese and hits every bite with savor. Do it after baking, never before, so it keeps its edge instead of melting into the background.
Don’t be shy. Keep grating until a snowy drift covers the center of the pie — a generous handful over the whole thing is about right, and it’ll make a plain cheese pizza taste like it came off a real counter.
4. Drizzle Hot Honey After Baking, Never Before
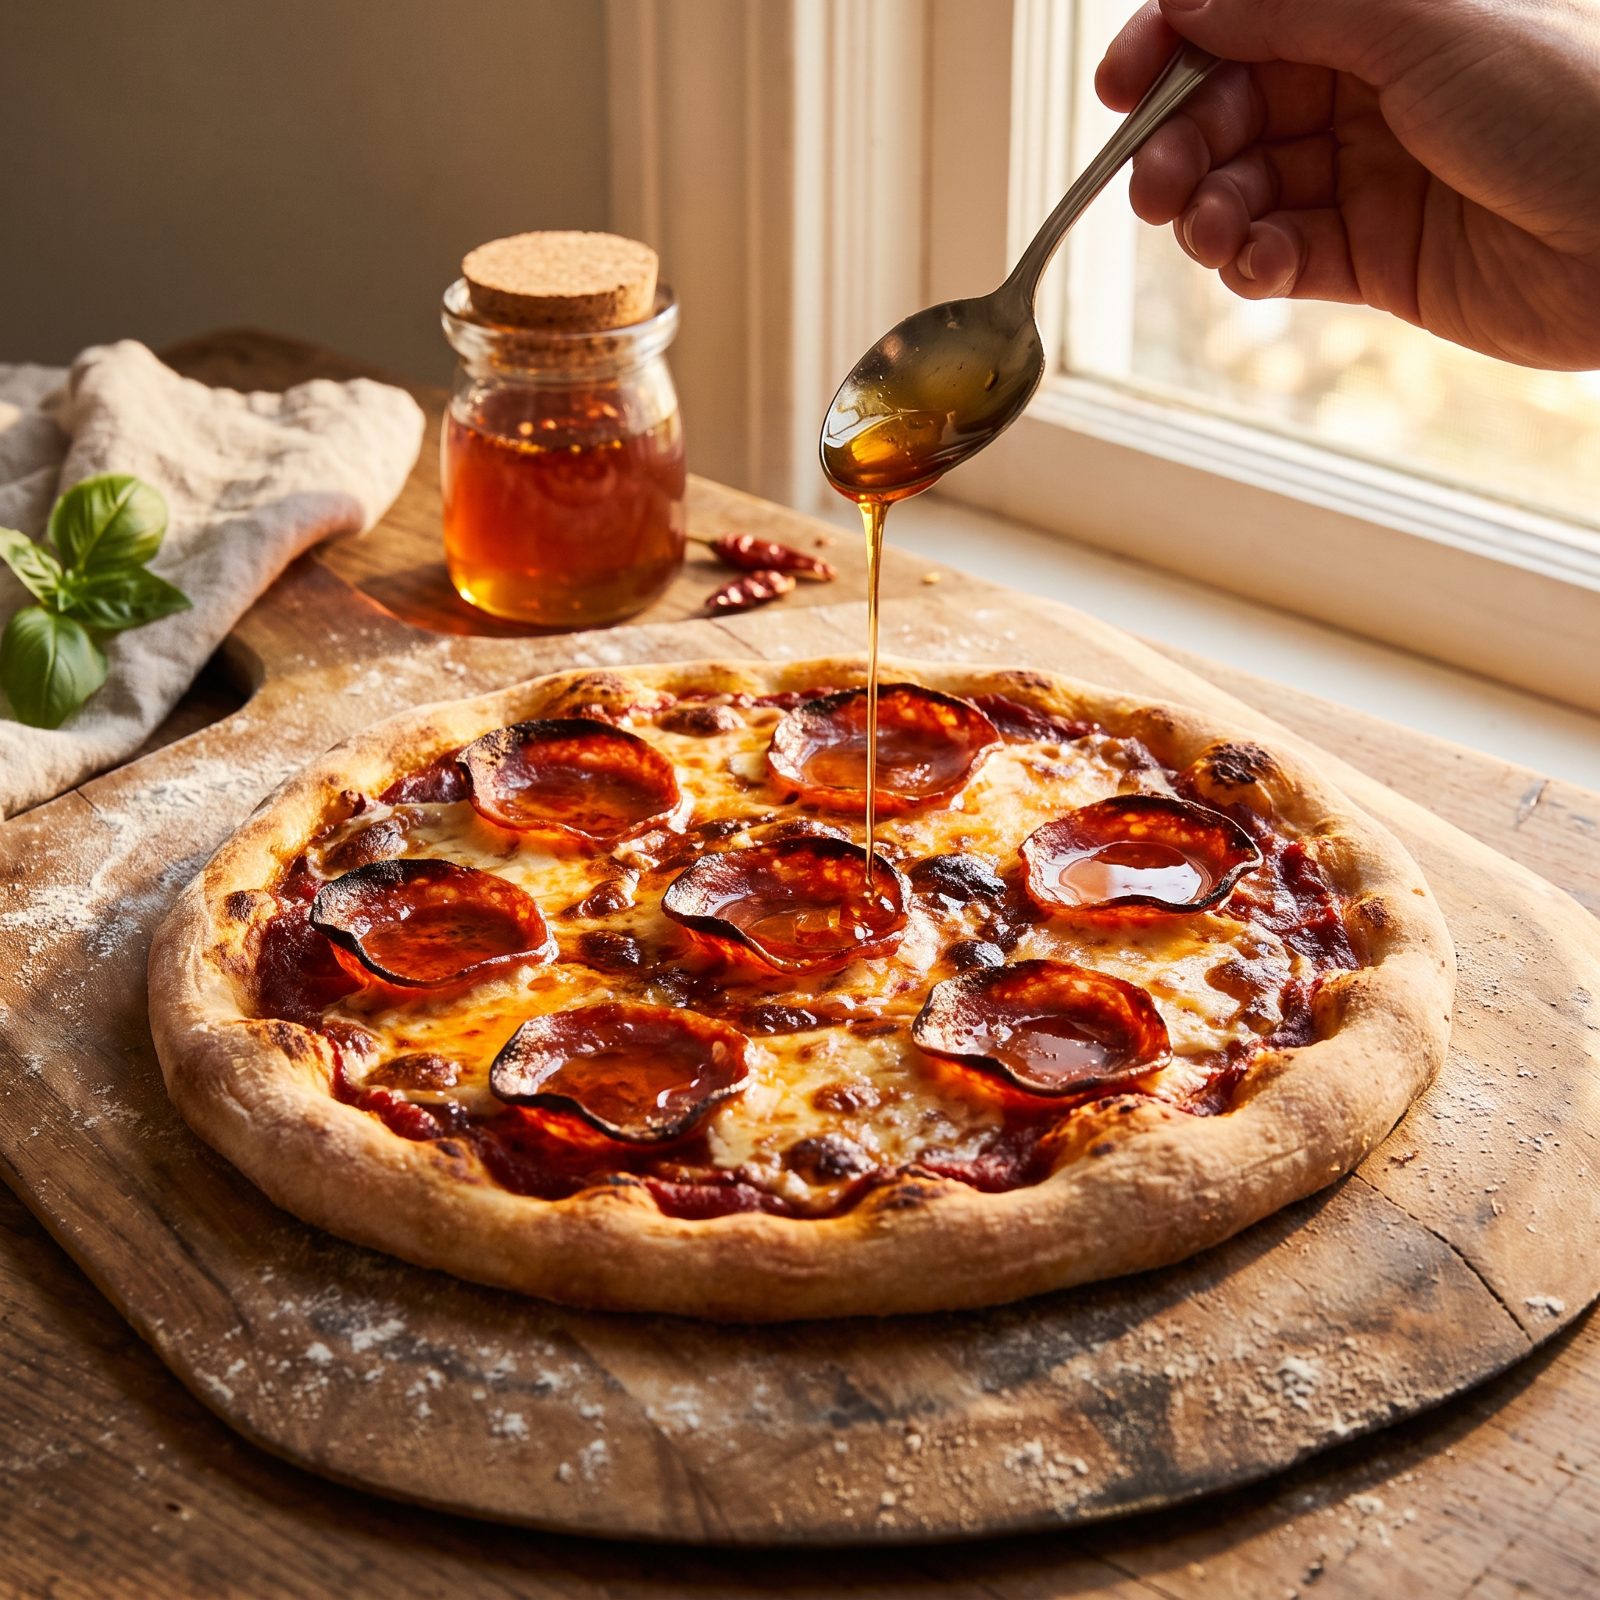
Honey on the dough before baking is a sticky, scorched mistake. Sugar caramelizes fast and then burns, so you end up with dark bitter patches instead of that sweet-heat finish you were after.
Put it on at the end. A thin drizzle of hot honey over a finished pie — especially one with spicy soppressata or a salty cheese — is one of the great modern pizza moves. The sweetness plays off the salt, the chili warmth lingers, and because it lands on warm cheese it spreads into a thin glaze instead of sitting in blobs.
Make your own in two minutes: warm honey with a pinch of red pepper flakes, let it steep off the heat, drizzle. Start with less than you think. You can always add more, and nobody wants a dessert pizza by accident.
3. Push Cheese to the Pan’s Edge for a Detroit-Style Frico Crown
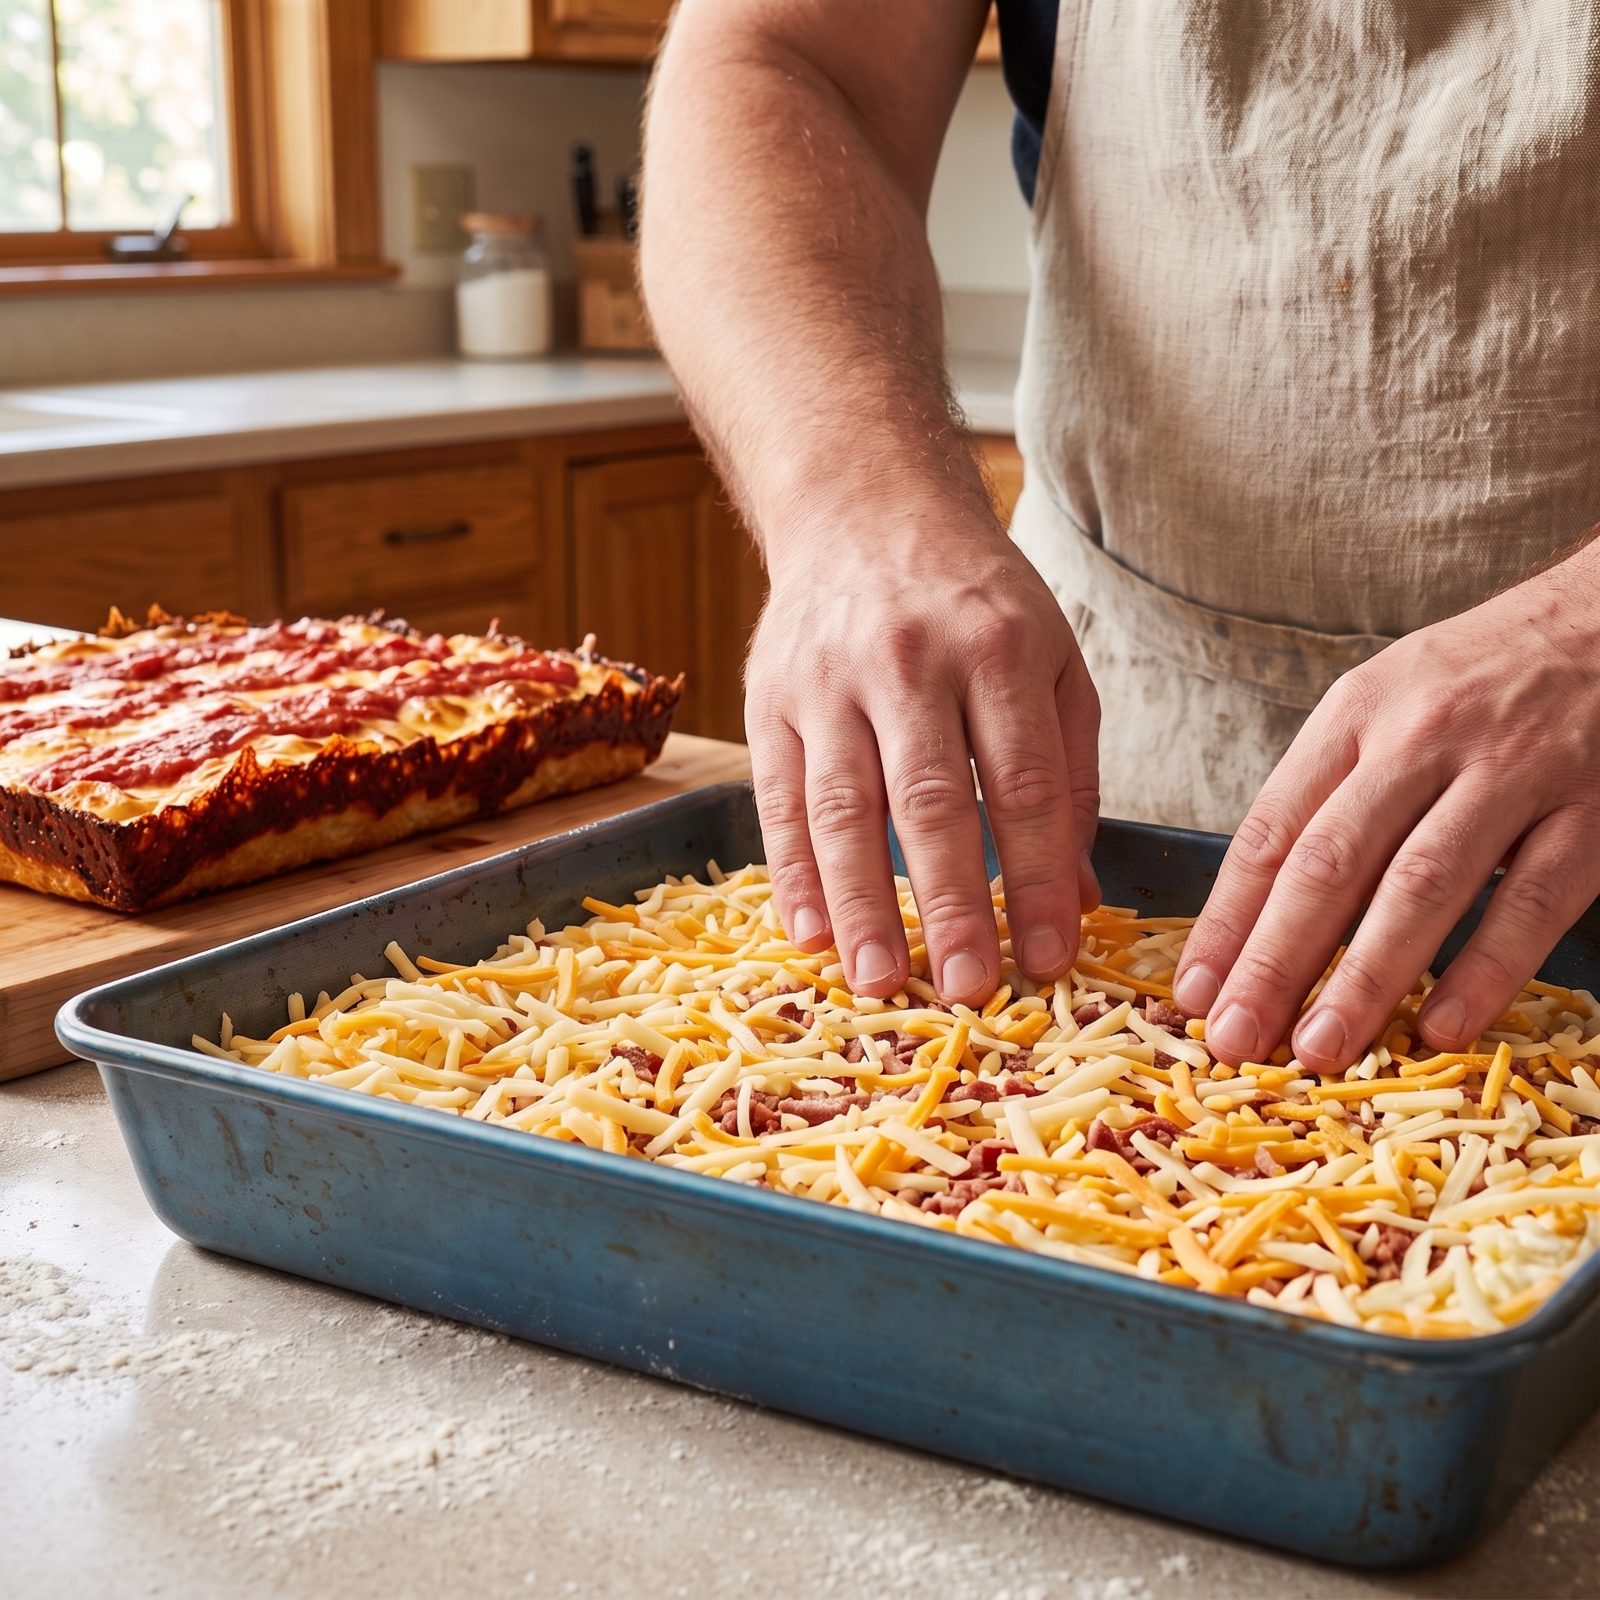
The glory of a Detroit square isn’t the top. It’s the edge. That lacy, deep-brown, almost-burnt ring of cheese fused to the pan wall — the frico — is the whole reason people drive across town for one. Most home bakers leave it on the table by stopping their cheese an inch short of the metal.
Push it right to the edge. Shred brick cheese, or a mix of low-moisture mozzarella and sharp cheddar, and pack it into the corners and up against the sides. As it bakes in a seasoned blue steel Detroit pizza pan, the cheese touching the hot metal caramelizes into a crisp, savory crown around the whole pie.
2. Dollop Ricotta Instead of Spreading It into a Heavy Blanket
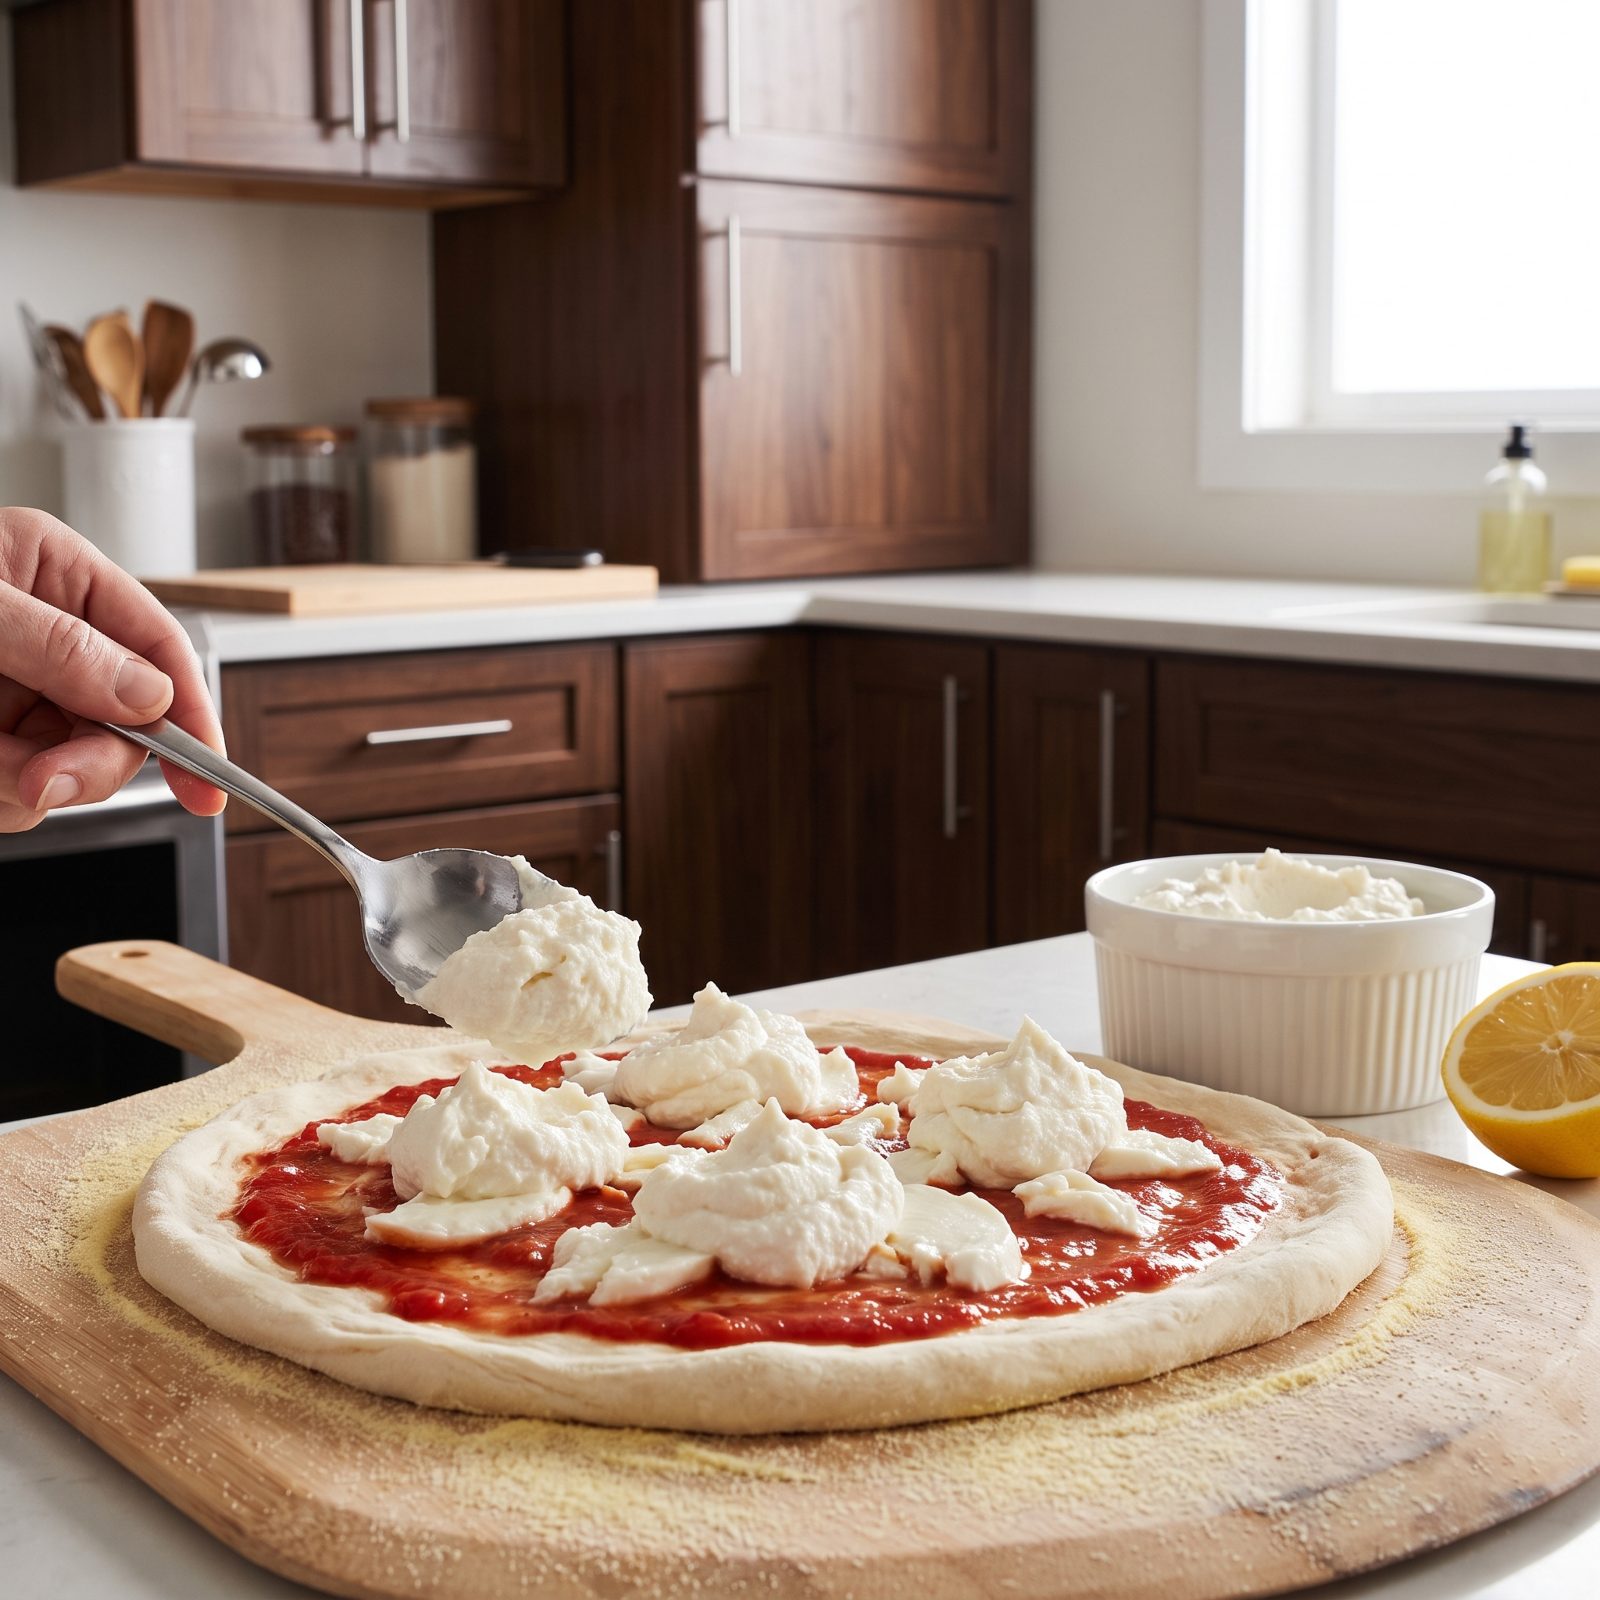
Spread ricotta edge to edge and you get a wet, pasty layer that steams the dough from above and tastes like wallpaper paste. It never crisps, it dilutes everything under it, and the pie slumps.
Dollop it instead. Small spoonfuls dropped across the pie, with bare gaps between them, give you creamy pockets that hold their shape and stay distinct from the sauce and cheese. Every few bites you hit a cool, rich spot instead of one uniform damp smear.
Season the ricotta first. A pinch of salt, a crack of black pepper, a little lemon zest, maybe a spoon of the Pecorino. Bland ricotta is the real reason people think they don’t like it.
1. Move the Baked Pizza to a Wire Rack So Steam Cannot Soften the Bottom
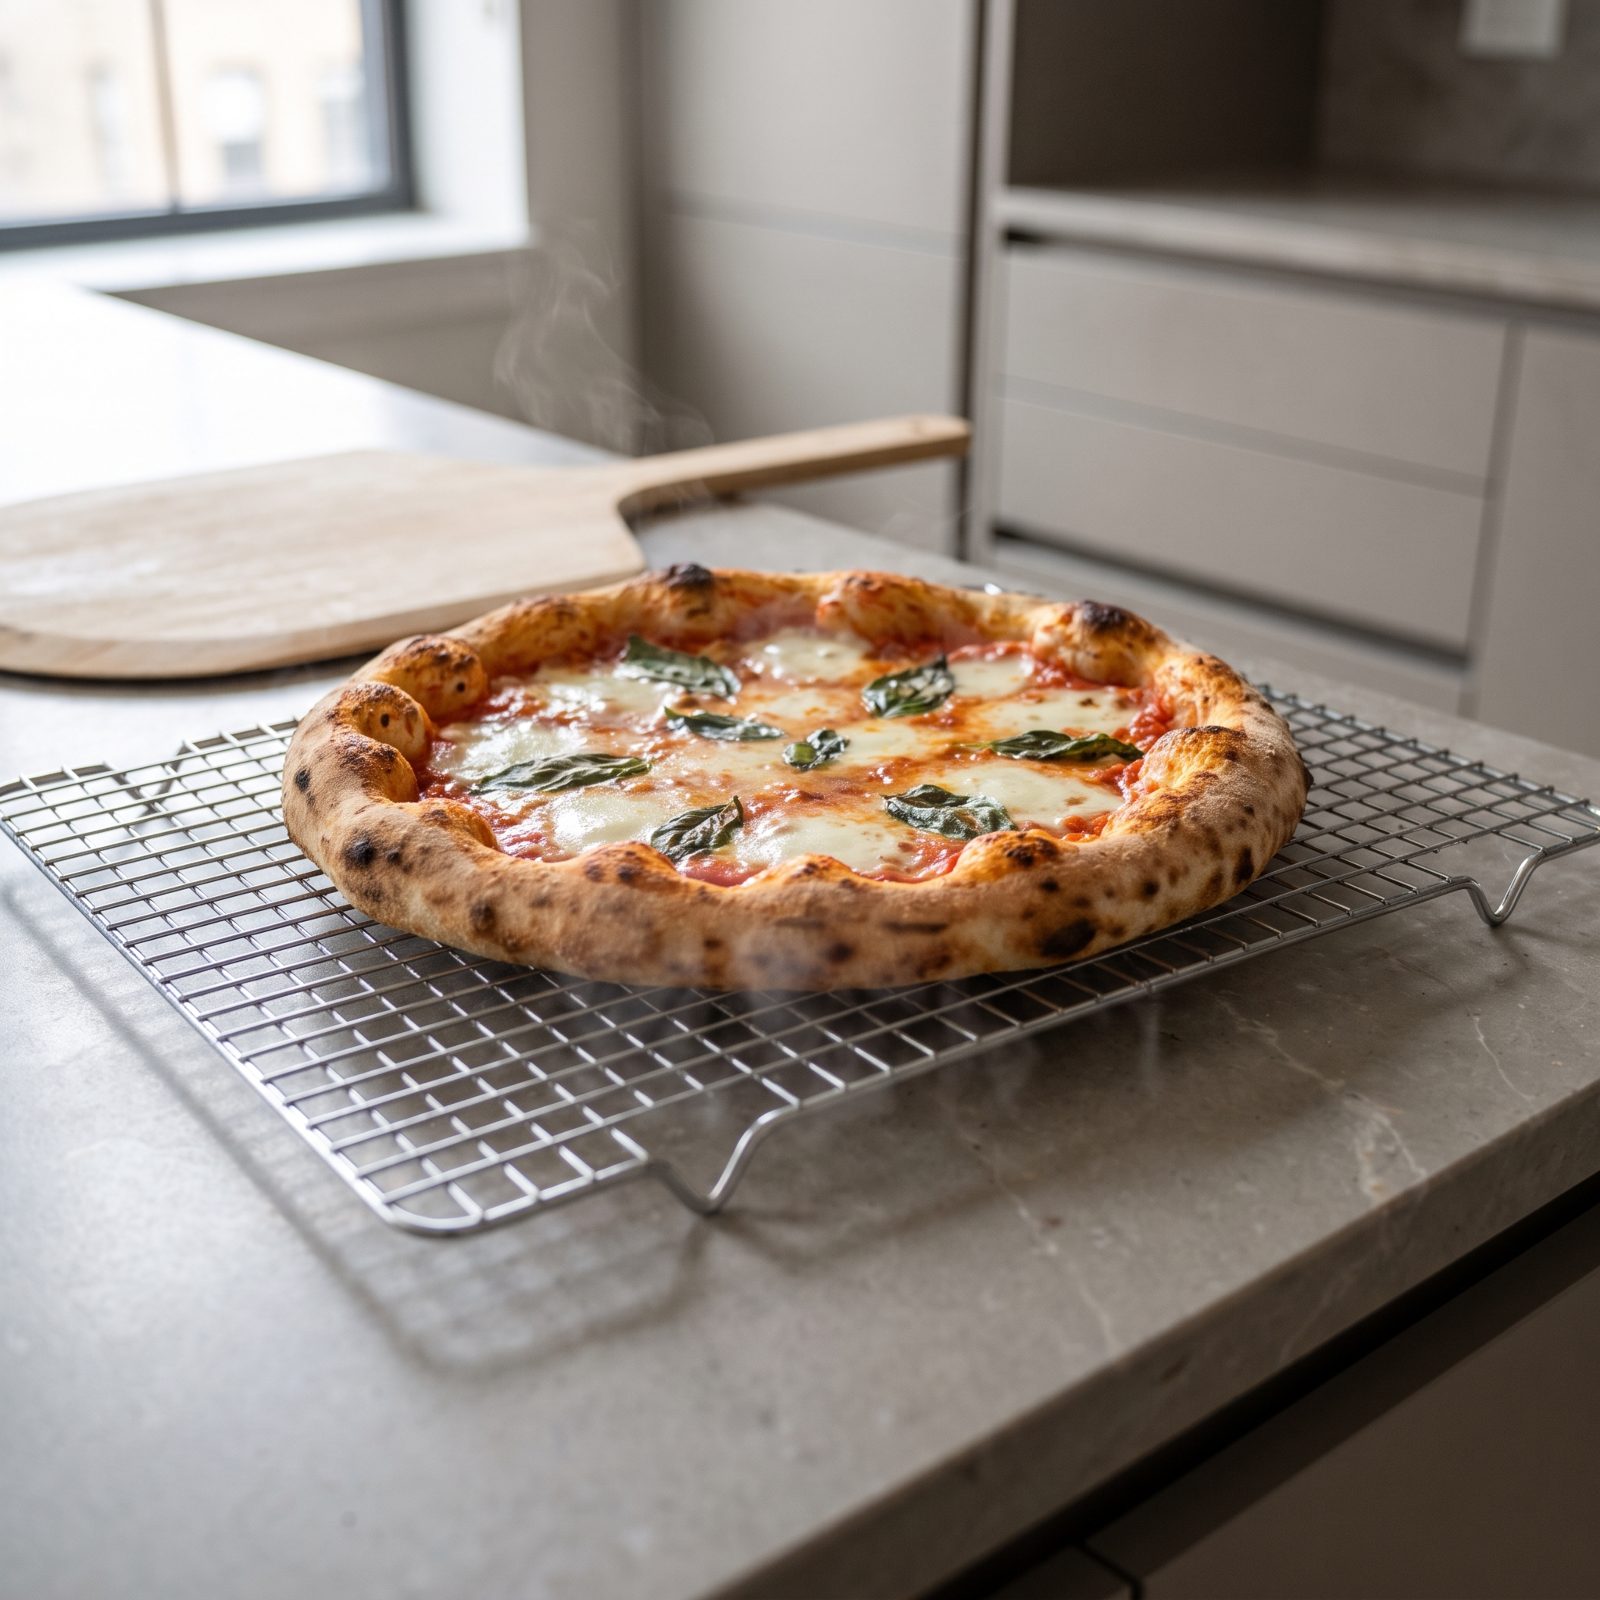
You did everything right — great char, good pull, a crisp bottom. Then you set it on a plate and a few minutes later the underside has gone soft and bendy. What happened? The pizza steamed itself.
A hot crust releases moisture from below. Trap that steam against a solid surface and it condenses right back into the crust you worked so hard to crisp. Lay the pie on a wire cooling rack the second it leaves the oven and the steam escapes downward through the gaps instead.
Give it two or three minutes on the rack before slicing. Patience, I know. But that short rest keeps the bottom crackly and lets the cheese set just enough that your toppings don’t slide off with the first cut.