Would you like to save this?
Nothing ruins a December Saturday like creaming the butter, cracking the eggs, and then watching a batch of cookies sit flat as a quarter because the baking powder gave up the ghost sometime around Easter. Dead leaveners. Rancid nut flours. Flour quietly hosting little visitors. Each one costs you ingredients, oven time, and your holiday mood all at once. So here are the checks a seasoned baker runs before the mixer ever comes out — work through each, tick it off, and bake knowing your pantry won’t sabotage you. Printable version waits at the bottom of this page.
49. Test Baking Powder for Bubbling
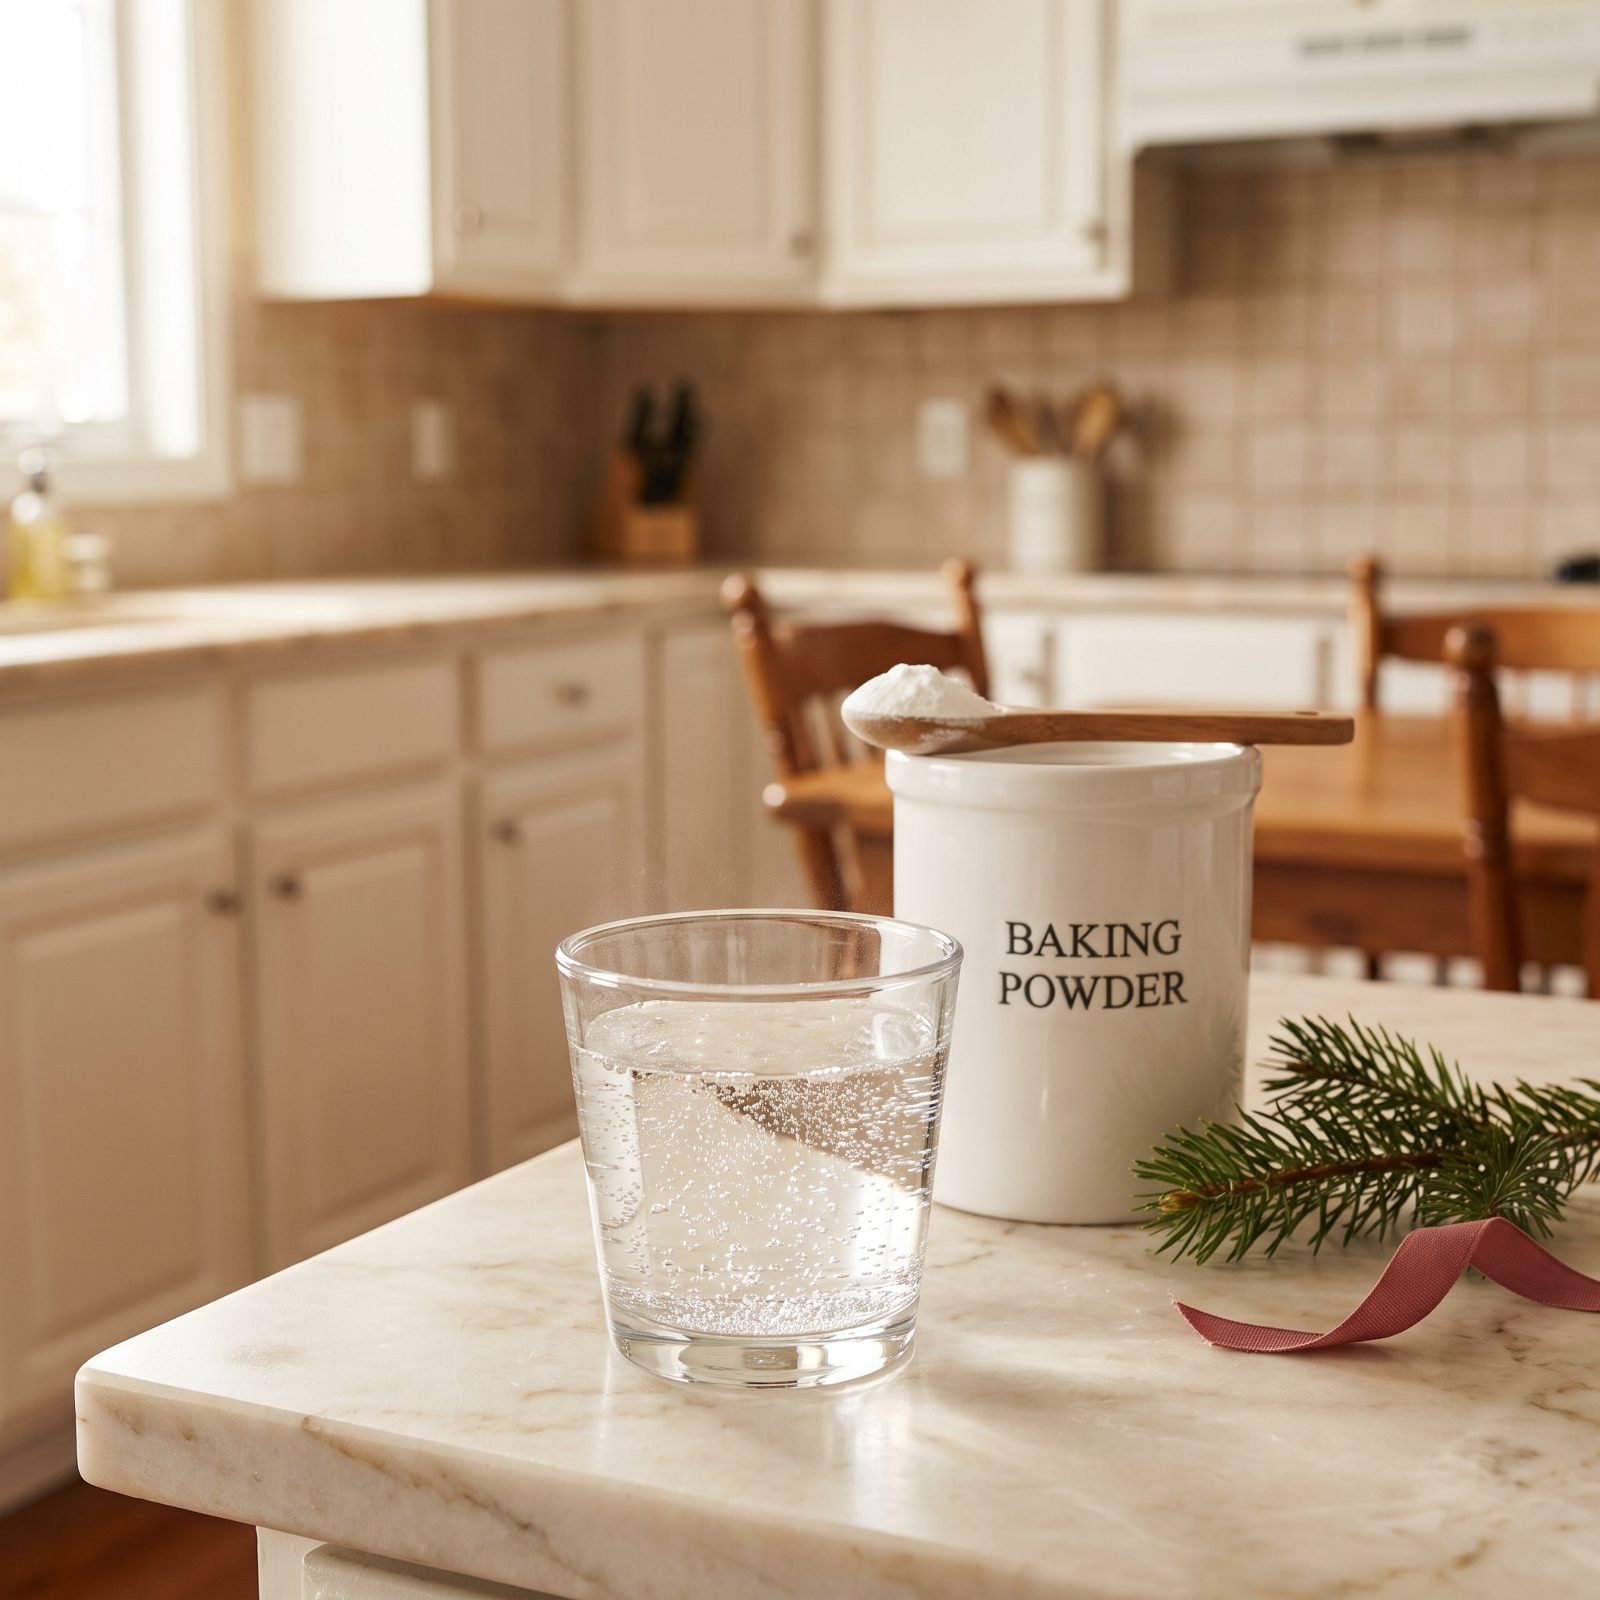
Baking powder loses its fizz long before the date stamped on the can, especially if you keep it near the stove where steam sneaks under the lid. A dead tin gives you cookies that spread into sad puddles and cakes that never climb.
Quick test: stir half a teaspoon into a small glass of hot water. It should foam up fast and keep bubbling for a few seconds. A lazy fizz or a flat cup means toss it.
And here’s what most people miss: even a fresh, strong-testing can goes weak if you dip a wet spoon into it mid-bake. Keep a dry spoon just for the can, and never shake it over a steaming pot.
48. Check All-Purpose Flour for Pantry Pests
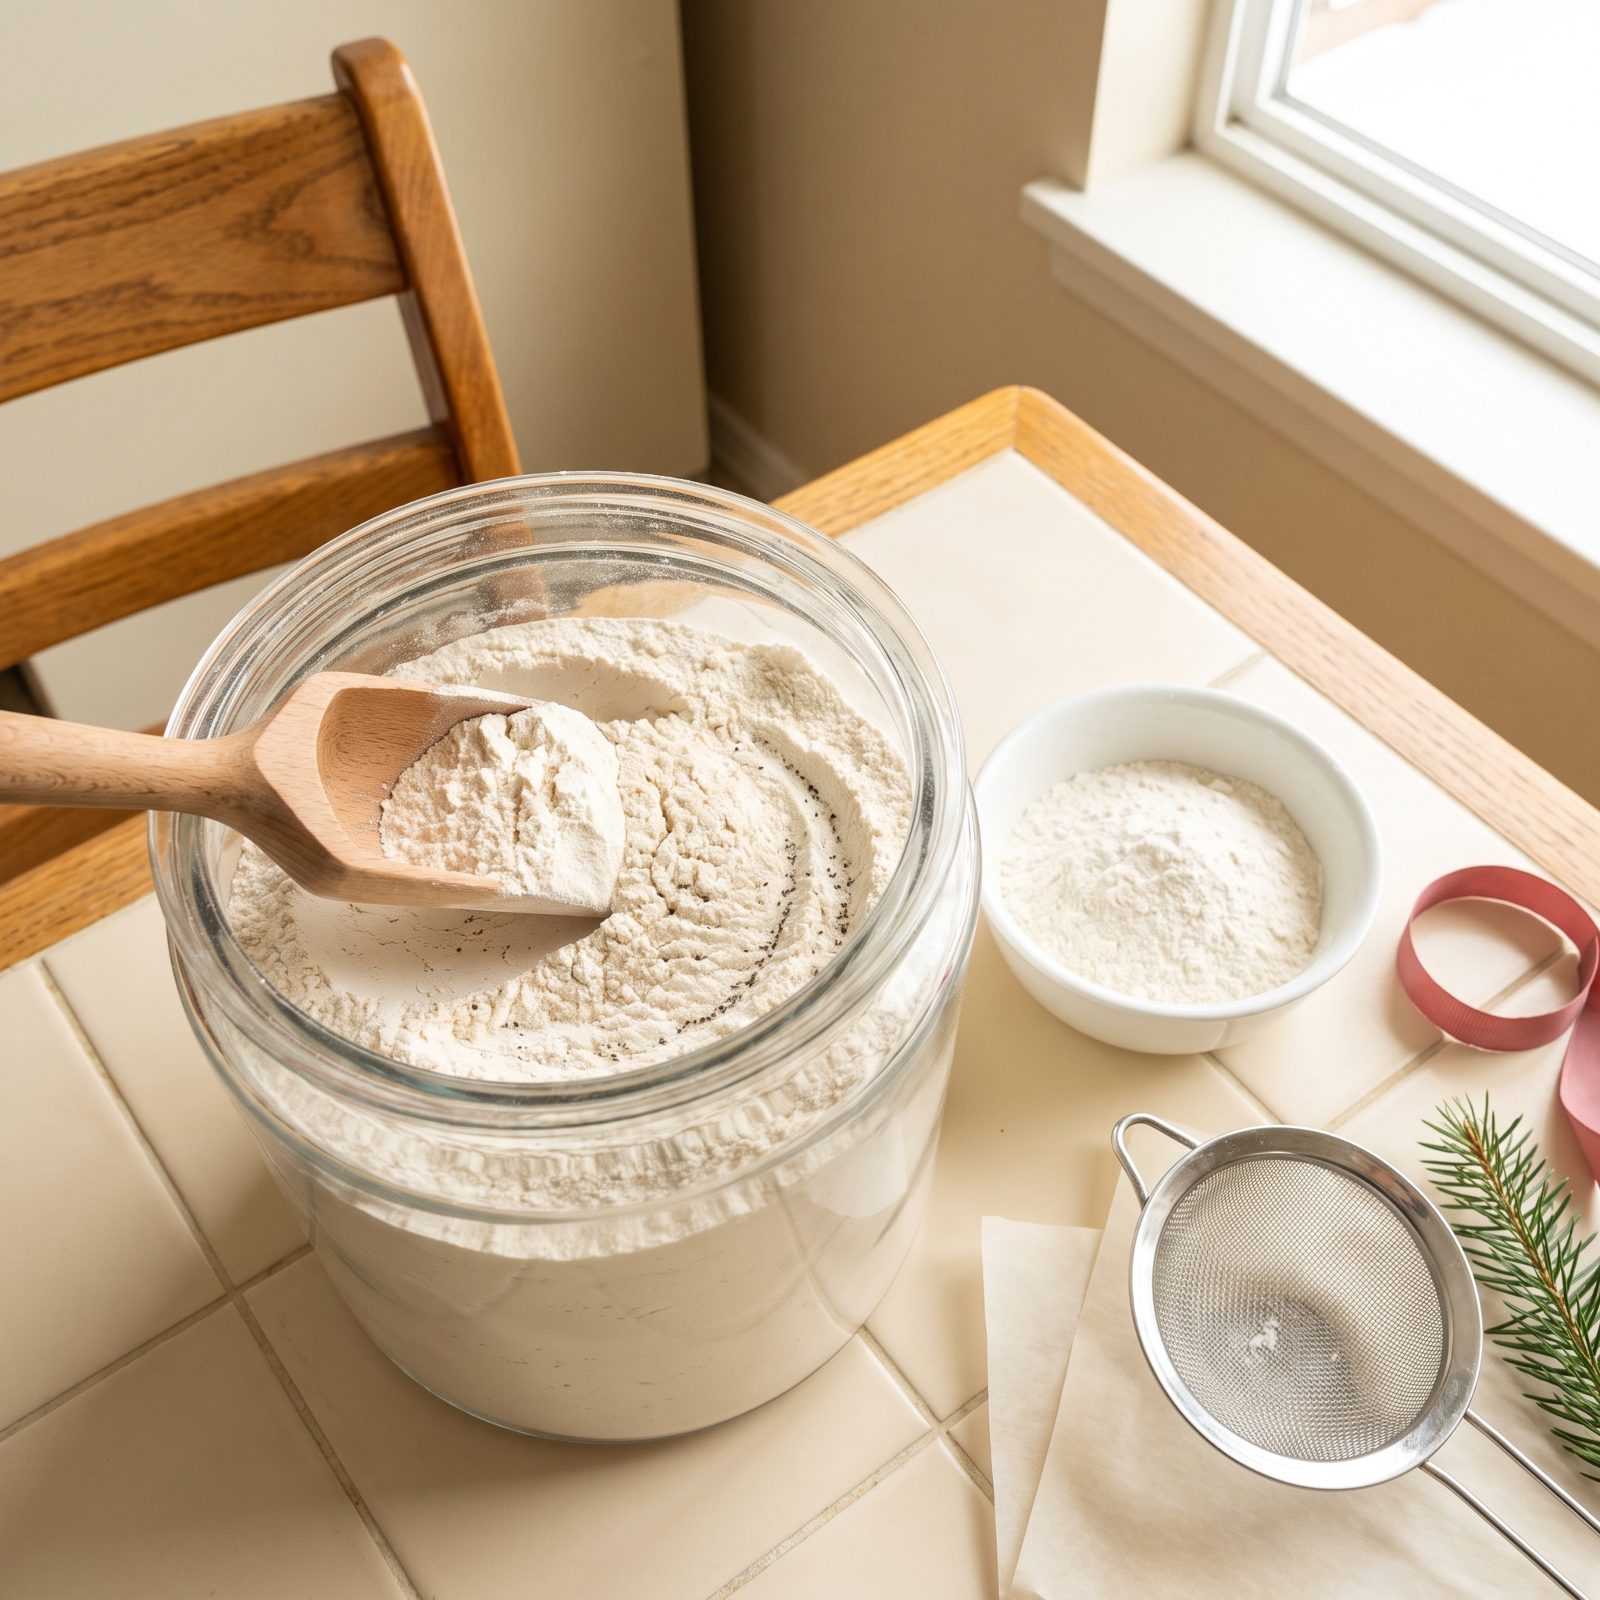
Weevils don’t announce themselves. By the time you spot one crawling across the counter, they’ve usually been in the bag for weeks, and flour is their favorite hotel.
Pour your flour out in a thin layer on a dark tray and rake through it with a dry spoon, hunting for tiny moving specks, fine webbing clinging to the sides of the bag, or little clumps that shouldn’t be there. Give it a sniff too — infested flour smells faintly sour and off.
The detail most folks skip: check the pantry corners and shelf seams, not just the bag. One infested bag spreads to every open starch nearby. Find anything? Everything open on that shelf goes in the trash. No exceptions.
47. Smell Whole-Wheat Flour for Rancidity
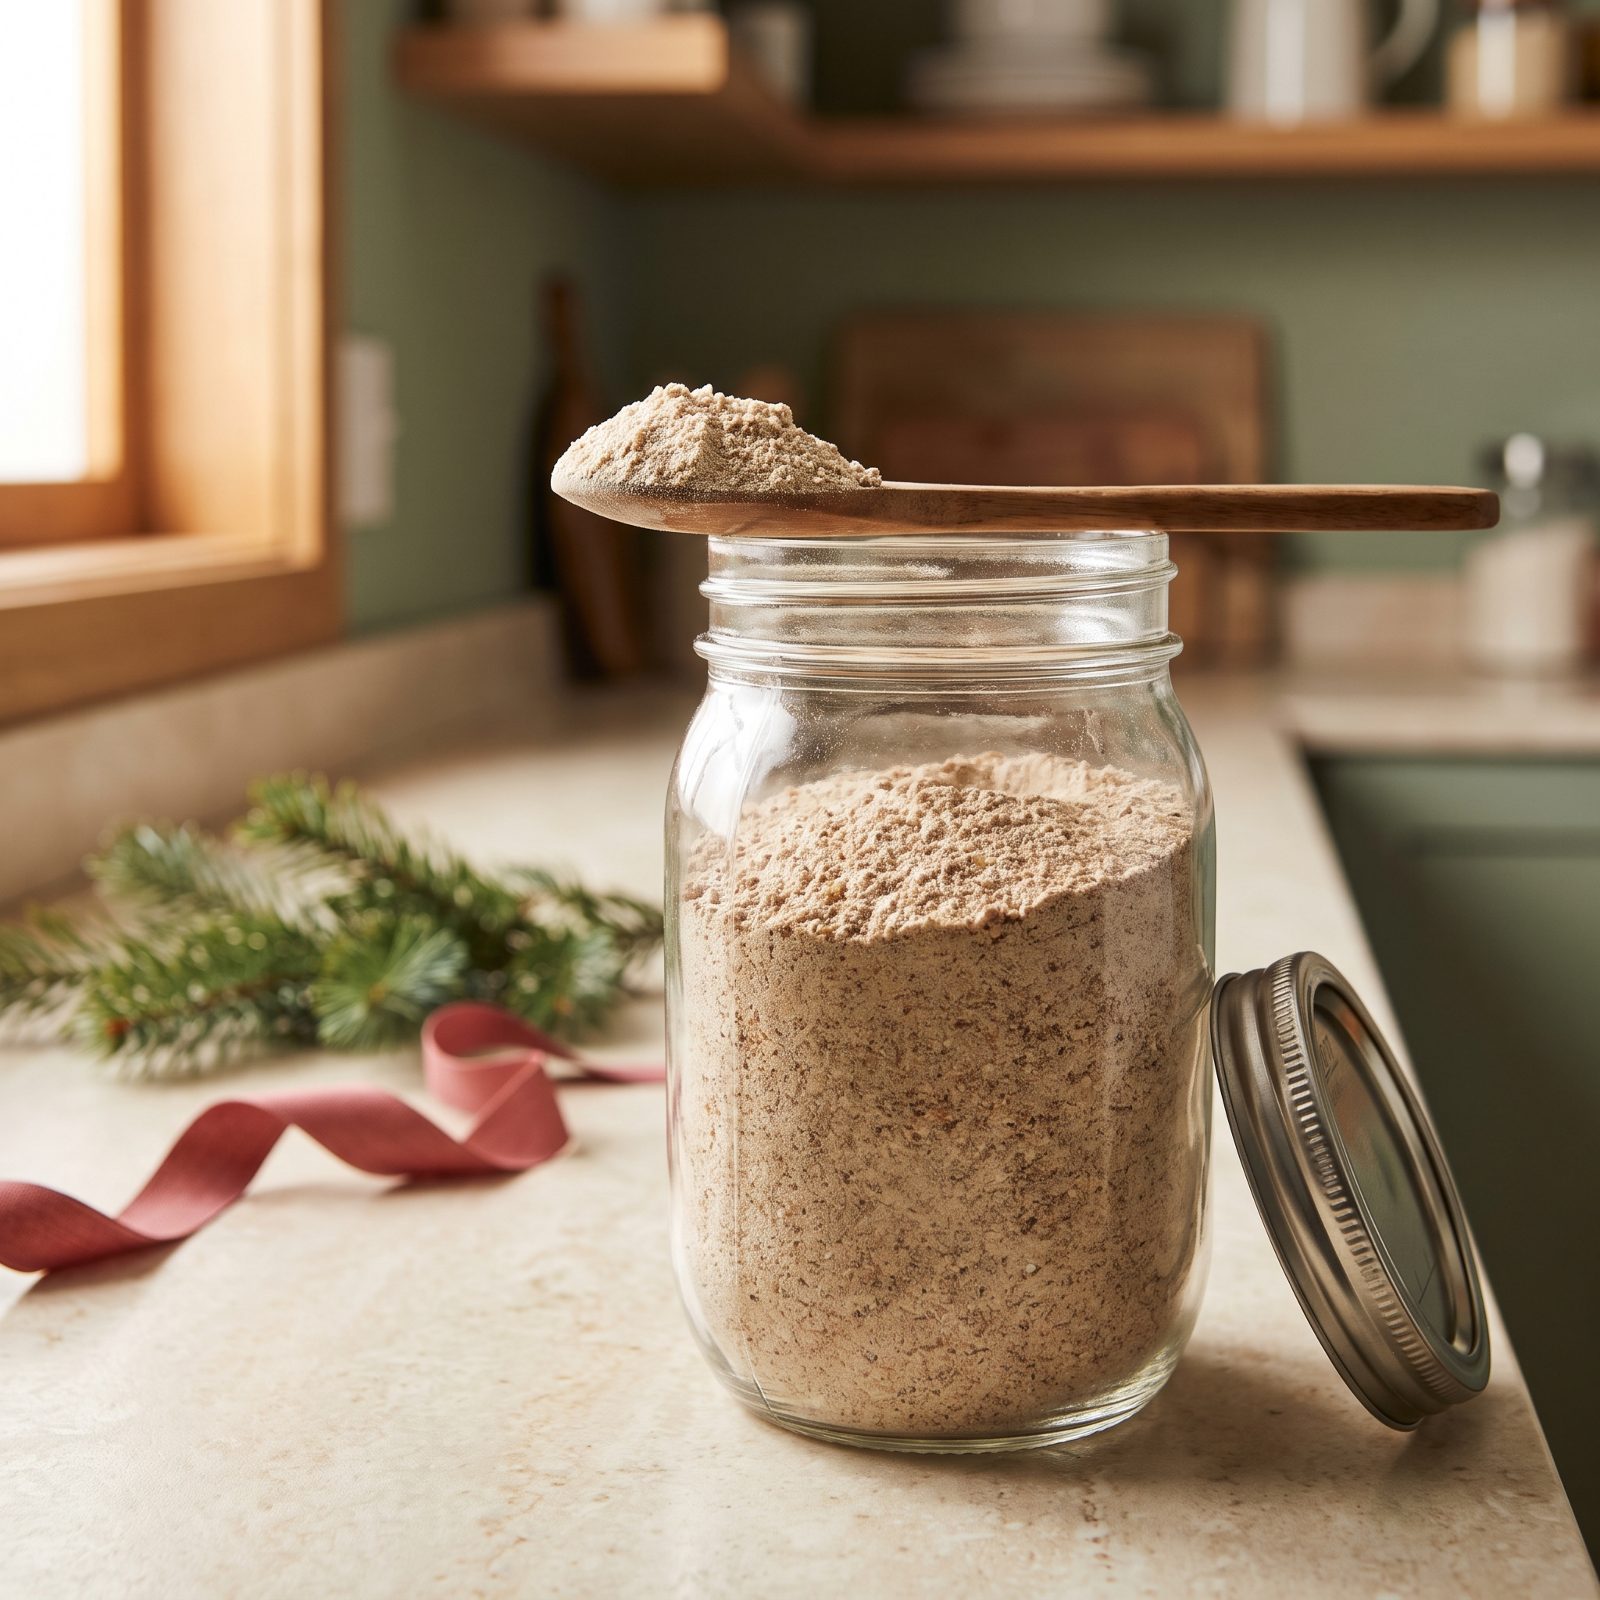
Whole-wheat flour carries the wheat germ, and the germ carries oil. Oil goes rancid. That’s why a bag that tasted fine in September can turn bitter by December without ever looking any different.
Open the bag and breathe it in deep. Fresh whole-wheat smells sweet and nutty, like the inside of a bakery. Rancid flour smells sharp, like old crayons or paint. Still unsure? Taste a pinch — bitterness on the back of your tongue is your answer.
Store it cold. The freezer or fridge buys you months the pantry never will, and I learned that the hard way after a batch of bitter muffins no amount of honey could save.
46. Inspect Almond Flour for Rancidity
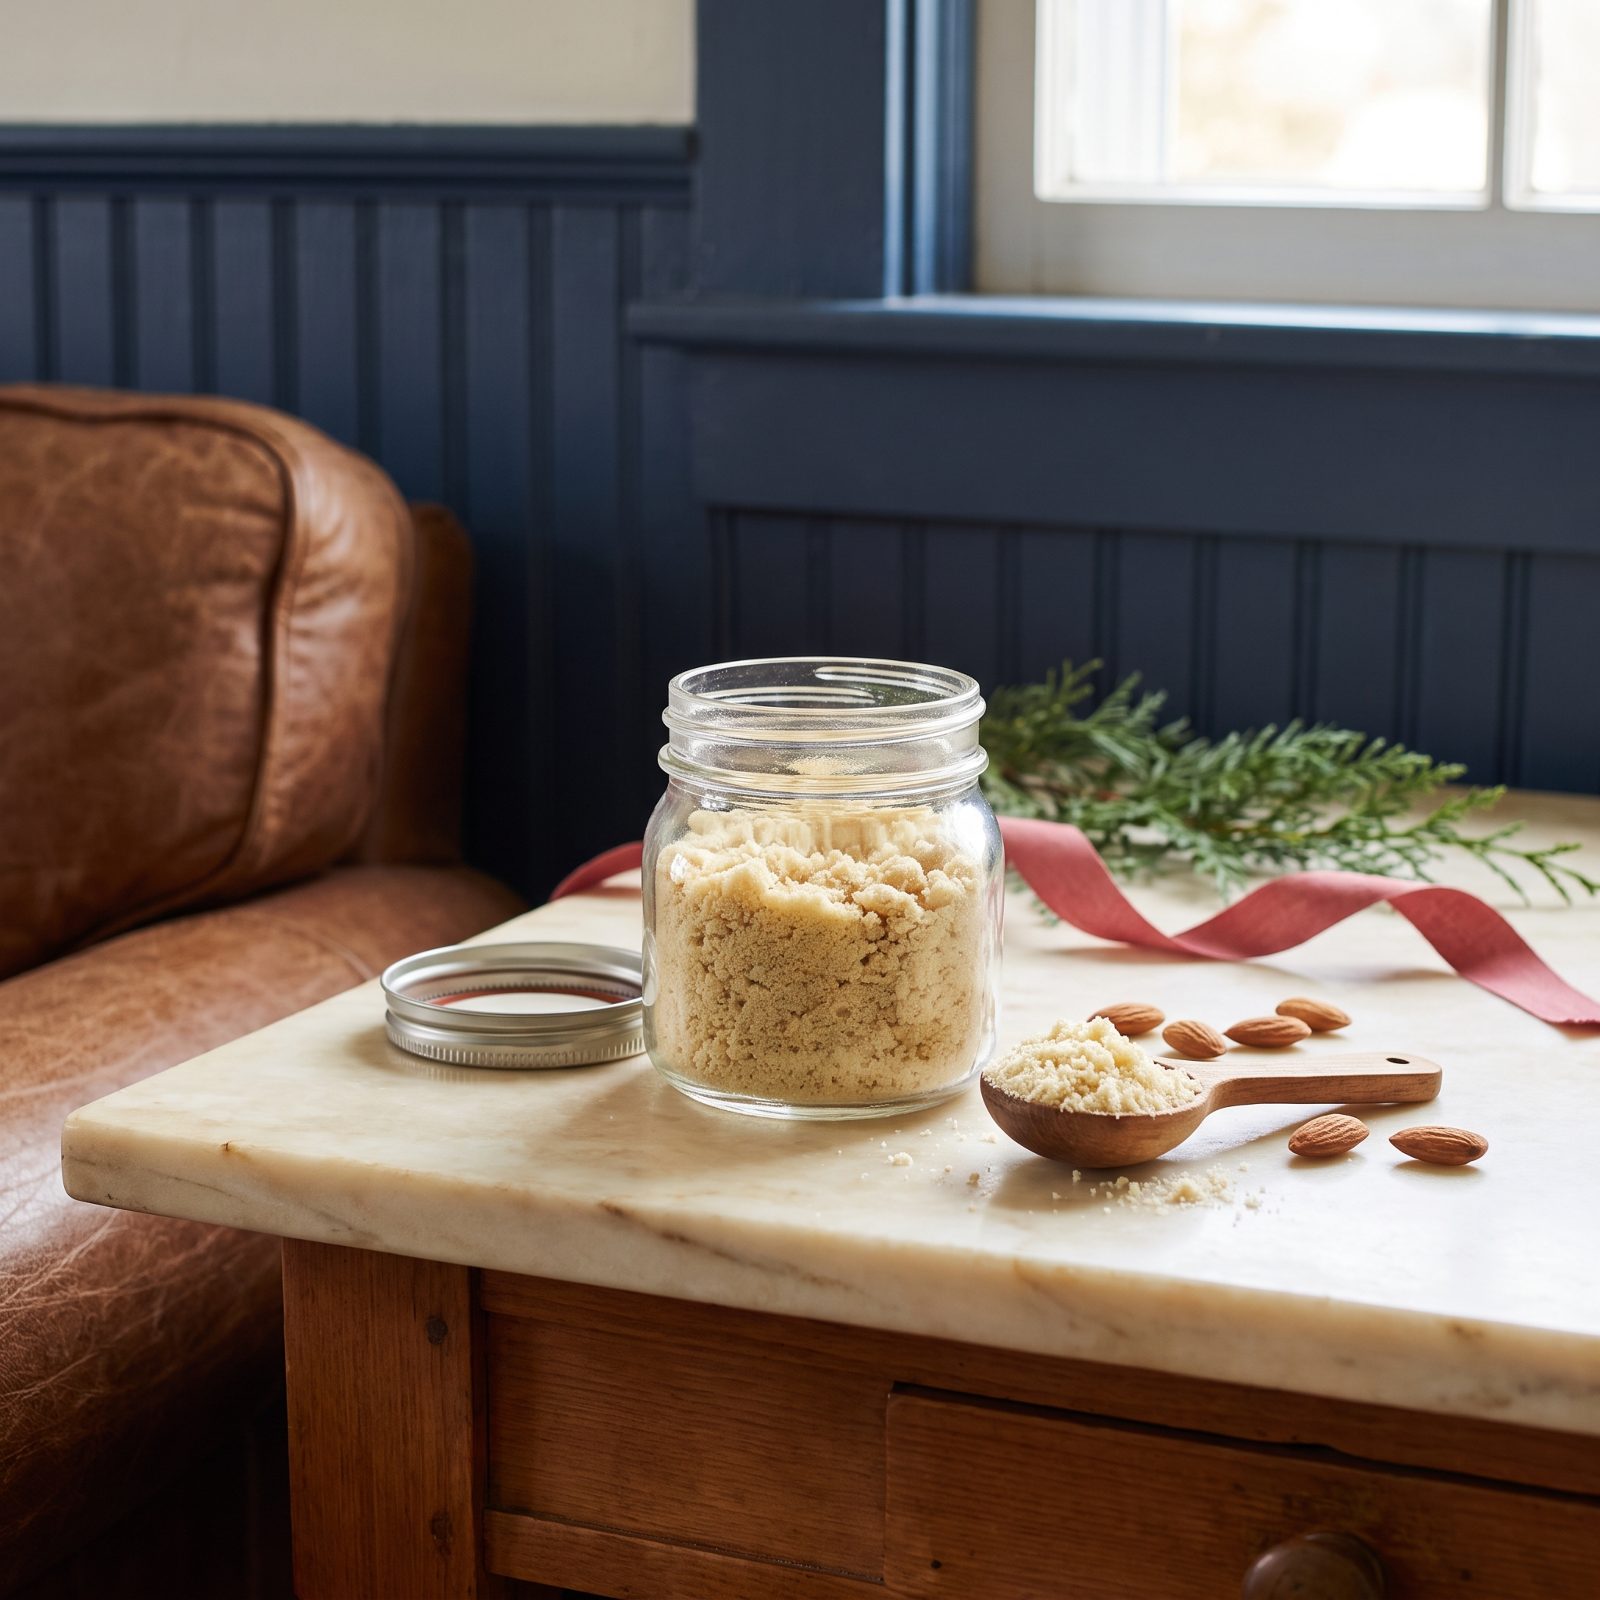
Almond flour is almost all oil, which makes it the fastest thing in your pantry to turn. That pricey bag you bought for one recipe back in summer? Probably already past it.
Give it the nose test. Good almond flour smells faintly sweet and nutty. Gone-off almond flour smells like a box of old crayons or wet cardboard, flat and a little sour. Color tells you plenty too — fresh is pale ivory, while darkening or yellowing edges mean the oil has oxidized.
45. Restock Cornstarch for Fillings and Cookies
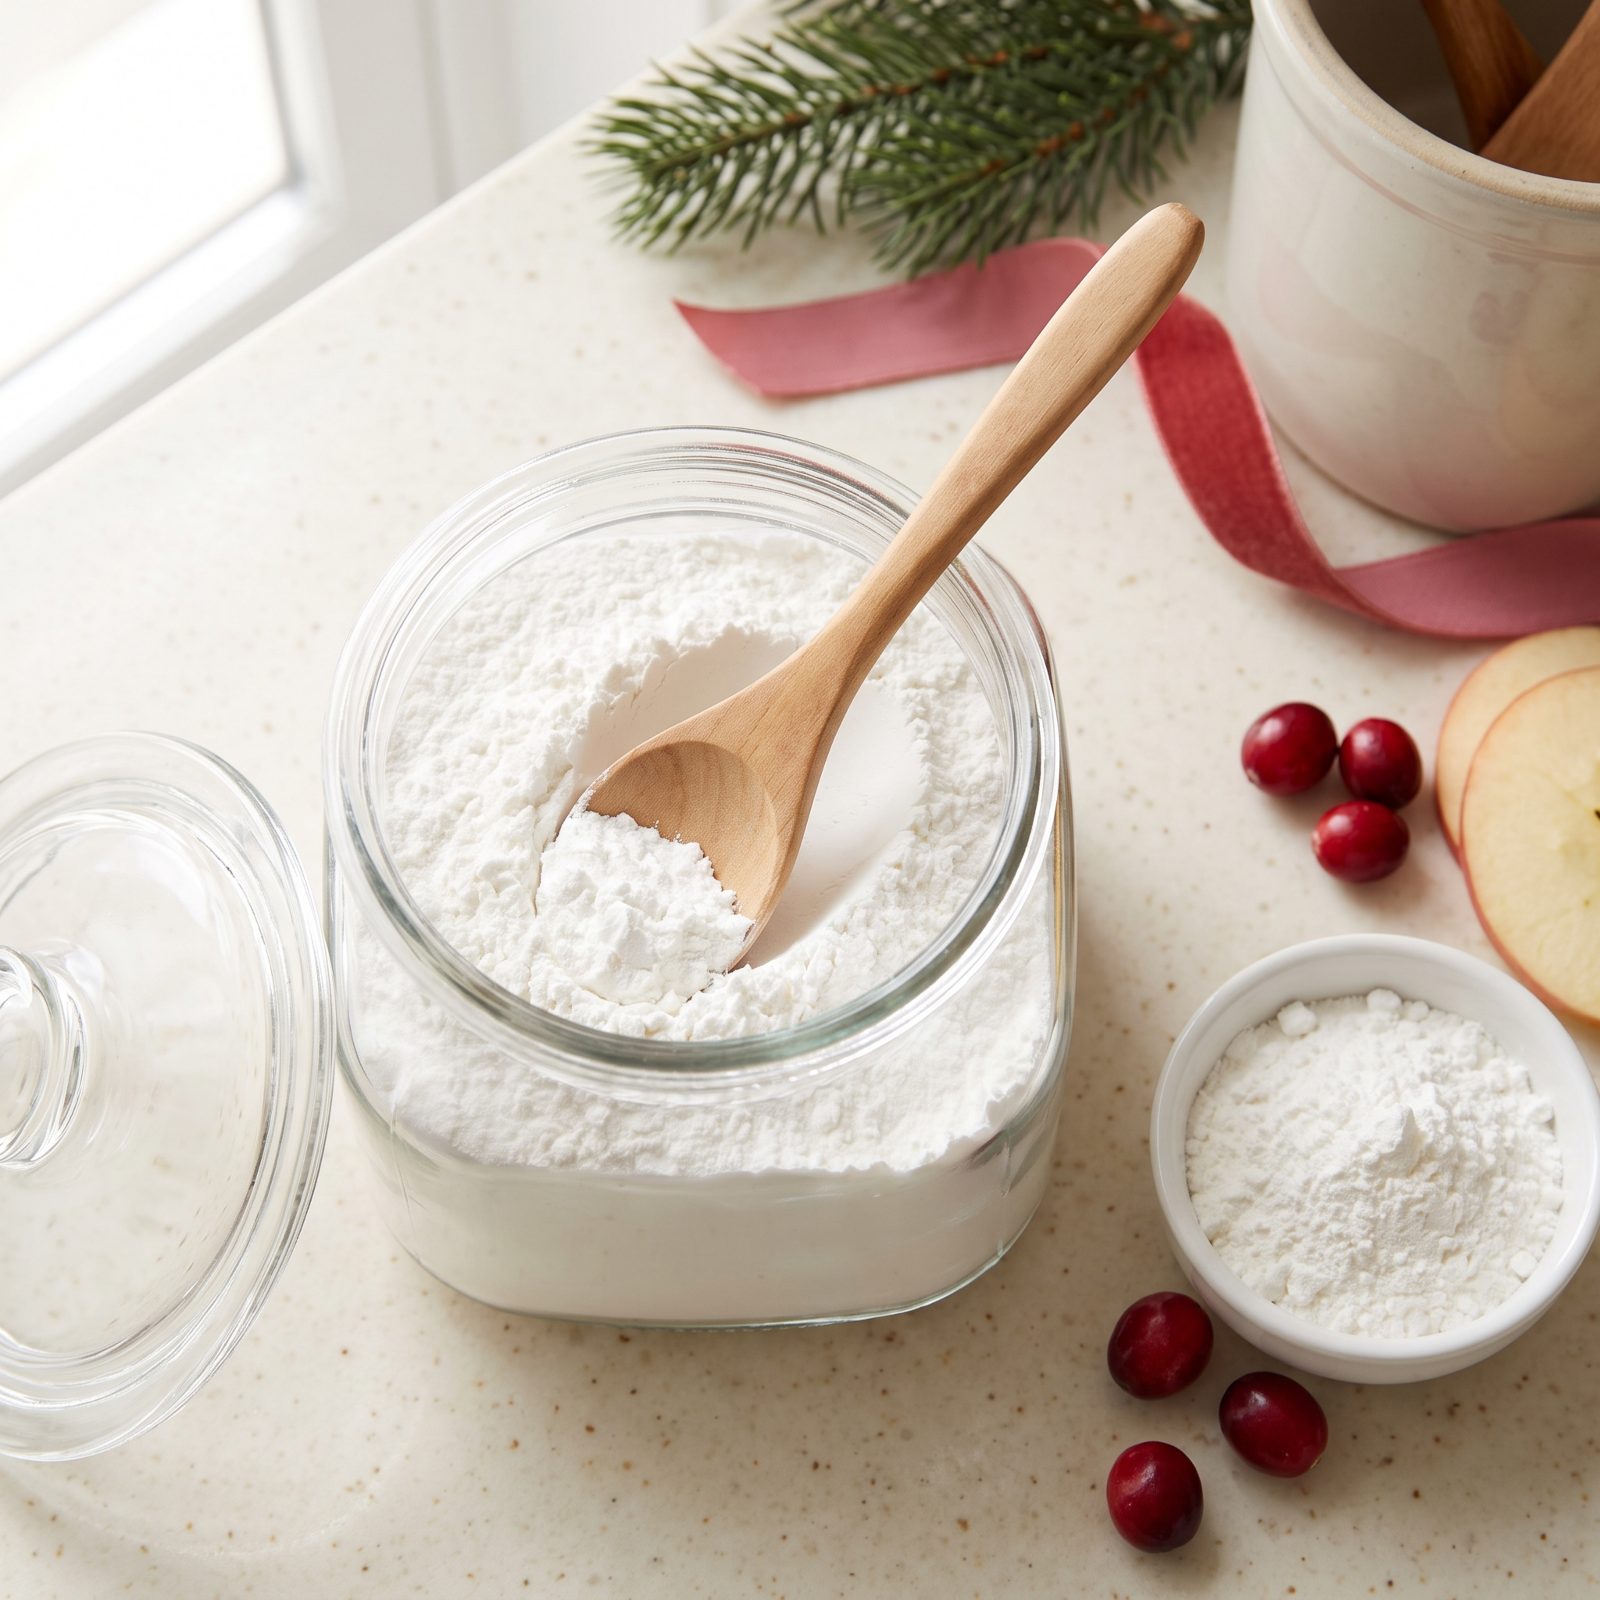
Cornstarch is the quiet workhorse of holiday baking — it thickens pie fillings, keeps shortbread tender, and gives puddings their body. Run out mid-pie and there’s no good substitute waiting in the cabinet.
It basically lasts forever if it stays bone dry, so the real check is clumping. Open the box and squeeze a pinch. Stays loose and powdery? You’re fine. Hard lumps mean moisture got in, and moisture means it may have picked up off smells too.
Measure what your season’s recipes call for, add a cushion, and restock now. It costs next to nothing, and there’s nothing worse than a berry pie that sets up like soup.
44. Check Rolled Oats for Freshness
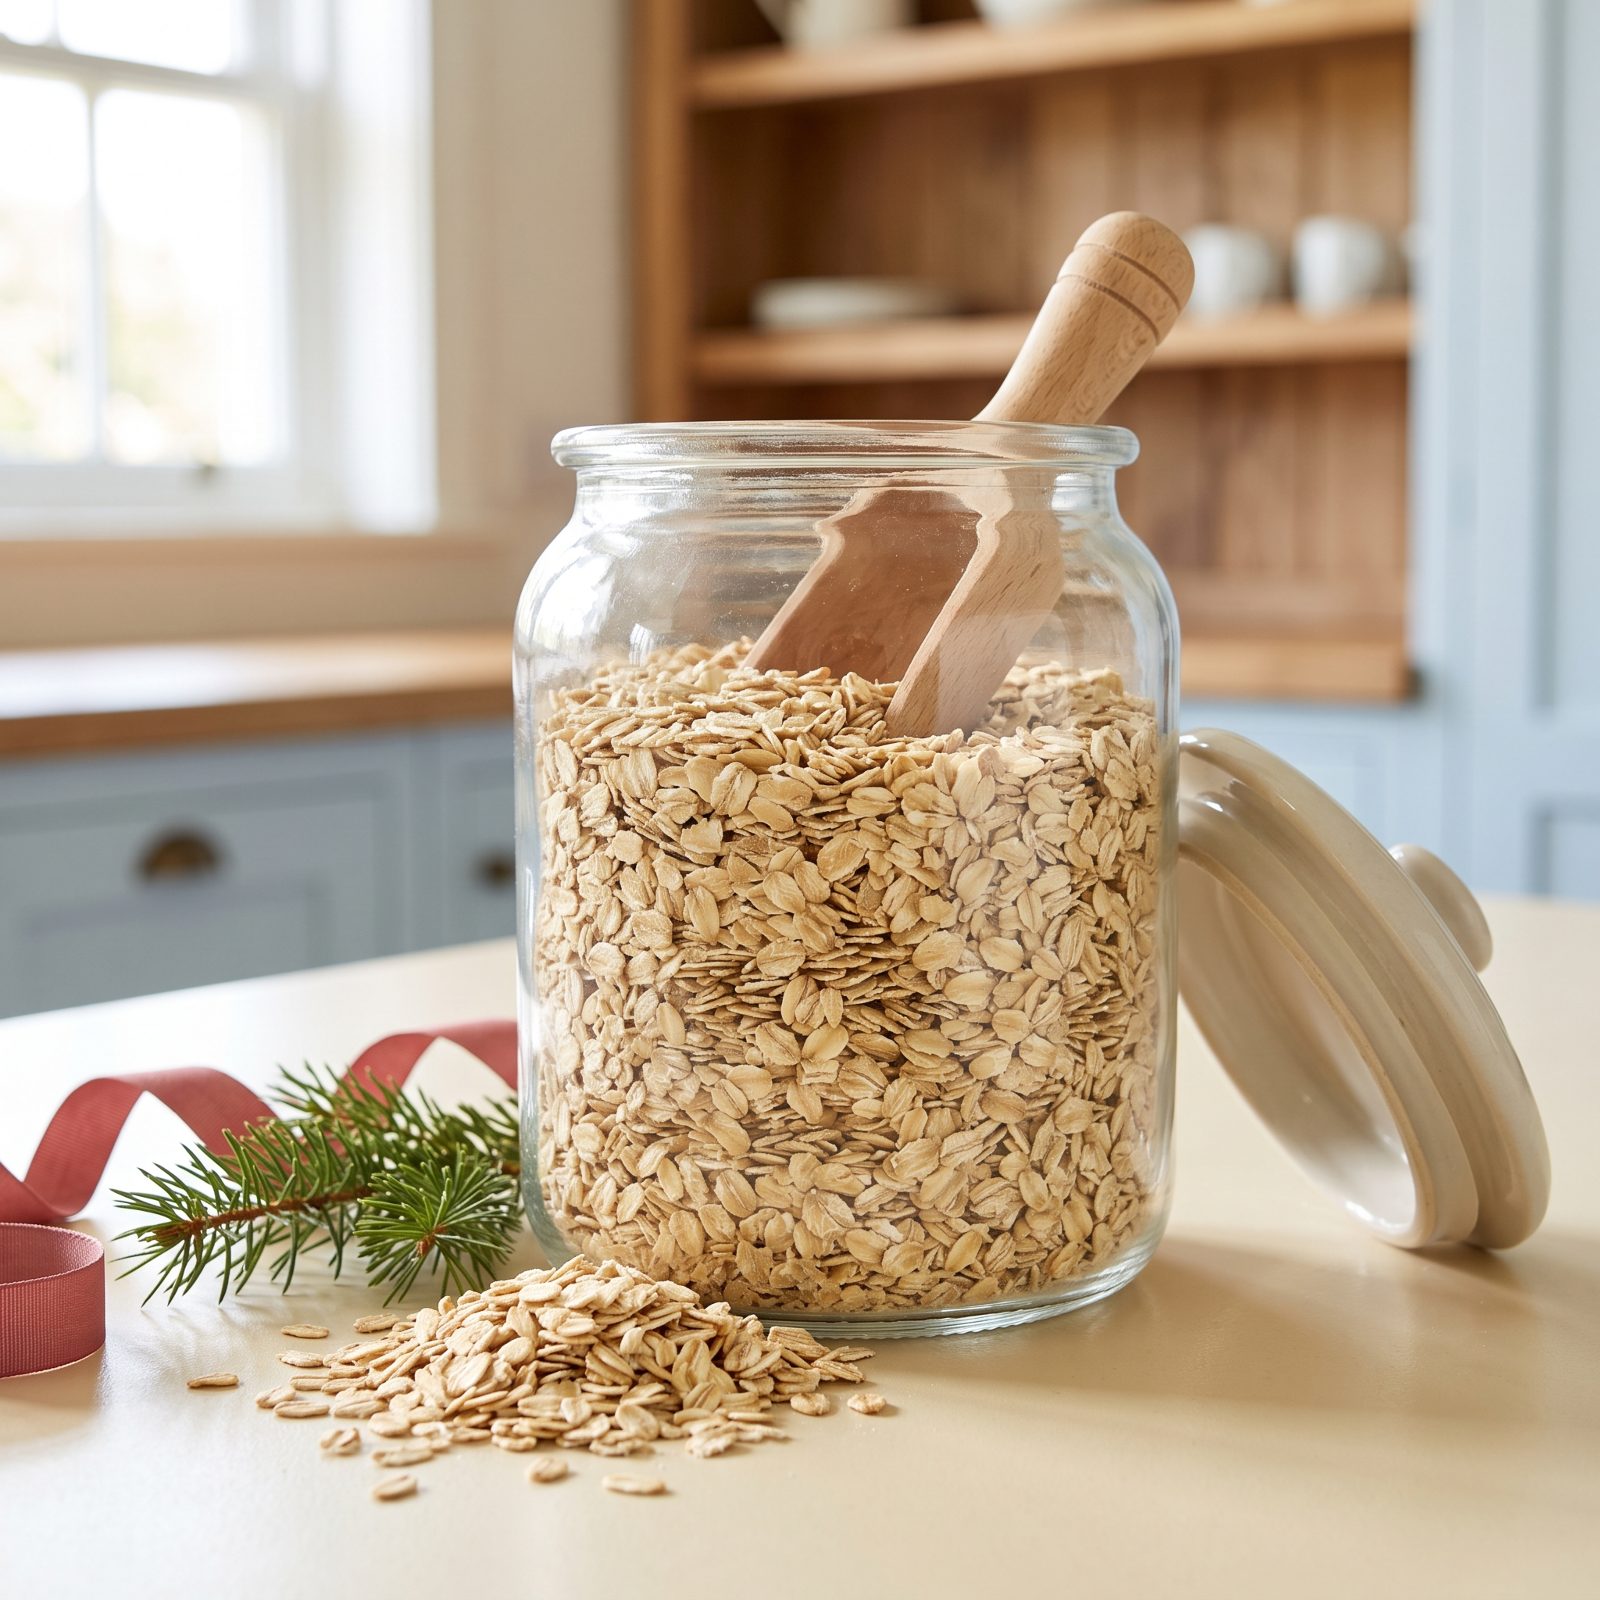
Oats carry oil in the bran, so they do eventually go stale and even rancid, especially once the bag’s been clipped shut and shoved to the back for months.
Smell them first. Fresh oats are mild and faintly sweet, while rancid ones smell bitter and musty, a little like old nuts. Look for any dull grey cast or clumping, which points to moisture. And yes, check for pantry pests here too, since oats are a weevil favorite right alongside the flour.
Oatmeal cookies live or die on this one. Stale oats give you a flat, off-tasting cookie no amount of brown sugar and cinnamon can rescue.
43. Inspect Graham Cracker Crumbs for Staleness
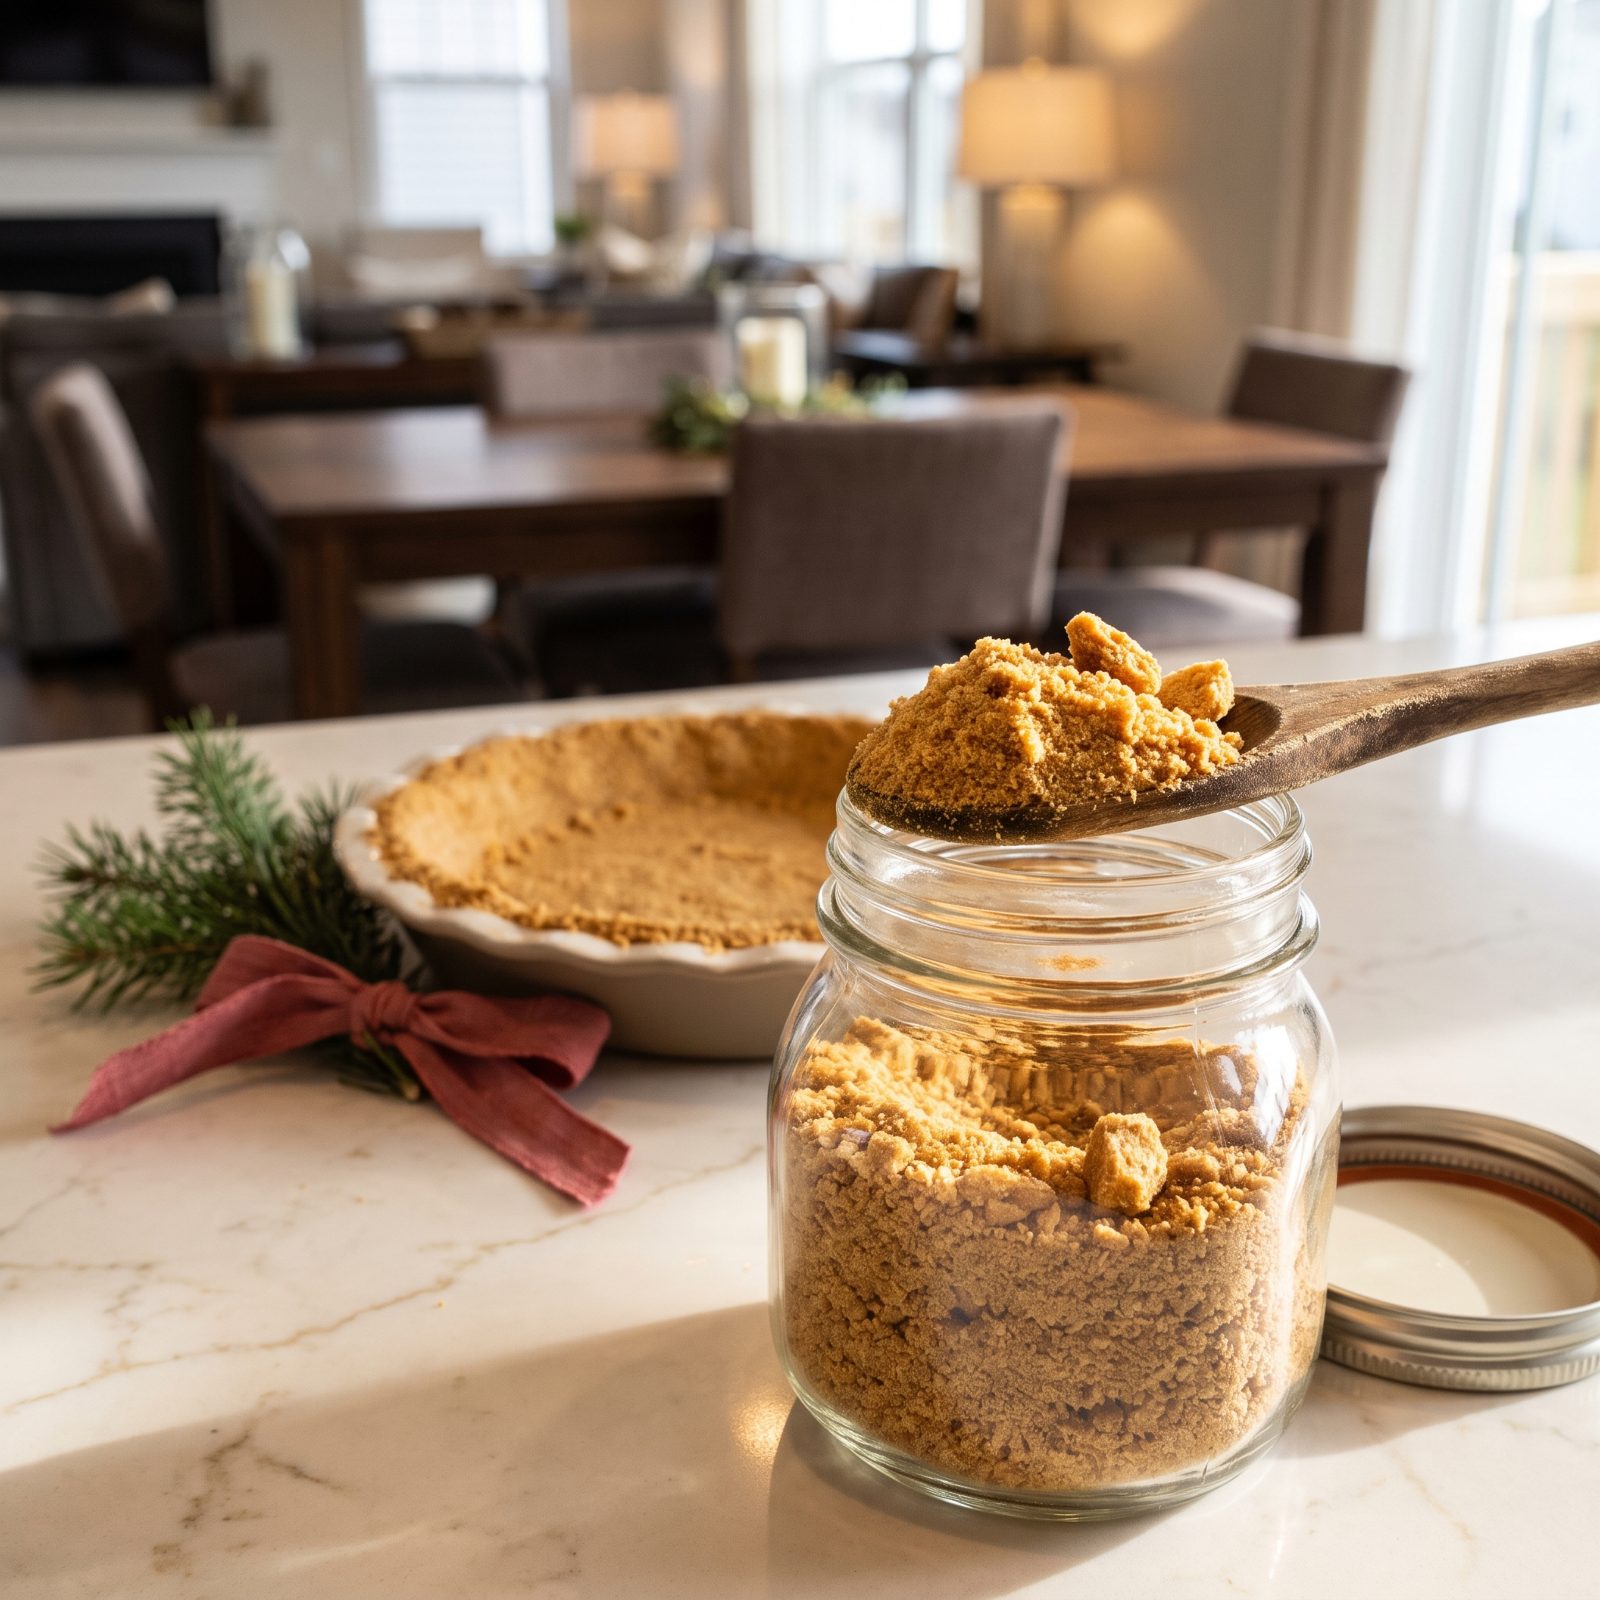
Graham crumbs sit forgotten in a resealed bag until cheesecake season, and that’s exactly when they betray you. Stale crumbs make a crust that tastes like old cardboard and won’t pack together properly.
Taste one. It should snap with that honey-cinnamon sweetness and a clean crisp bite. Dull, soft, or faintly waxy means the crumbs have absorbed moisture and off-flavors from the pantry. Pinch a handful while you’re at it — fresh crumbs feel dry and sandy, and damp, clinging ones are past their best.
42. Sift Natural Cocoa Powder for Lumps
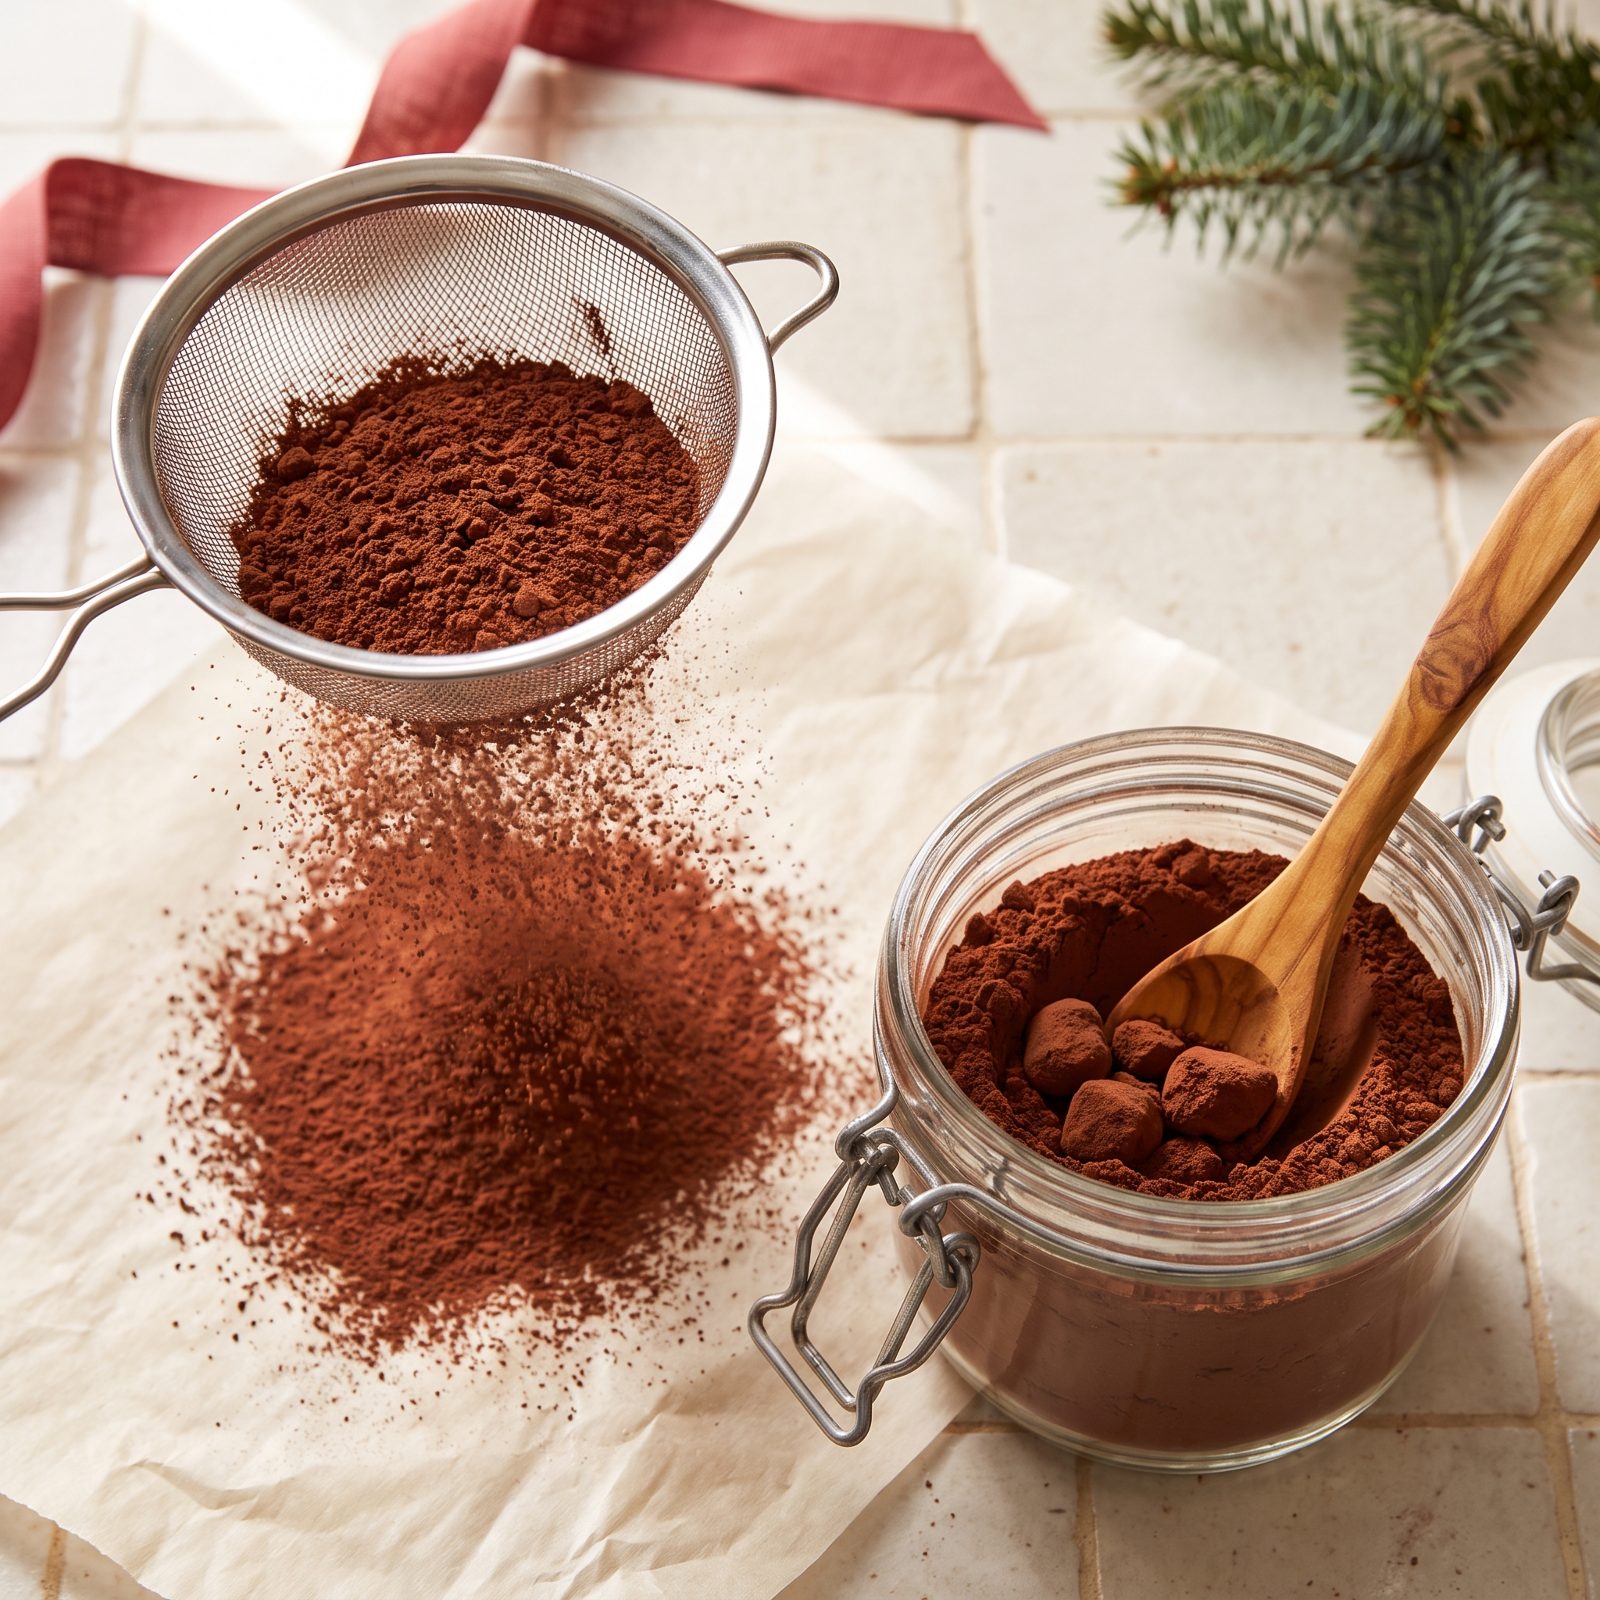
Cocoa powder doesn’t really go bad, but it clumps hard over time and absorbs odors from whatever shares its shelf. Lumped cocoa dropped straight into batter leaves bitter brown pockets no amount of stirring breaks up.
Open the jar and sniff. It should smell deeply chocolatey, not flat or musty. Then sift a scoop through a fine sieve — easy sifting means you’re good. If it clumps into stubborn balls that need breaking by hand, that’s just age and absorbed moisture, usually still fine to use but always sift before baking.
41. Test Baking Soda With Vinegar
Would you like to save this?
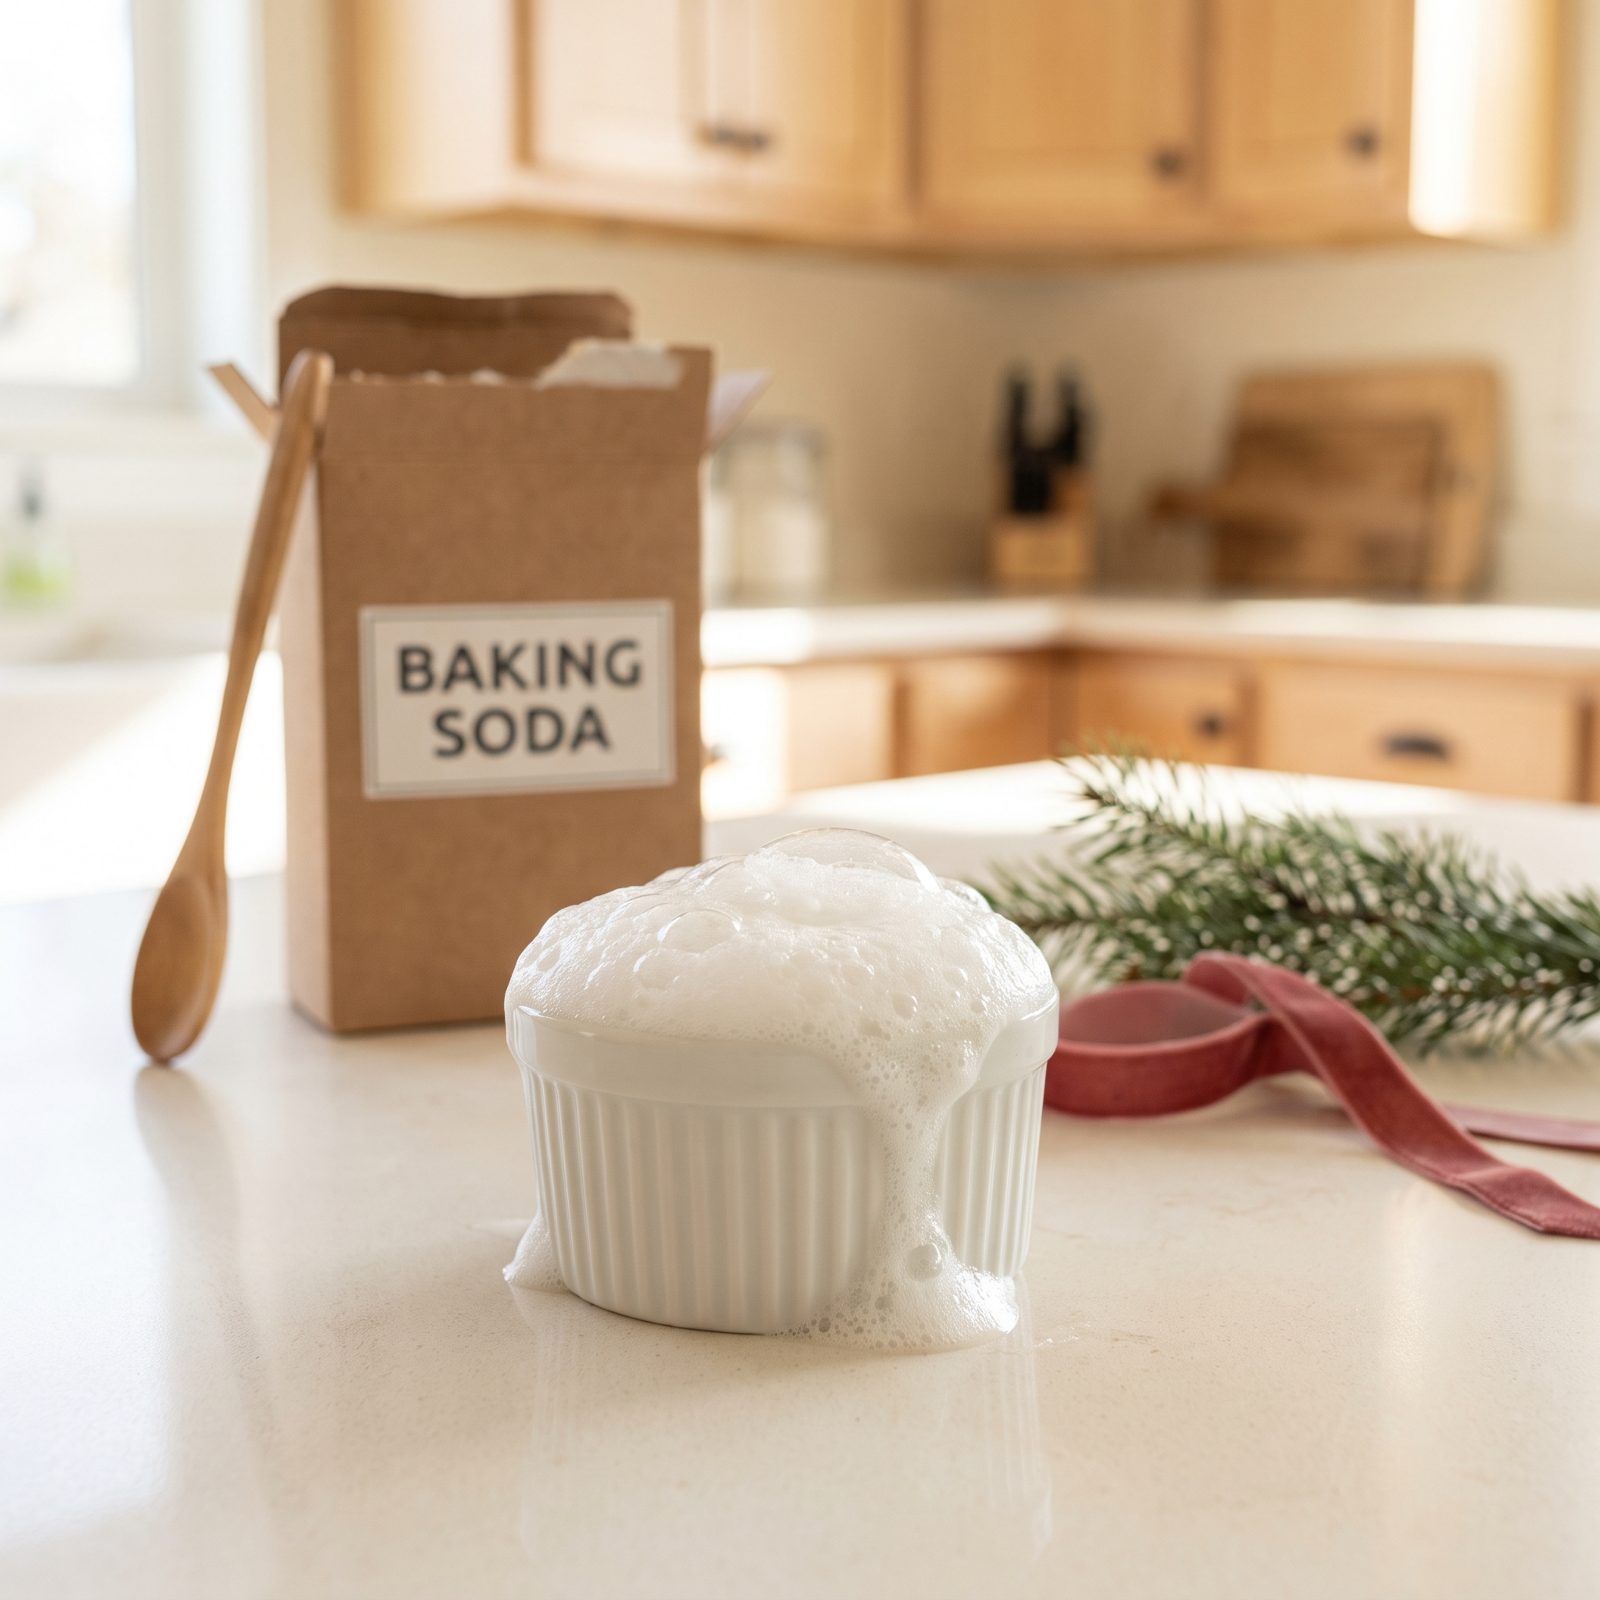
Baking soda is tougher than baking powder but not immortal, and an open box left to catch fridge odors can lose its punch. Weak soda means dense, pale cookies and cakes that sit there sulking.
Quick test: drop a spoonful into a dish and pour on a splash of vinegar. It should erupt into a loud, vigorous foam right away. A quiet, sluggish reaction means the soda is spent.
And here’s the trick nobody mentions: that box in your fridge soaking up smells is not the same box you bake with. Deodorizing soda and fresh baking soda should never share a container. I keep them on opposite sides of the kitchen on purpose.
40. Confirm Cream of Tartar Supply
Cream of tartar is the ingredient you forget until a recipe stops you cold. It stabilizes meringues, gives snickerdoodles their tang, and keeps whipped egg whites from collapsing. And no real substitute lives in most pantries.
Since it’s a dry acid, it lasts for years and rarely spoils. The whole check is simple: do you actually have it, and is it loose rather than hardened into a brick? Pop the lid, break up any clumps, and confirm there’s enough for your angel food cakes and meringues.
Restock now. It hides behind the spices and always goes missing the one night you need it.
39. Check Active Dry Yeast Viability
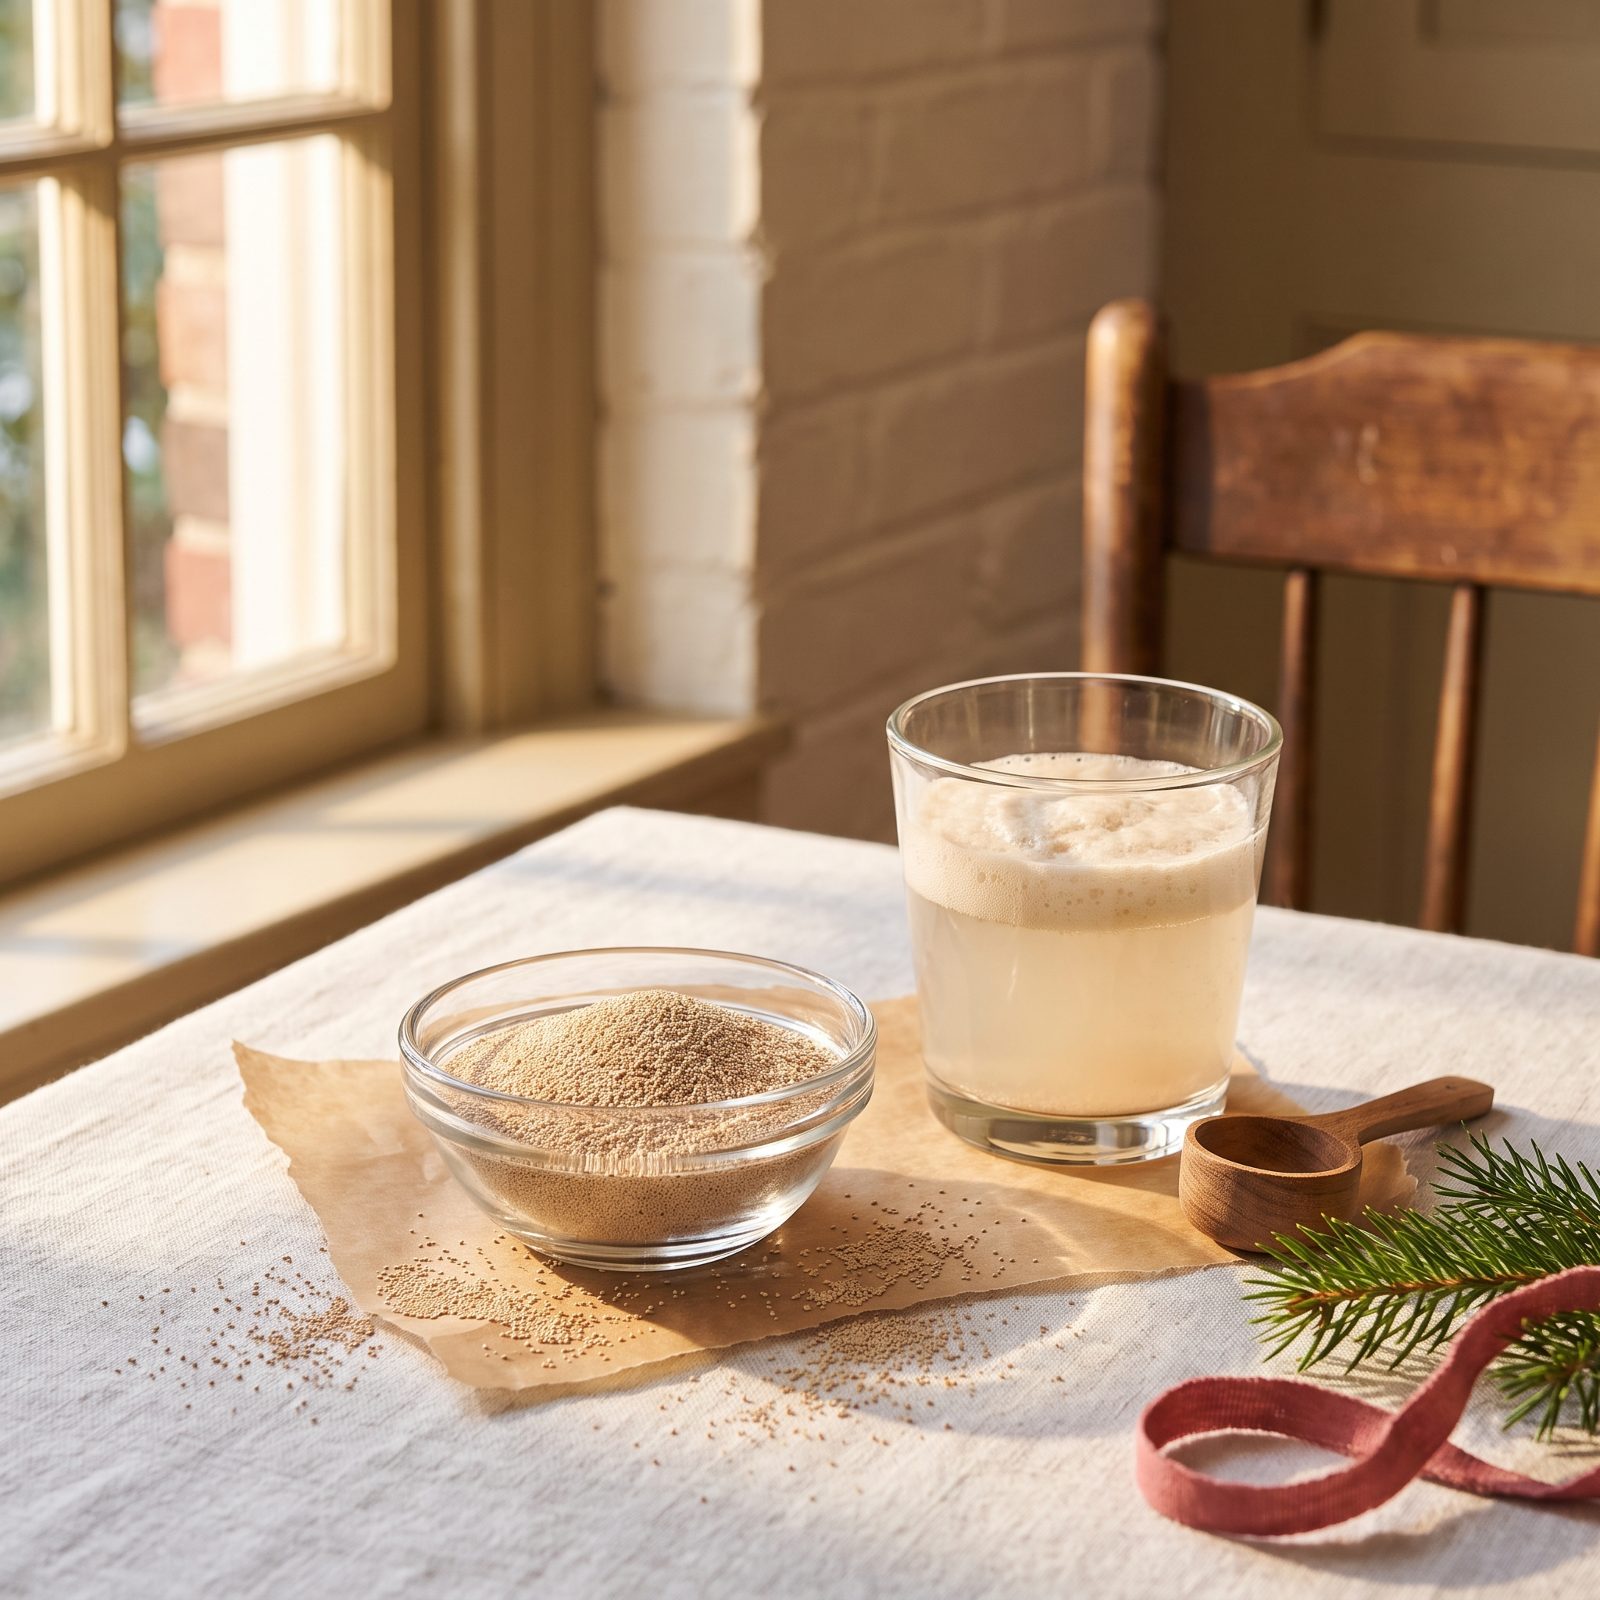
Dead yeast is the single most common reason a Saturday bread bake turns into a brick. Yeast is alive, with a shelf life no matter what the packet claims, and that foil pouch sitting in the back of your drawer since two Christmases ago owes you nothing.
Test it before you hand over a whole batch of dough. Stir a teaspoon into about a quarter cup of warm water (around 105 to 110°F) with a pinch of sugar, then wait ten minutes. Foam and a yeasty smell? You’re in business. Flat and still means it’s gone.
38. Soften Hardened Light Brown Sugar
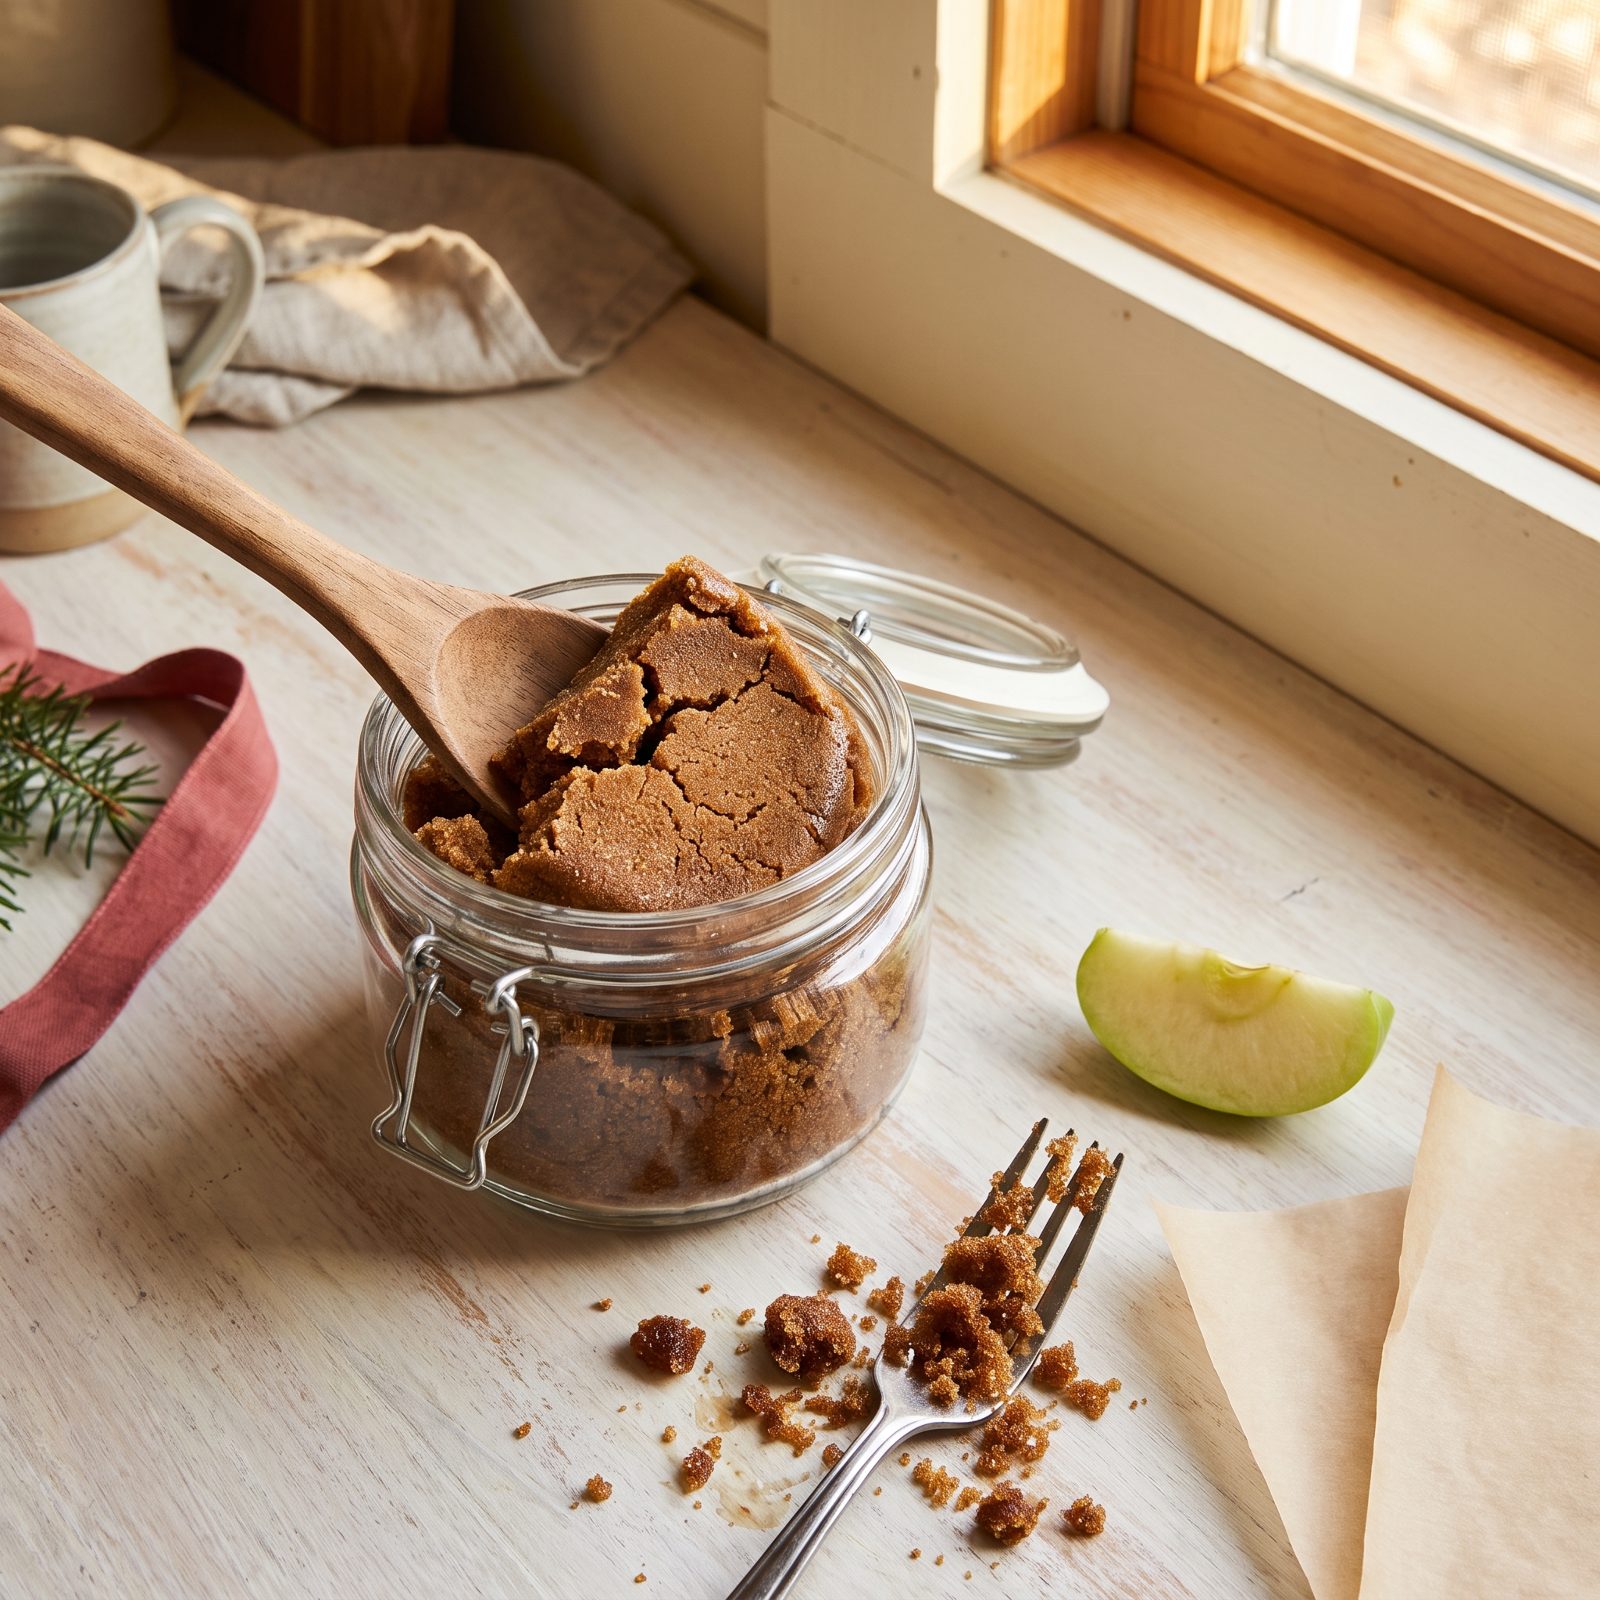
Brown sugar hardens because the molasses coating dries out and the crystals lock together. You’ve whacked a rock-solid box against the counter and gotten nowhere. It’s not ruined. It’s just thirsty.
Drop a slice of apple or a damp paper towel into the sealed container overnight and the moisture migrates back in. In an emergency, microwave the sugar next to a cup of water in ten-second bursts, breaking it up with a fork between each one. Don’t walk away — it scorches fast.
Check that it crumbles freely between your fingers before you measure. Packed brown sugar that’s secretly fused will throw off every ratio in a cookie recipe.
37. Sift Lumpy Confectioners’ Sugar
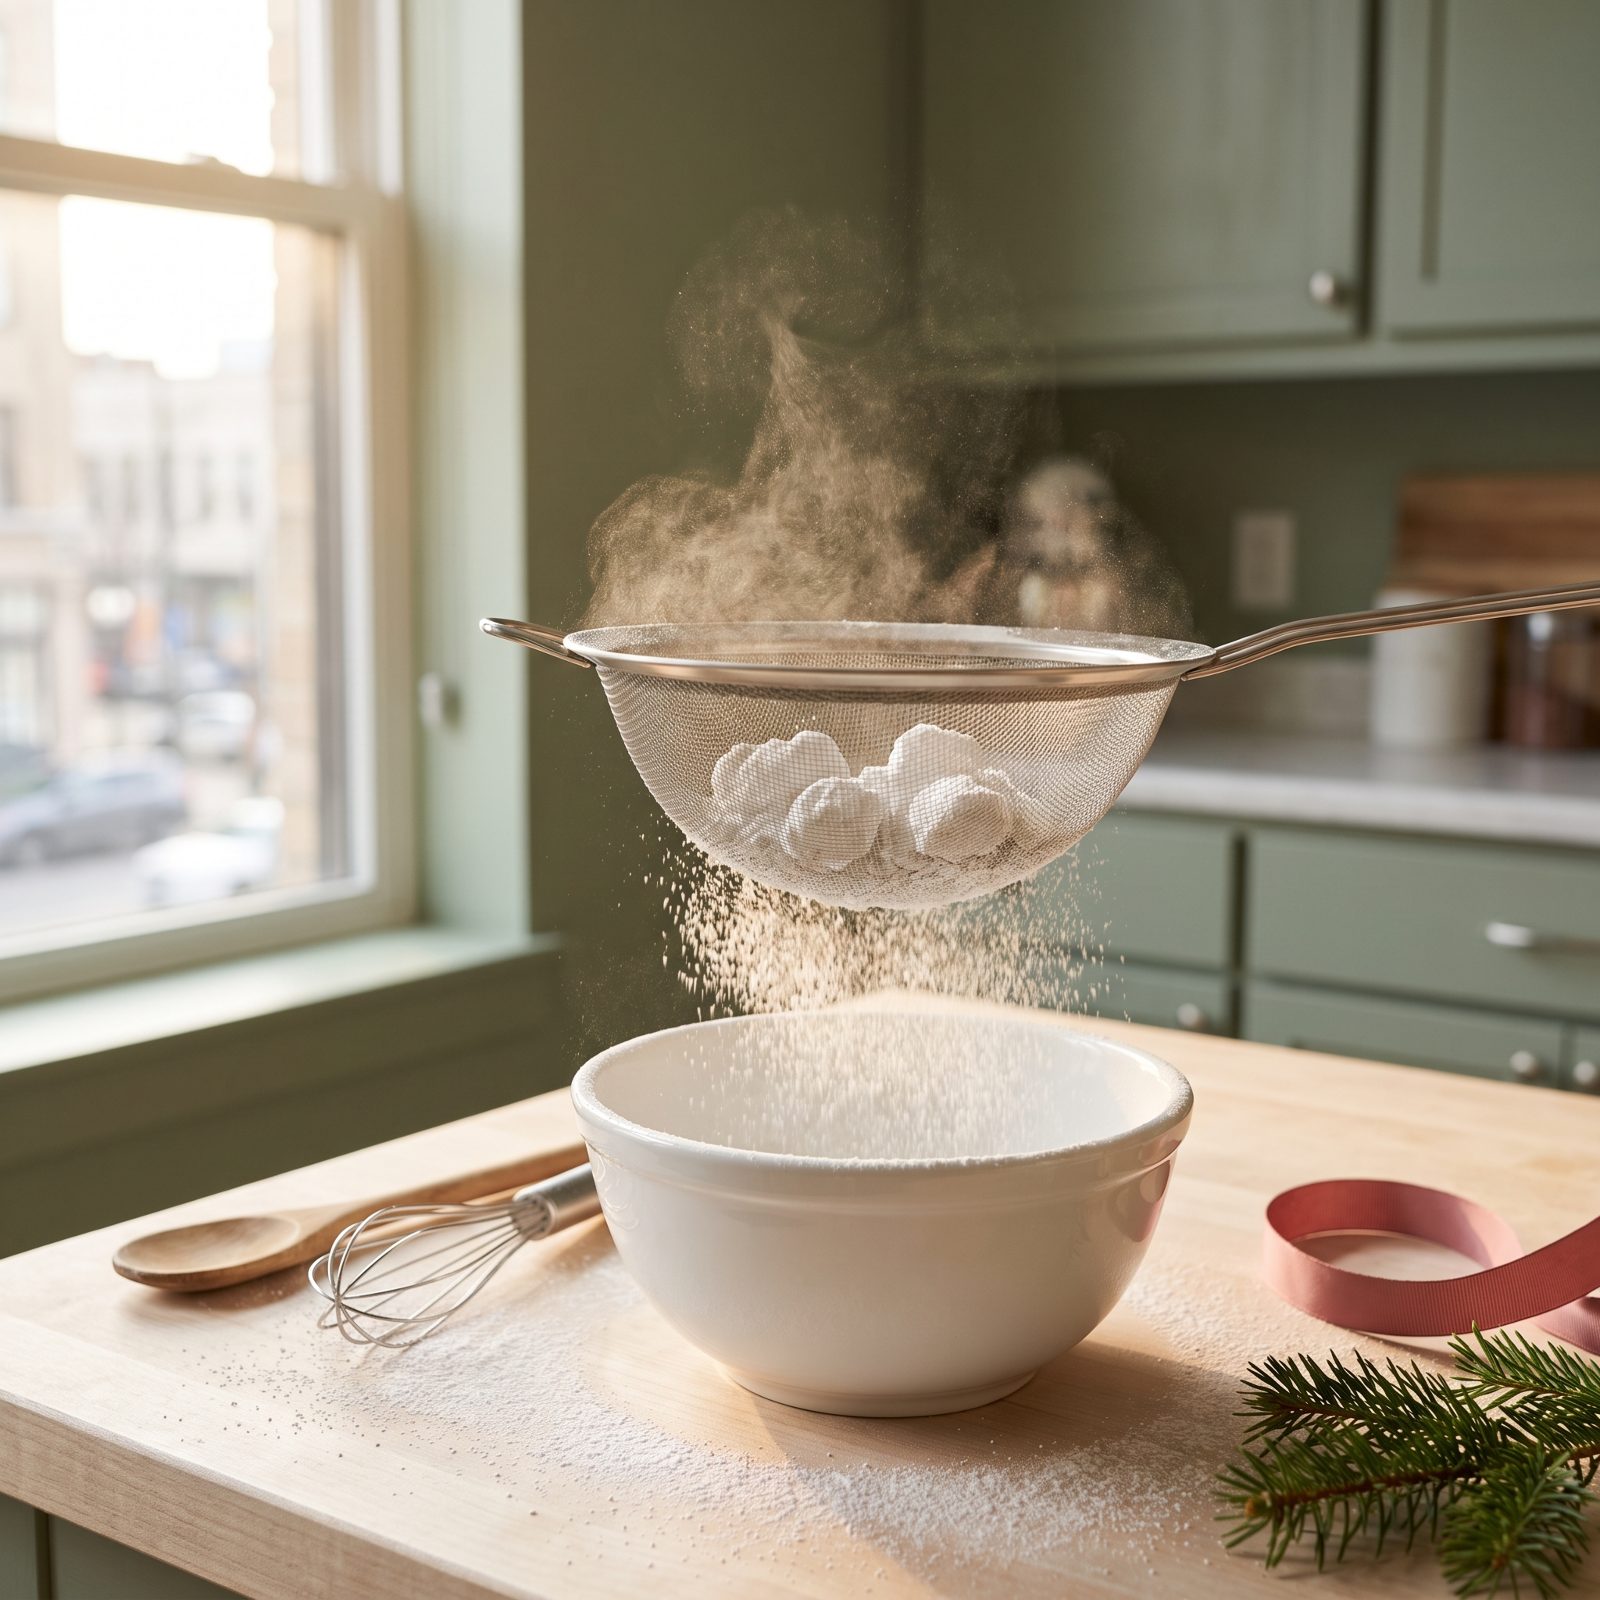
Confectioners’ sugar clumps the second humidity gets to it, and those lumps don’t dissolve in buttercream or glaze. They sit there like tiny pebbles and announce themselves on the first bite.
Run it through a fine-mesh sieve before you use it, every single time, no matter how fresh the bag looks. Give the sieve a tap and watch what stays behind. A graveyard of hard little balls? That bag has been quietly soaking up moisture for a while.
36. Check Molasses for Crystallization
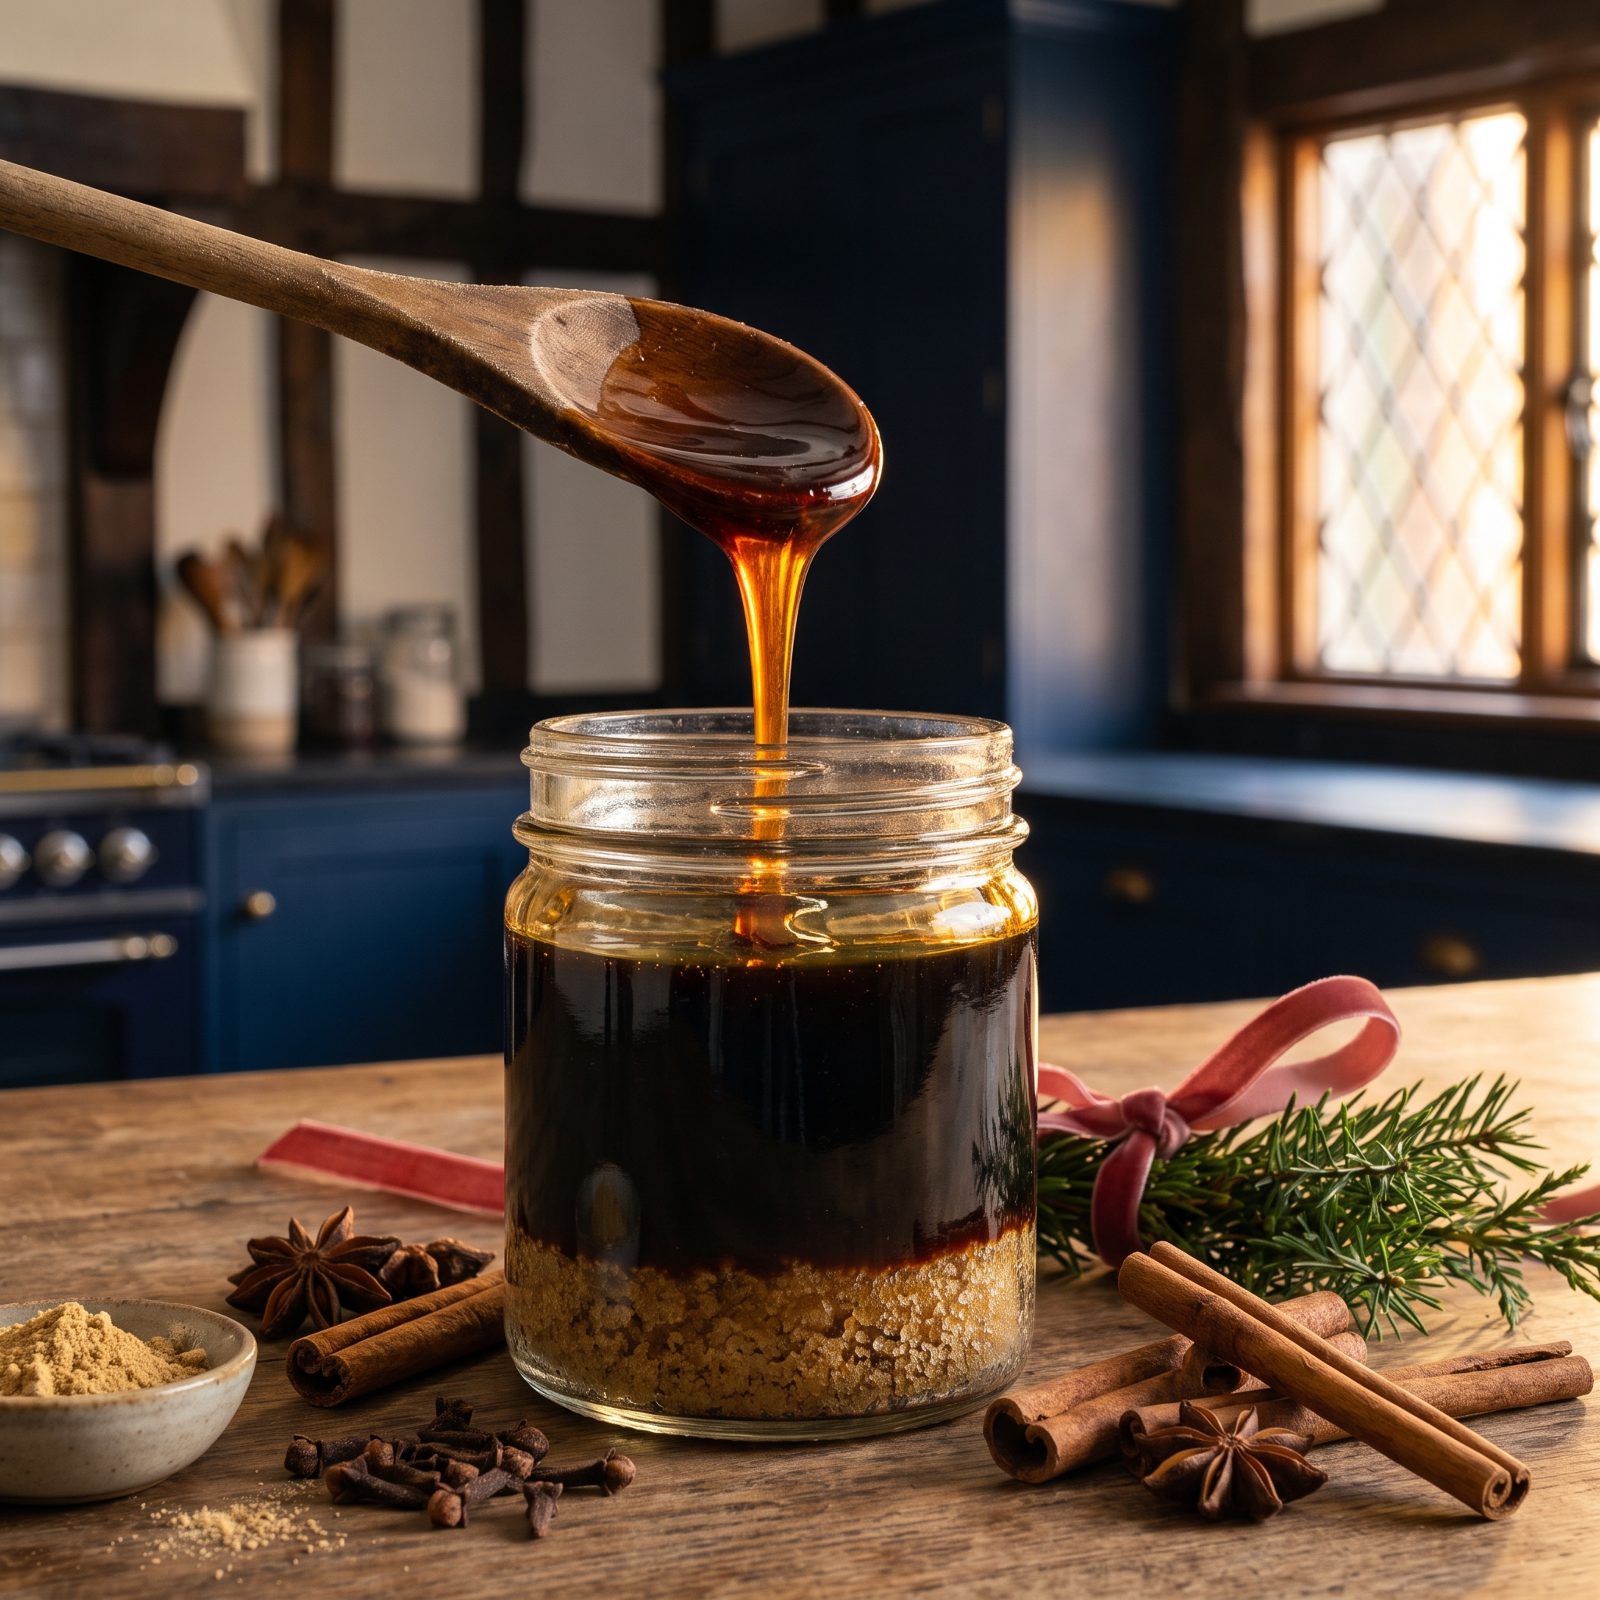
Molasses can crystallize or ferment when it’s been open and sitting too long, and once it does, it measures wrong and bakes wrong. Gingerbread lives and dies by this ingredient, so give it a real look.
Tip the jar sideways. Good molasses pours in a slow, unbroken ribbon. Grainy at the bottom or refusing to budge? Warm the jar in a bowl of hot water and stir. If it’s still gritty, or carrying a boozy, sharp smell on top of the usual bittersweet depth, toss it. Fermented molasses tastes off in the finished cookie, and no amount of spice will hide it.
35. Verify Honey Has Not Fermented
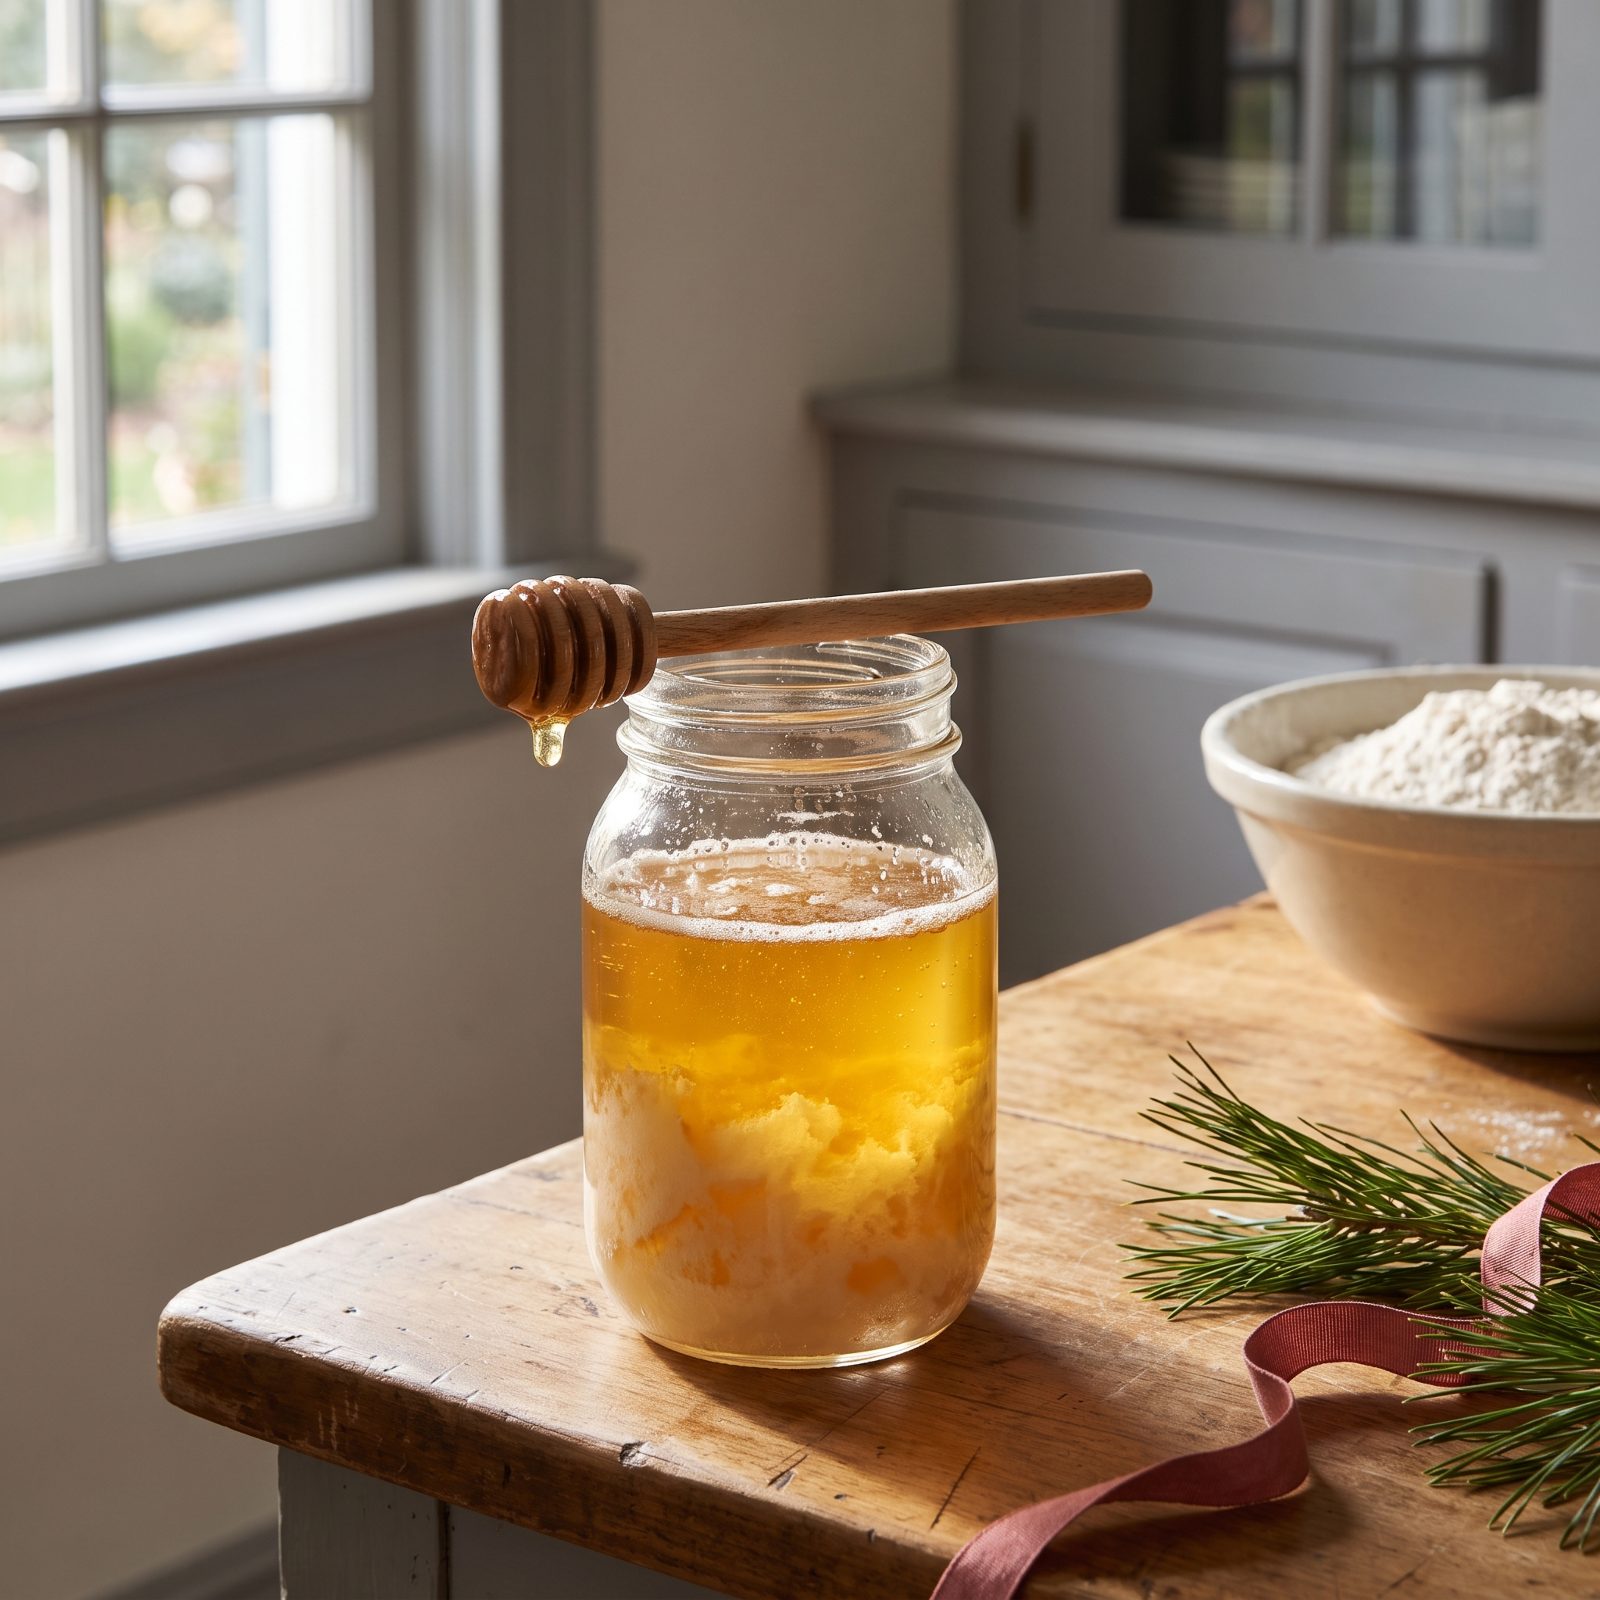
Most people get this backwards: crystallized honey is perfectly fine, fermented honey is not. They look different, they smell different, and confusing the two means you either throw out good honey or bake with bad.
Crystallization is just the glucose turning solid and grainy, and gentle warming in a water bath brings it right back. Fermentation is a different animal — yeasty or sour on the nose, sometimes fizzy, and it happens when honey takes on too much moisture.
34. Check Light Corn Syrup Clarity

Light corn syrup is the backbone of pecan pie, pralines, and anything that needs to stay smooth and not crystallize. It keeps for ages, which is exactly why people forget to check it and end up pouring something cloudy into a pie shell.
Hold the bottle to the light. It should look clear, pale, and syrupy — no haze, no separation, no gray cast. Give it a sniff too. Corn syrup is nearly odorless, so any sour note is a red flag. A quick tilt-and-swirl tells you everything in about five seconds.
33. Confirm Shortening Smells Clean and Neutral

Shortening feels like it should last forever because it sits in the pantry looking identical month after month. It doesn’t. The fats oxidize slowly, and rancid shortening will drag a sour, paint-like taste into an otherwise flawless pie crust.
Scoop a little and smell it close. Fresh shortening is almost scentless, maybe a faint clean richness. Rancid shortening smells sharp, waxy, like old crayons. Trust your nose here — it catches rancidity long before your eyes will.
32. Check Neutral Oil for Rancidity
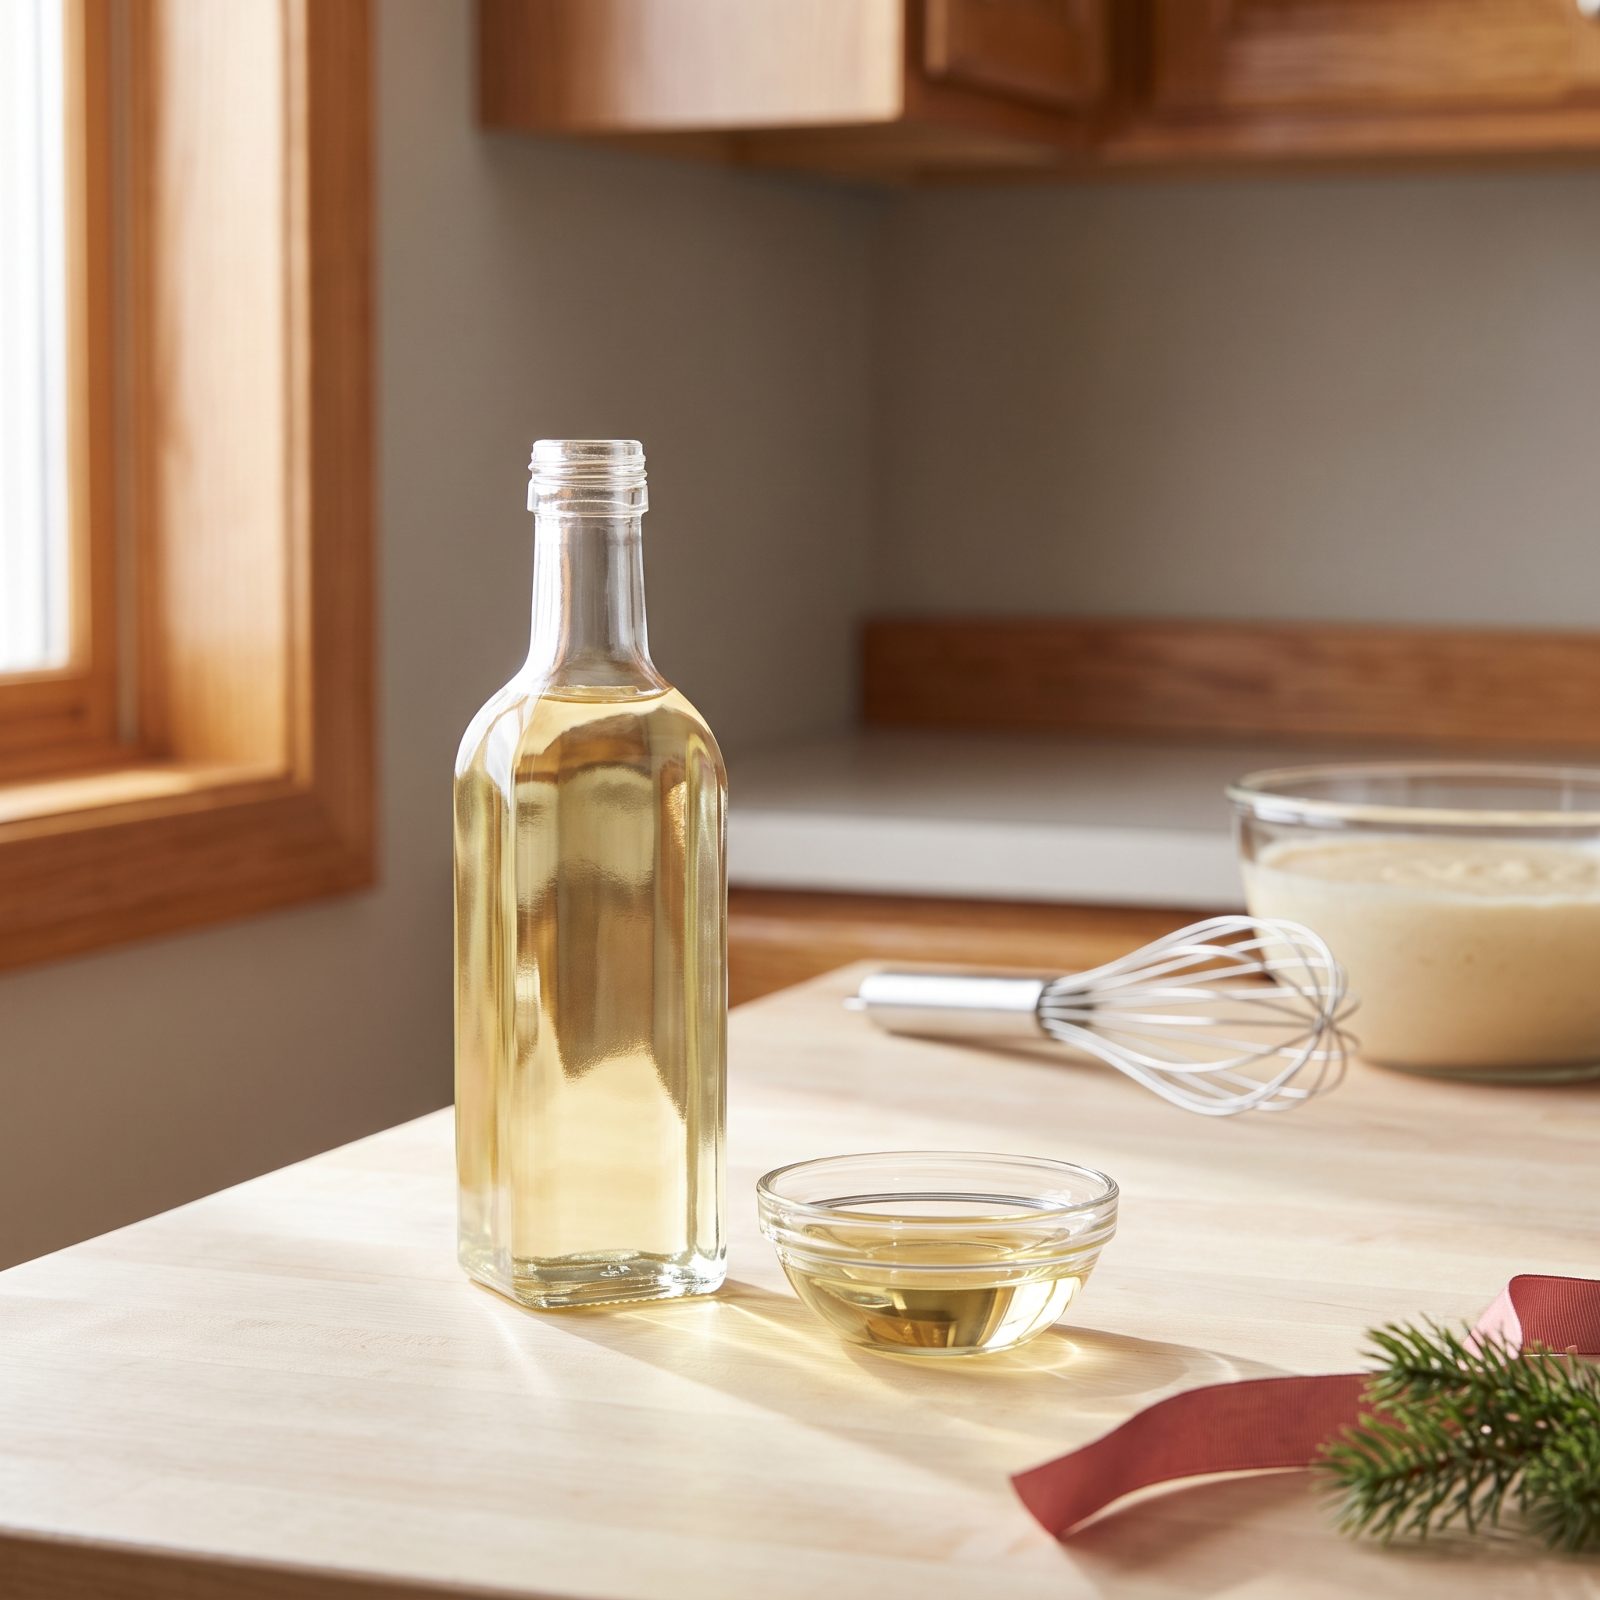
Neutral oil goes rancid faster than you’d think, especially when the bottle lives next to the stove where heat and light speed up oxidation. It’s the quiet killer of oil-based cakes and quick breads, baking its off-flavor straight into the crumb where you can’t fix it after.
Pour a little into a spoon and smell it. Fresh oil is nearly scentless. Rancid oil smells like old nuts, putty, or stale crackers, and the taste confirms it — a bitter, soapy finish that lingers. When in doubt, buy a fresh bottle. Cheaper than a ruined cake.
31. Check Vanilla Extract Supply
Would you like to save this?
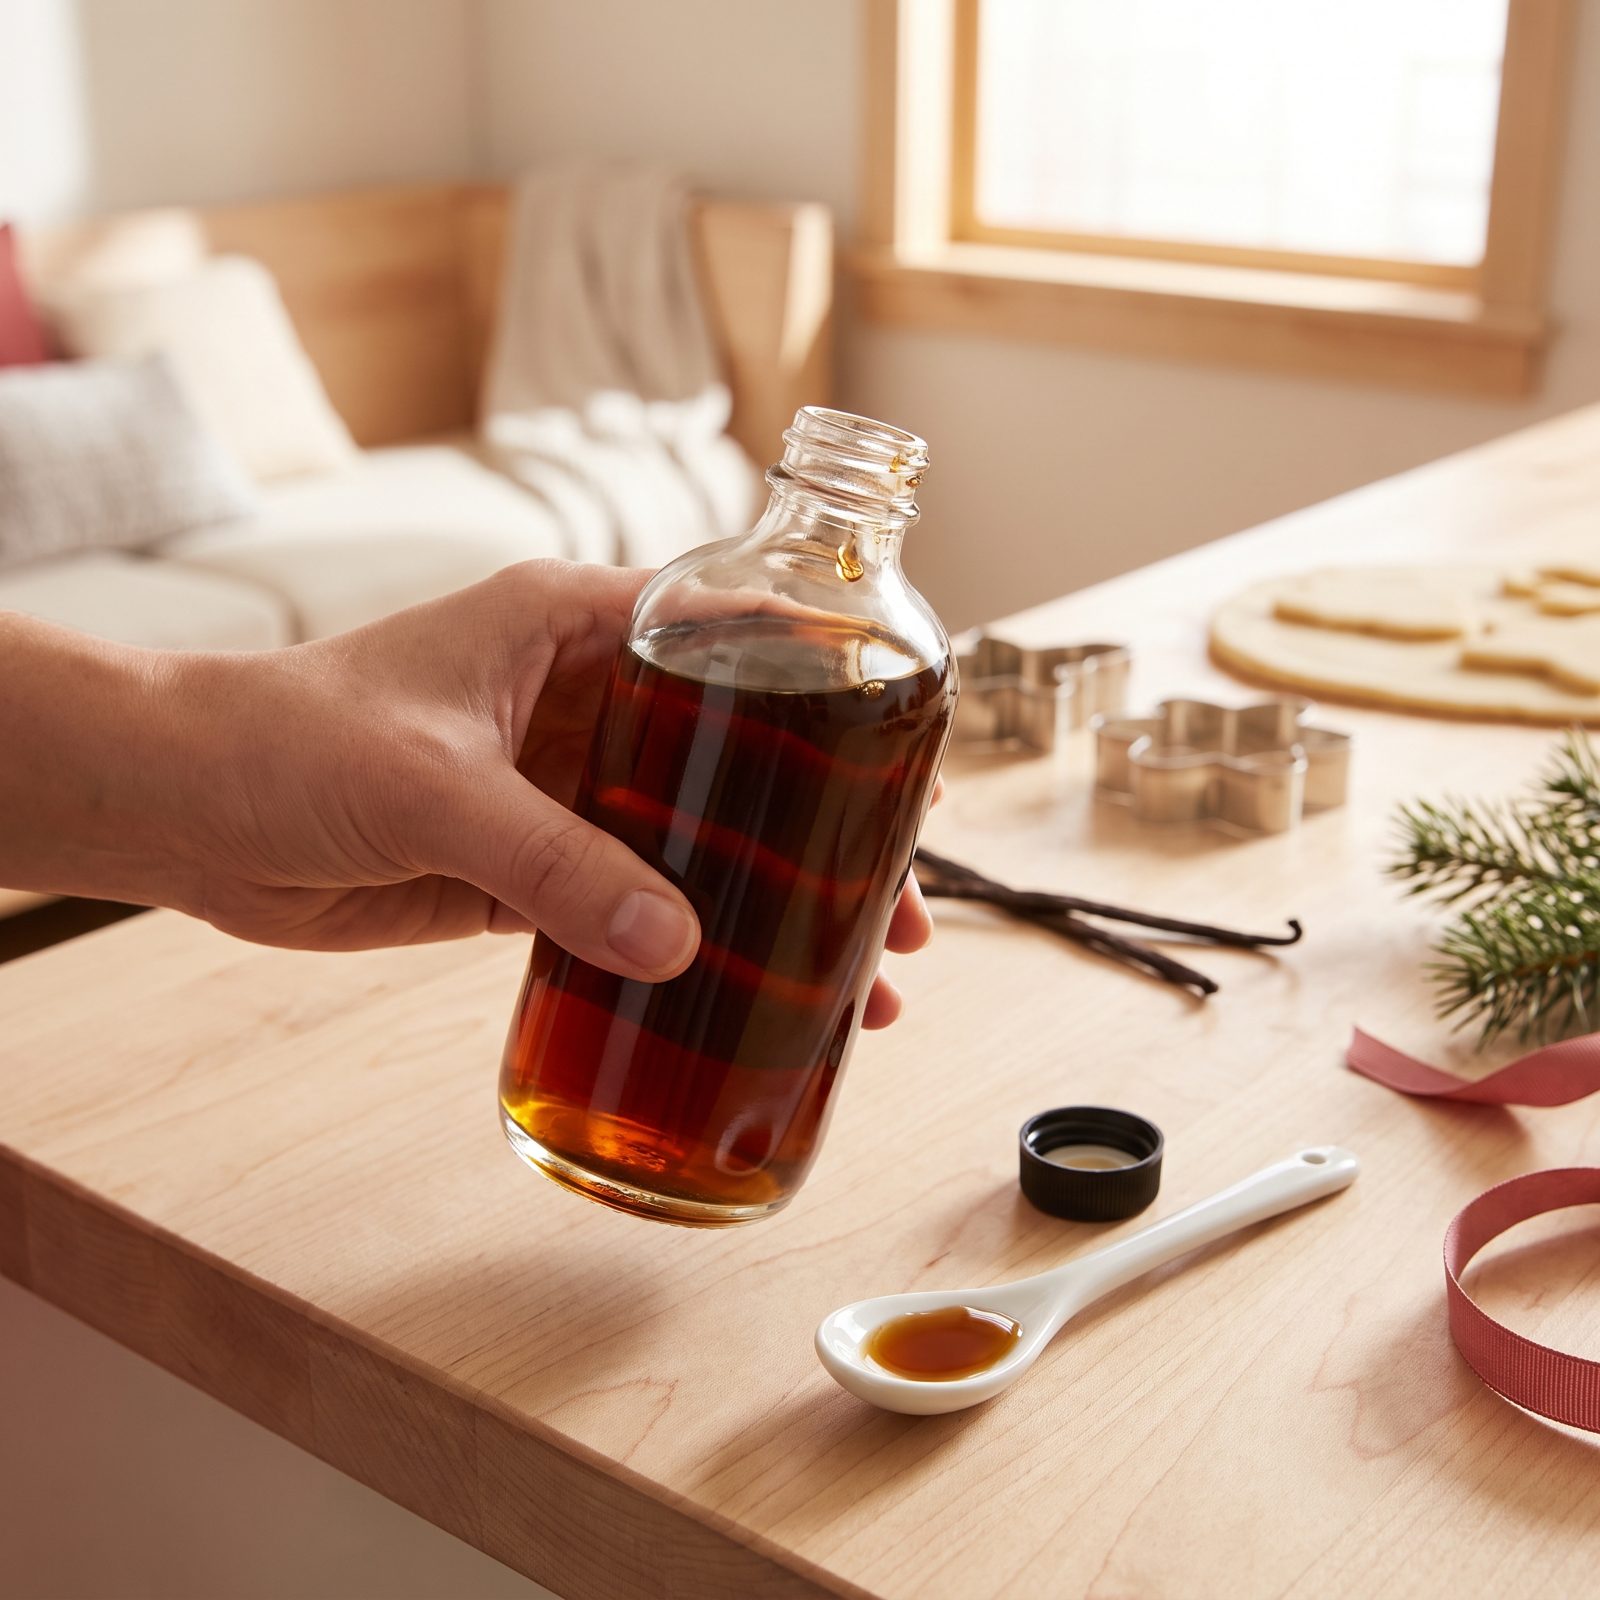
Running out of vanilla halfway through a baking marathon is the kind of mistake that sends you to the store in slippers at 9pm. Holiday baking burns through it fast — a teaspoon here, a tablespoon there — and the bottle empties quicker than you’d guess.
Pull it out and check the level now. Pure vanilla extract doesn’t expire; it actually deepens with age, so stock up without worry if you’re close to the bottom. Sniff it while you’re at it. It should smell boozy and sweet and warm. Weak or faintly chemical means you grabbed an imitation at some point, and in cookies you’ll taste the difference.
30. Inspect Vanilla Beans for Dryness
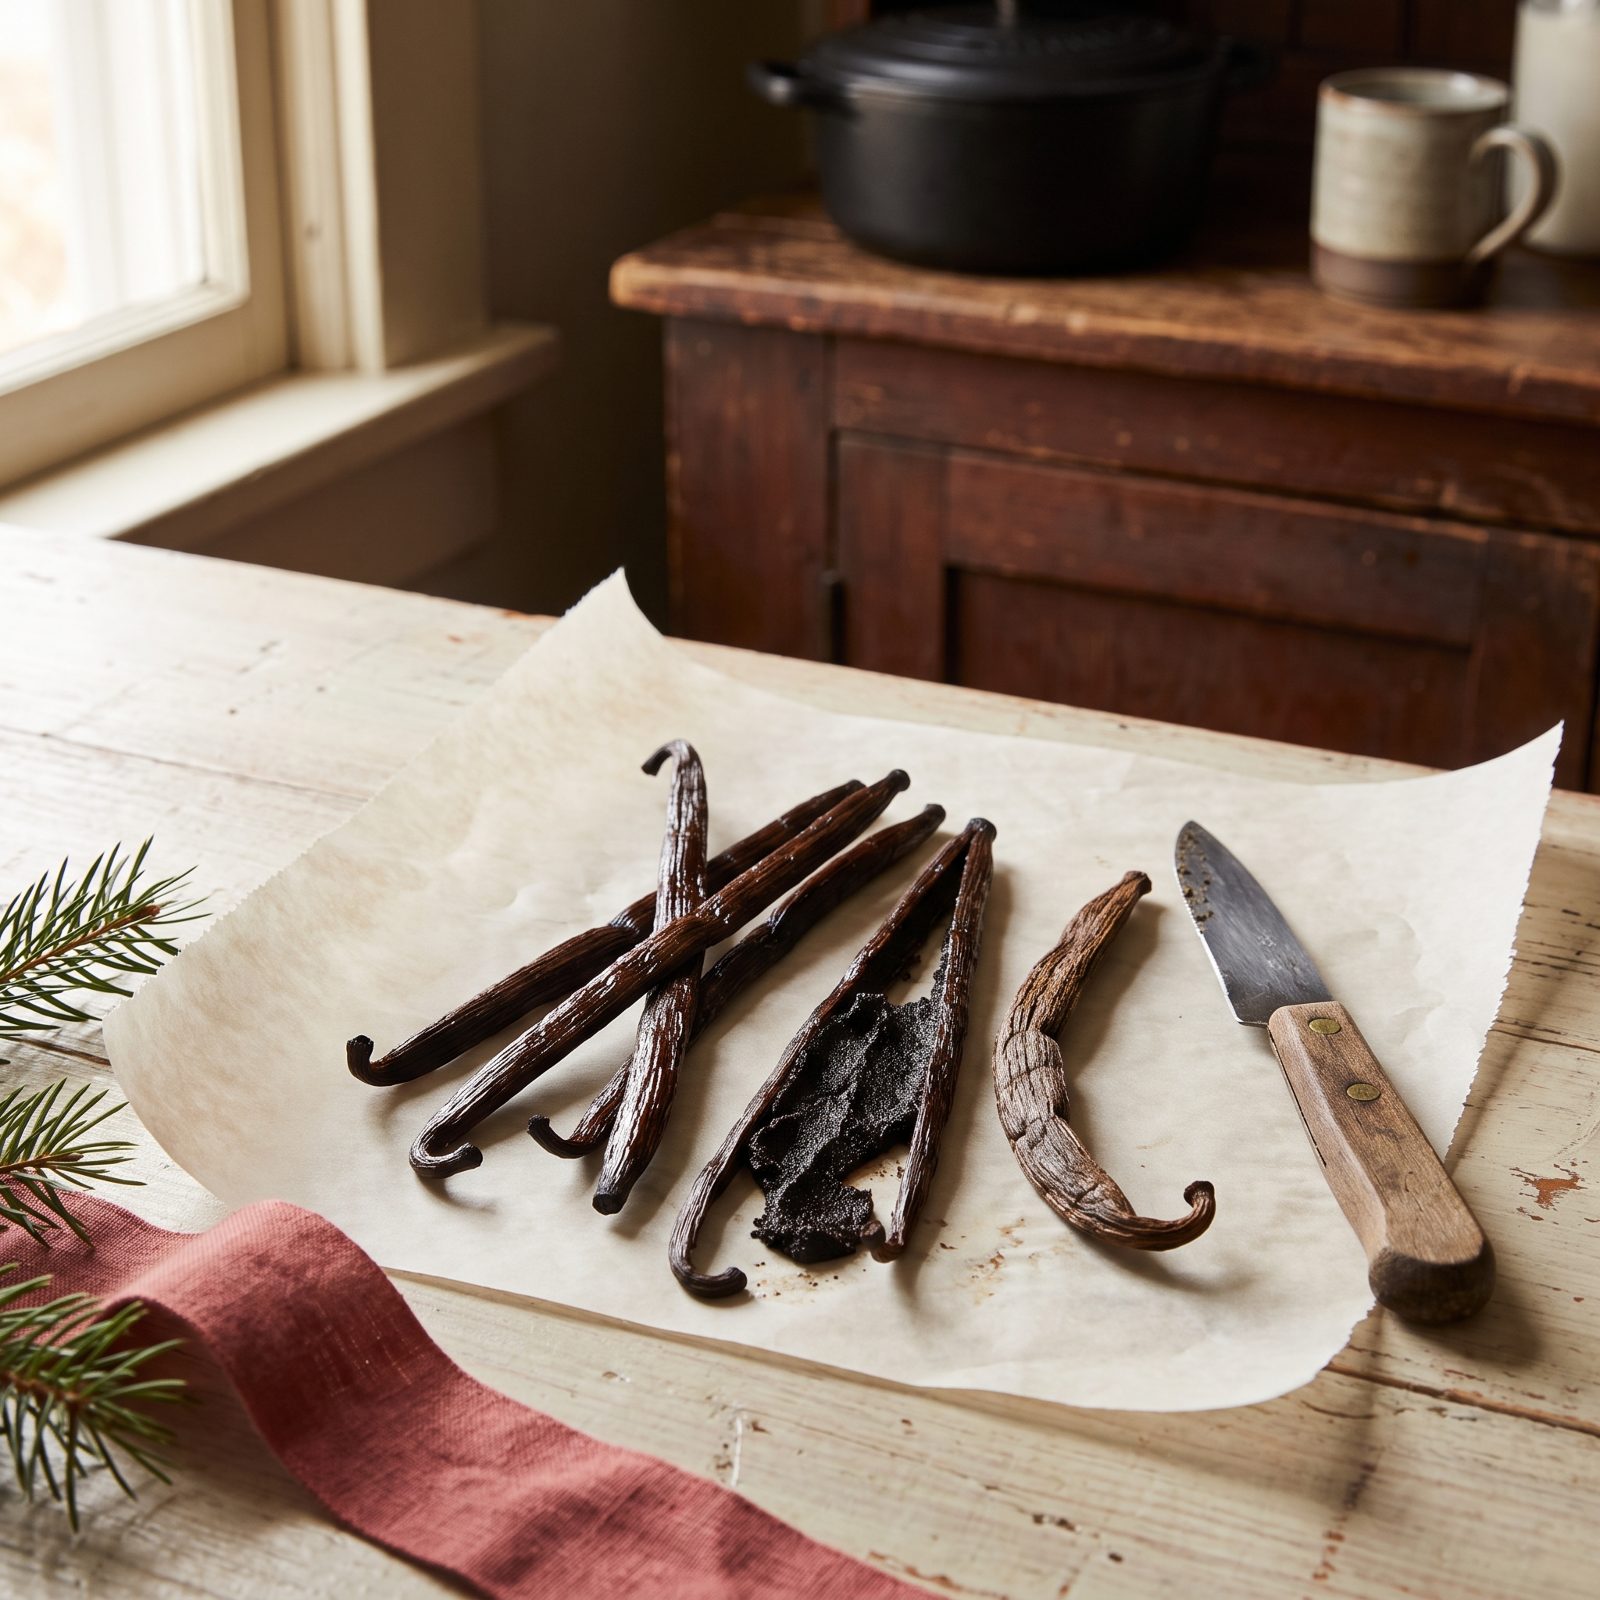
A fresh vanilla bean bends like a licorice whip and feels oily when you pinch it. A dried-out one snaps and gives you almost nothing when you scrape it — a sad thing to discover after paying what vanilla beans cost these days.
Run one between your fingers. Supple and glossy is good, with a scent strong enough to catch before you split it. Brittle and odorless means it’s been sitting too long in open air.
29. Check Peppermint Extract Potency
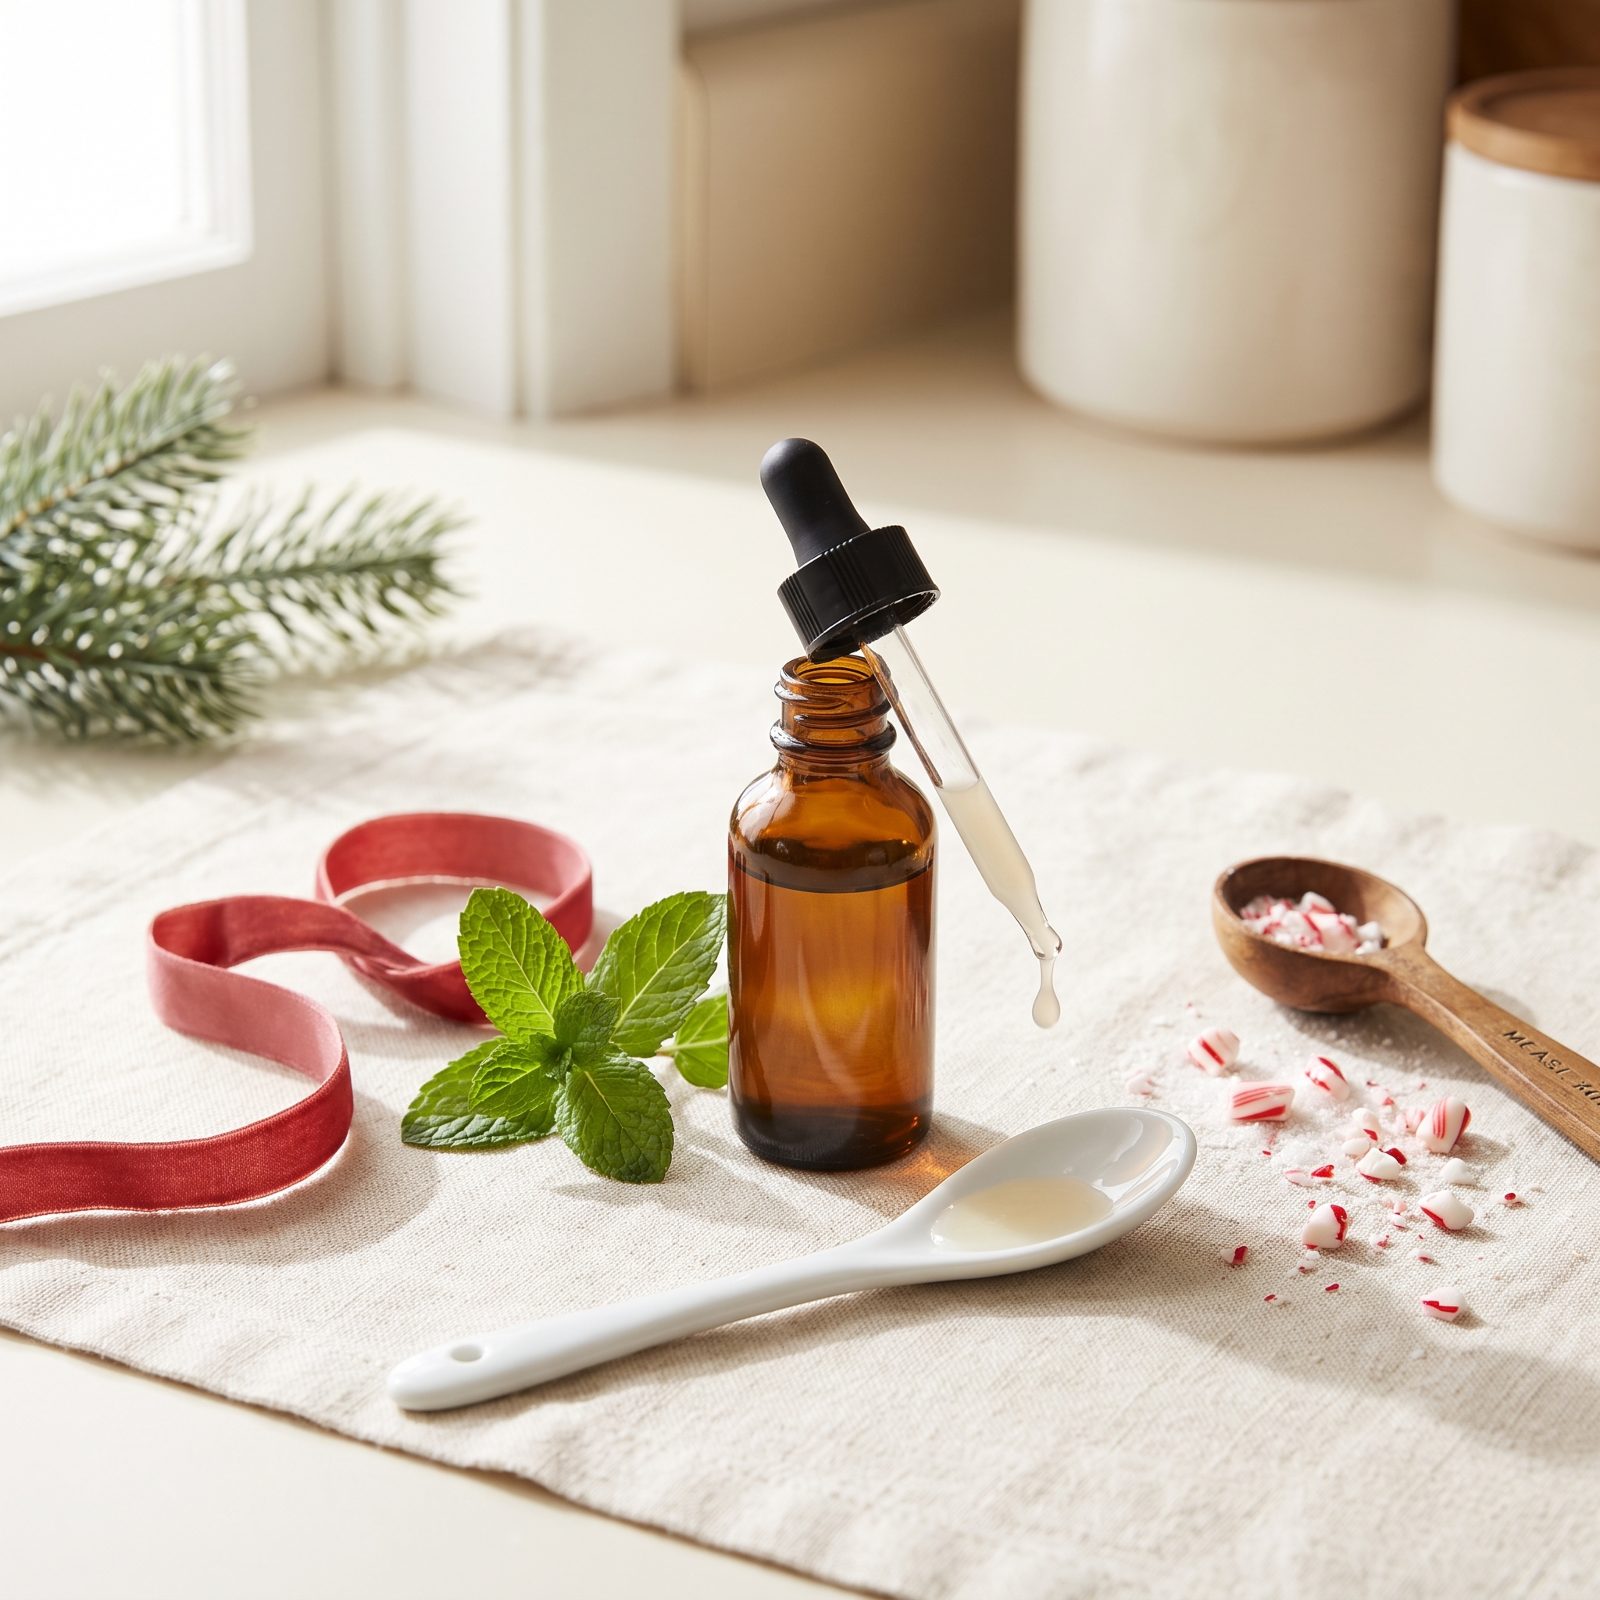
Extract dies quietly. It doesn’t spoil so much as give up, and by the time you’re folding it into a buttercream you can’t un-ruin, it’s too late. Peppermint is worse than most because the volatile oils that carry the punch are the first to walk out the door, especially if the cap’s been loose or the bottle lived next to the stove.
The ten-second test: open it, wave it under your nose, then put one drop on the back of your hand and lick it. Fresh extract bites cold and clean. Flat extract tastes like minty water with a sad alcohol edge. Open more than a year and smelling muted? Replace it before December baking begins.
28. Check Ground Cinnamon Aroma
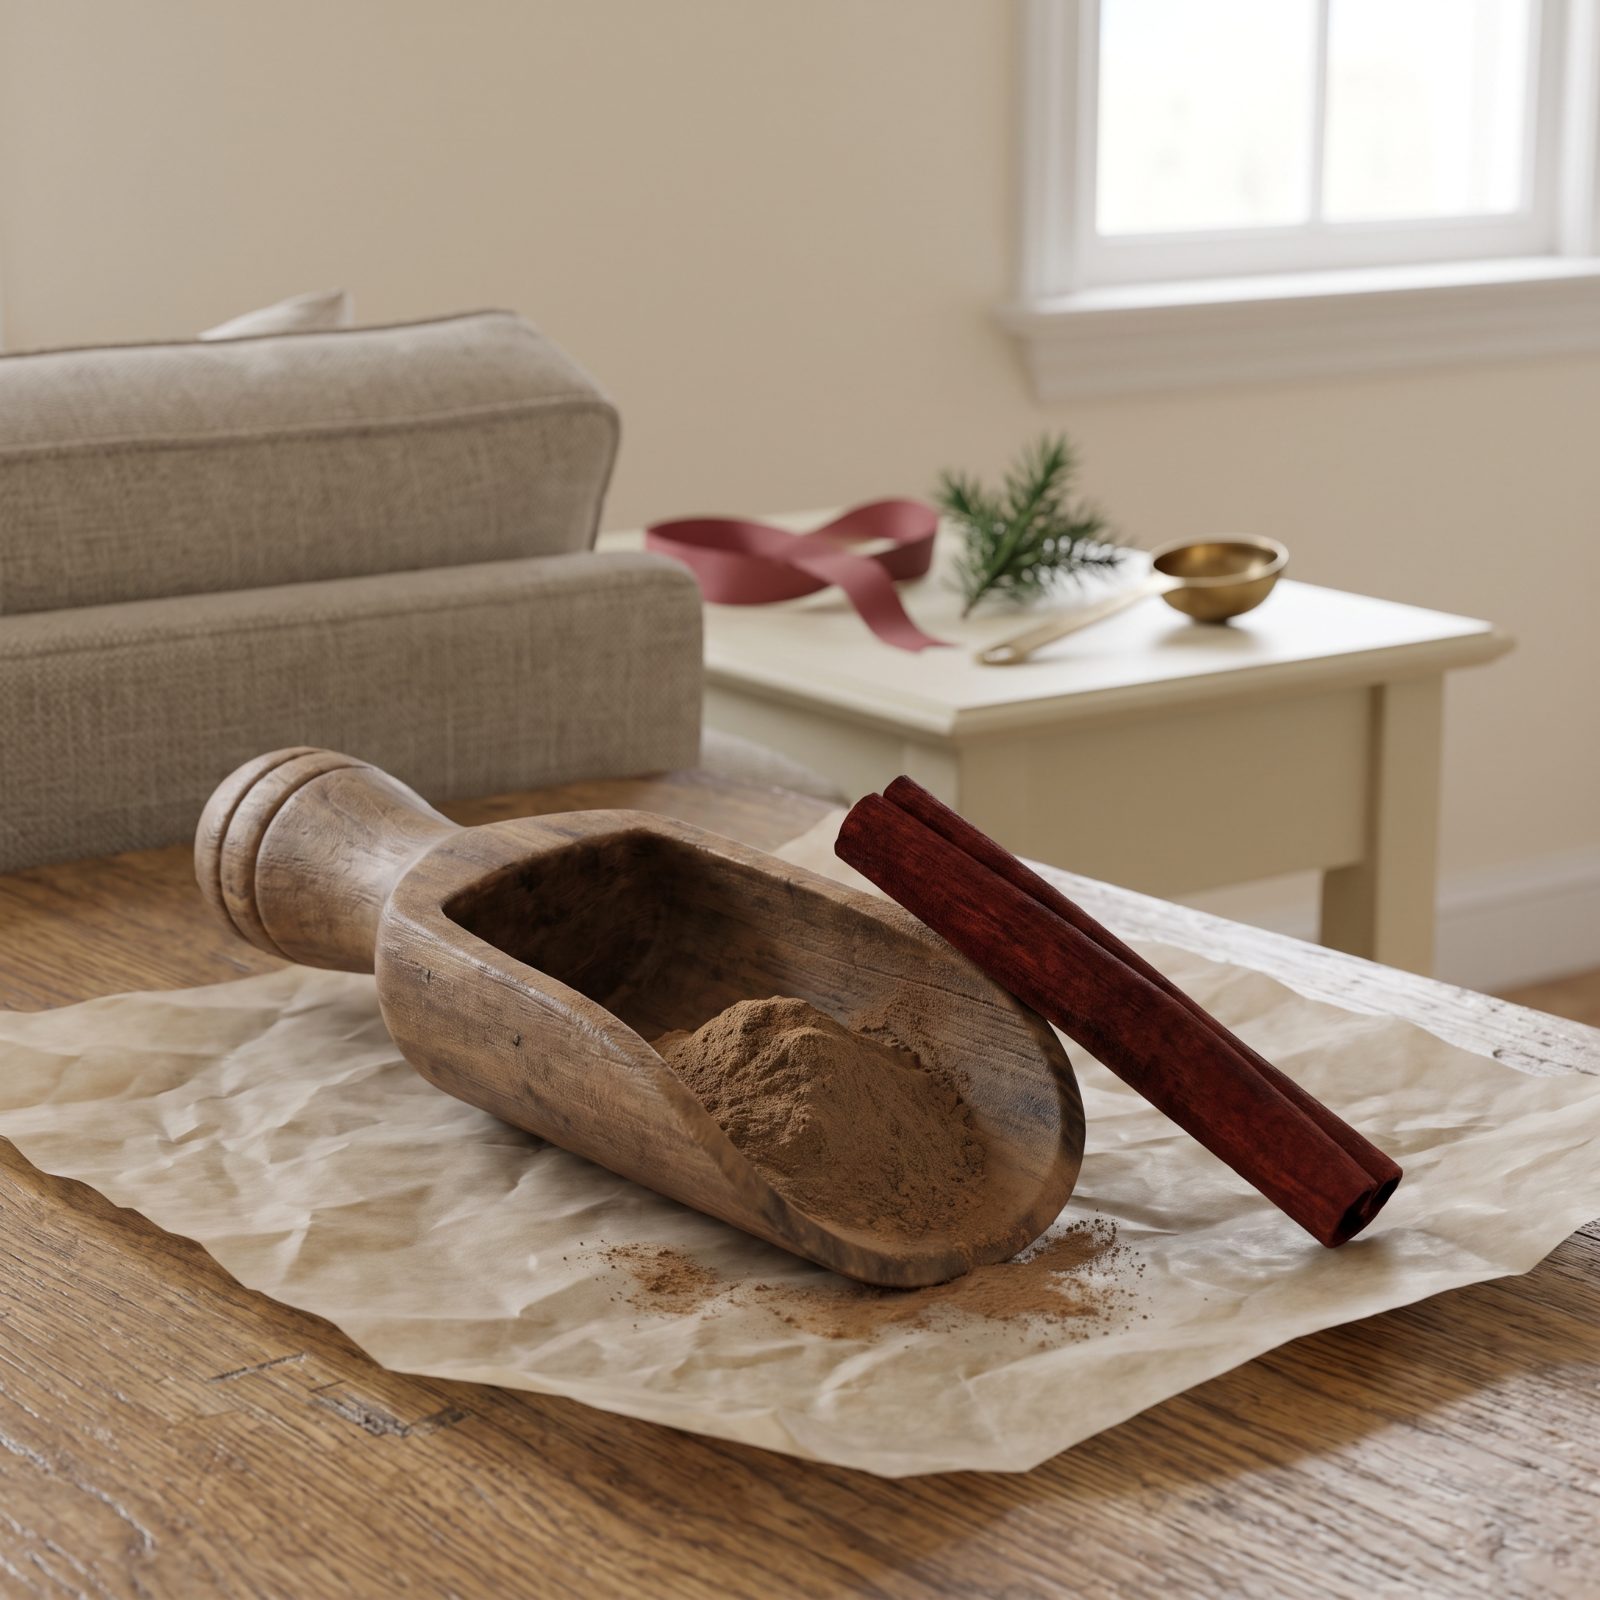
Cinnamon is the one everybody assumes is fine. It’s been in the cabinet since the Reagan administration and nobody questions it. But ground cinnamon loses its fragrance fast, usually inside a year, and old cinnamon tastes like sawdust with a memory of spice.
Pinch some, rub it between your fingers, inhale right away. That warm, almost sweet heat should hit you immediately. If you have to go hunting for the smell, it’s done. Snickerdoodles and cinnamon rolls live or die on this one spice, so this check matters more than any other jar on the shelf.
27. Replace Faded Ground Ginger
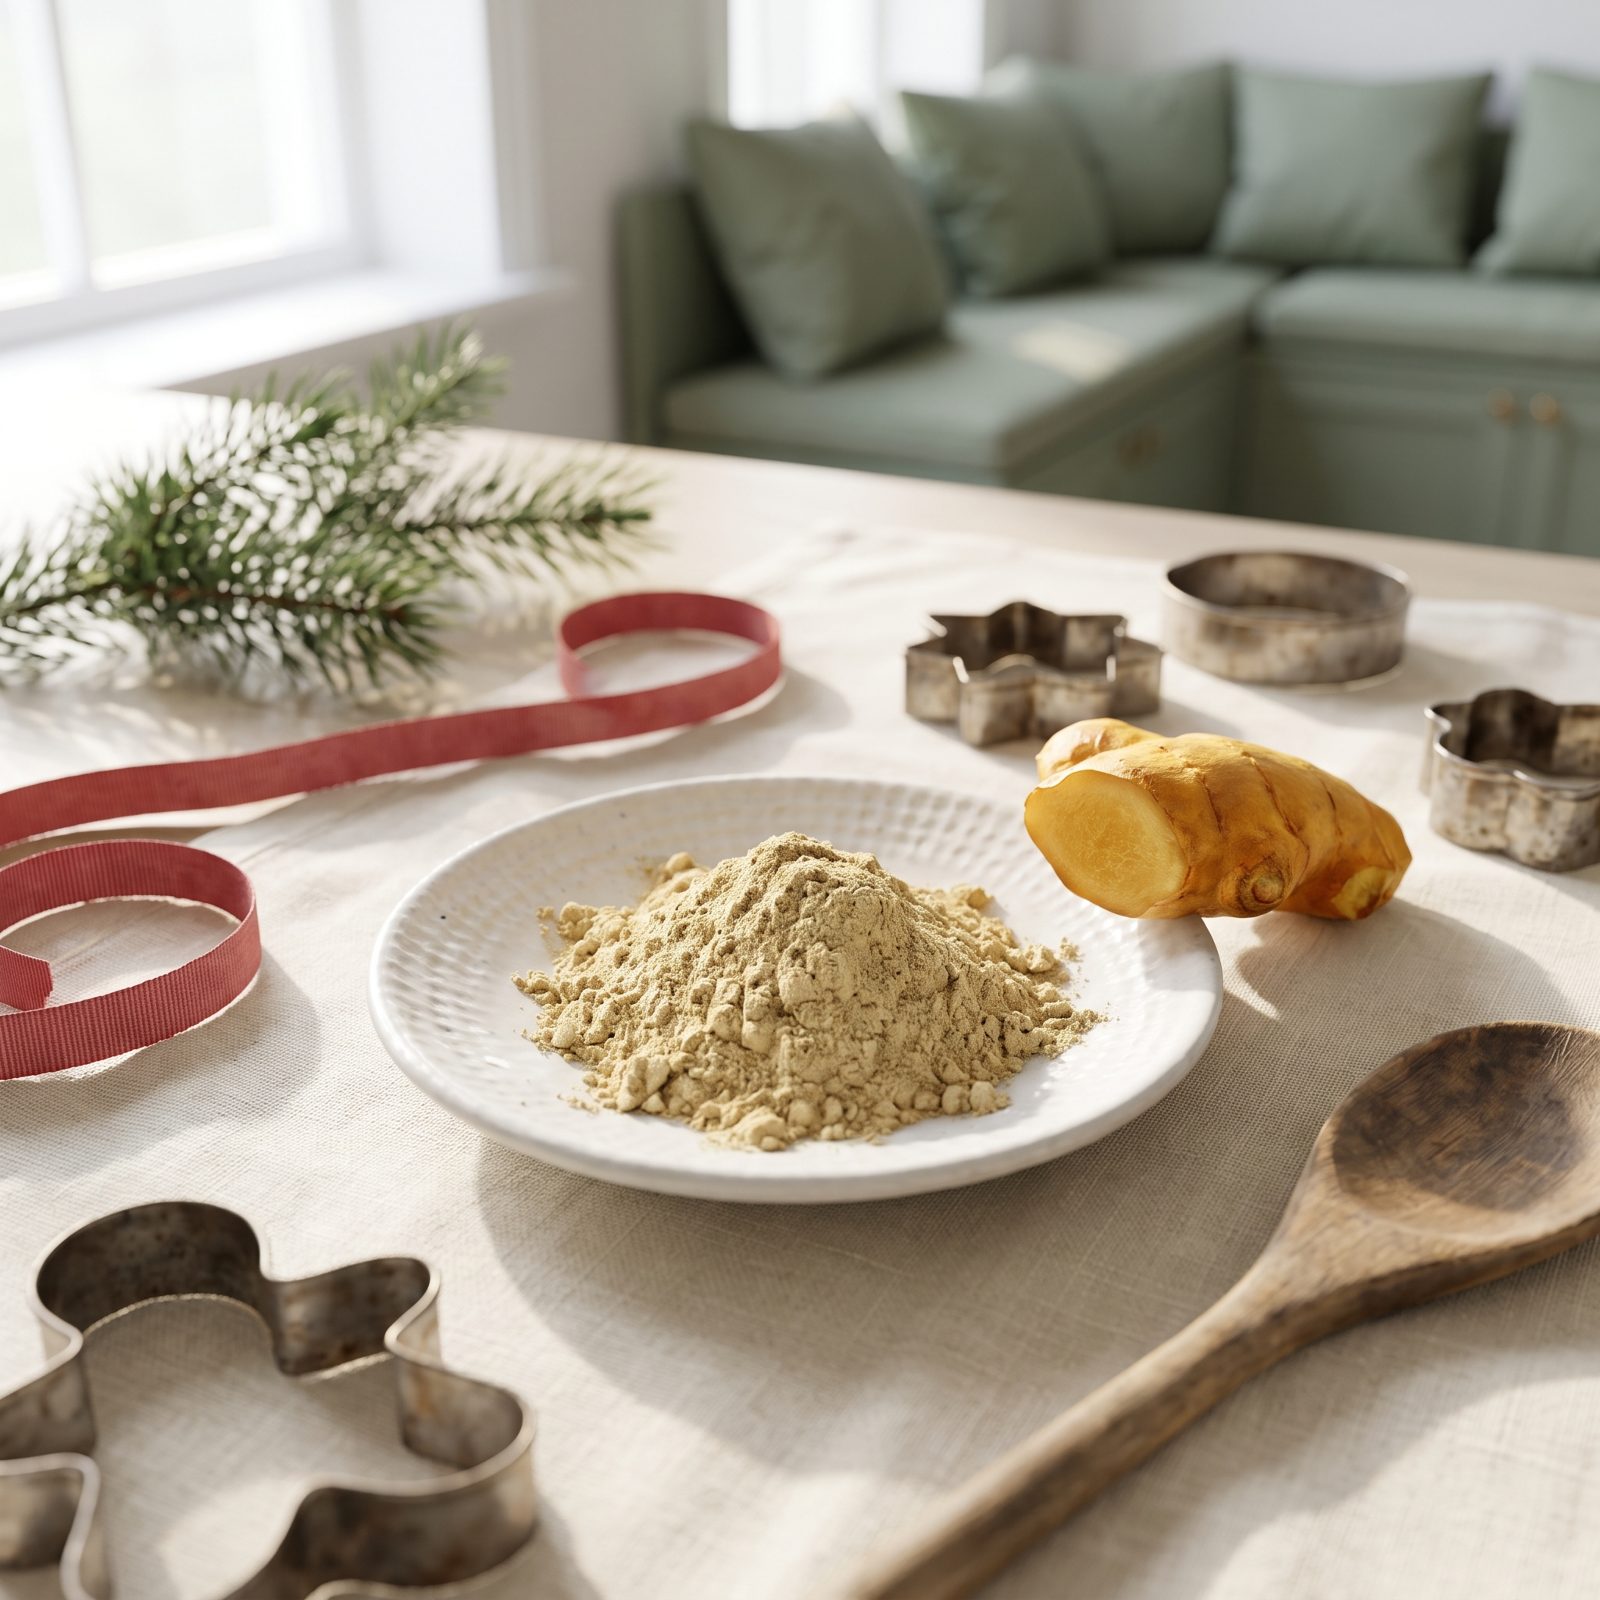
Ground ginger carries most of your gingerbread, and tired ginger is why a batch sometimes comes out tasting like nothing in particular. The color gives it away before the smell does. Fresh ground ginger glows a warm gold, while old ginger fades to a sad, grayish tan, like it’s been left in the sun.
Smell it next. You want sharp, almost peppery heat that makes your nose wake up. Gone soft and vaguely dusty? Buy new. I replace mine every autumn whether it needs it or not. Gingerbread season is no time to gamble.
26. Inspect Whole Nutmeg for Mold
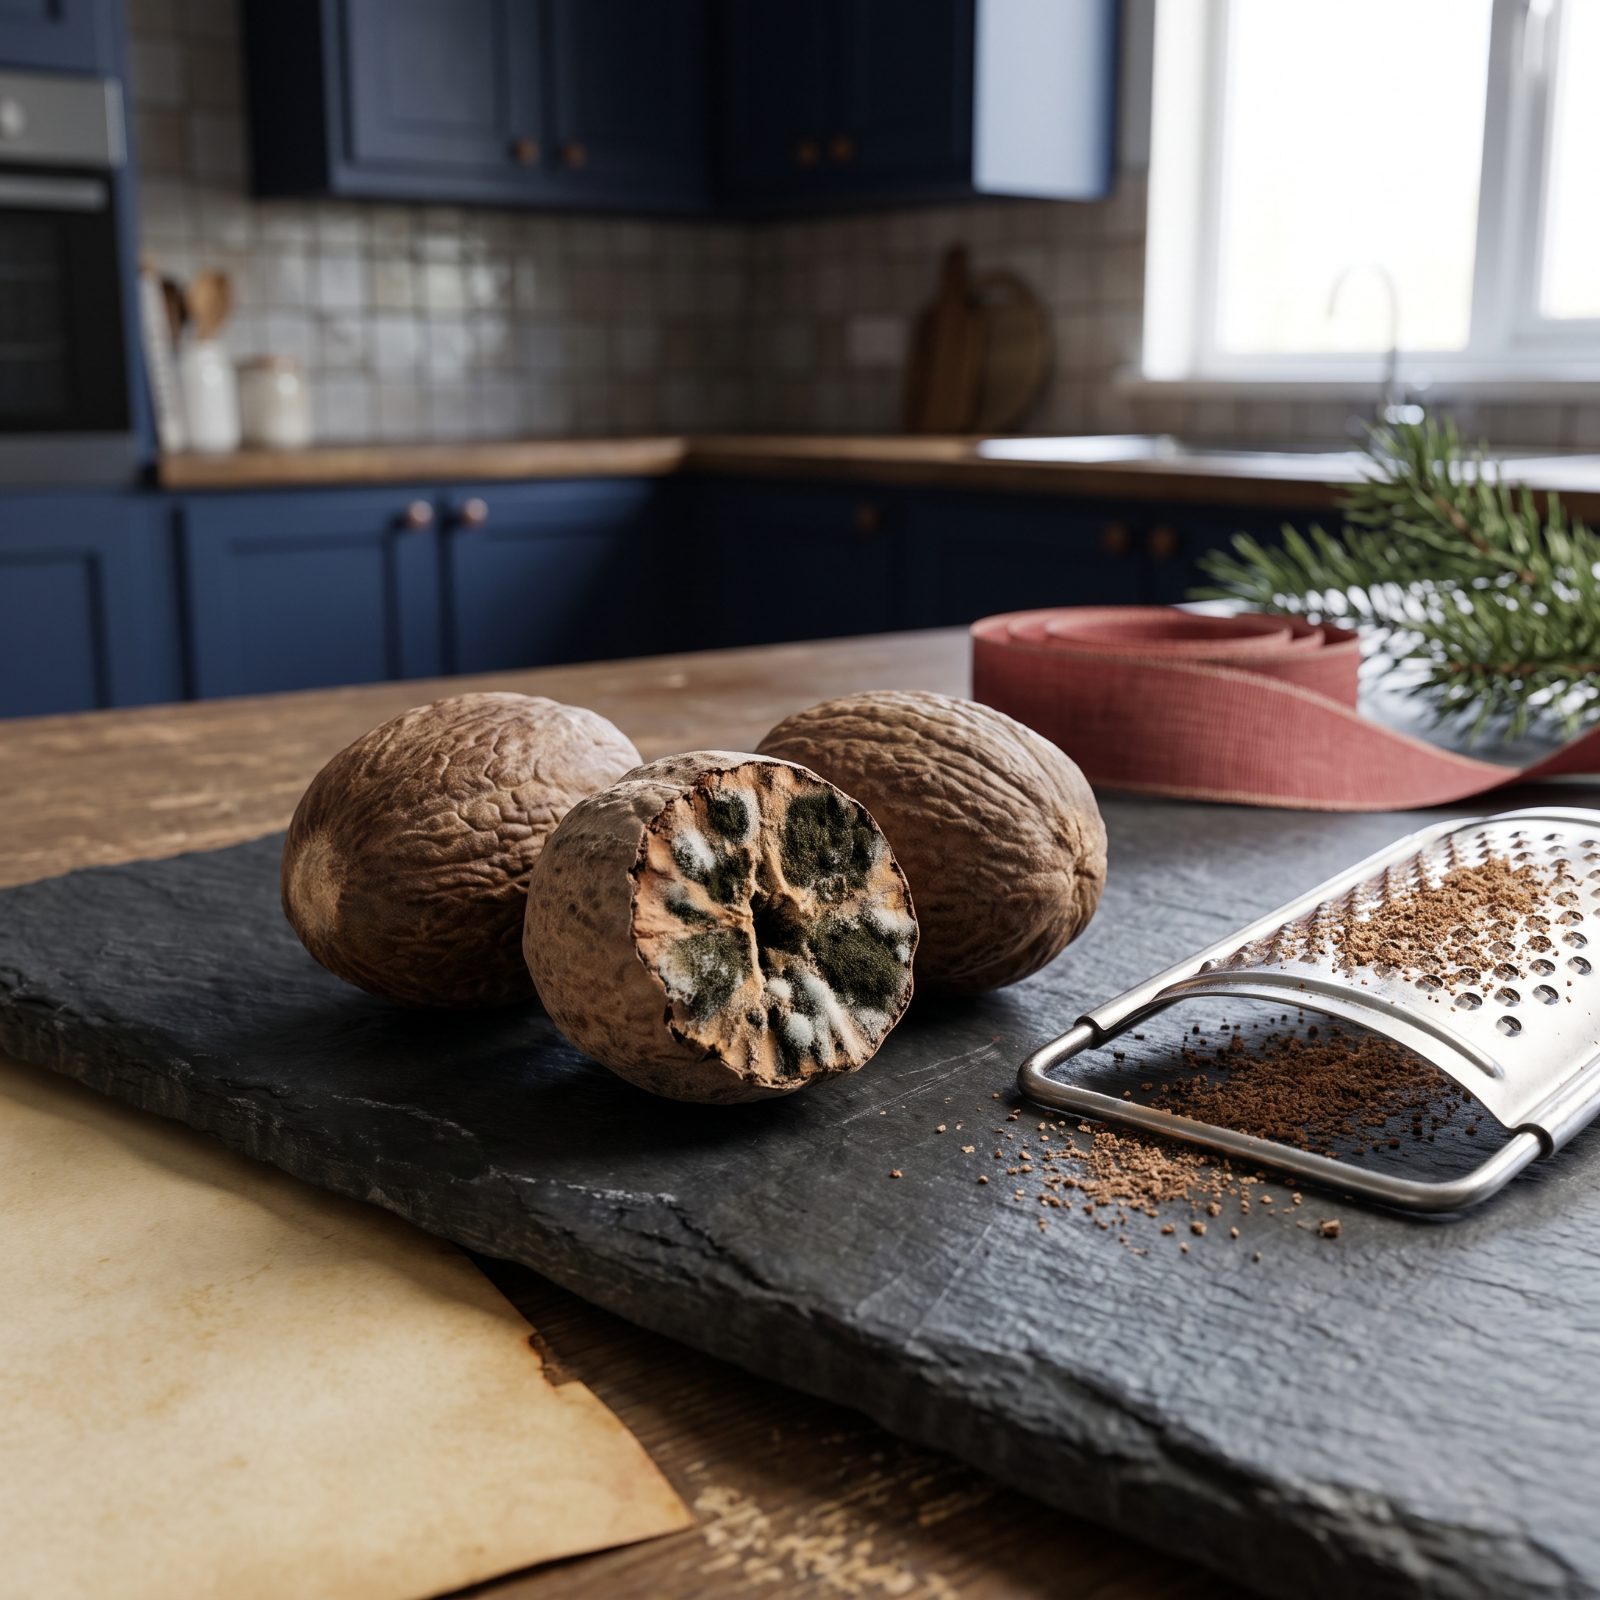
Whole nutmeg lasts for years, which lulls people into never looking at it. That’s the trap. Nutmeg can grow mold inside if it ever got damp, and from the outside it looks exactly like the good stuff.
Give each seed a once-over. The surface should be hard, dry, smooth-wrinkled, deep brown, no soft spots anywhere. Now the real test: grate a little off one end. That cut face should be creamy tan and tightly marbled, and it should smell loud and warm. Any gray powdery film, any musty basement smell, any crumbling softness — toss it. One grate is cheaper than ruining a bread pudding.
25. Check Cardamom Fragrance
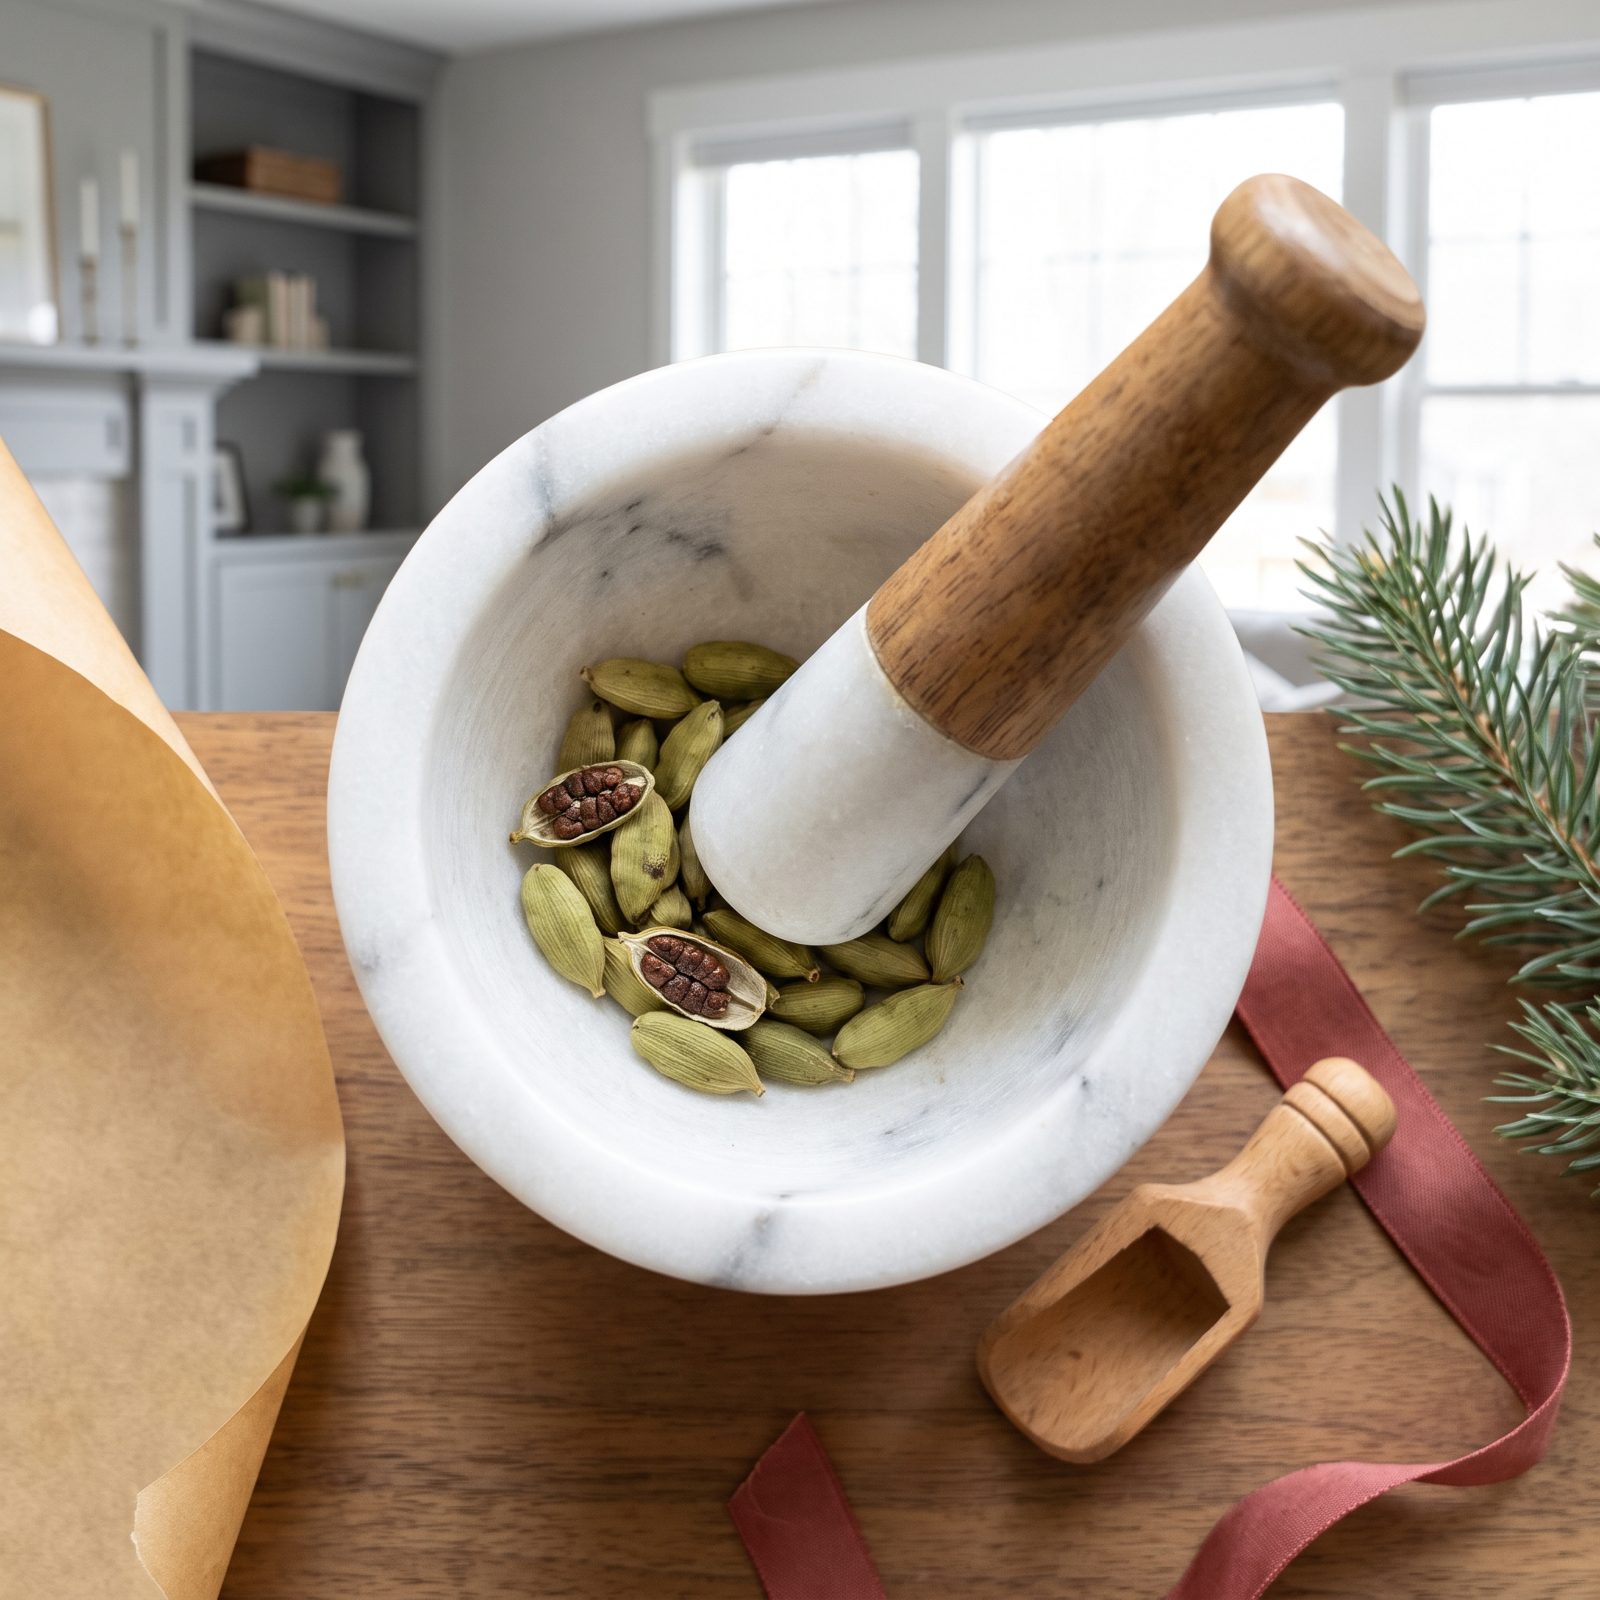
Cardamom is the expensive one, which is exactly why people hang onto it long after it’s worth using. Scandinavian holiday breads and spiced cookies can’t do without it. But only when it still has that floral, eucalyptus-citrus perfume that makes it special.
Look at the pods first. Plump and green means life. Pale, papery, straw-colored pods have quit on you. Crush one open and sniff the seeds inside — fresh cardamom nearly perfumes the whole room. A faint ghost of it, or nothing at all, and it’s time. Buy whole pods, never pre-ground, and grind as you go. Pre-ground cardamom loses its soul within weeks.
24. Verify Anise Seed Freshness
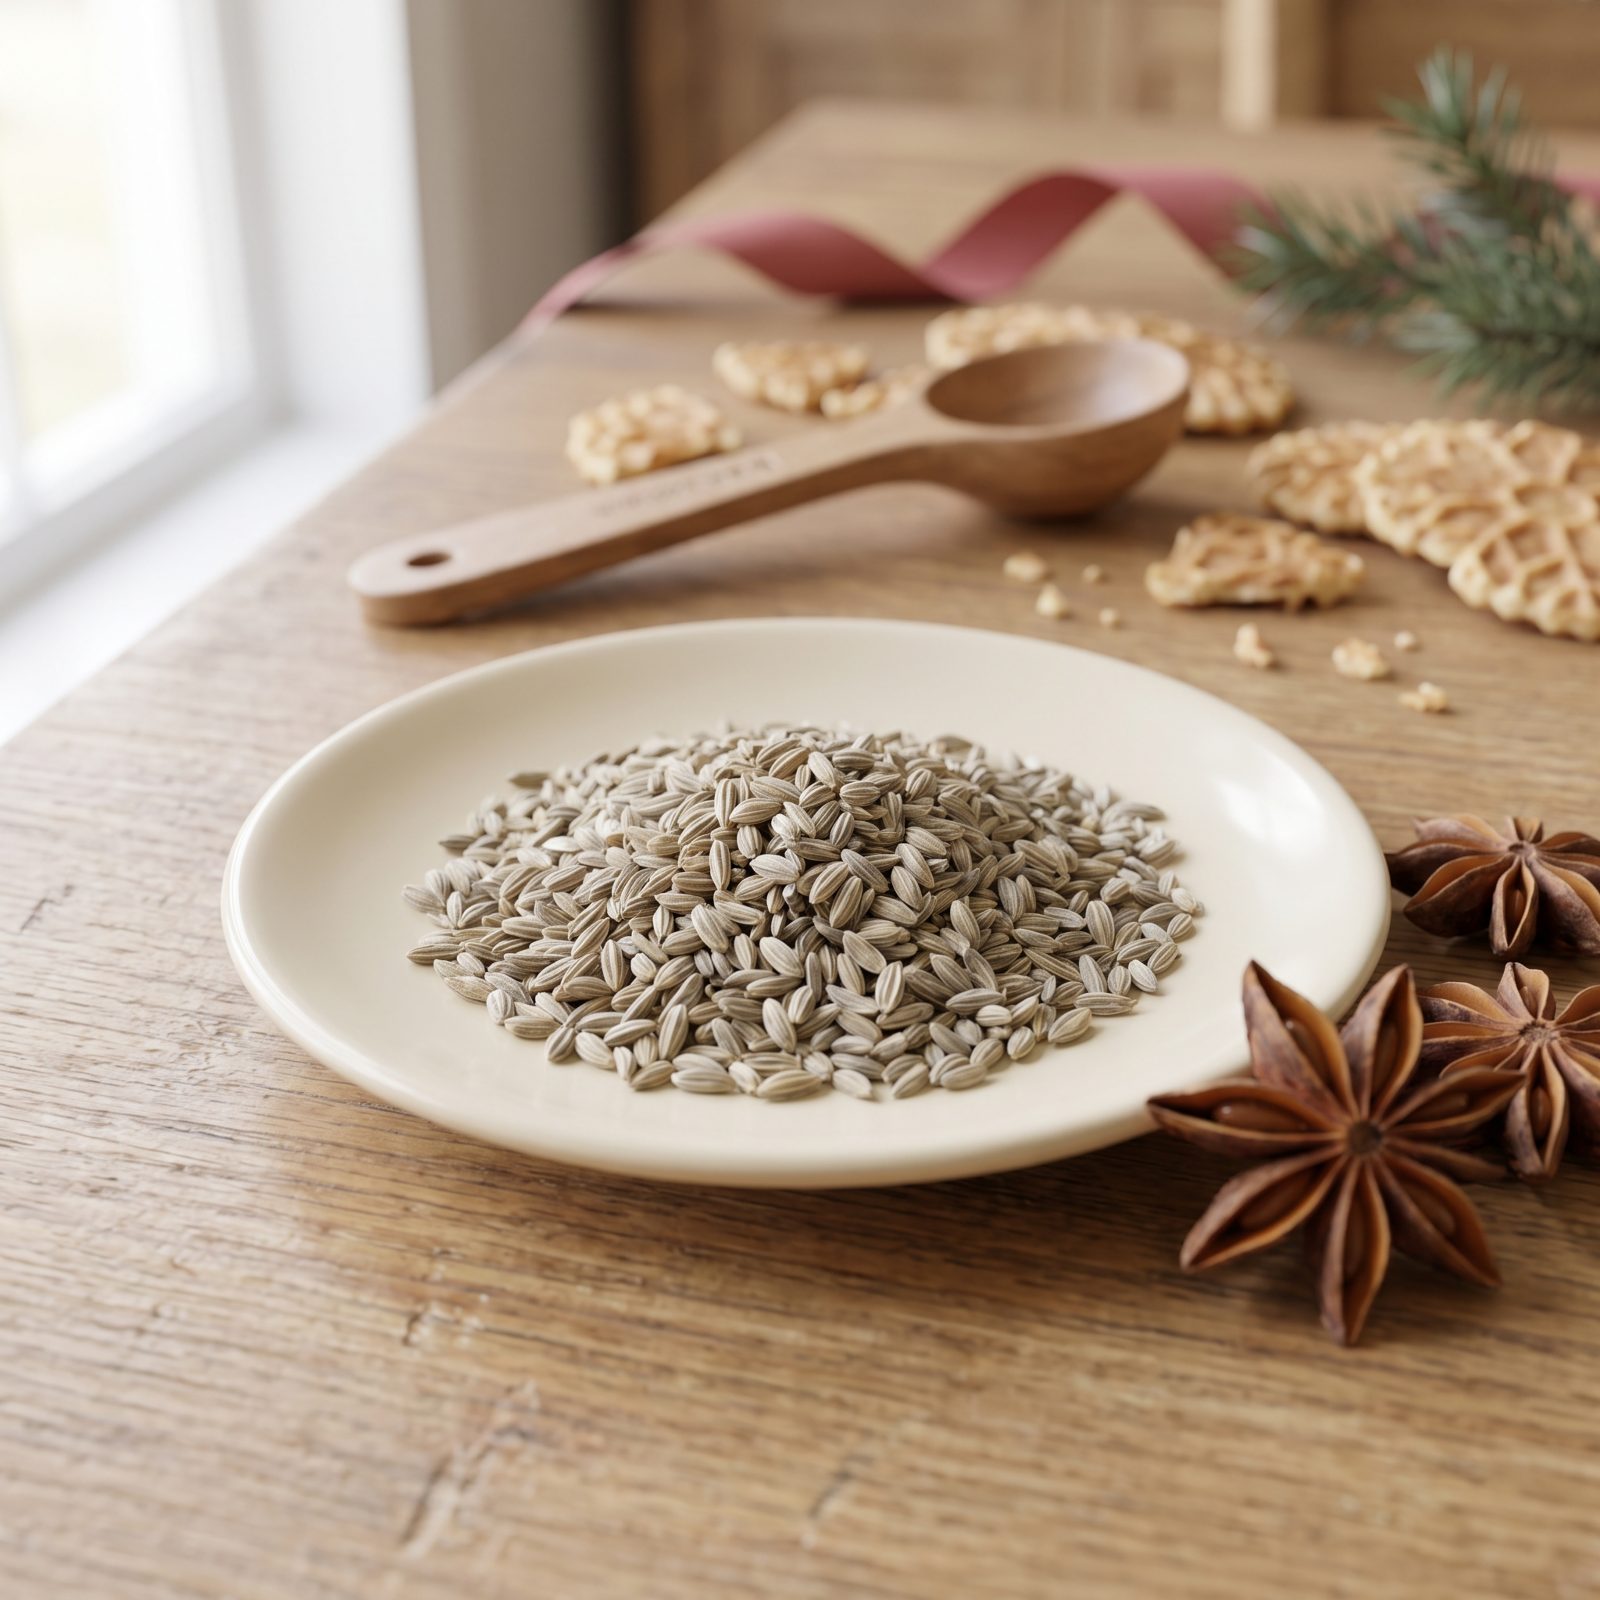
If you make pizzelle or anise biscotti, this one’s for you. Anise seed is a workhorse in Italian-American holiday baking, and fresh, it fills the kitchen with that unmistakable licorice warmth you remember from somebody’s nonna’s counter.
Crush a few seeds between your fingers and smell. You want a clean, sweet licorice hit with no mustiness underneath. Old anise goes flat and faintly dusty, and no amount of it will rescue a batch. Whole seeds hold up for a couple of years in a tight jar away from light, so if yours have been loose in a baggie, check them twice.
23. Inspect Poppy Seeds for Rancidity
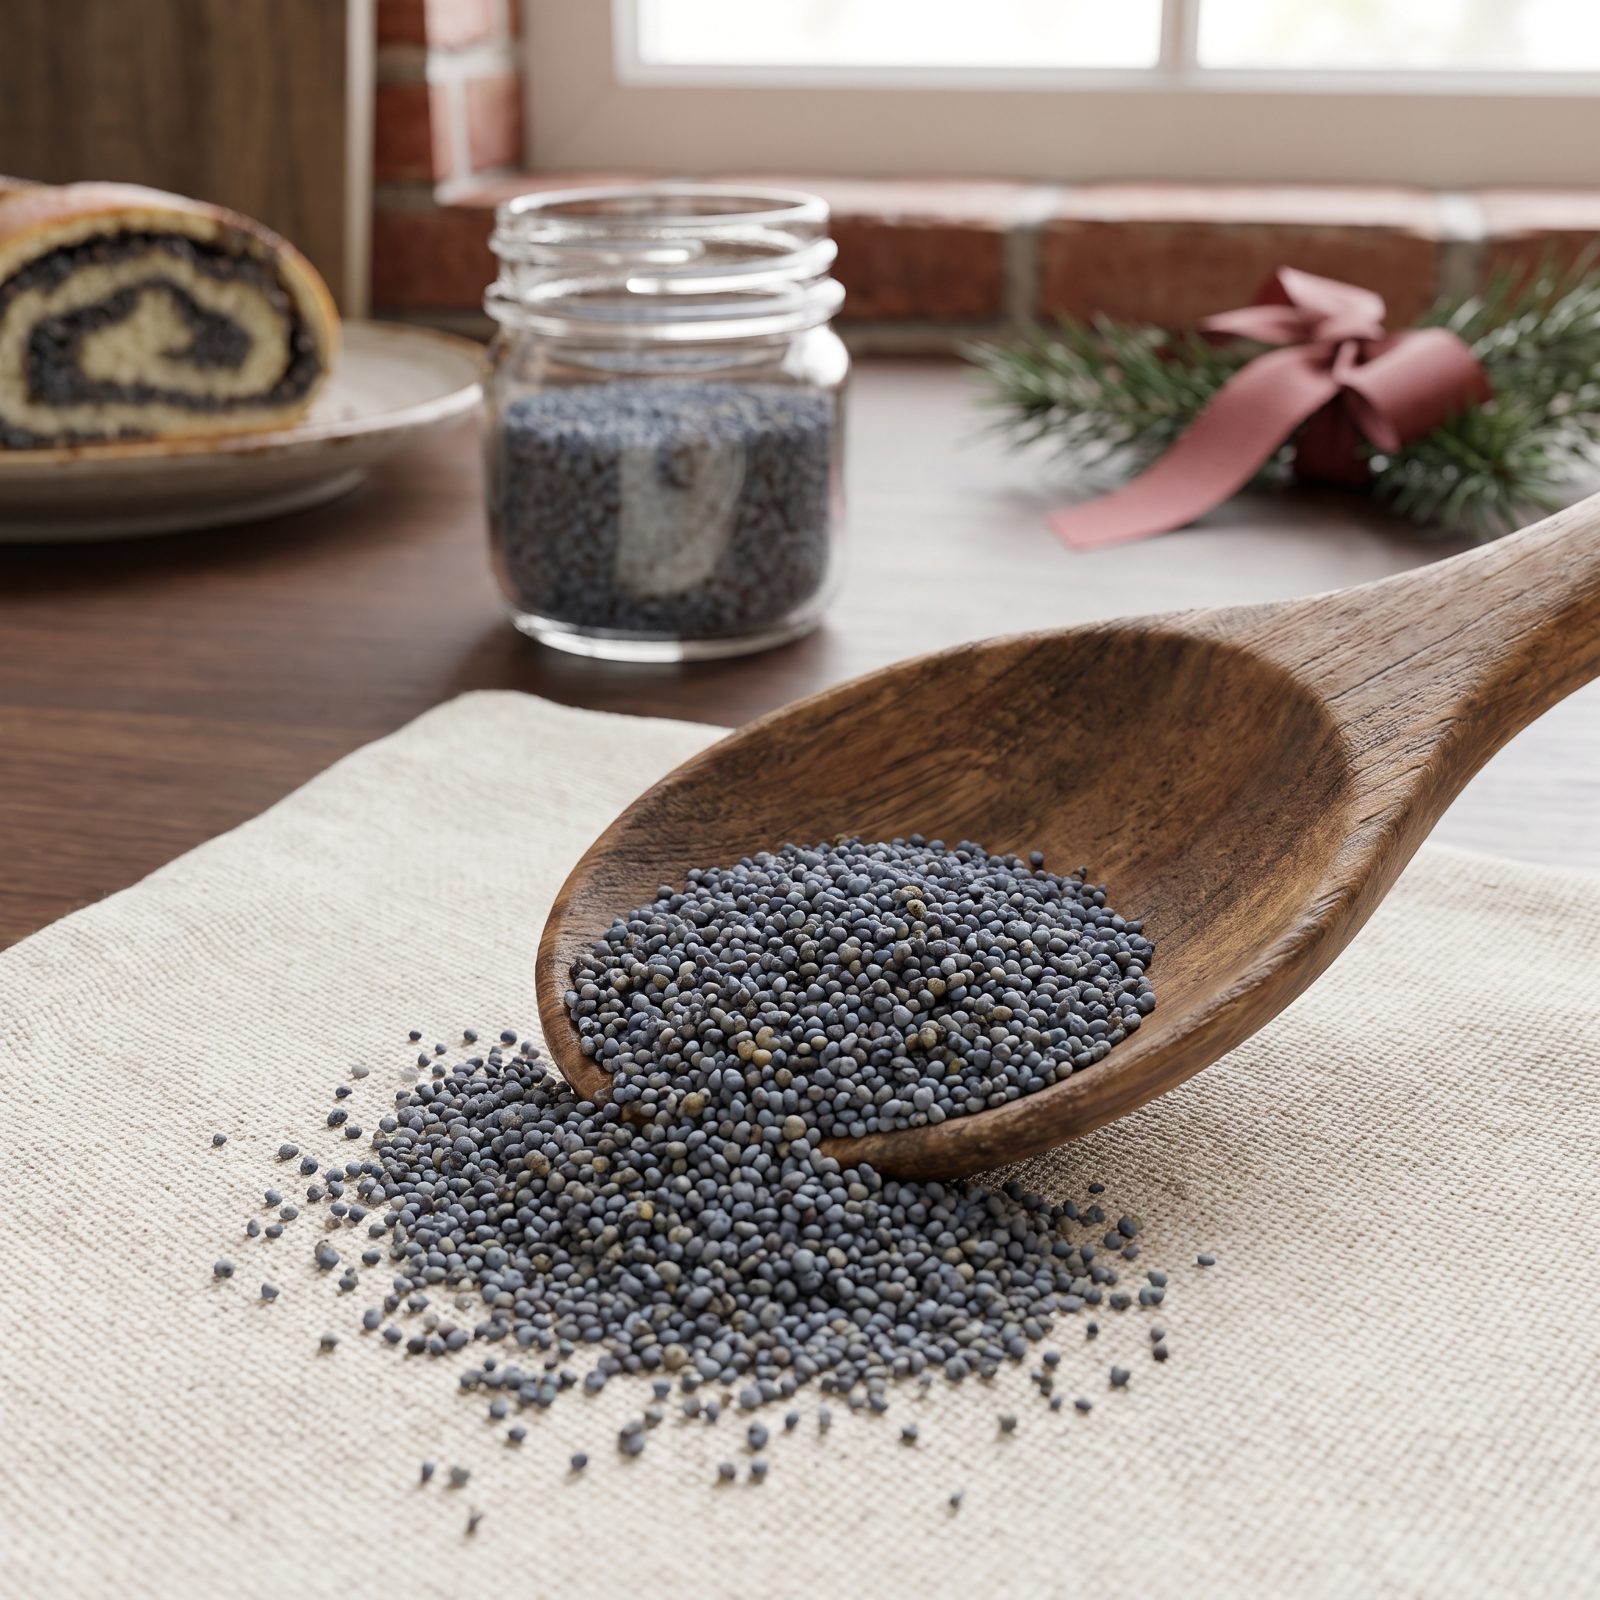
Poppy seeds are tiny oil bombs, and oil goes rancid. This is the ingredient that ruins a poppy seed roll from the inside out, and the cruel part is it looks perfectly fine right up until you taste the bitterness.
Skip looking. Go straight to smelling. Fresh poppy seeds smell faintly nutty and sweet, while rancid ones smell sharp, like oil paint or old crayons. Not sure? Chew a few. Rancid seeds taste bitter and leave a nasty back-of-the-throat edge that lingers.
22. Check Sesame Seeds for Rancidity
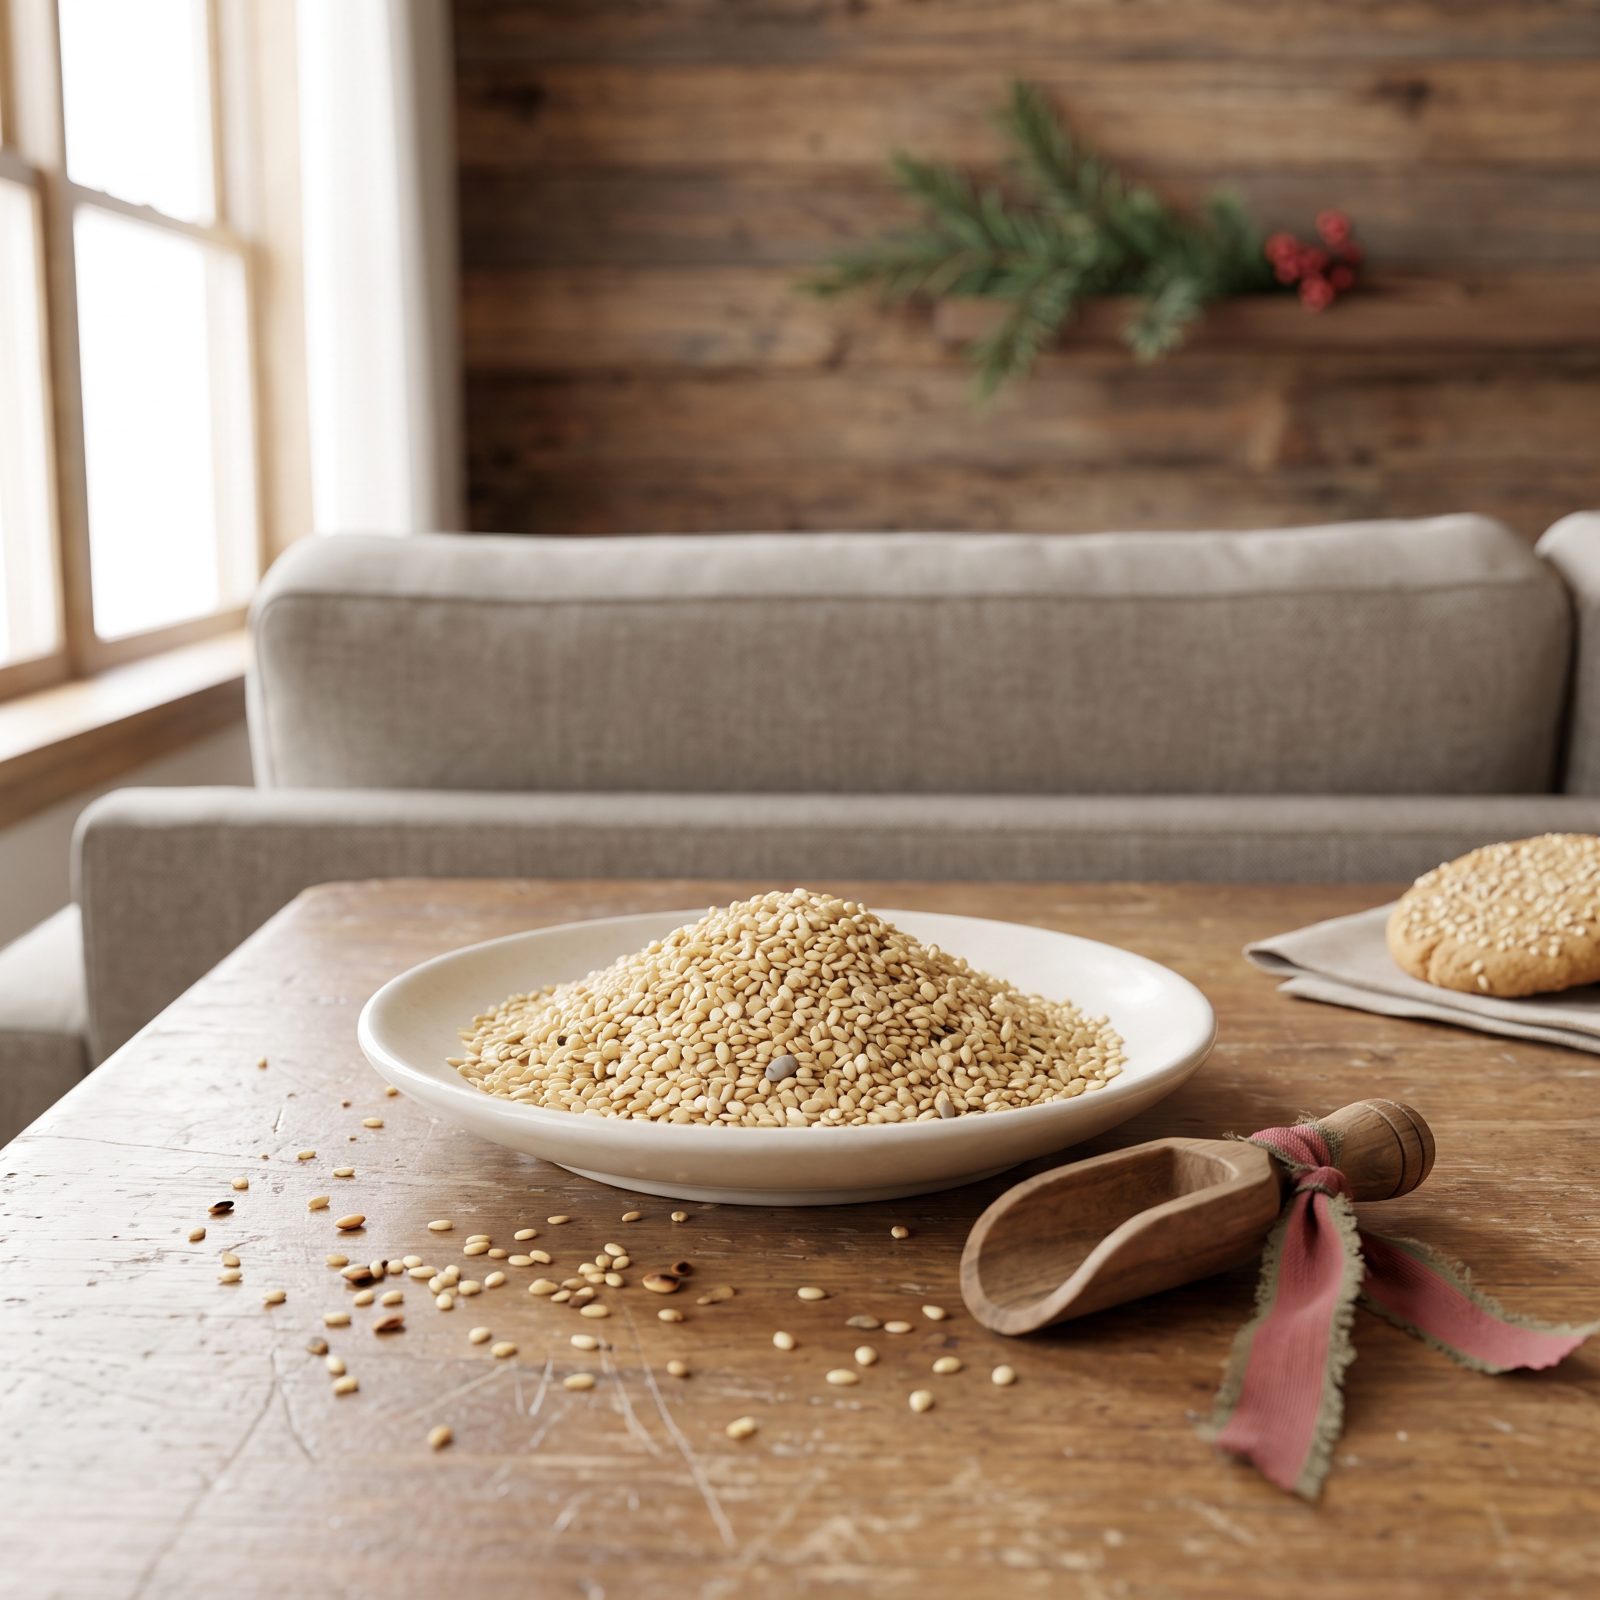
Same problem as poppy seeds, different seed. Sesame is loaded with oil, and for Italian sesame cookies, or anything where you’re rolling dough in them, rancid sesame turns the whole batch faintly soapy and bitter.
Toast a small spoonful in a dry pan for a minute. Fresh sesame smells warm, buttery, almost popcorn-nutty. Rancid sesame throws off a flat, paint-thinner smell the second the heat hits. The toast test is more honest than sniffing the cold jar, because heat drags the rancidity right out into the open. If they fail, no cookie is worth saving them for.
21. Inspect Bittersweet Baking Bars for Bloom
Would you like to save this?
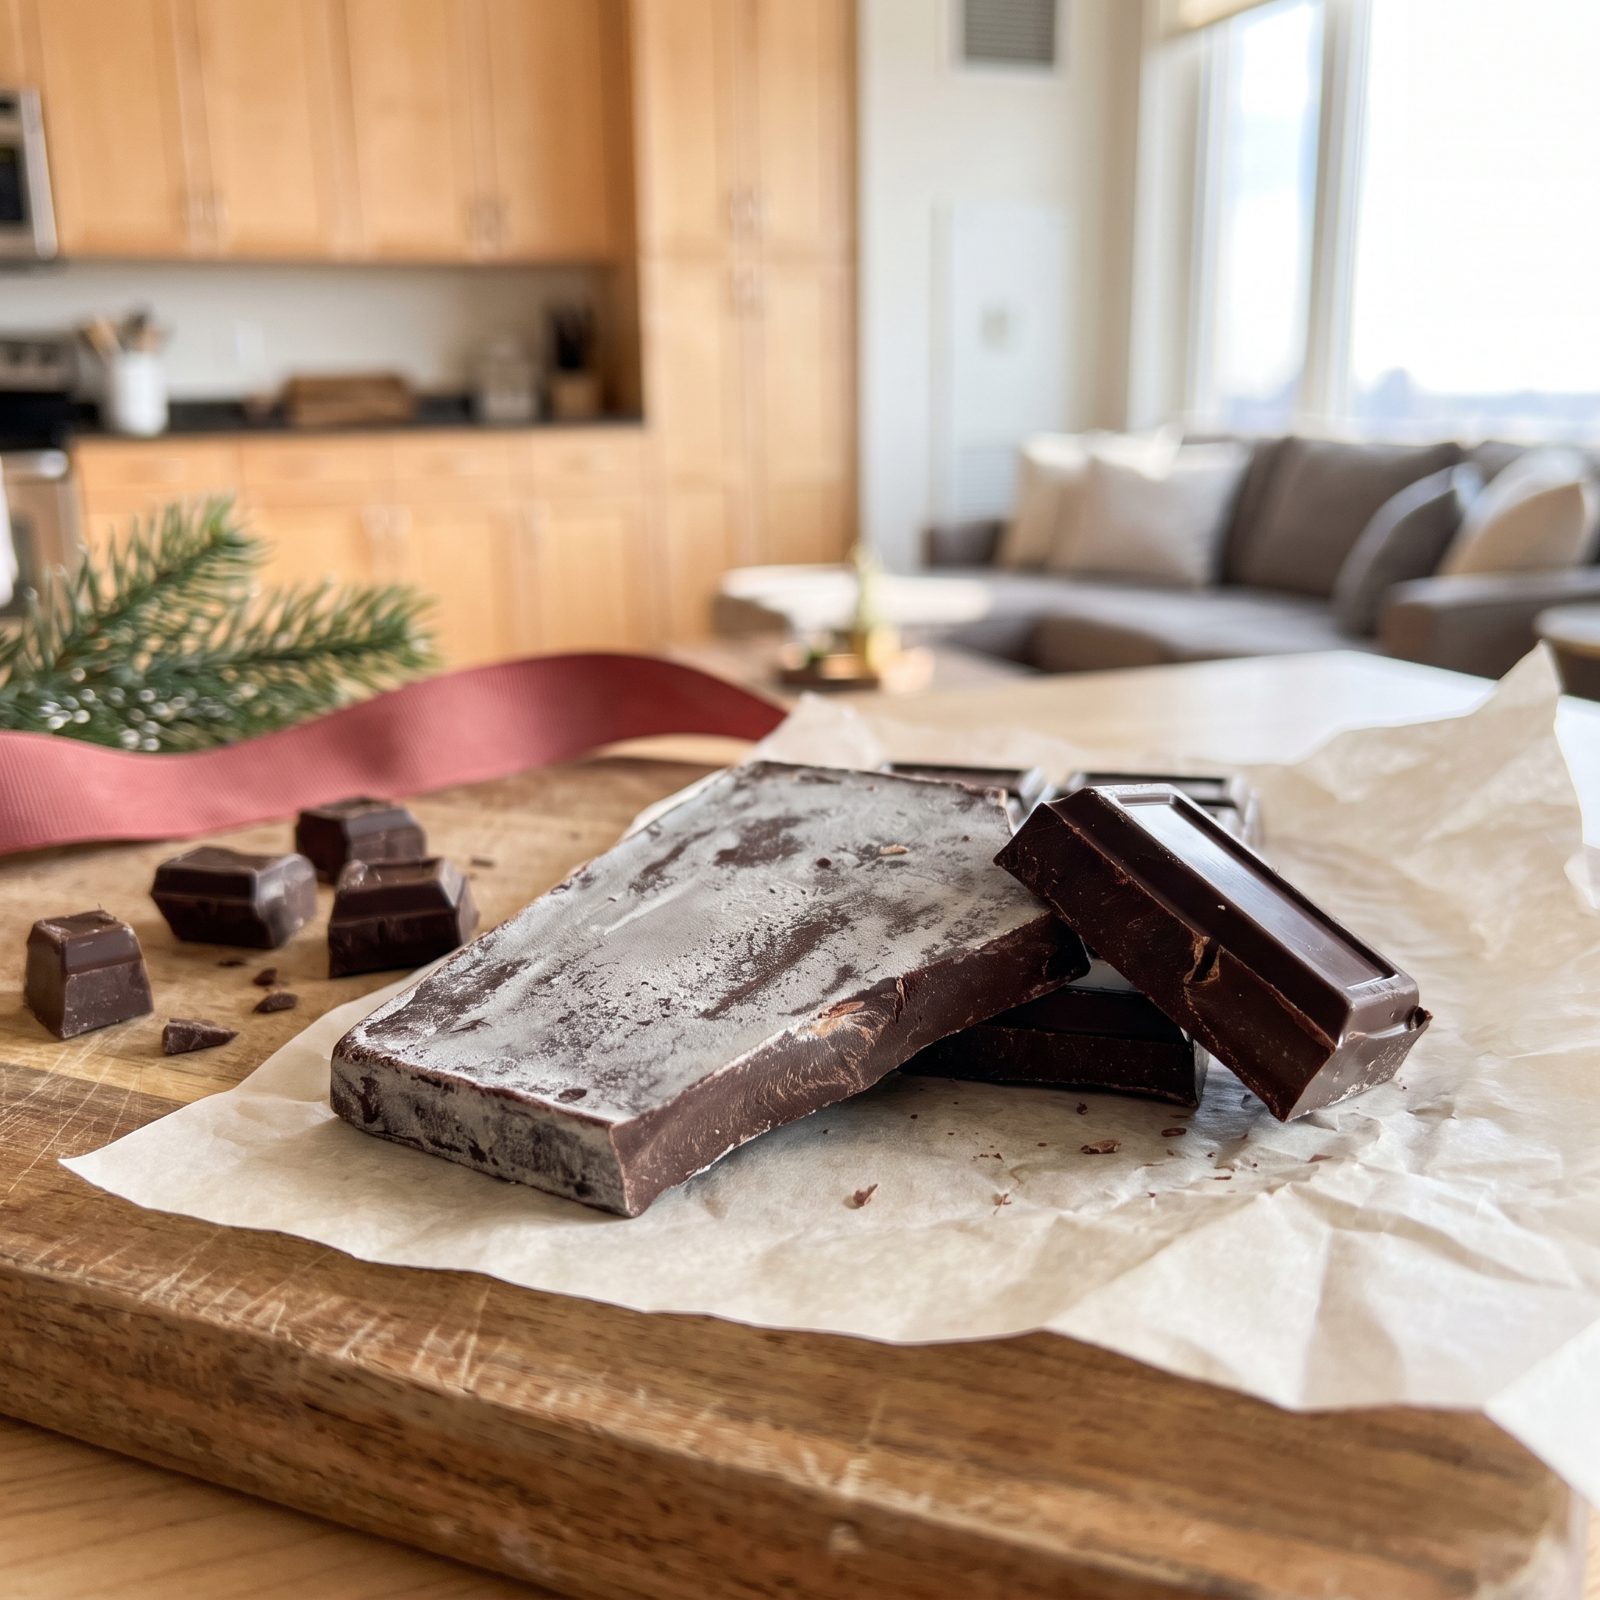
The gray film scares people off, and it shouldn’t. That dusty whitish haze on your baking chocolate is bloom — cocoa butter or sugar that migrated to the surface after a temperature swing. The chocolate is still fine to bake with.
Here’s how you tell the two apart. Fat bloom feels waxy and streaky, and it melts back smooth. Sugar bloom feels gritty and crystalline from humidity. Both are harmless in cookies and brownies, where you’re melting anyway. What you’re actually watching for is smell. Chocolate soaks up odors like a sponge, so if your bars smell like the garlic or the freezer, that’s the real problem. Give it a sniff before you give it a worried look.
20. Check Instant Espresso Powder Aroma
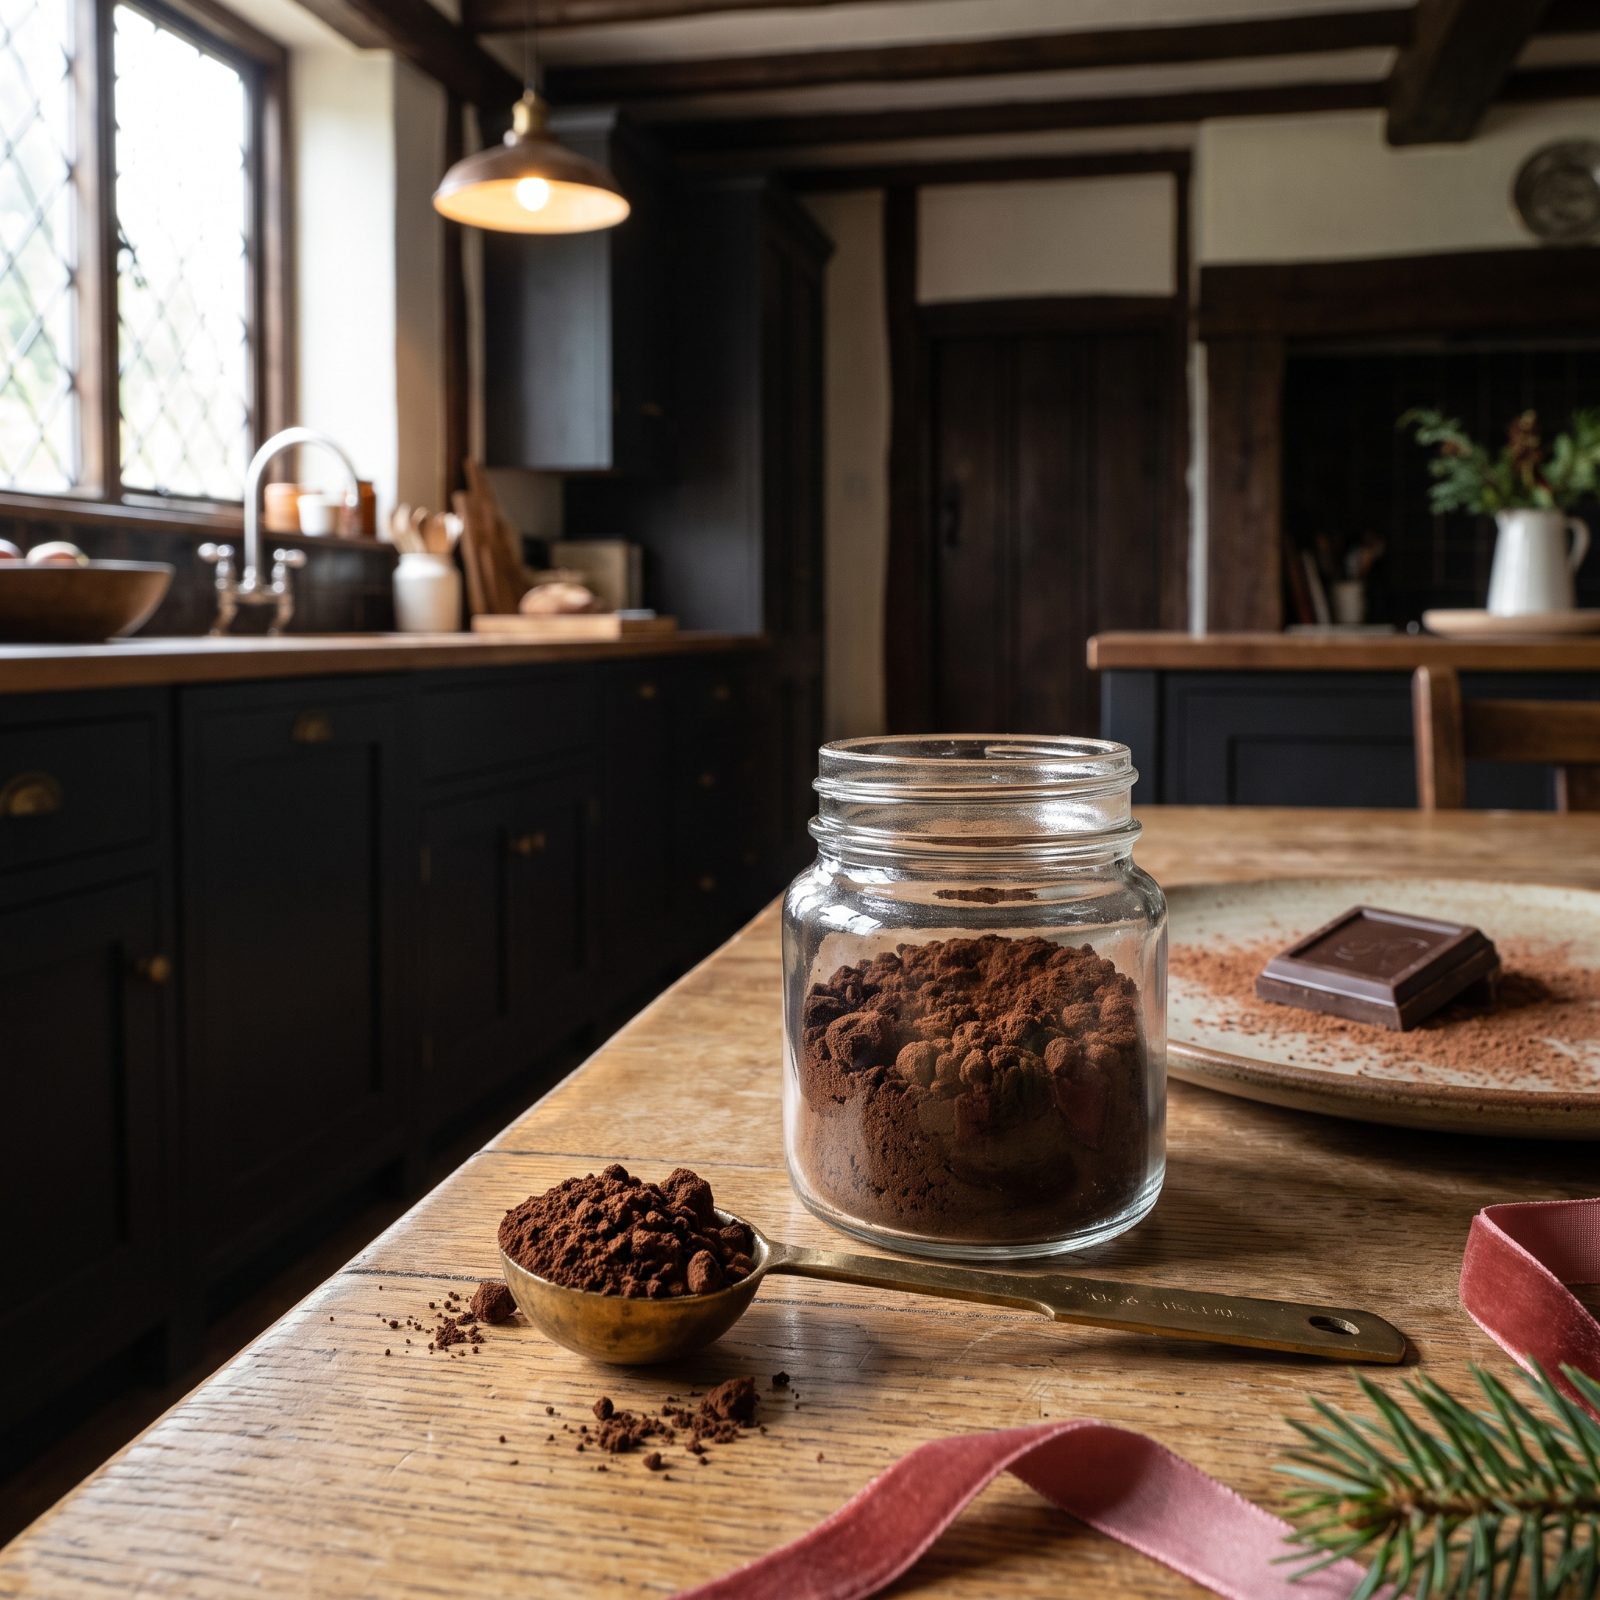
Espresso powder is the secret weapon in chocolate cakes and brownies, the pinch that makes cocoa taste more like itself. It’s also the jar that lives in the back of the cabinet for years, and old espresso powder does exactly nothing.
First, look for clumping. Seized into hard chunks means moisture got in and took the flavor with it. Then smell. Fresh espresso powder hits with a deep roasted coffee punch, while flat powder smells like dusty cardboard with a faint coffee rumor. Have to concentrate to find the coffee? It won’t do a thing for your chocolate.
19. Check Unsweetened Baking Chocolate Supply
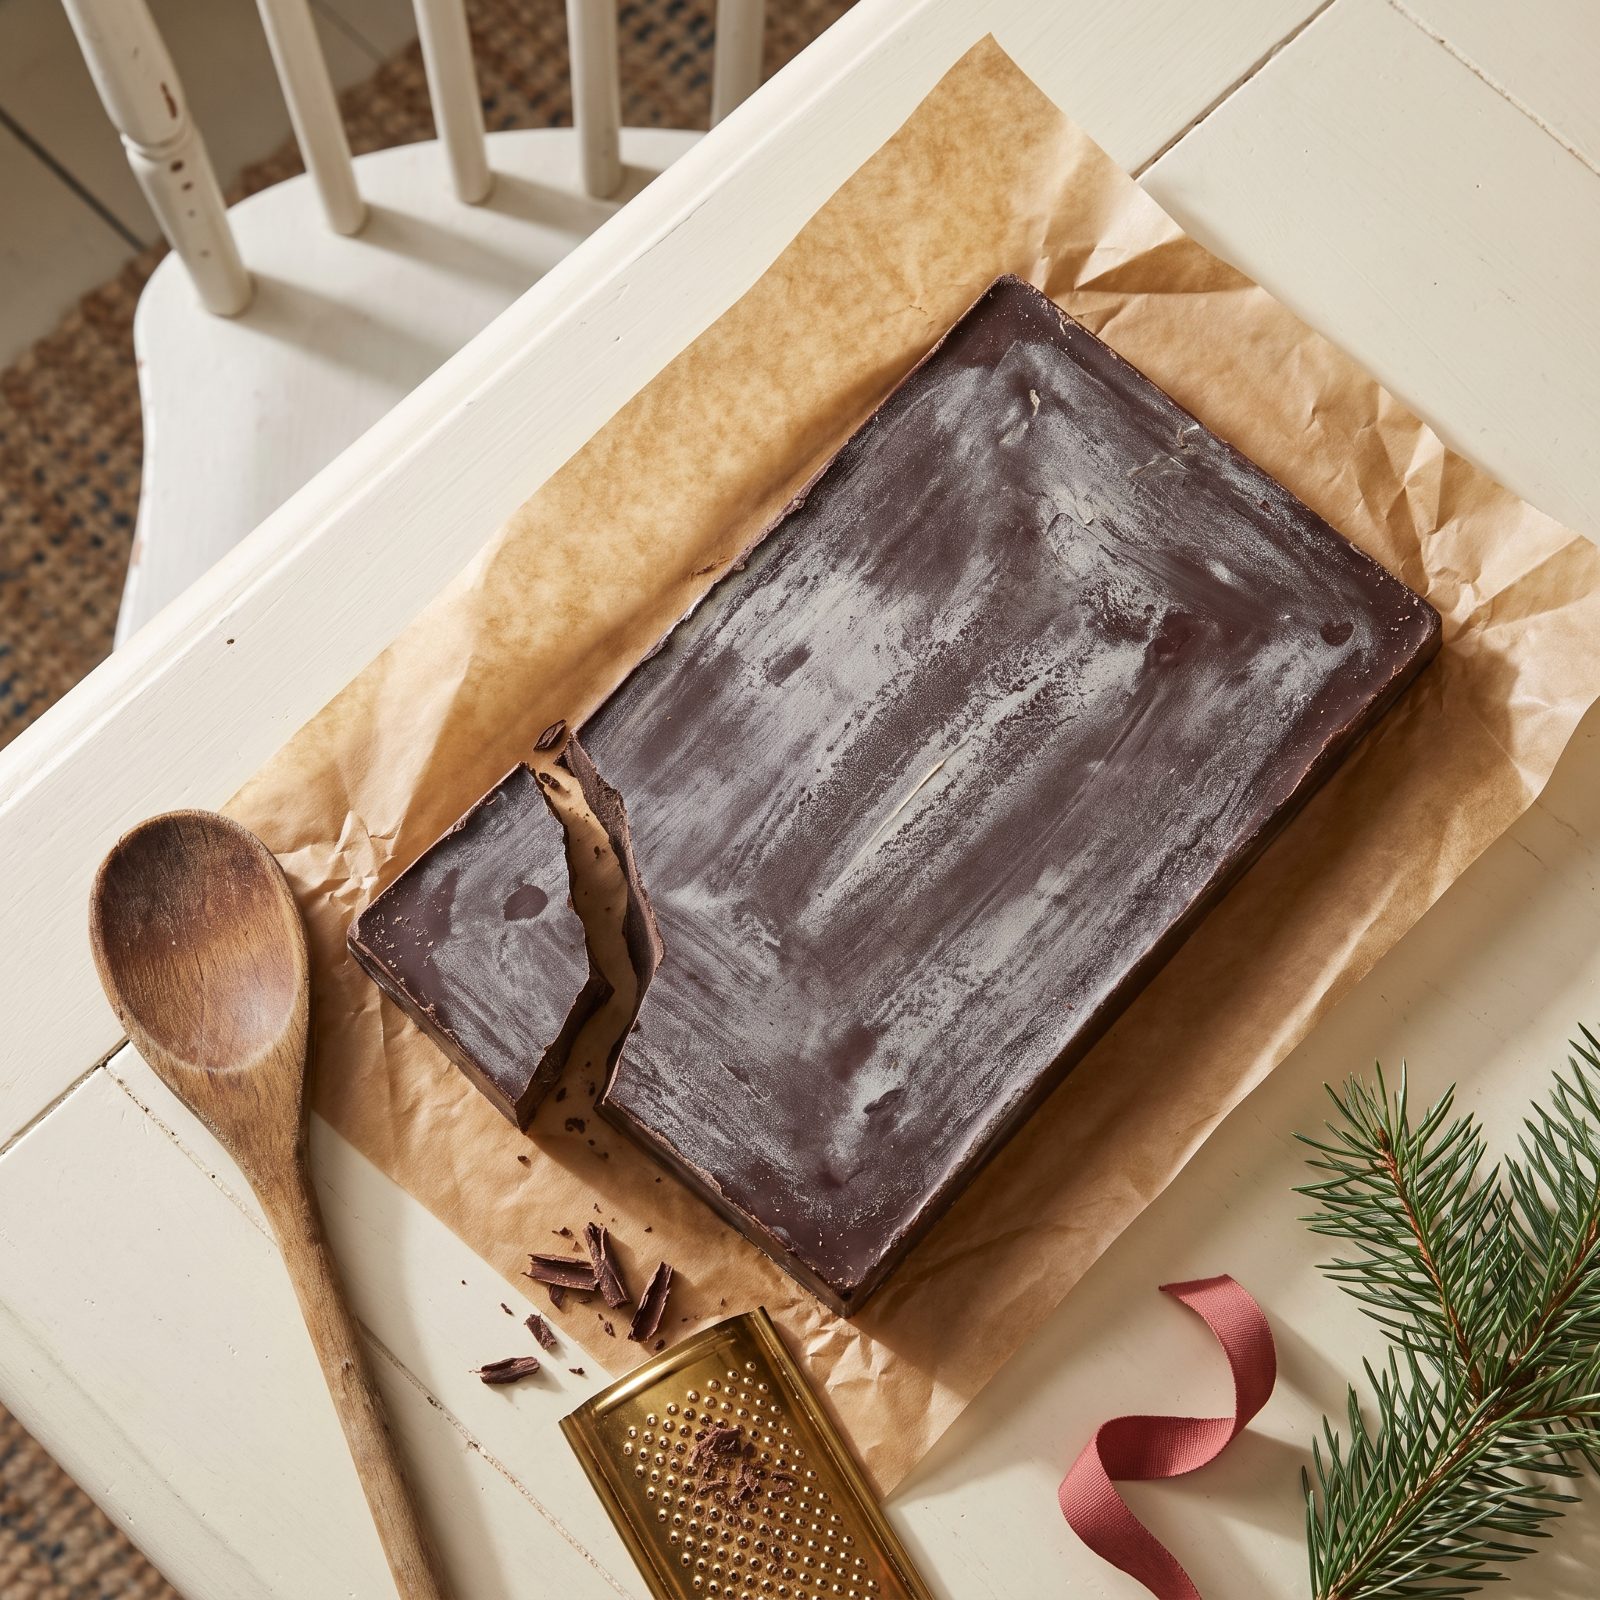
Bloom is the first thing you’ll see, that chalky gray film across the surface. It looks alarming. It isn’t. Fat bloom just means the cocoa butter separated and migrated up, usually from a warm cupboard or a swing in temperature, and the chocolate still melts clean and bakes fine.
Smell is what actually matters. Break off a corner and sniff — fresh baking chocolate smells bitter and deep. If it reads waxy, dusty, or faintly like crayon, the cocoa butter has gone rancid and it’ll carry that off-note straight into your brownies.
18. Smell Walnuts for Rancidity
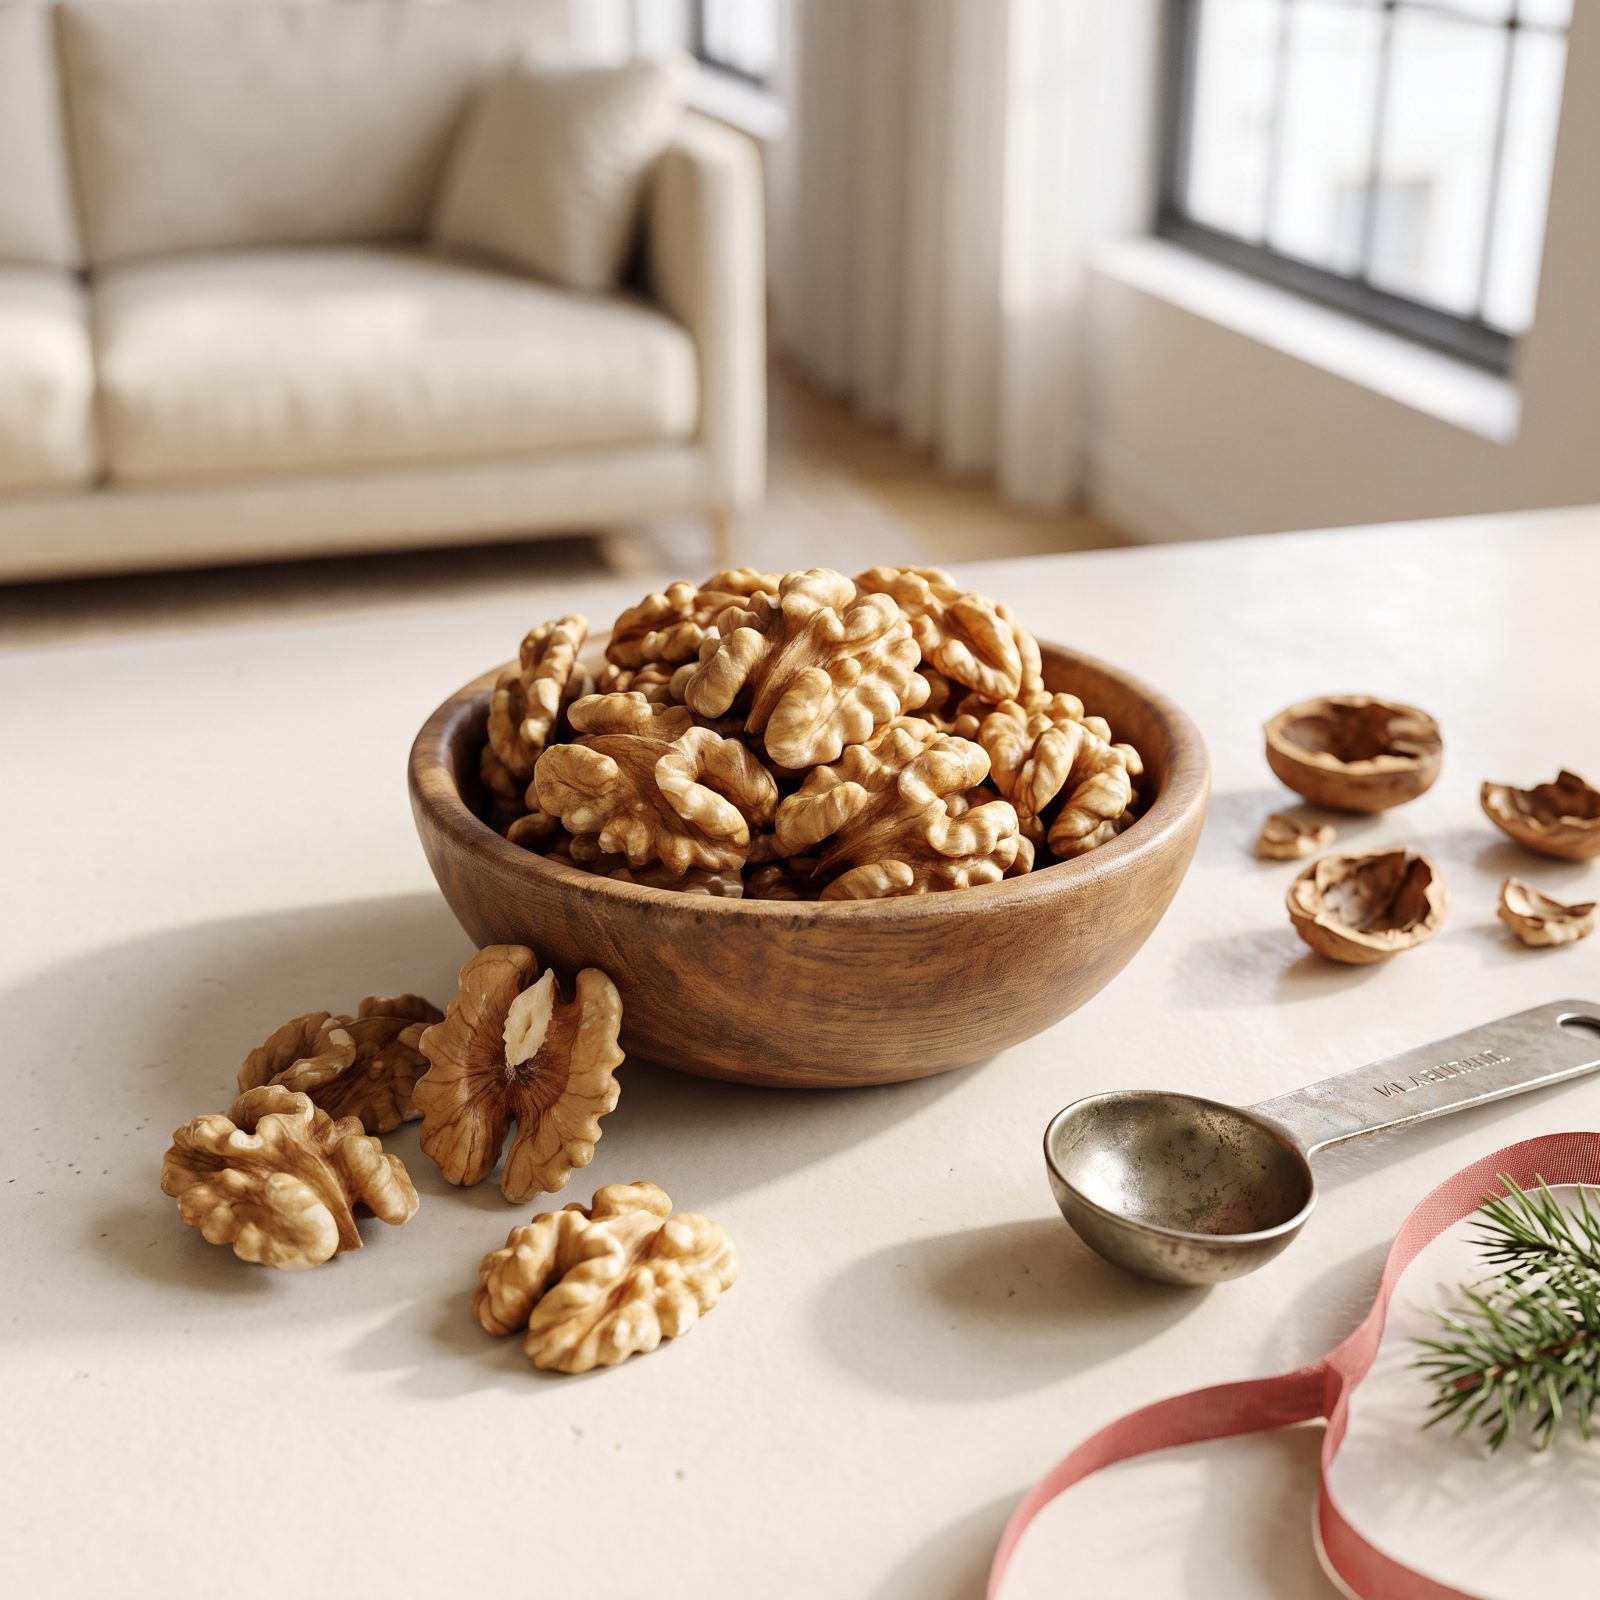
Walnuts go rancid faster than almost any nut you keep, and they do it quietly. All that oil turns bitter and sharp long before anything looks wrong. You can’t see rancidity. You smell it.
Pop one in your mouth and hold it a second. Fresh walnut is sweet and buttery, while a rancid one hits with a bitter, paint-thinner edge at the back of your throat. Once you catch it, you can’t unknow it.
I ruined a batch of banana bread this way, convinced the nuts were “probably fine” from a jar that had been open since spring. They weren’t. Rancid nuts don’t bake out — they get worse.
17. Inspect Pecans for Shriveling
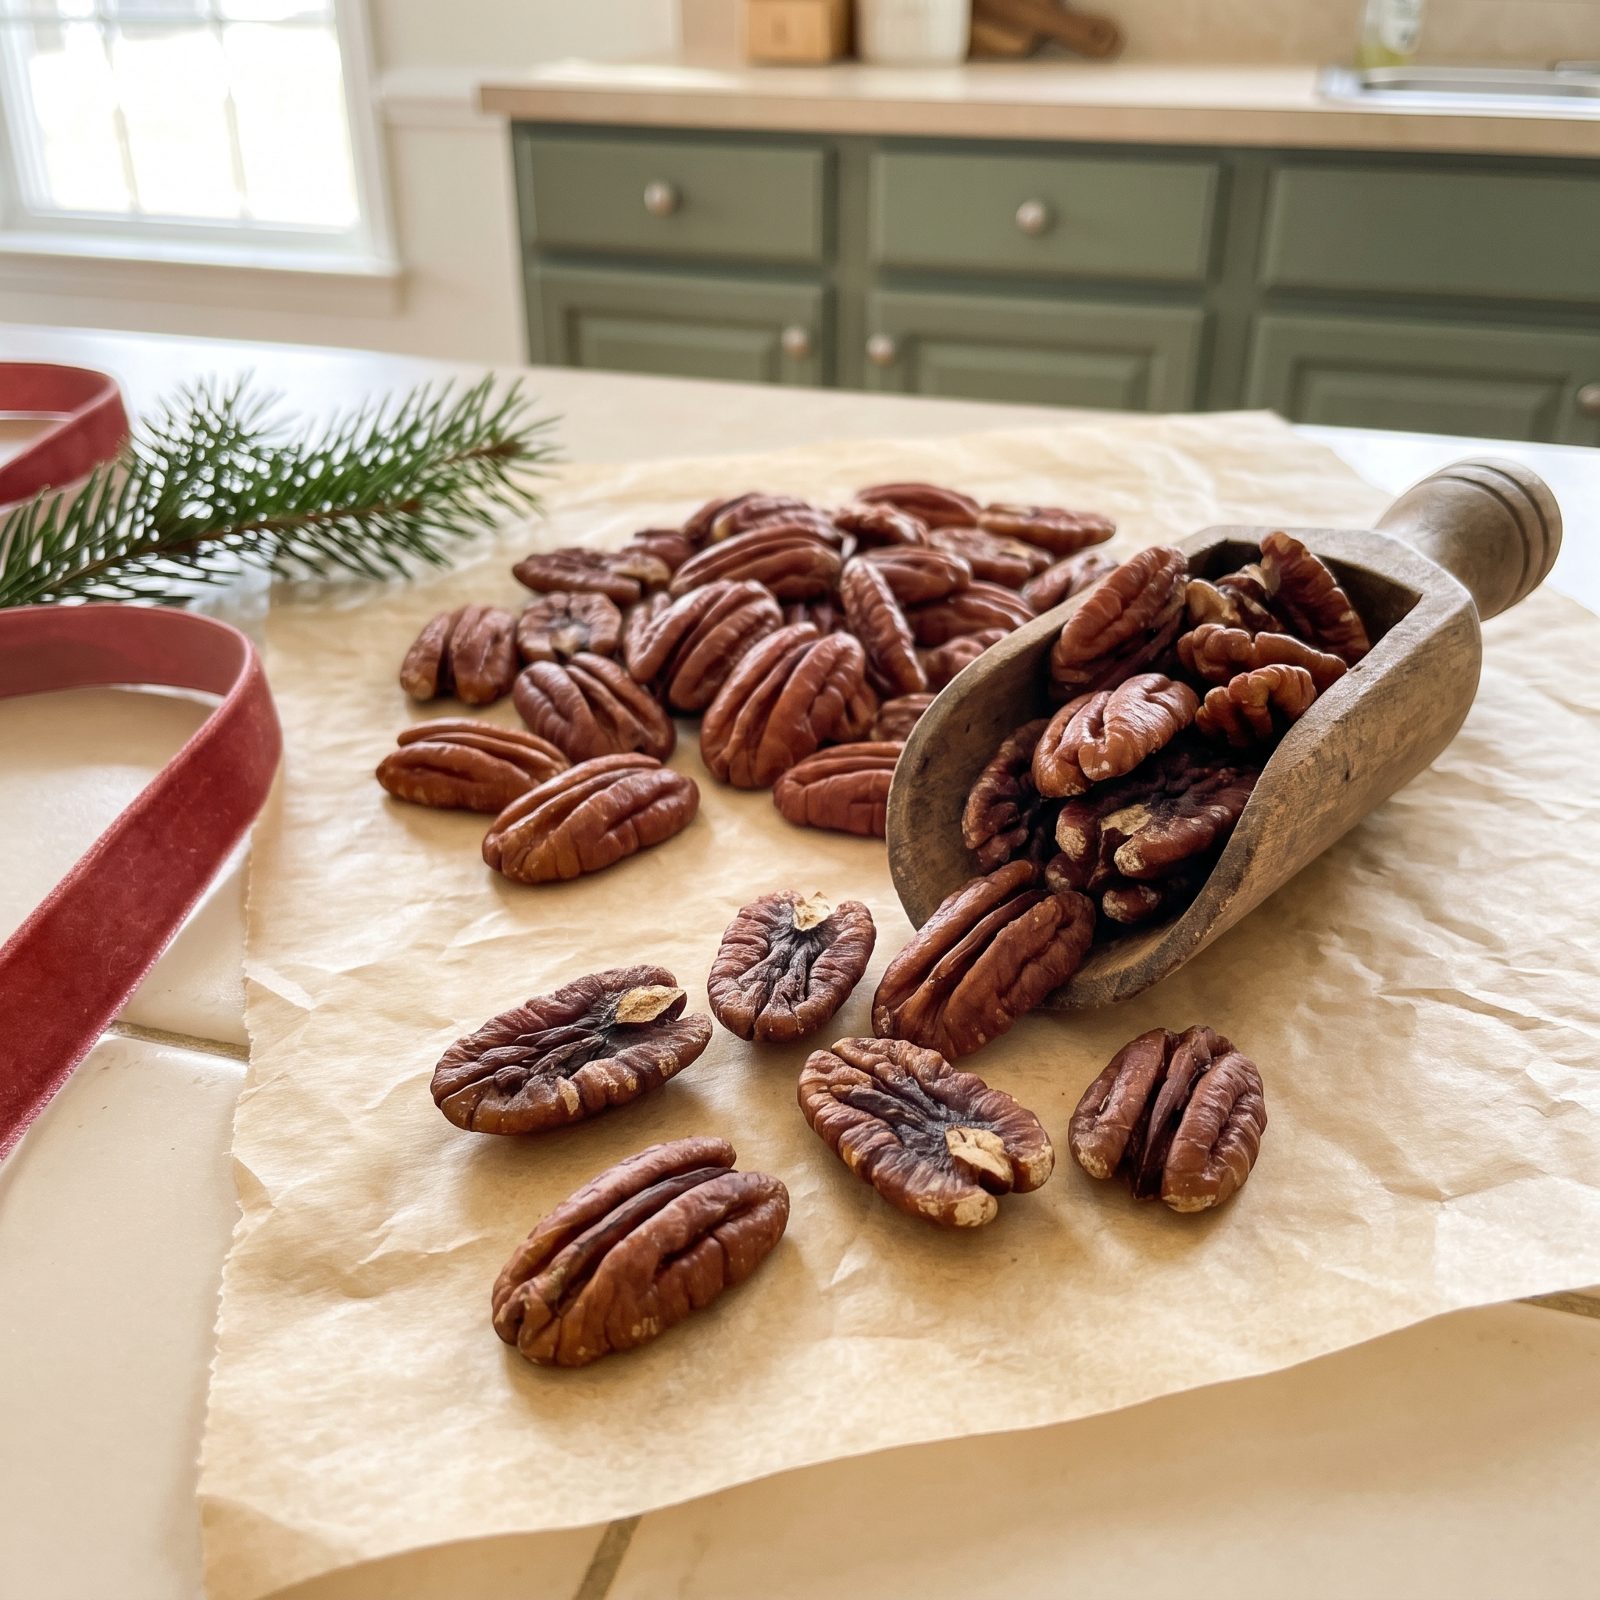
A good pecan half is plump and sits heavy in the palm. When they start to go, they shrivel and lighten, the grooves deepen, and the color dulls from glossy mahogany to a flat brown. That shriveling means moisture and oil are leaving, and flavor is going with them.
Give the bag a gentle shake and look at what rolls to the front. If half of them look sunken and papery, they’re past their prime. Taste one — any cardboard flatness or soapy edge and they’re done.
Shriveled pecans will still work in a dense pie filling where sugar hides a lot. But in a shortbread or a praline, where the nut is the whole point, they’ll let you down.
16. Check Almonds for Stale Flavors
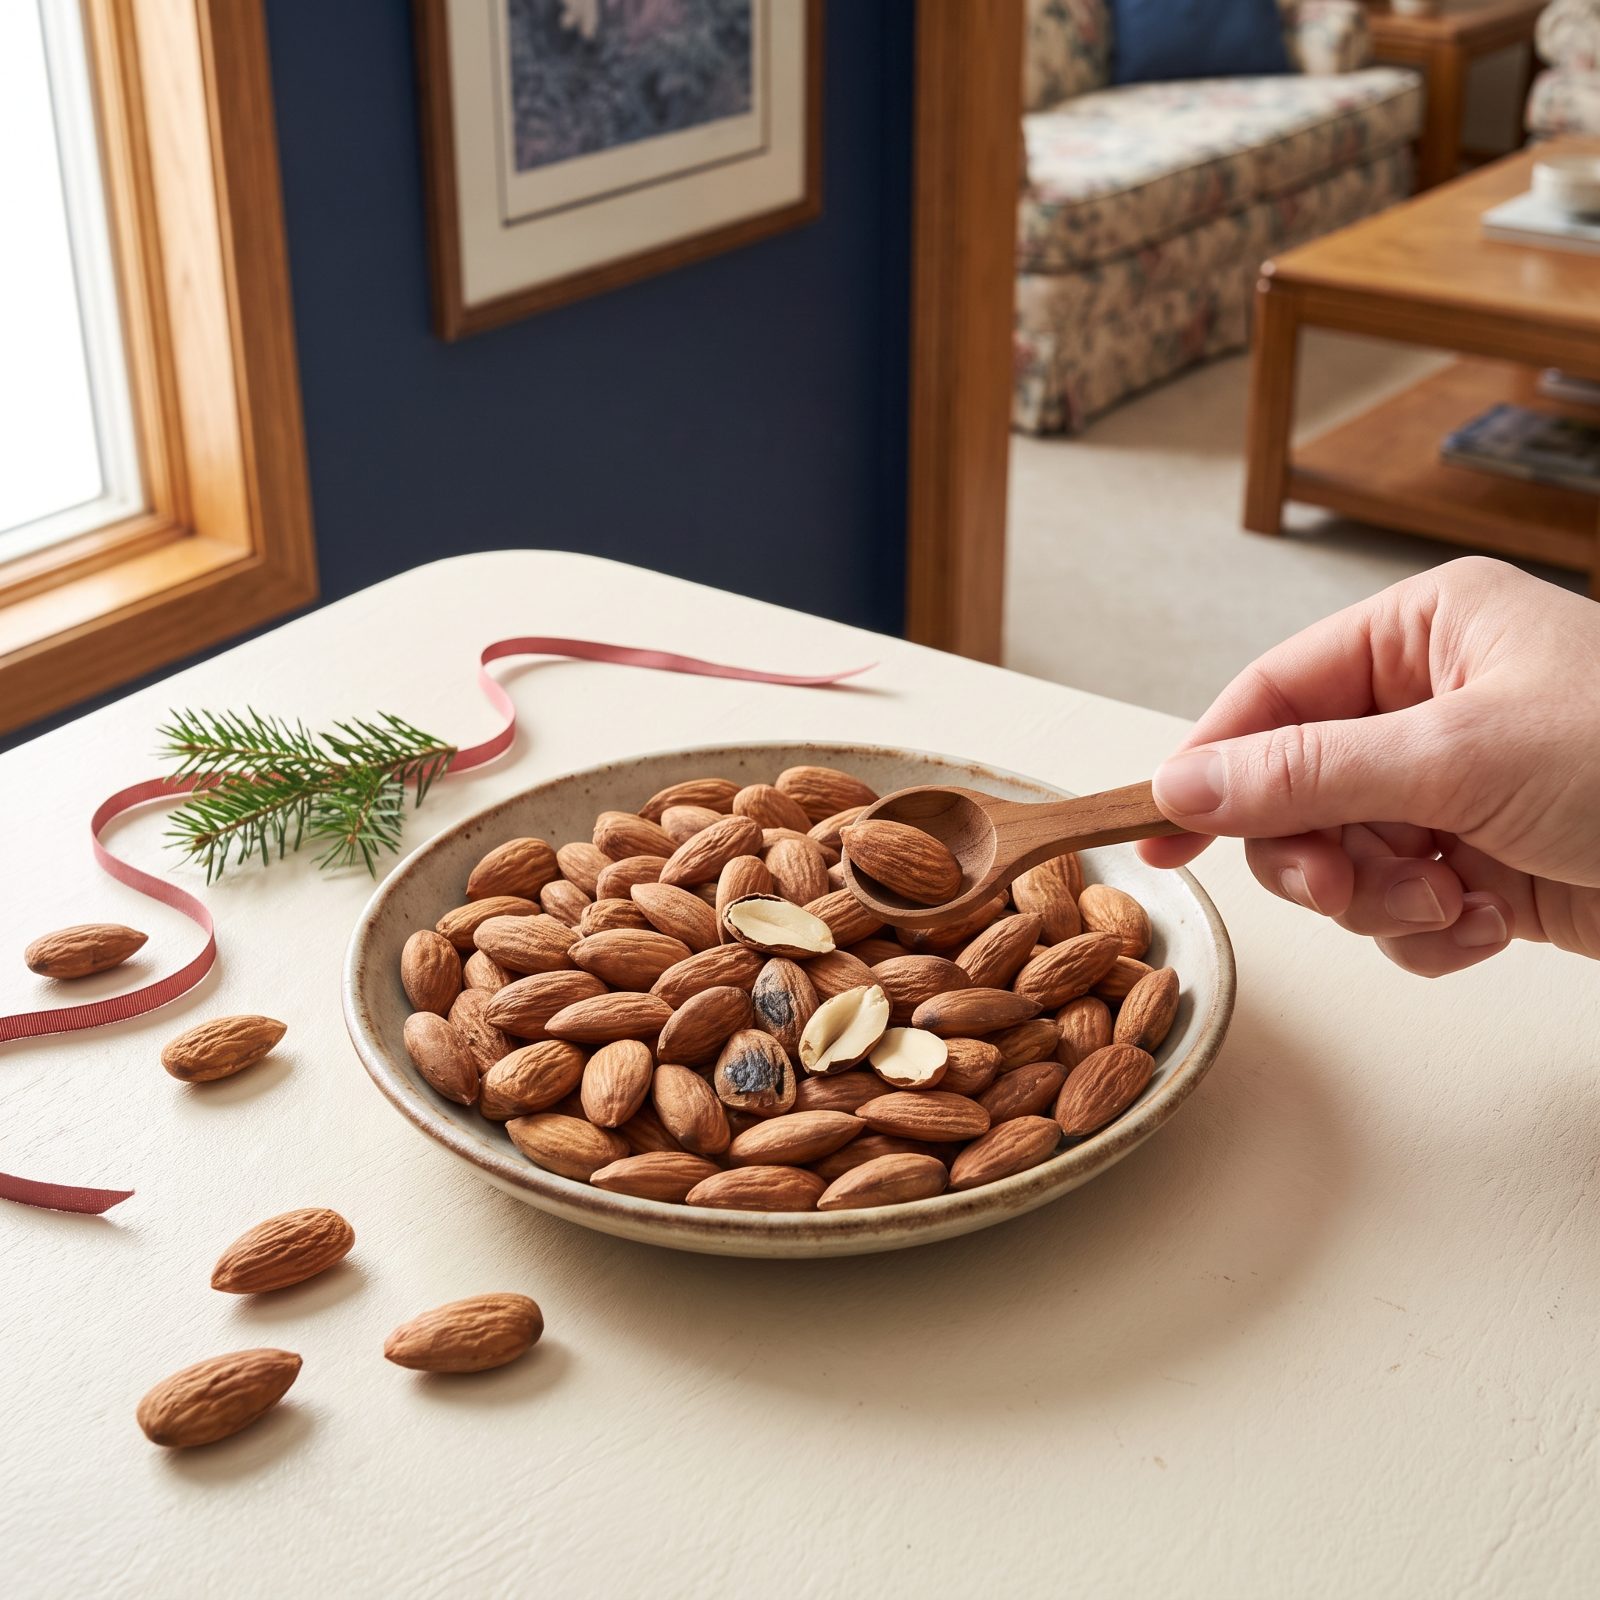
Almonds fool you. They hold their shape and color long after the flavor has flattened, so a stale batch looks exactly like a fresh one. The tell is taste, and it’s subtle.
Snap one in half and chew slowly. Fresh almond is crisp, faintly sweet, with that clean marzipan note, while a stale one goes soft at the center, bland, sometimes with a dull bitter finish. The snap matters too — a bendy almond has pulled in humidity and lost its edge.
15. Inspect Hazelnuts for Rancidity
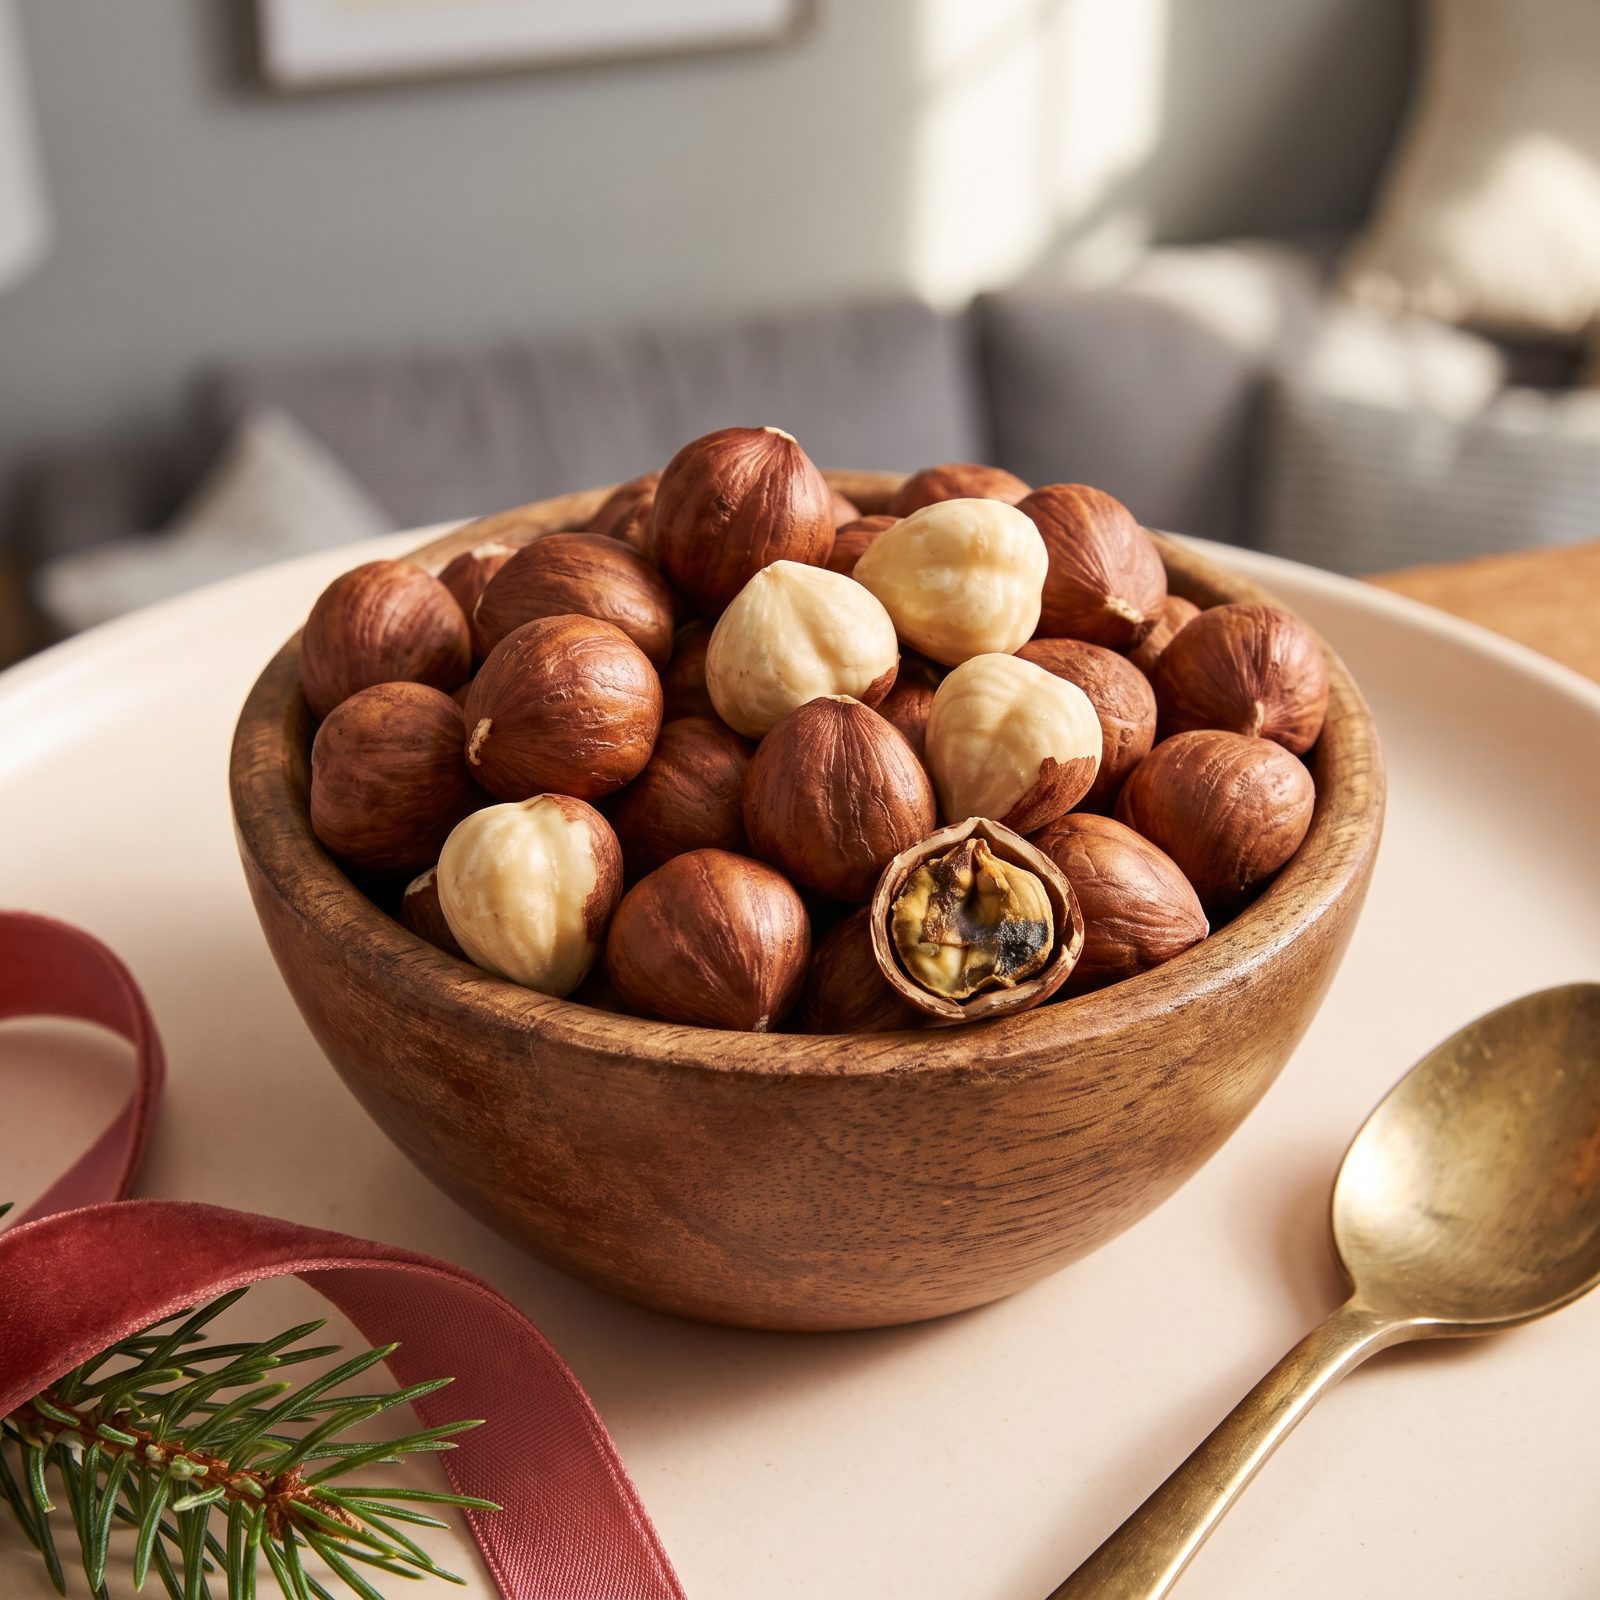
Hazelnuts carry a rich oil that turns fast, and their papery skin can mask the first signs. Rub off the skin on a couple and look at the meat — fresh hazelnut runs ivory to pale gold. Yellowing or oily, darkened patches mean the oils are breaking down.
Then smell. A good hazelnut smells sweet and almost toasty even raw. A spoiled one has a sharp, sour, slightly fishy note that’s hard to describe but impossible to miss once you’ve caught it.
Smell clean but taste a little flat? A quick toast in a dry pan wakes them back up. If they smell off, though, no amount of toasting saves them. Toss them.
14. Check Pistachios for Discoloration
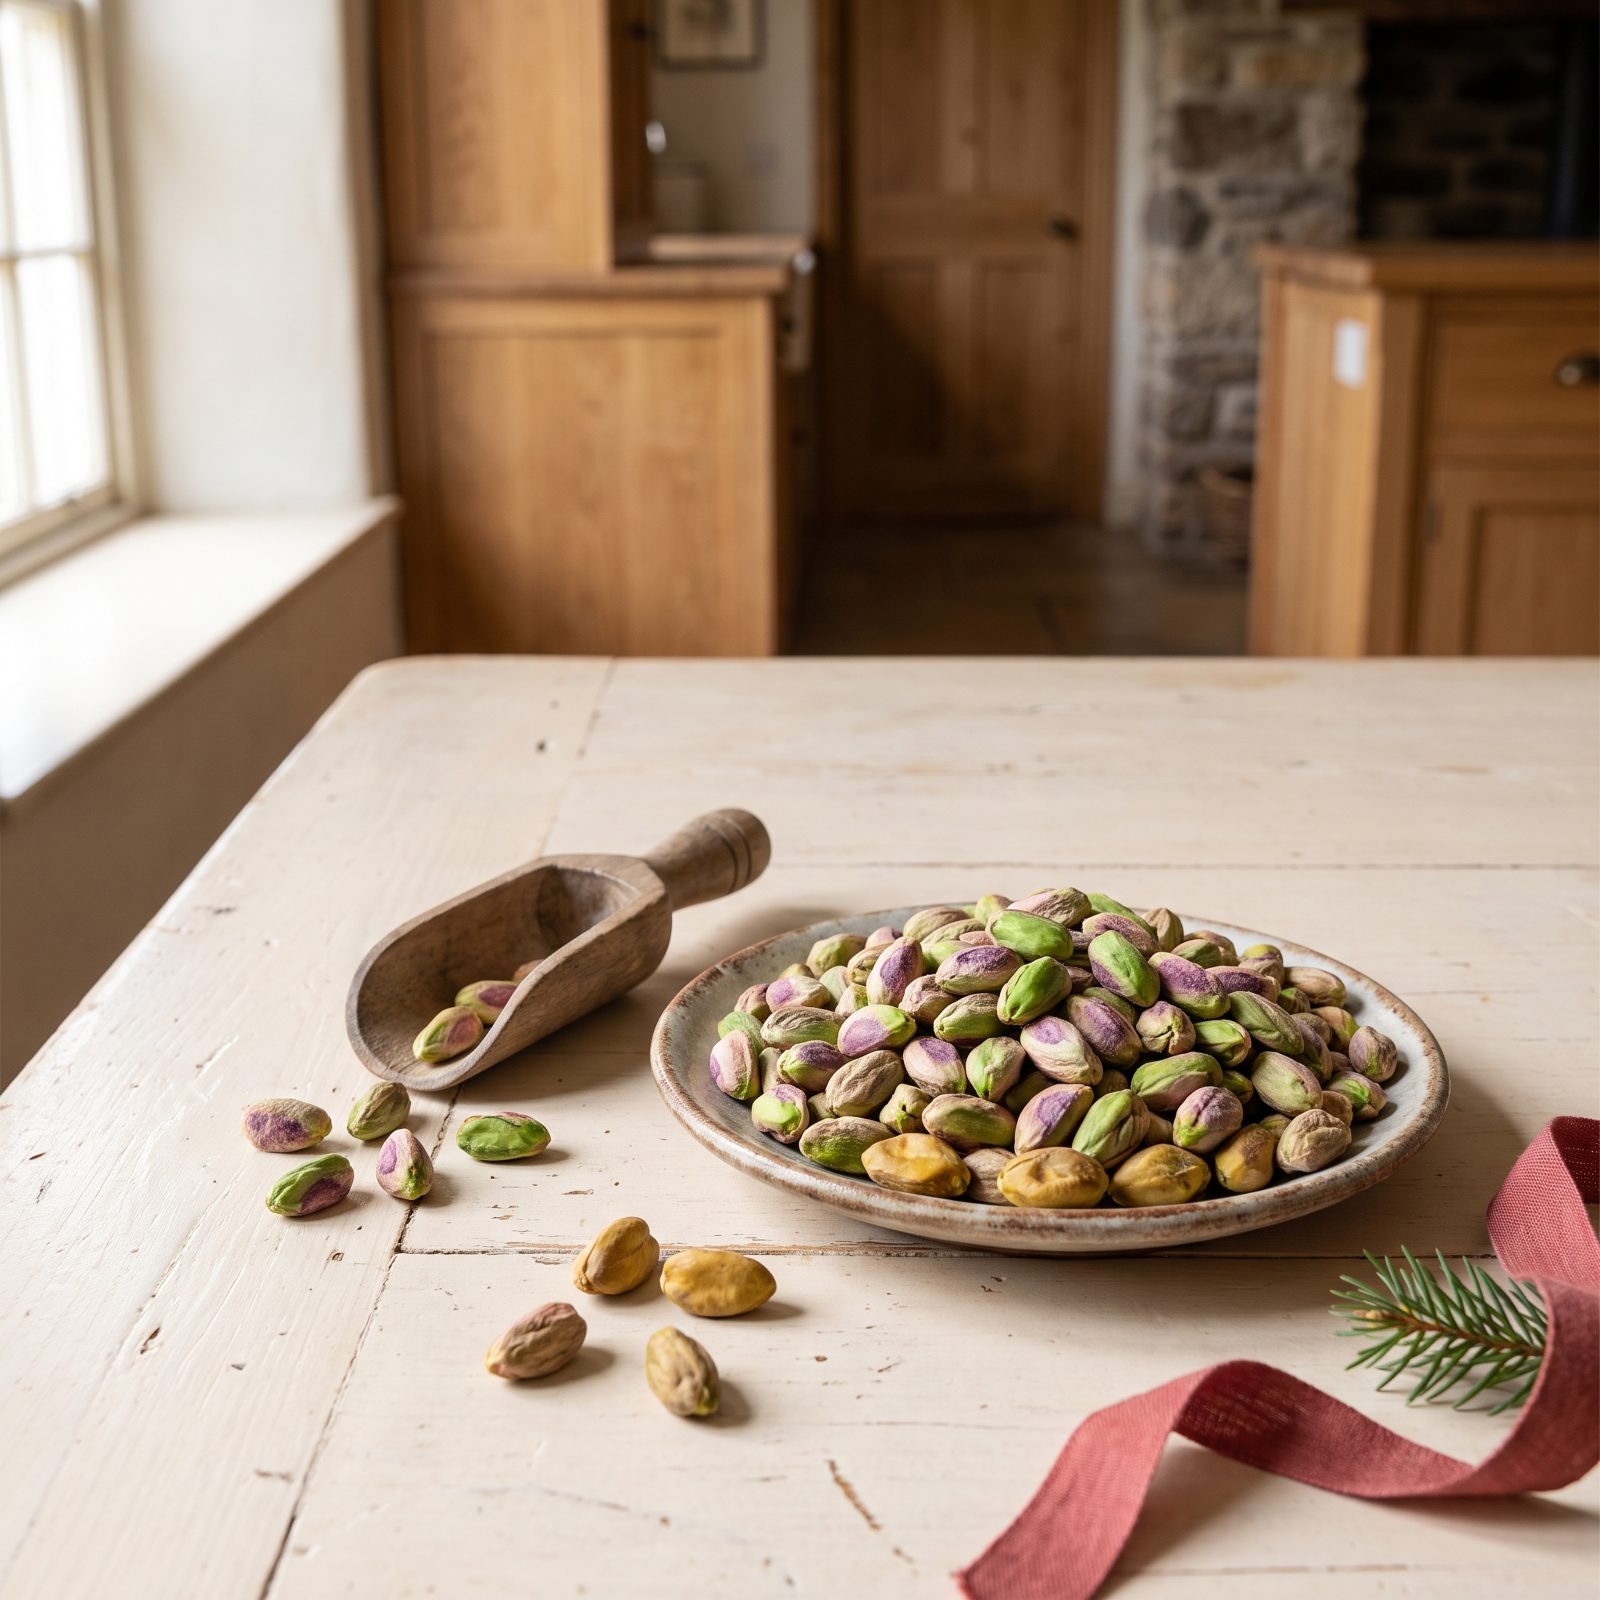
Color is your whole report with pistachios. A fresh one glows green with a faint violet blush under the skin. As they age, that green fades to a dull yellow-brown and the flavor goes with it — flat and a little musty.
Spread a handful on a white plate and sort by eye. The vivid ones are good. The drab, faded ones have been sitting too long or storing warm.
13. Verify Shredded Coconut Remains Moist
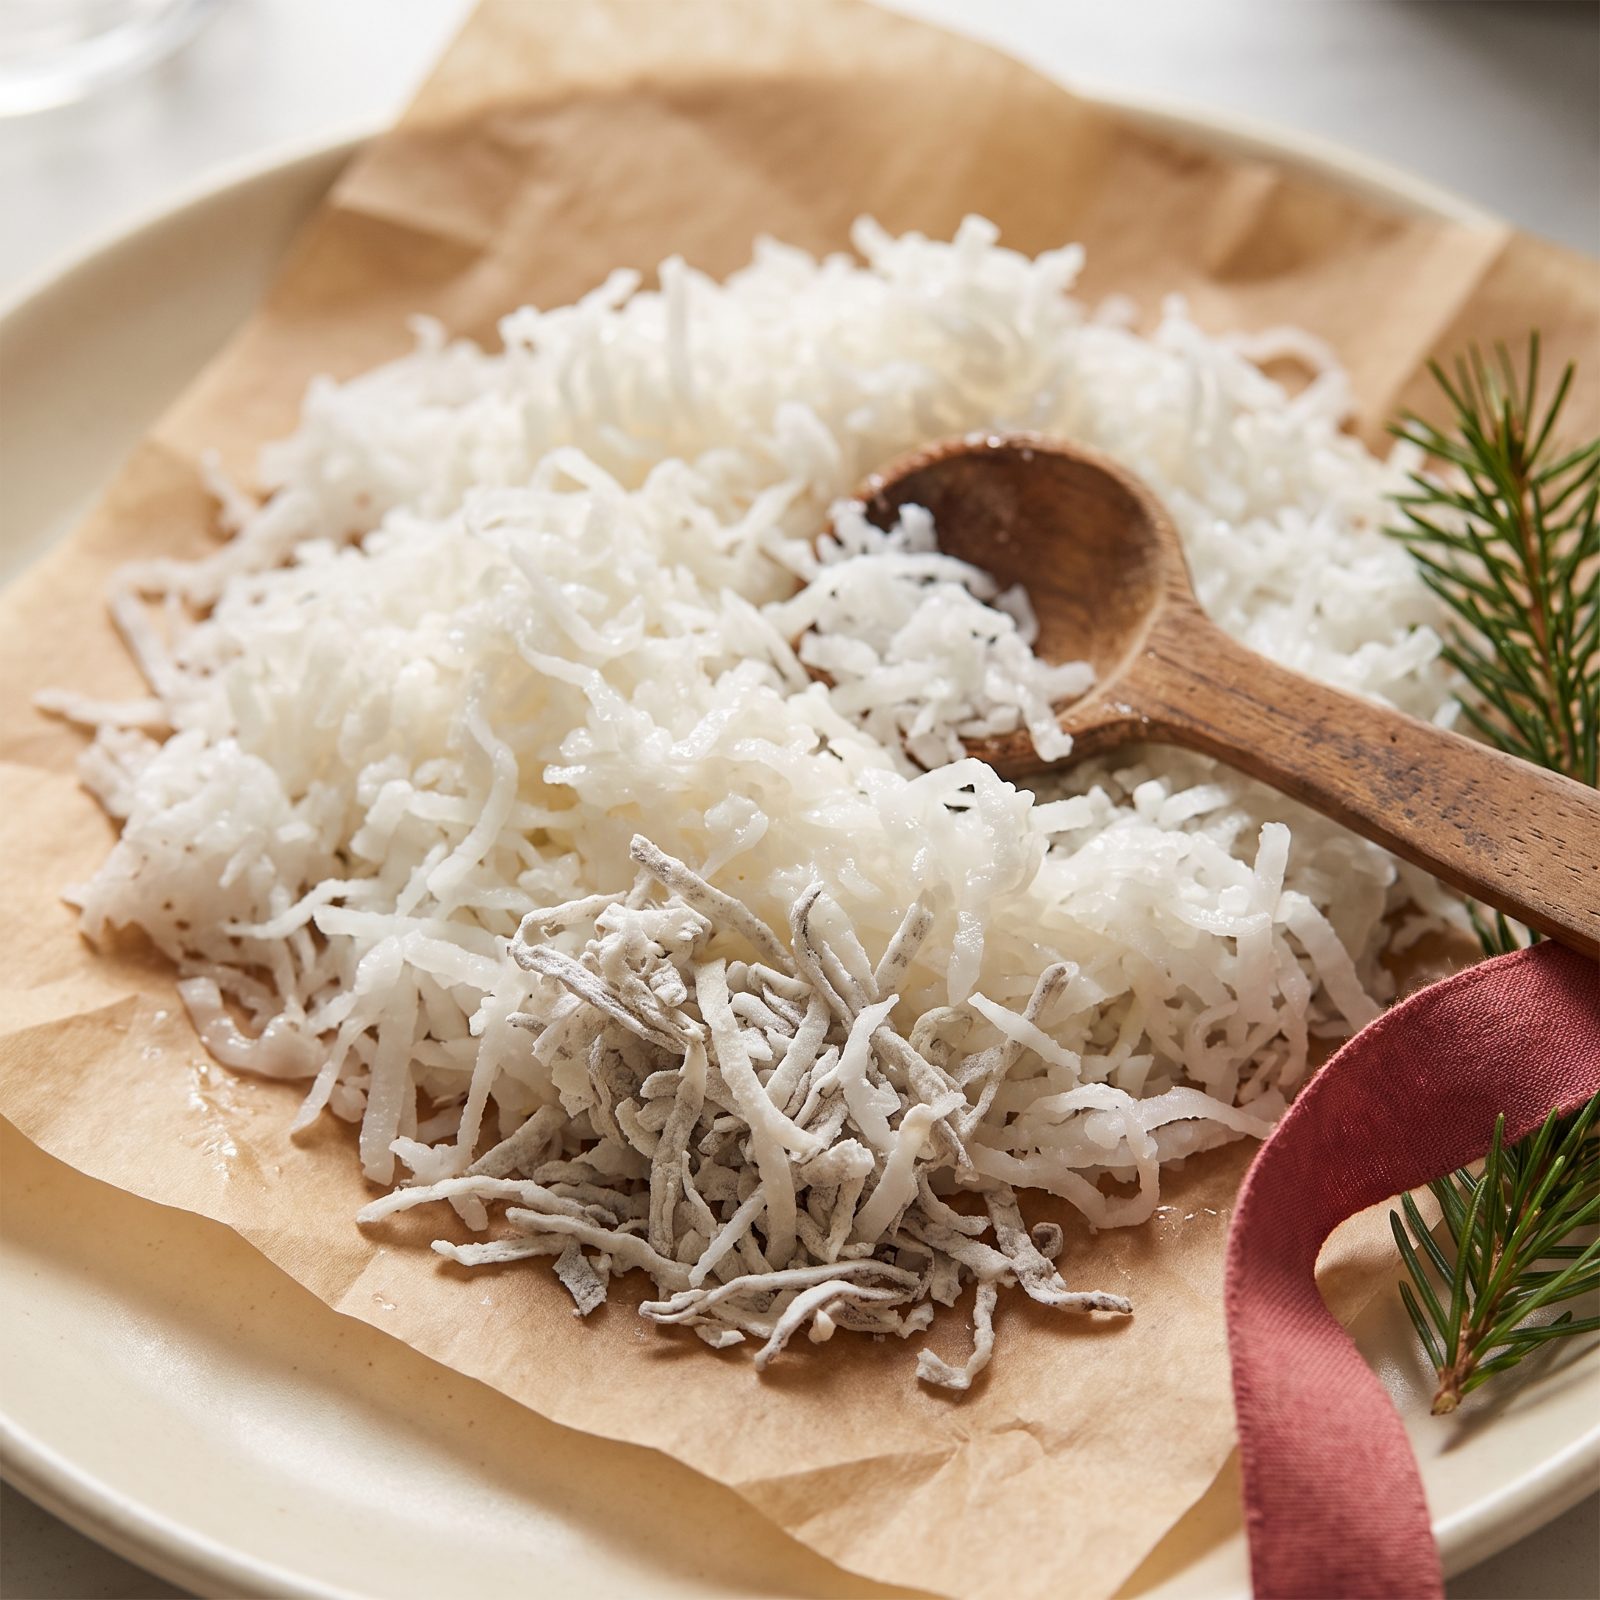
Sweetened shredded coconut should feel soft and pliable, almost damp, when you pinch it. That moisture is what keeps it chewy in a macaroon and tender on top of a cake. Dried-out coconut turns brittle, snaps instead of folding, and bakes hard and sharp.
Open the bag and press a pinch between your fingers. Supple means good. Stiff and crumbly means it’s dried past its best, and a gray cast or any sour, soapy smell means the fat has turned and it’s time to toss it.
If it’s just slightly dry but smells fine, a few drops of warm water tossed through revives the texture enough for most recipes. Barely dry, not rancid. Know the difference before you dump it.
12. Check Raisins for Softness
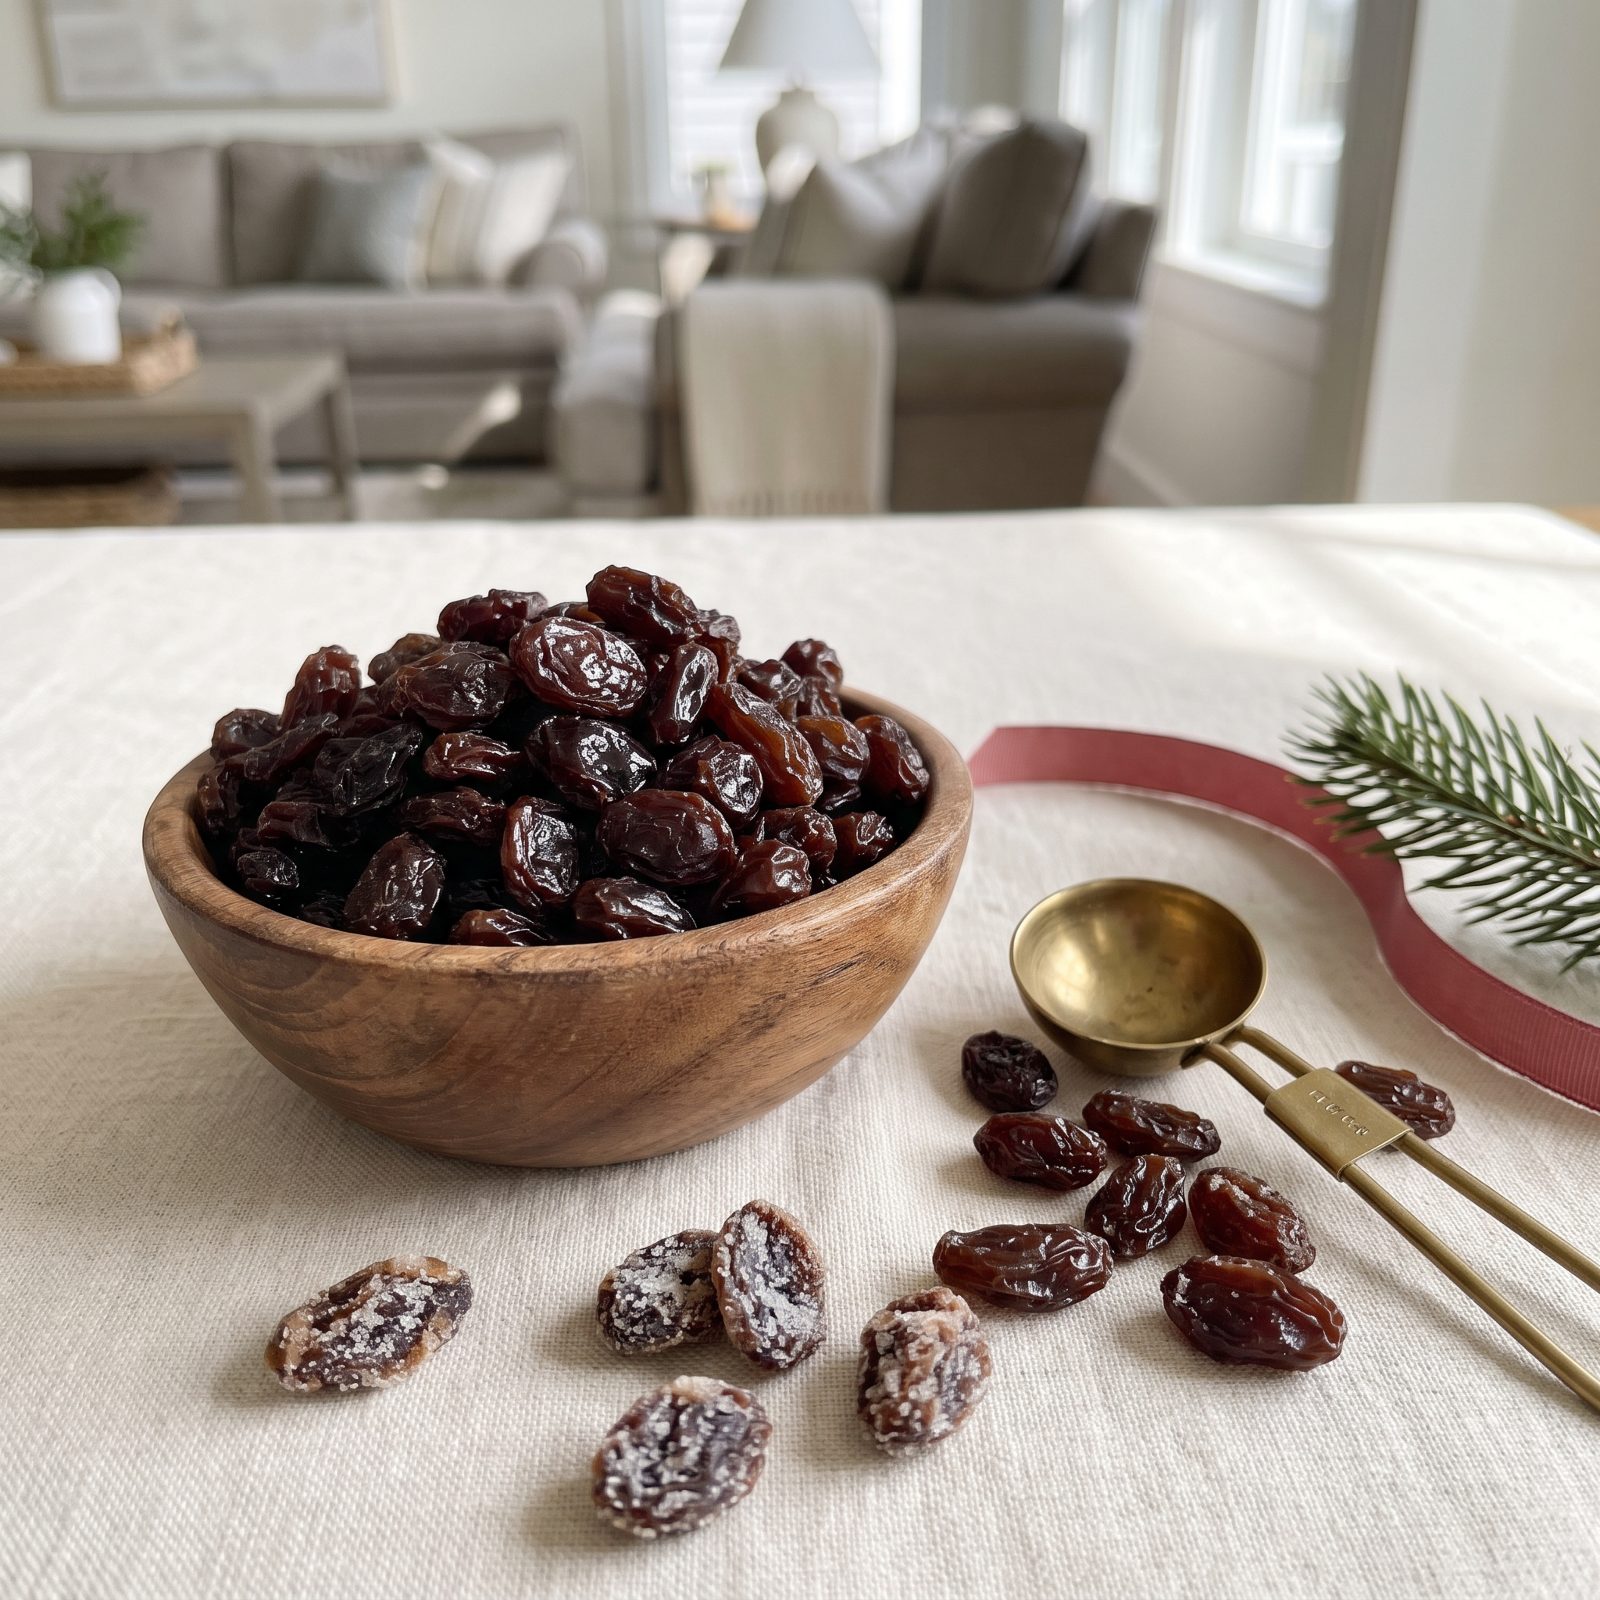
Pinch a few raisins. They should give easily and feel supple, like they still have juice in them. Hard little pellets that resist your fingers have dried out, and they’ll stay hard and chewy in the cookie no matter how long it bakes.
You might also spot sugar crystals on the surface, a white crust that looks like trouble. It isn’t. That’s just natural sugar crystallizing out, harmless, and it dissolves in baking.
11. Inspect Dried Cranberries for Clumping
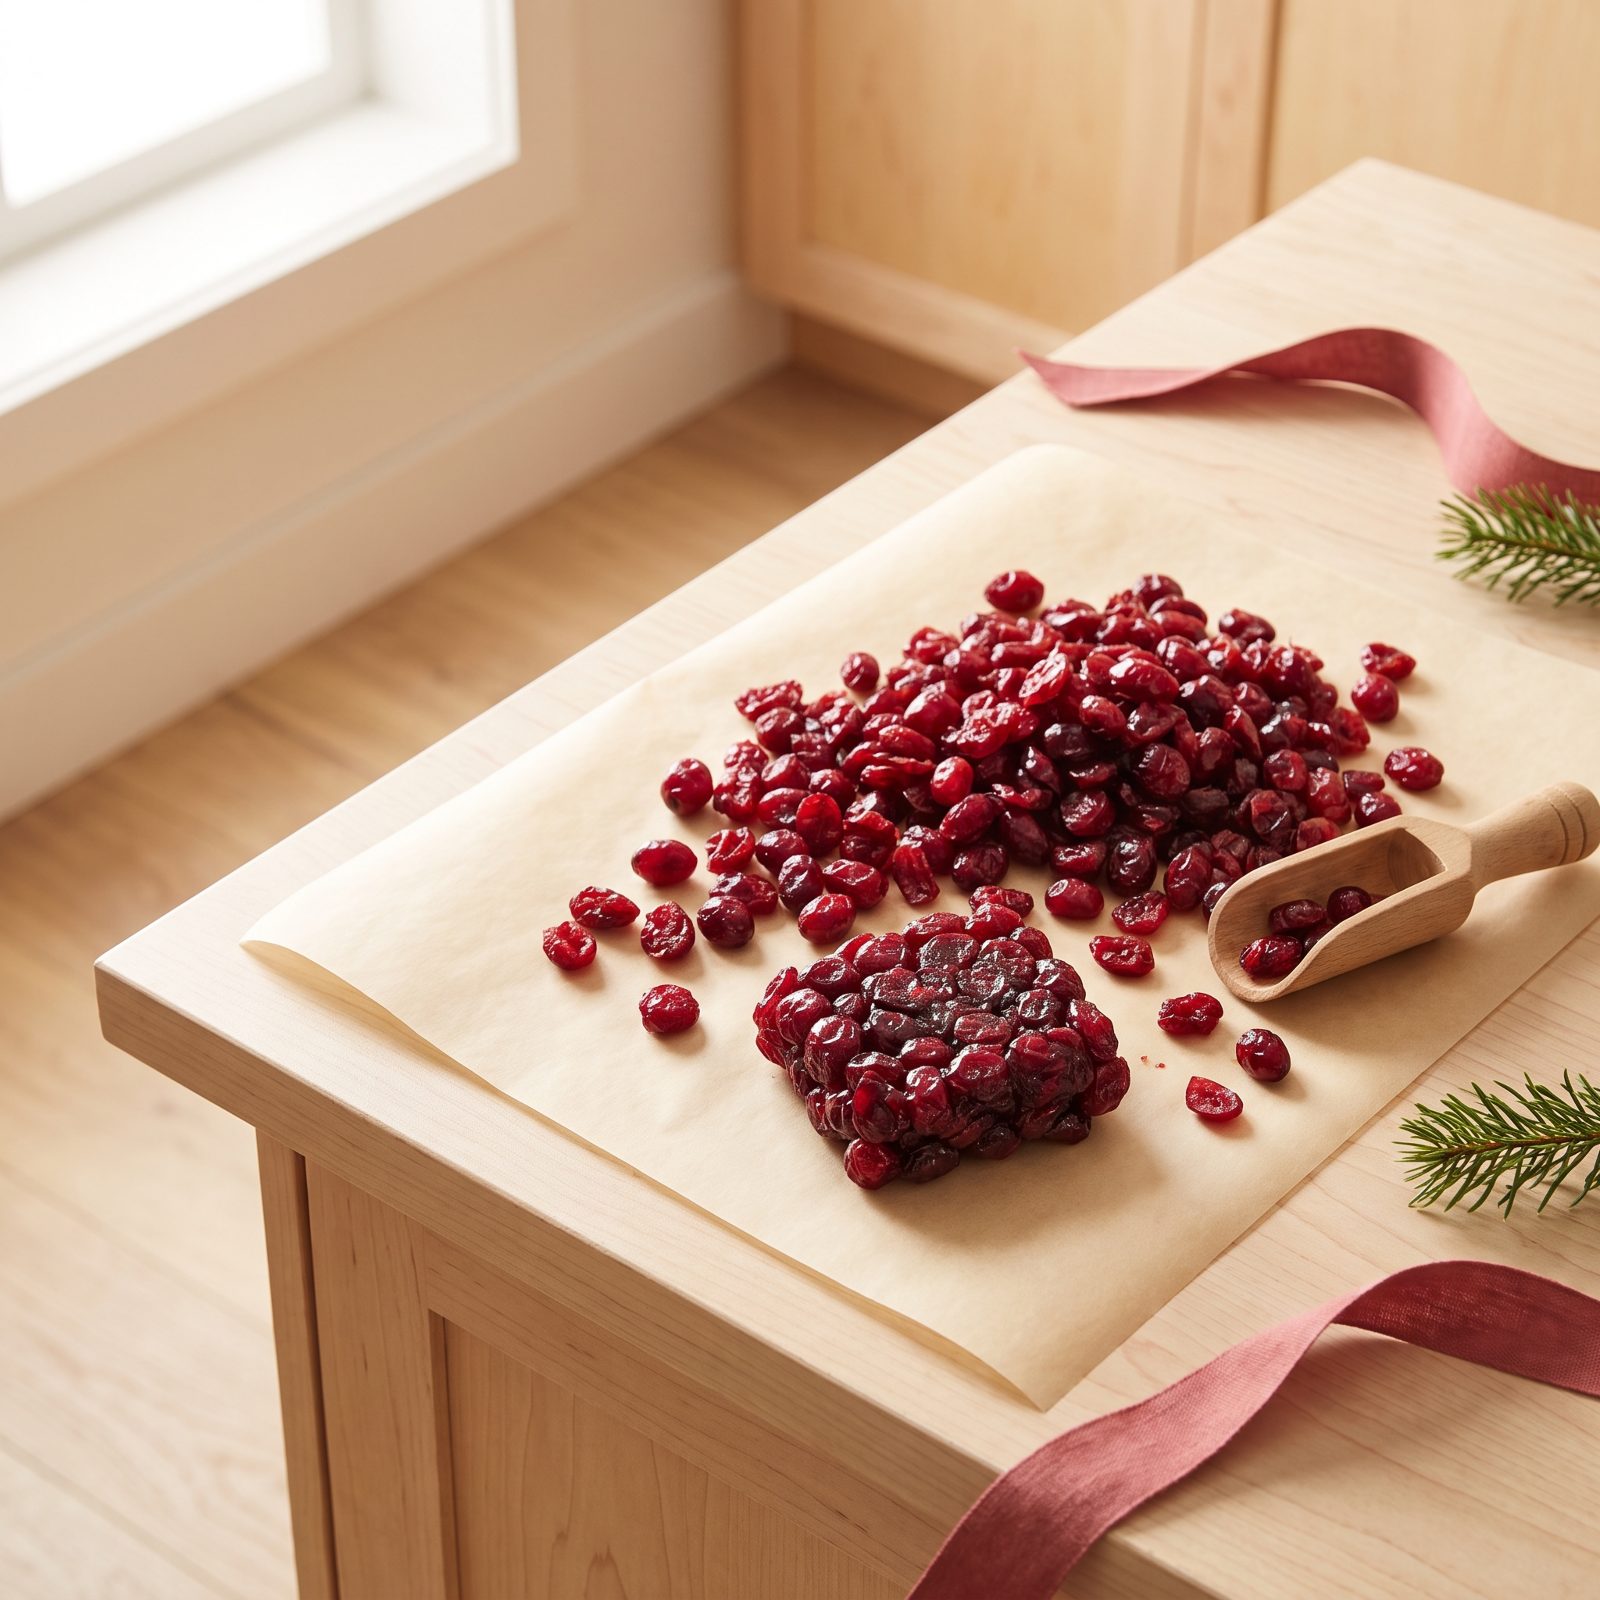
Dried cranberries clump when humidity sneaks into the bag and the sugar coating goes tacky. A soft clump that breaks apart with a squeeze is fine, just a little moisture. A rock-hard mass that won’t separate is a problem, and sometimes it’s hiding mold at the center.
Break the clump open and look inside. Clean, red, and sticky is good. Any fuzz, dark spots, or a fermented, winey smell and the whole bag goes.
Loose cranberries that pour freely are what you want for even distribution in scones and bread. Clumped ones dump three into one bite and none into the next.
10. Check Dried Cherries for Excess Dryness
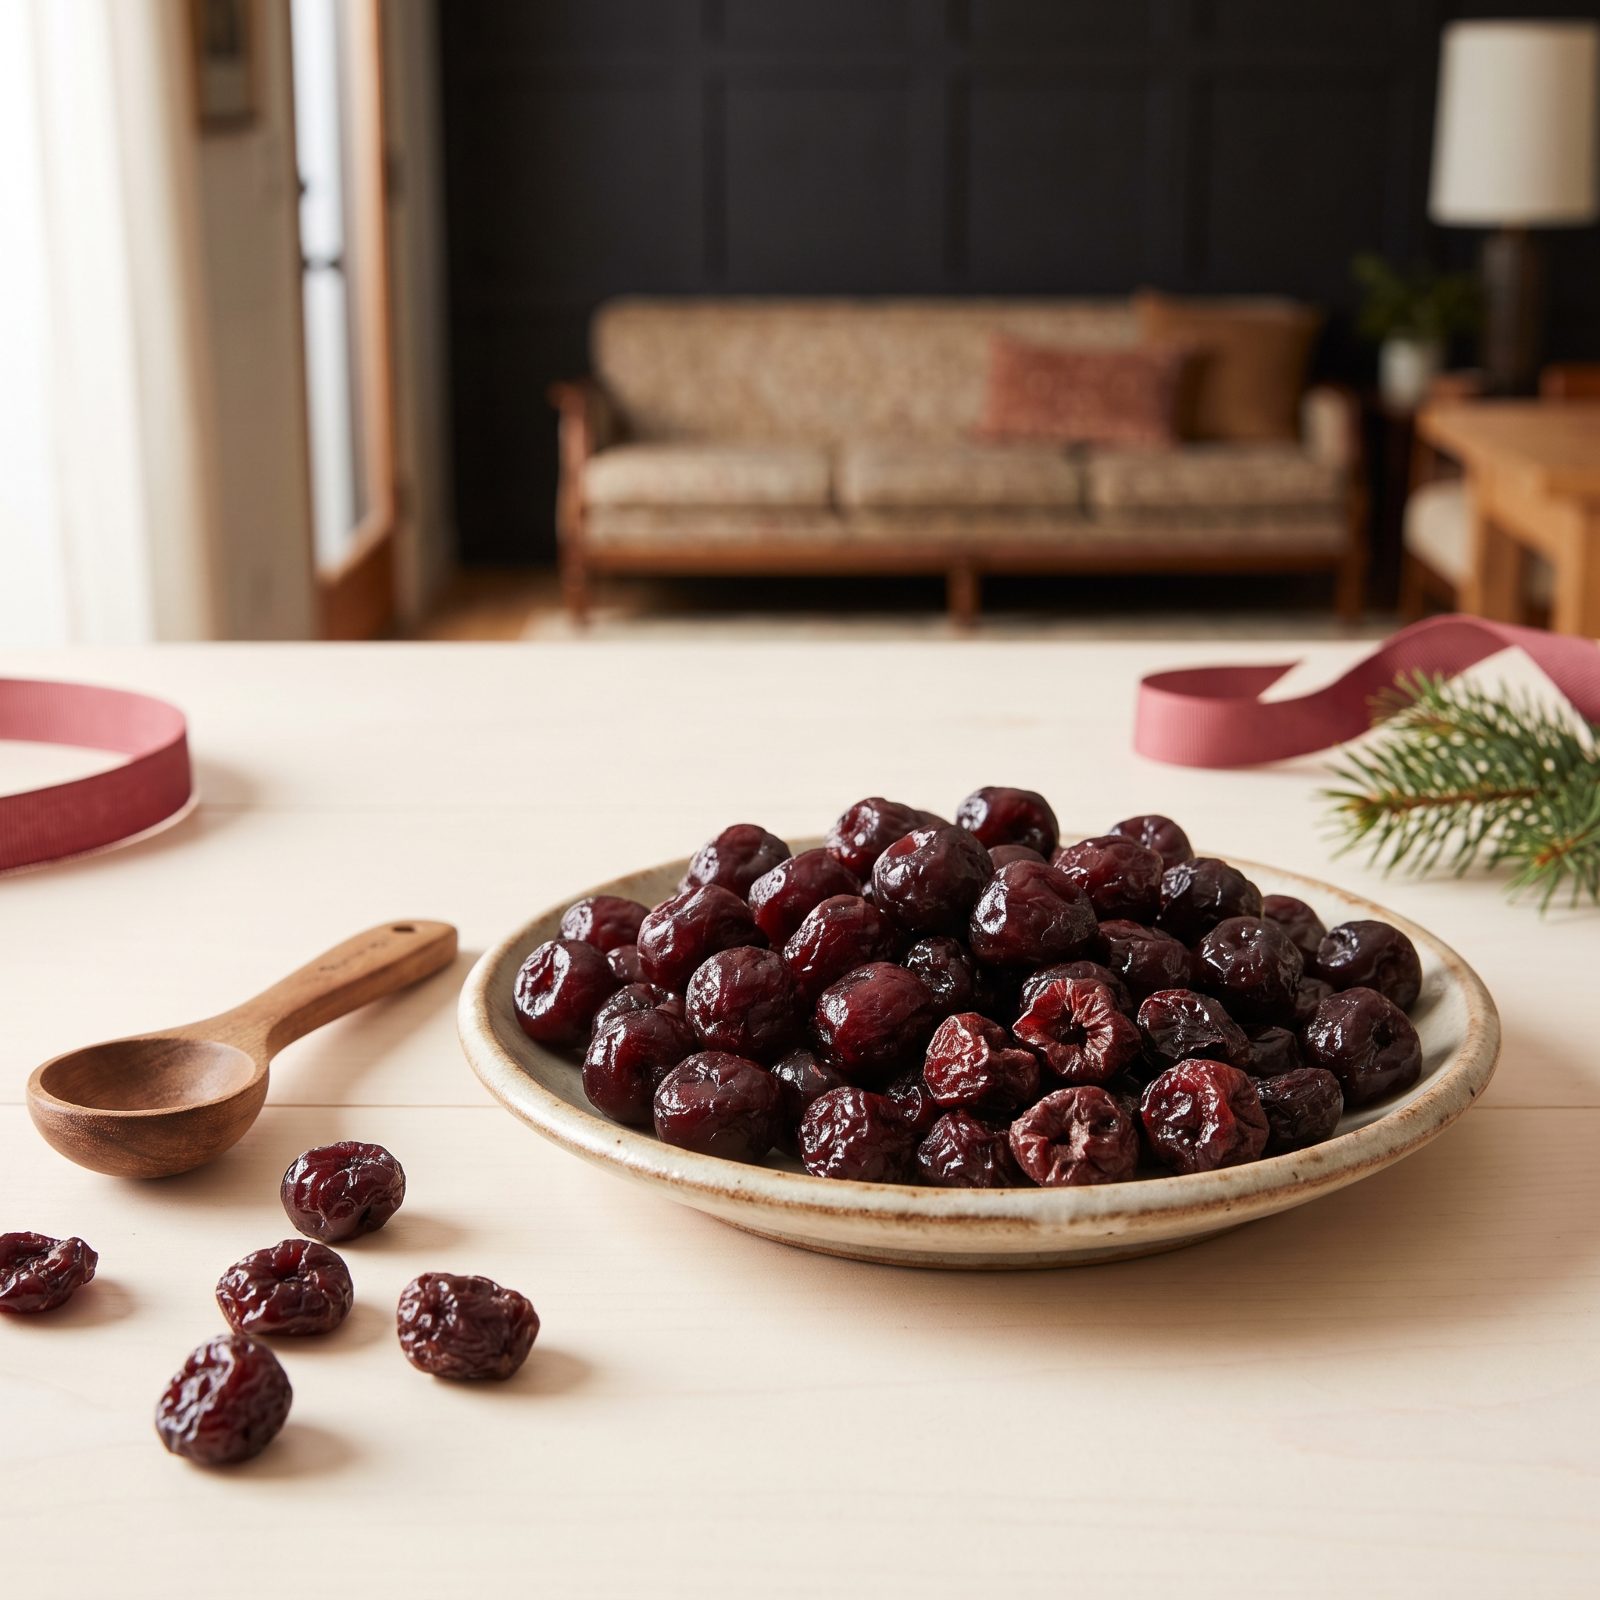
Dried cherries ride a line. A little chew is the point, but when they overdry they turn into hard, shrunken nubs that won’t soften even in a wet batter. You end up with sharp bits of leather studded through an otherwise tender cookie.
Squeeze one. It should bend and leave a faint impression. Stiff as a bead and bouncing back? It’s lost too much moisture to pull itself together in the oven.
9. Inspect Dates for Crystallized Sugar
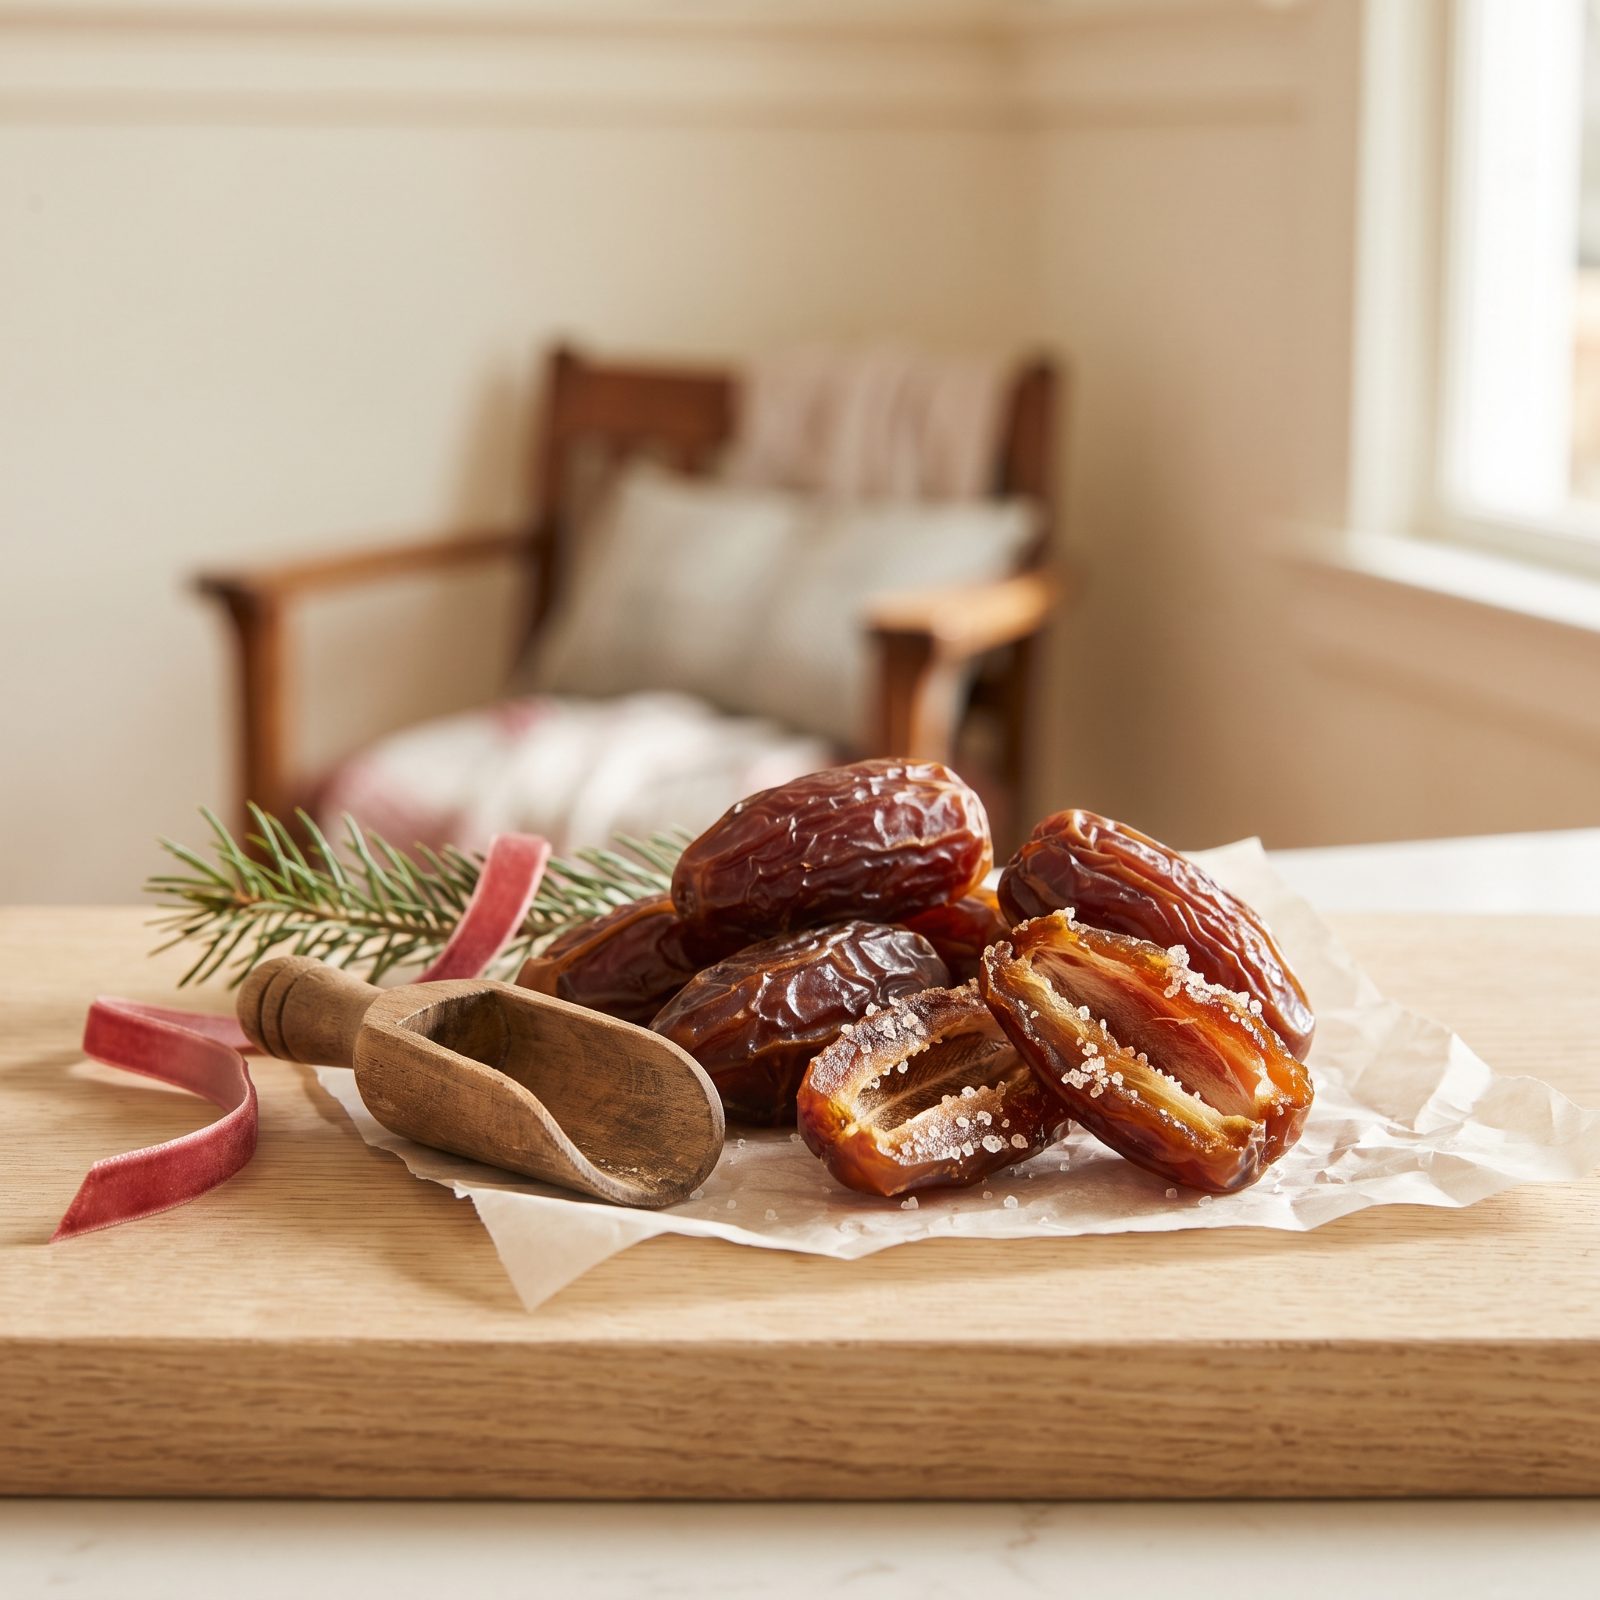
Sugared dates aren’t spoiled. They’re old and a little dried out, and the sugar inside has crawled to the surface, showing up as a fine white crust along cut edges or a gritty sheen on the skin. People panic and toss them. Don’t.
Squeeze one. If it still gives and the flesh is soft, you’re fine for chopping into breads and bars. Hard as a knuckle? A ten-minute soak in warm water brings most of them back.
8. Check Dried Figs for Mold
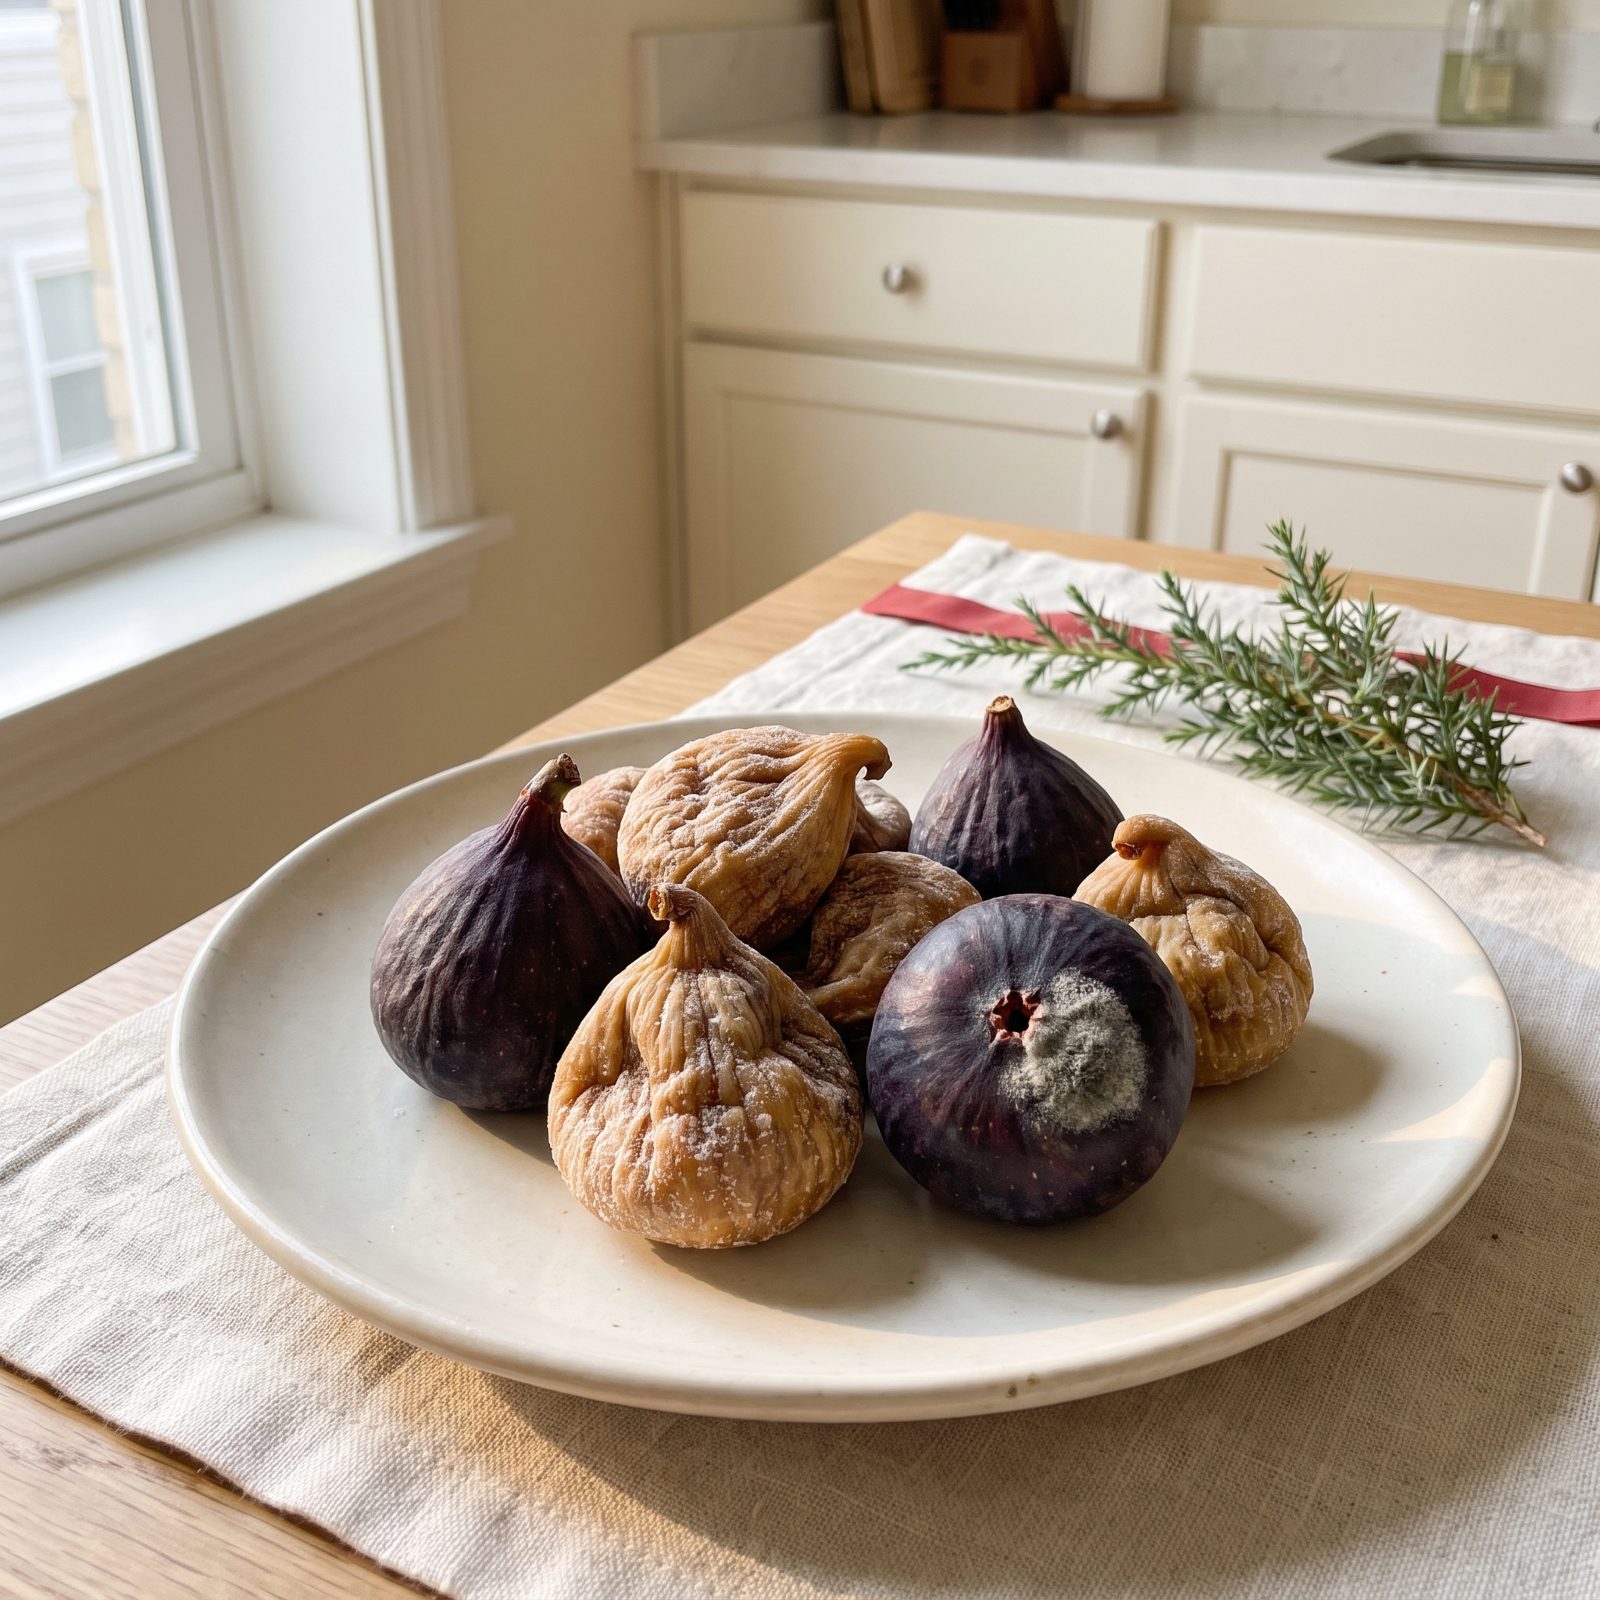
Dried fruit trips people up right here. That powdery white coating on figs usually isn’t mold — it’s sugar, same as on dates, and it’s harmless. Real mold looks different: fuzzy, gray-green or blue, clustered near the stem where moisture pools.
Rub the white stuff with a dry finger. Sugar brushes off or stays put as a dry film. Mold smears and smells sour or musty. When you can’t tell, split the fig open. Clean flesh inside means sugar. Discoloration or a damp fuzz inside means the whole bag goes.
And don’t just cut the moldy bit off a soft dried fig and use the rest. Figs hold enough moisture for spores to spread further than you can see.
7. Inspect Candied Citrus Peel for Mold

Candied peel feels indestructible. It isn’t. All that sugar makes people assume it keeps forever, and then they find a gray bloom tucked between the strips in December.
Spread the peel on a plate and look at the undersides, not just the sugared tops. Mold hides in the sticky folds where pieces press together. You’re hunting dull fuzzy spots and any sour, fermented smell cutting through the citrus.
Here’s what most people miss. Peel that’s gone tacky and weeping syrup is on its way out even without visible mold. Dry, firm, clearly crystallized — that’s what you want for fruitcake and stollen.
6. Check Crystallized Ginger for Dryness
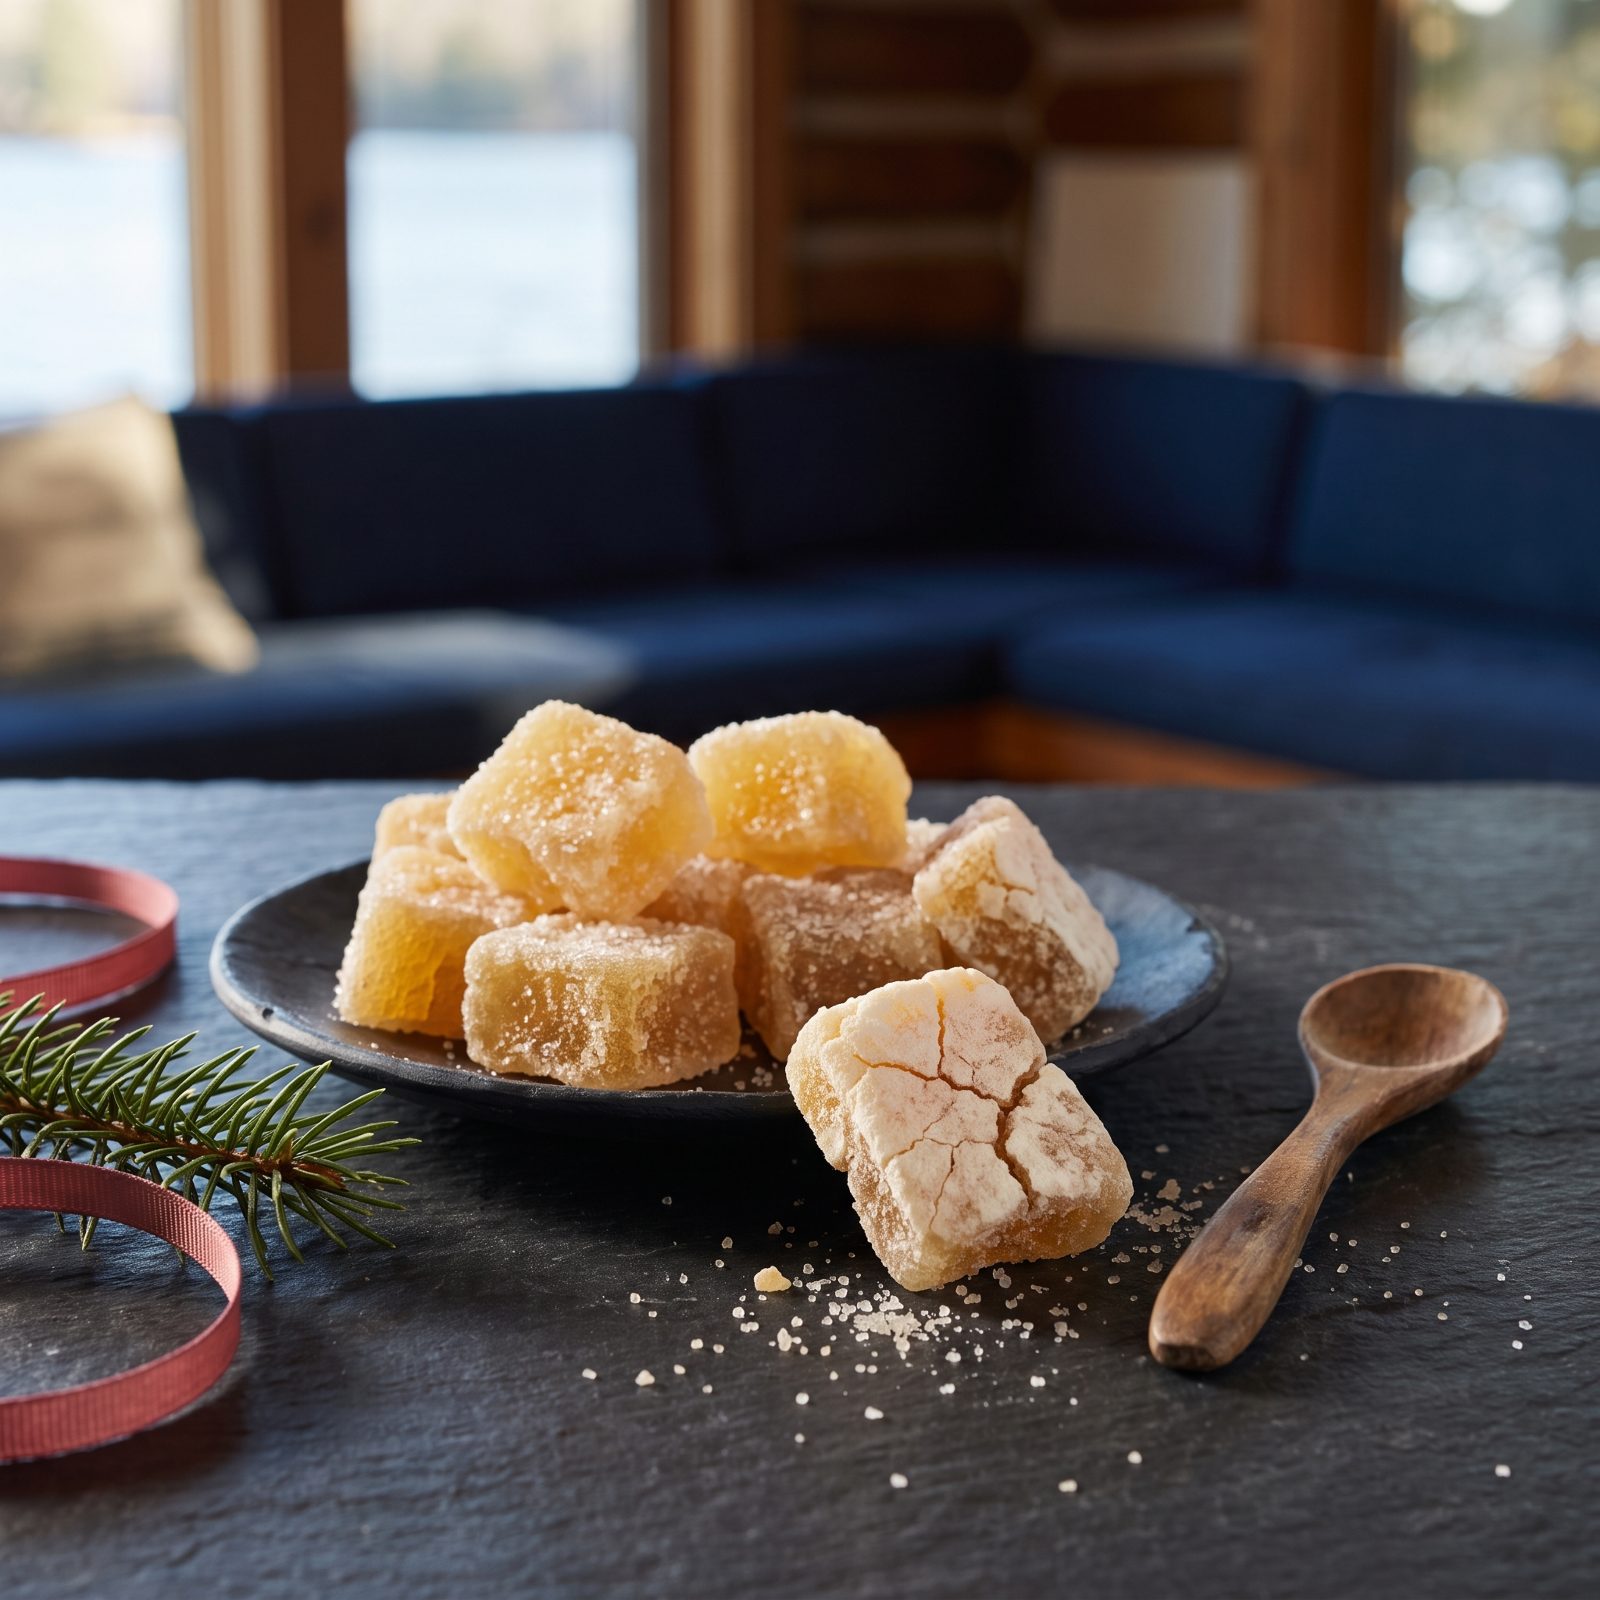
Crystallized ginger goes hard before it goes bad, and hard ginger is a pain to chop and worse to bite. The sugar coating pulls moisture out over months in a loose bag, leaving you with little amber rocks.
Press a piece. It should give slightly, like a firm gummy. If it cracks or won’t yield at all, it’s dried past comfortable use.
5. Check Canned Pumpkin Expiration Dates
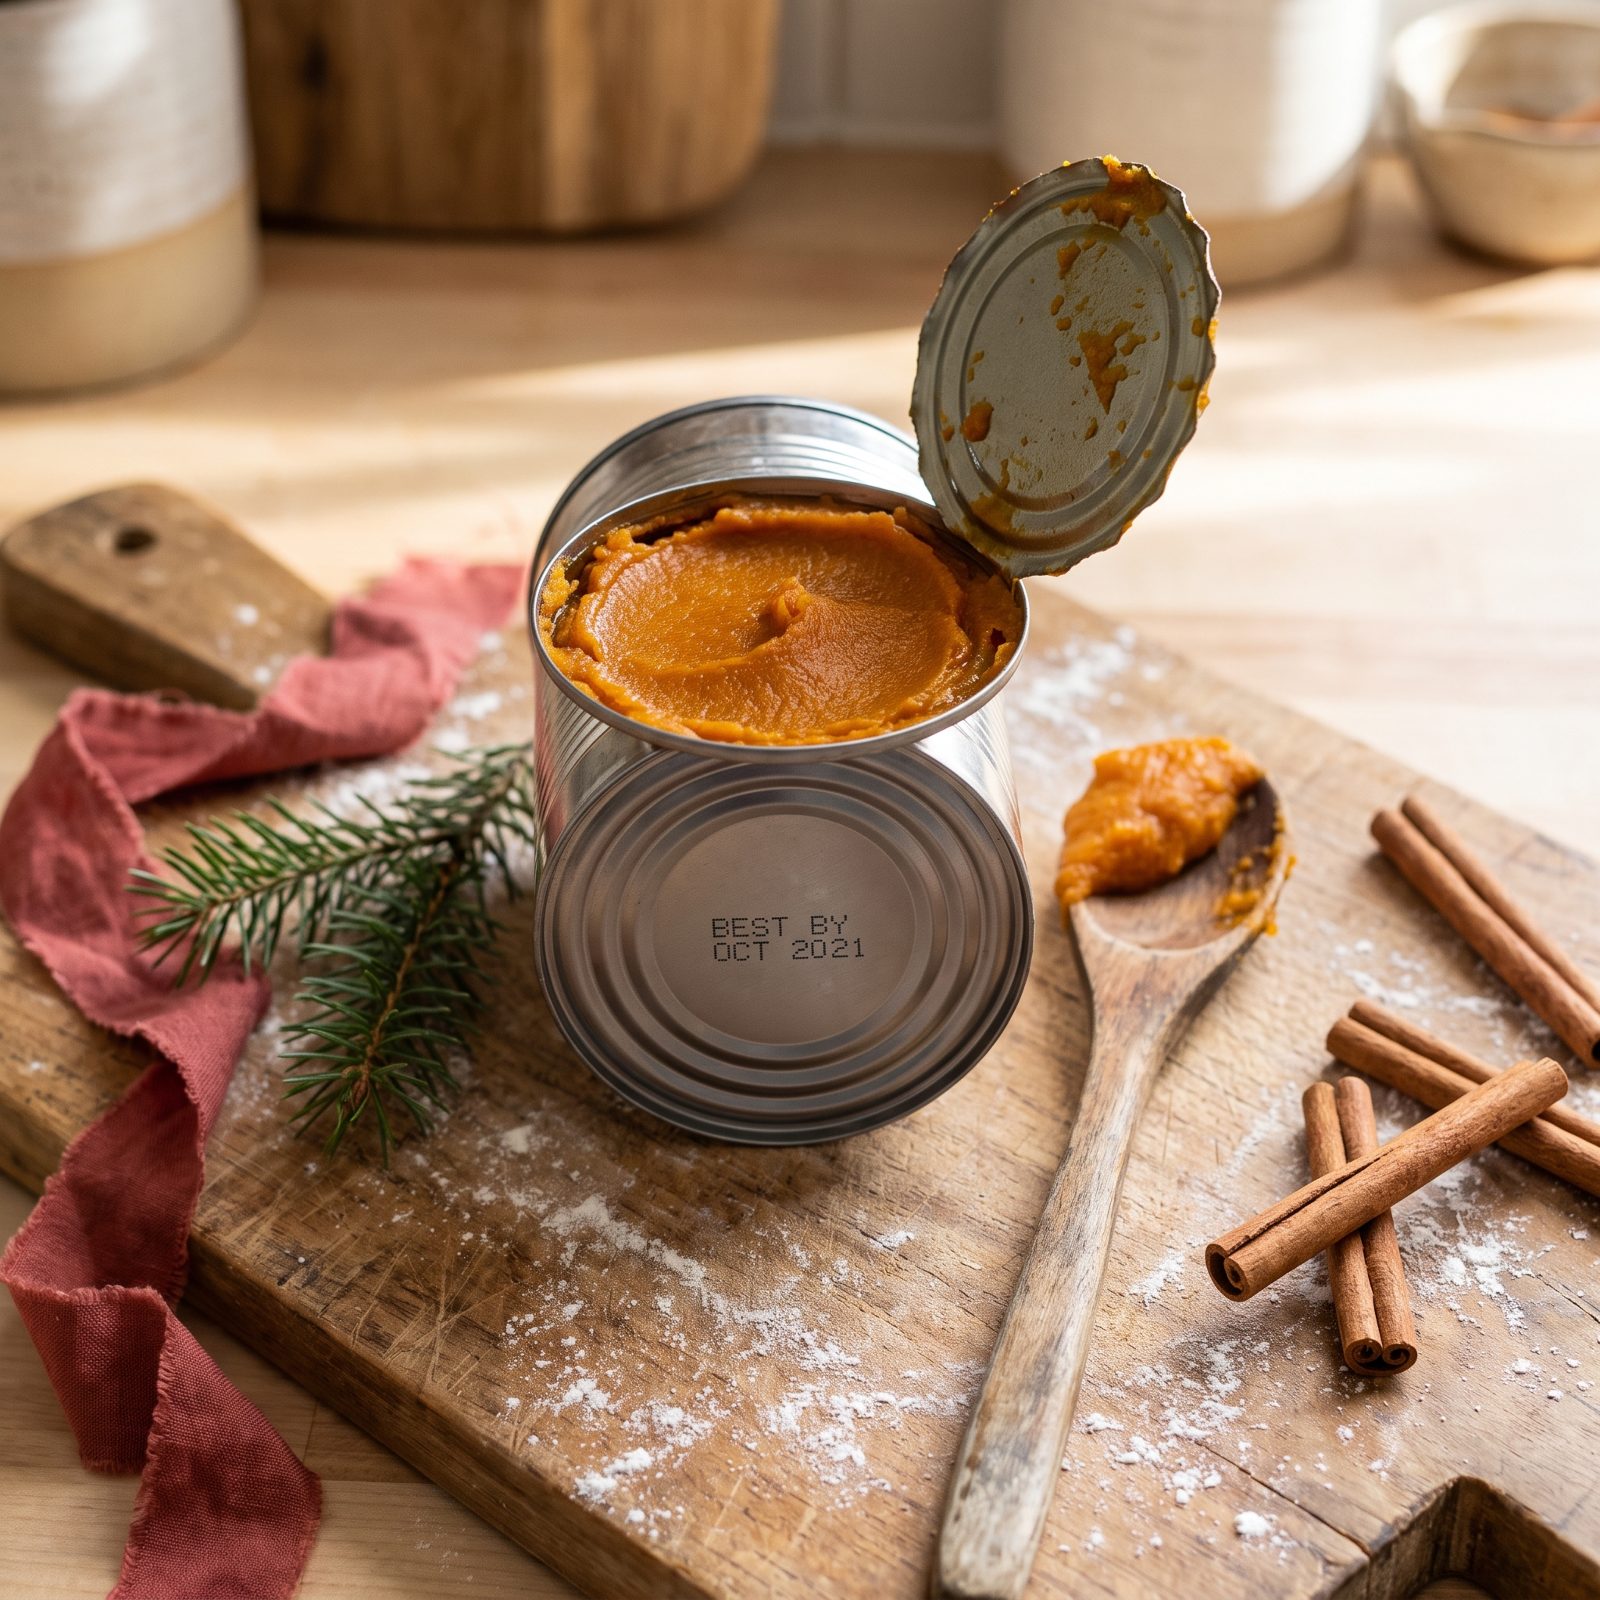
Canned pumpkin keeps a long time unopened, but “long” isn’t “forever.” Past its date the puree can thin out, dull in color, and lose the body you need for a pie that sets.
Check the stamped date before baking season, not the morning of. If it’s expired by a year or two and the can is sound, the risk is quality, not safety. Fish the oldest ones to the front so you actually use them.
4. Verify Meringue Powder Expiration Date
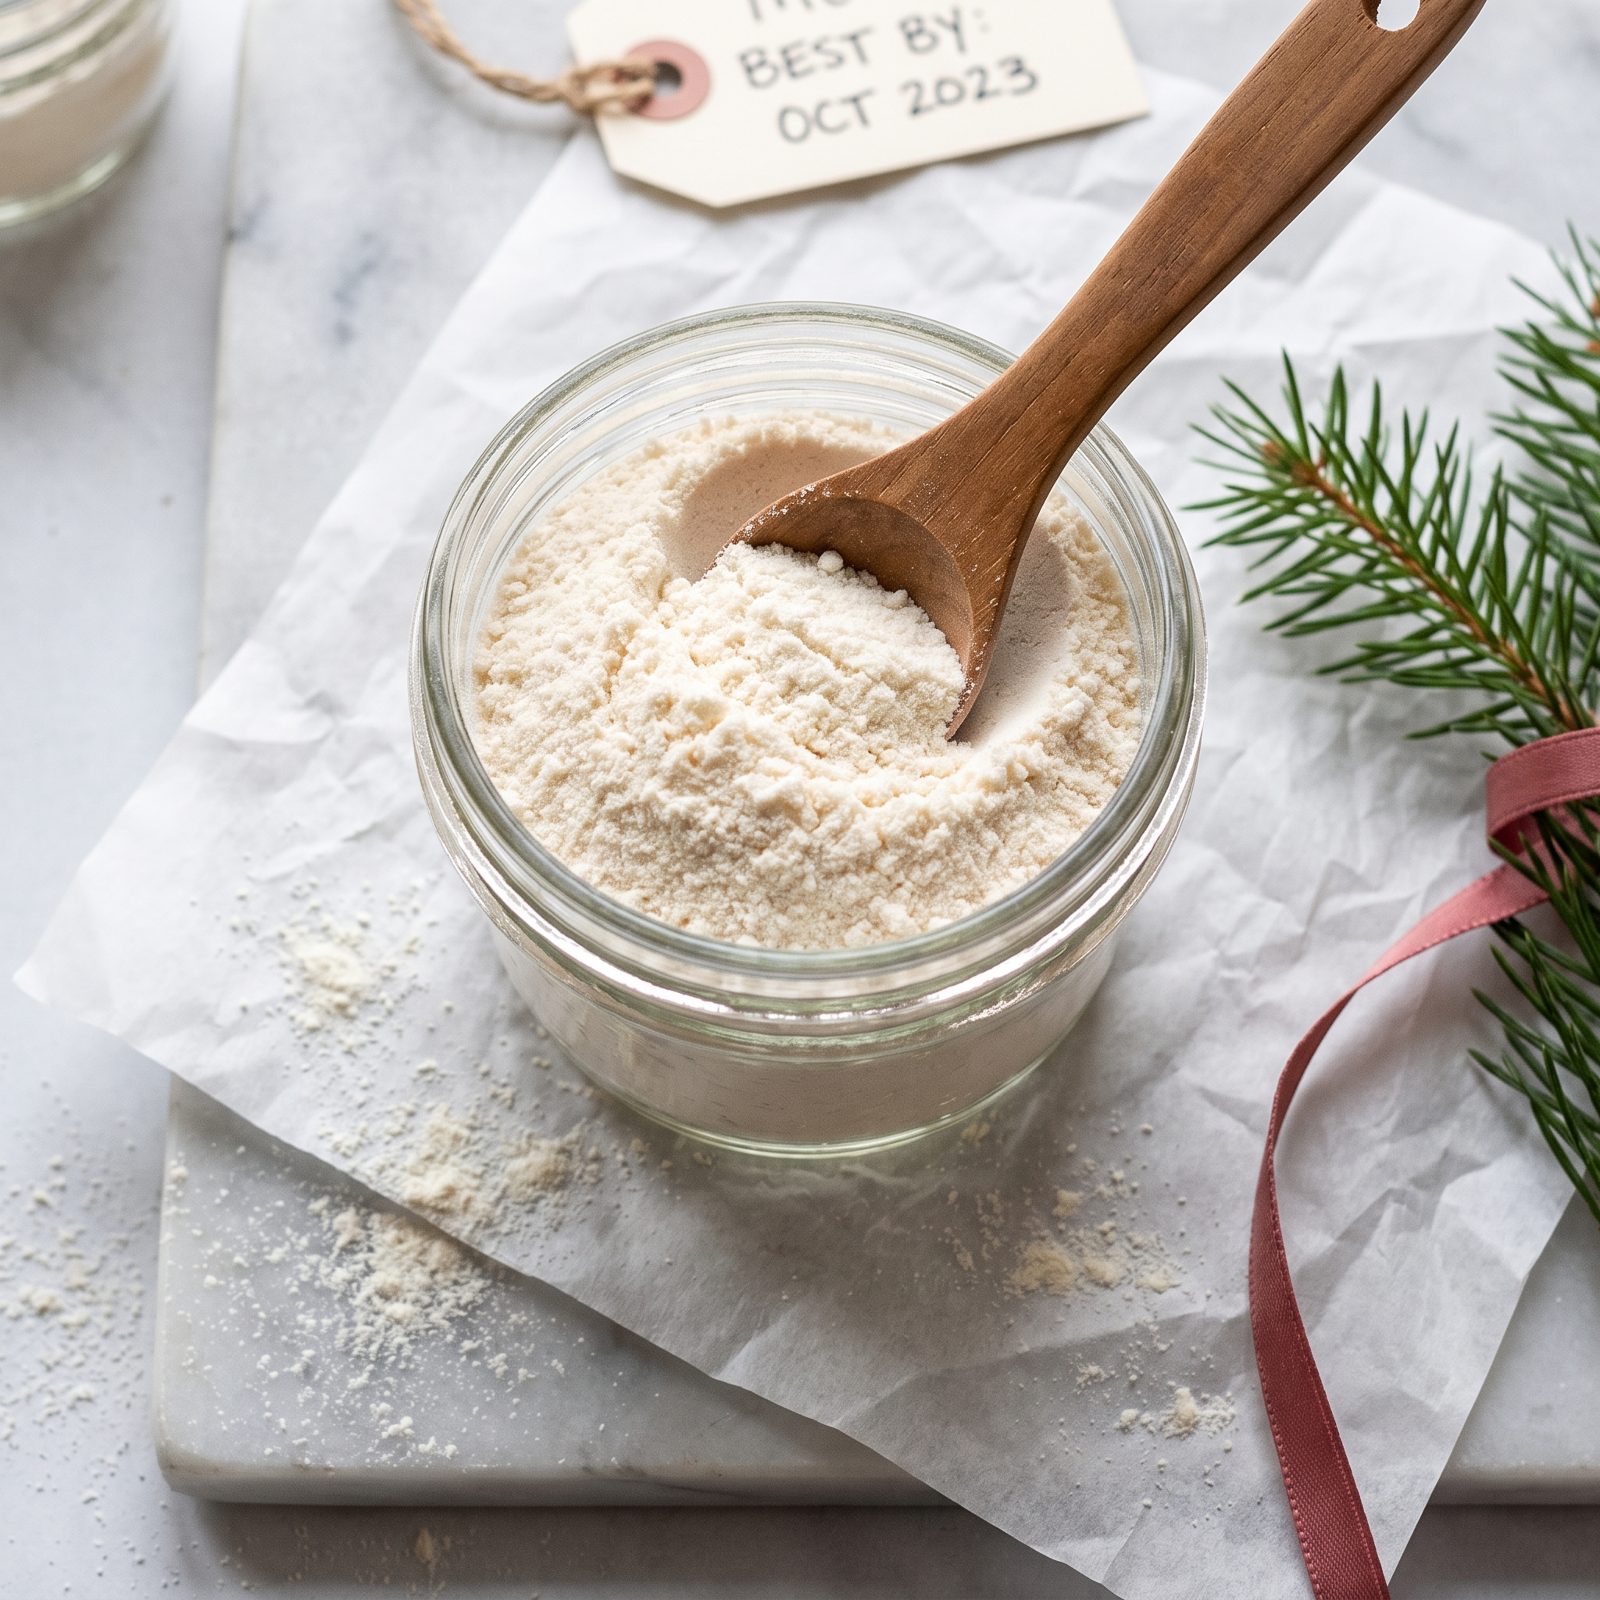
Meringue powder is the thing you reach for at eleven at night when the royal icing won’t set, and the thing that quietly dies in the back of the cabinet. Old powder won’t whip to stiff peaks. That means cracked gingerbread and runny decorations.
Find the date first. Then open the jar and look for clumping or any off, stale smell. Fresh powder is loose and faintly sweet.
Quick test: whisk a small spoonful into a little water and beat it. Foams and holds? You’re good. Stays flat and soupy? Buy new before you need it.
3. Verify Marzipan Remains Tightly Sealed
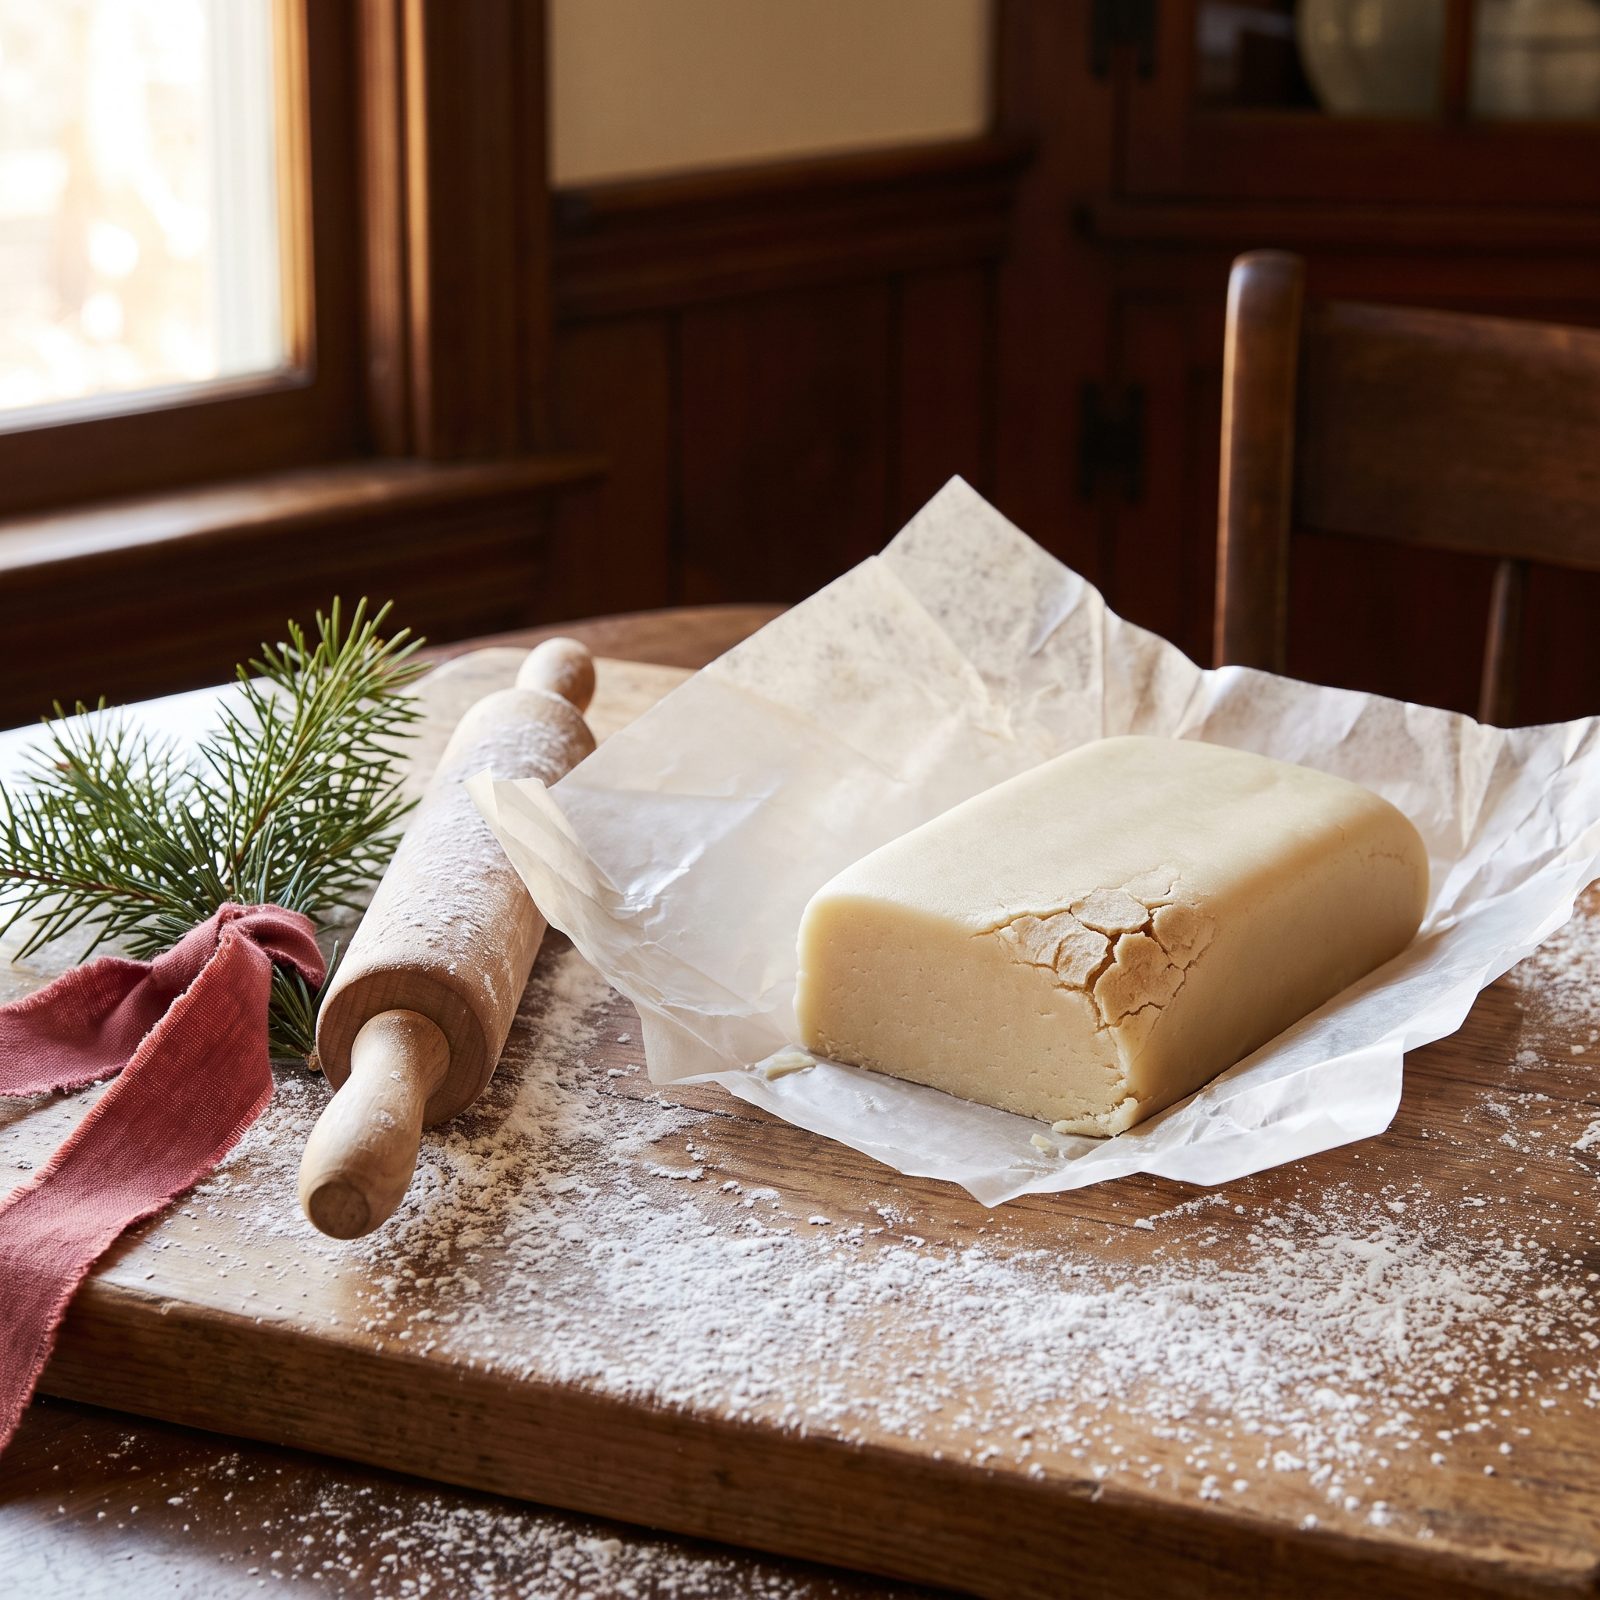
Marzipan lives or dies by its seal. Expose it to air and it hardens into something you’ll need a chisel for. Most people don’t notice until they go to roll it and it crumbles instead of stretching.
Press the block through its wrapper. It should feel like firm modeling clay with a little give. Rock-hard means air got in. A slightly crusty outer edge can be trimmed, but a fully dried block is finished.
One thing packages won’t tell you: even sealed, marzipan keeps best cool and dark. Warm cabinets near the oven dry it out faster than any date on the label would suggest.
2. Inspect Fruit Preserve Jar Seals
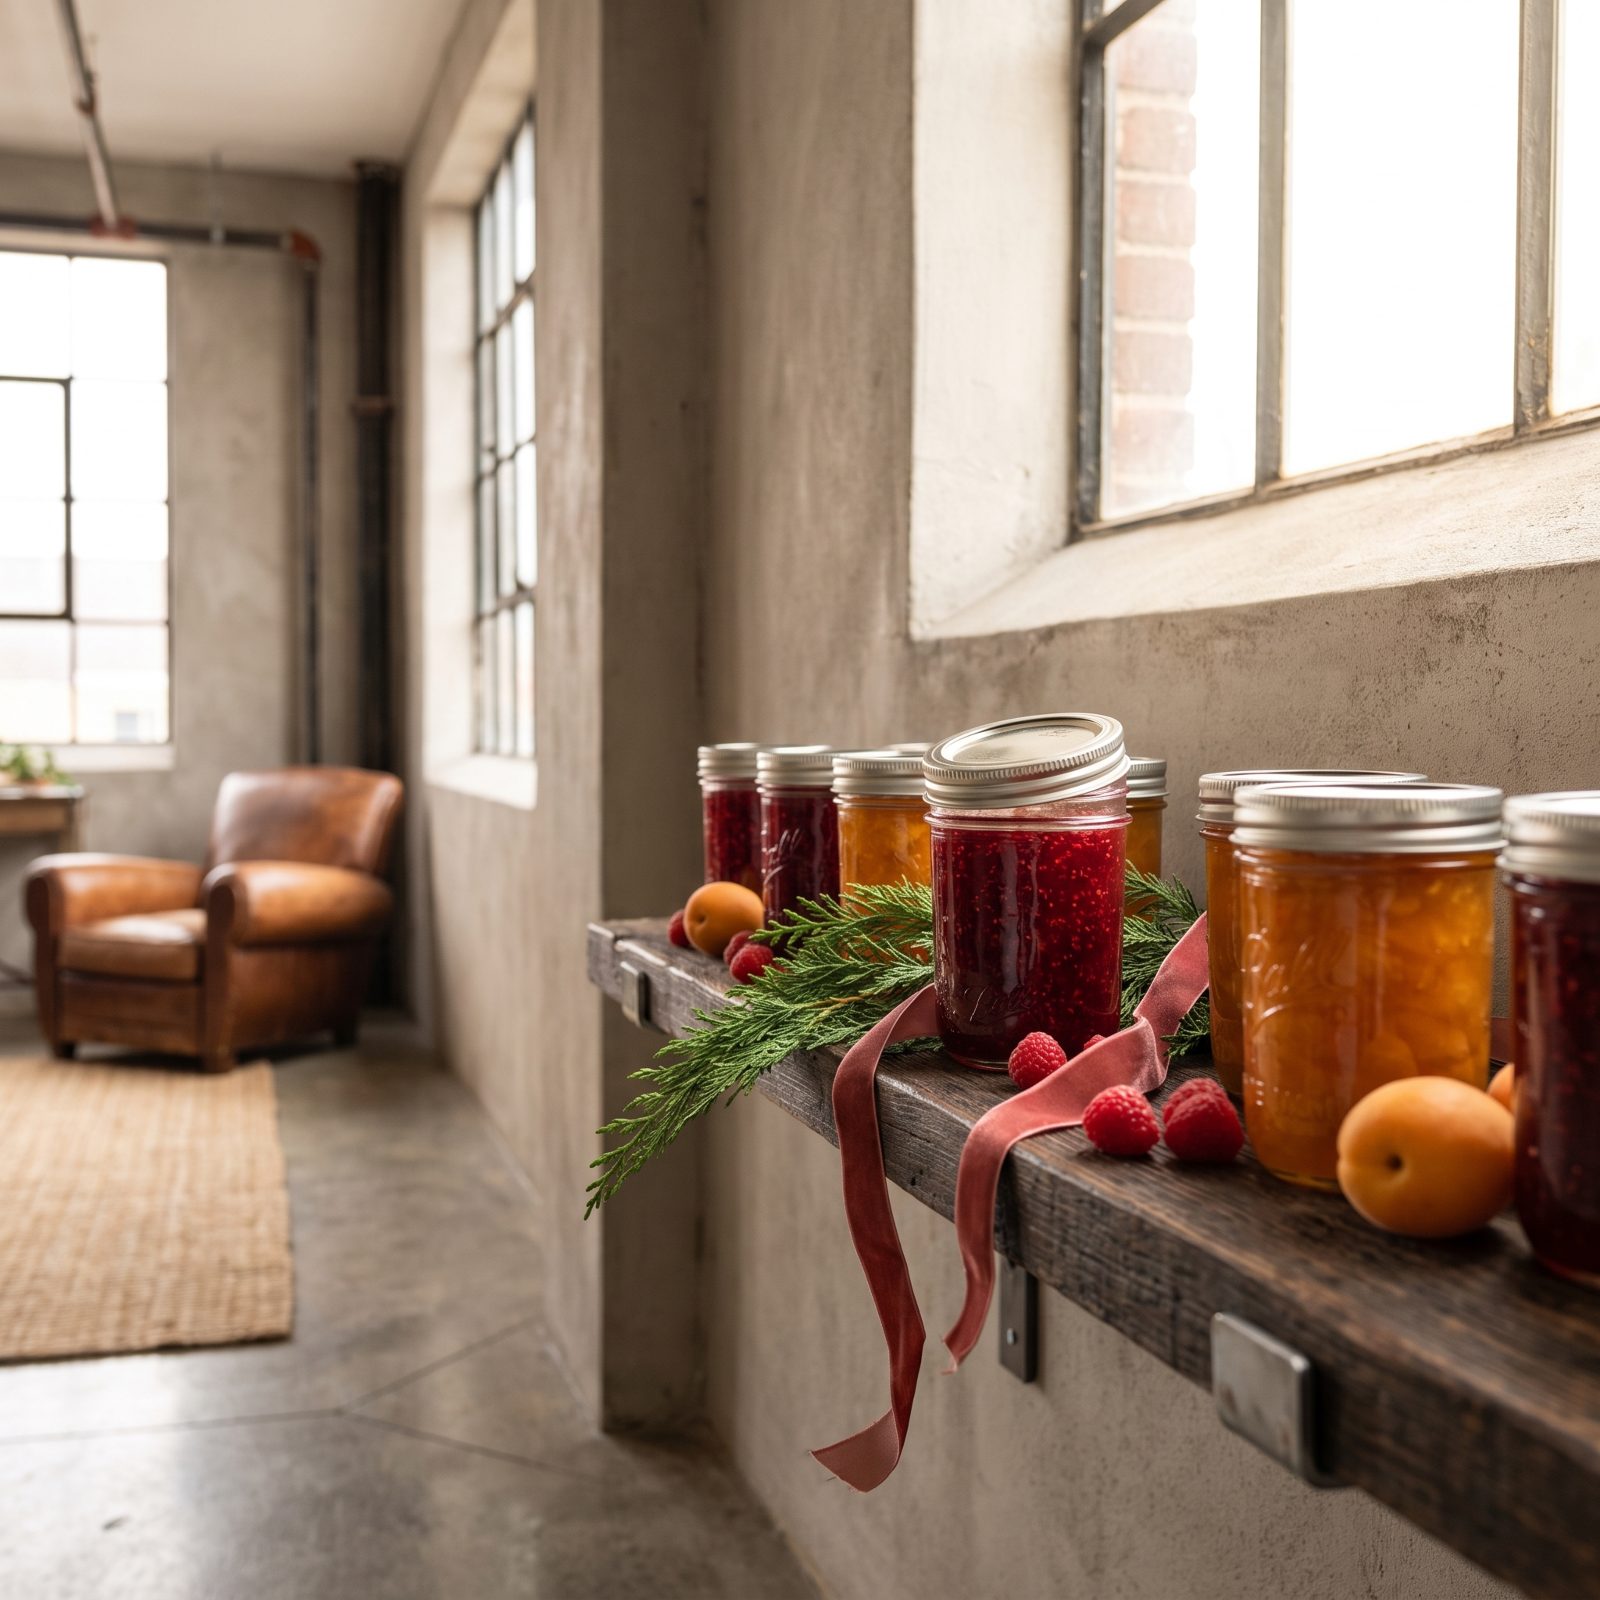
Preserves hide trouble under the lid. A broken seal lets air in, and that jar of raspberry you were counting on for thumbprints is now a science experiment.
Press the center of each metal lid. A good seal is firm and flat, or slightly concave, and won’t budge. If it pops up and down with a click, the seal is gone. Watch for bulging lids, leaking around the rim, and lifted rings too.
1. Check Condensed Milk Cans for Bulging
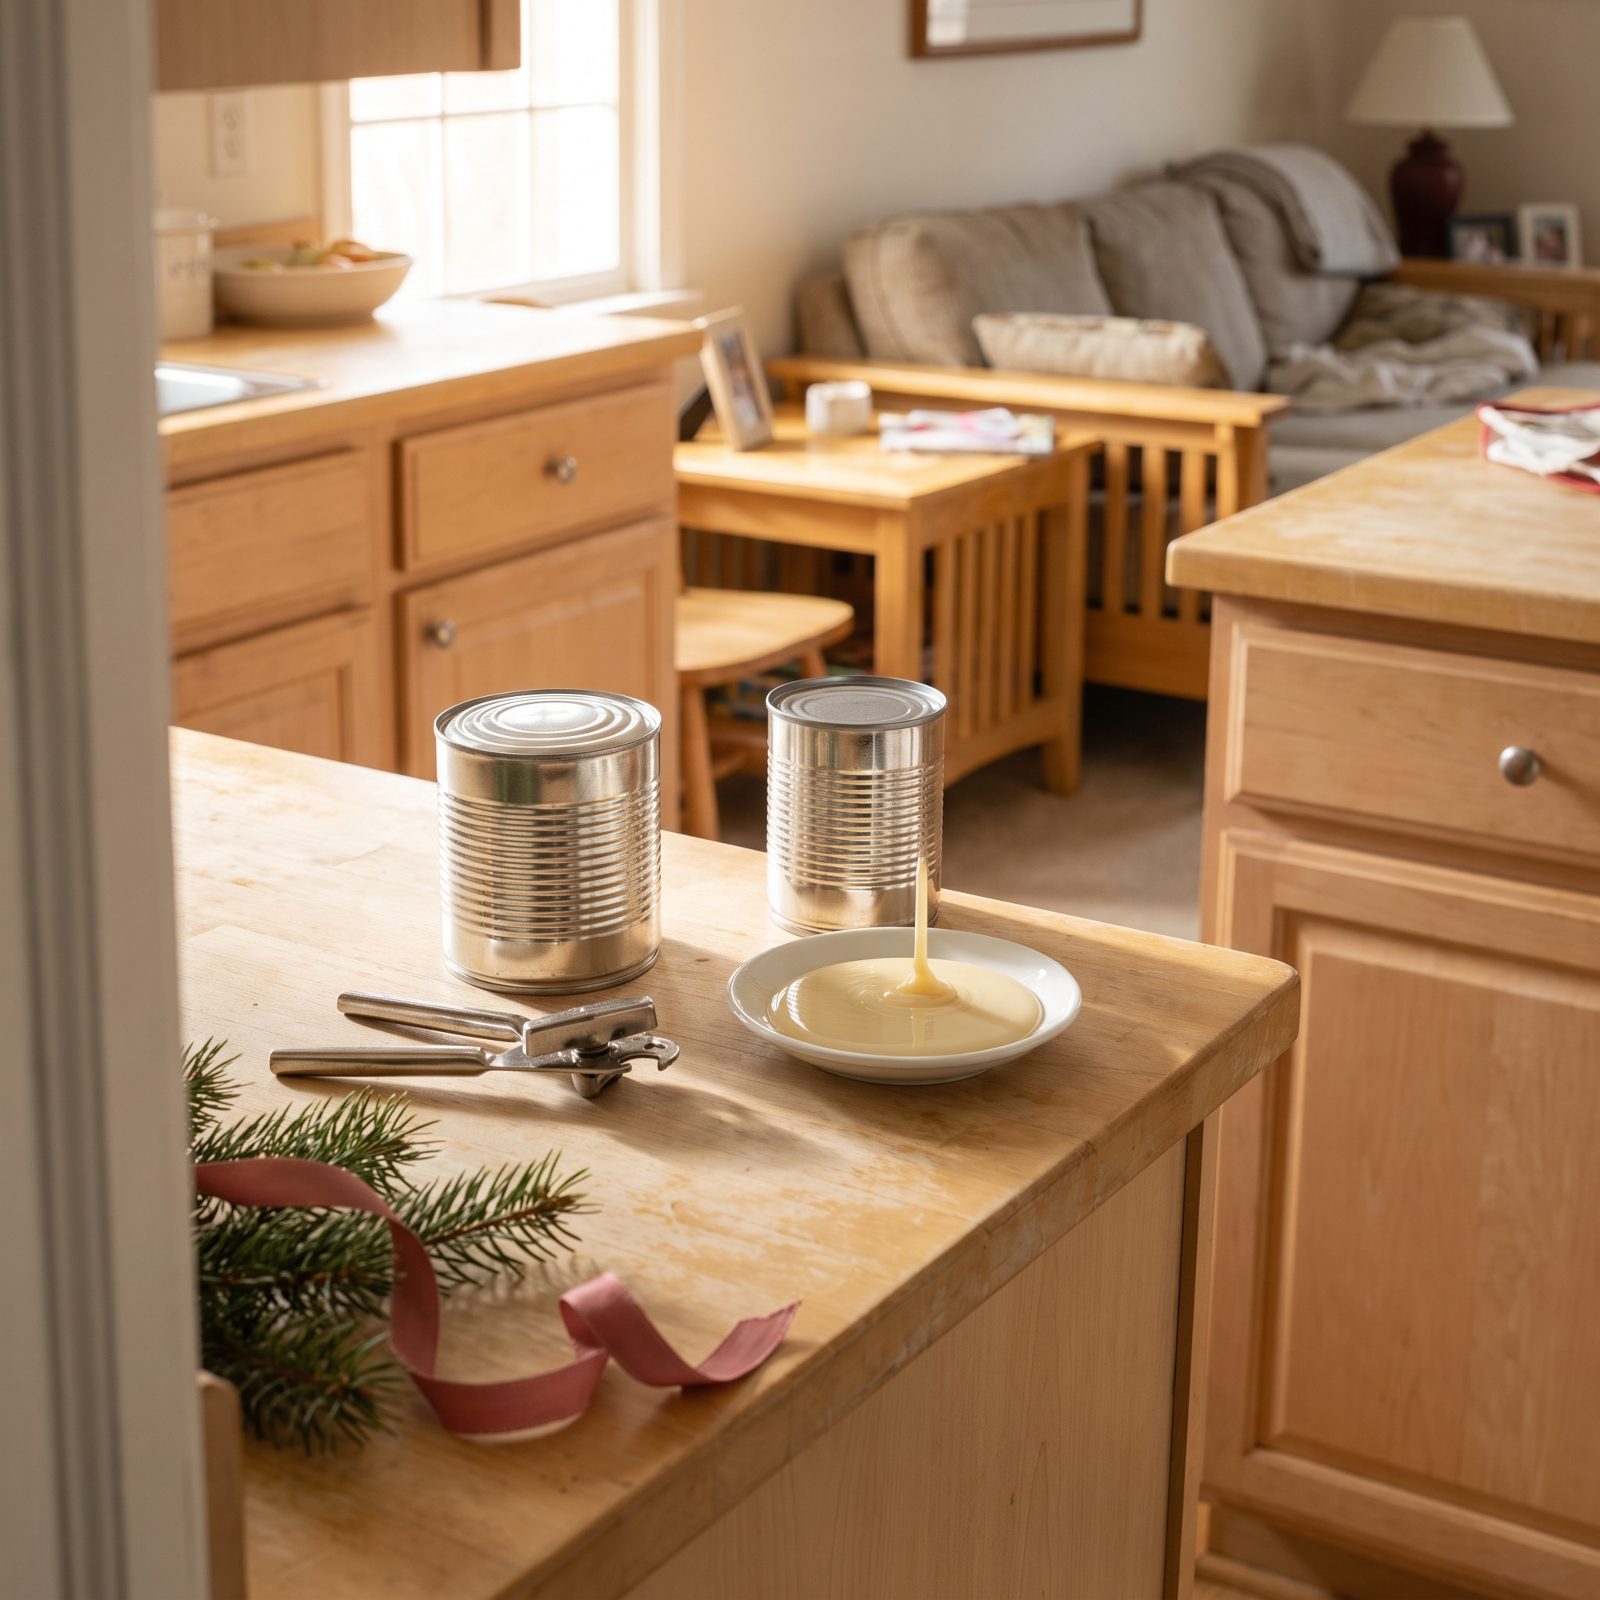
A bulging can is the one check here that’s about safety, not texture. The swelling means gas inside, and gas means bacteria doing something you want no part of.
Run your eyes and your palm over each can. The ends should be flat or slightly concave. Any dome, any puffing, any hiss or spray when you open it — straight in the trash. Same with deep dents on a seam, rust, or leaking.
Don’t be the person who decides a questionable can is probably fine because it’s for dulce de leche anyway. It isn’t worth it. A fresh can costs a dollar or two.
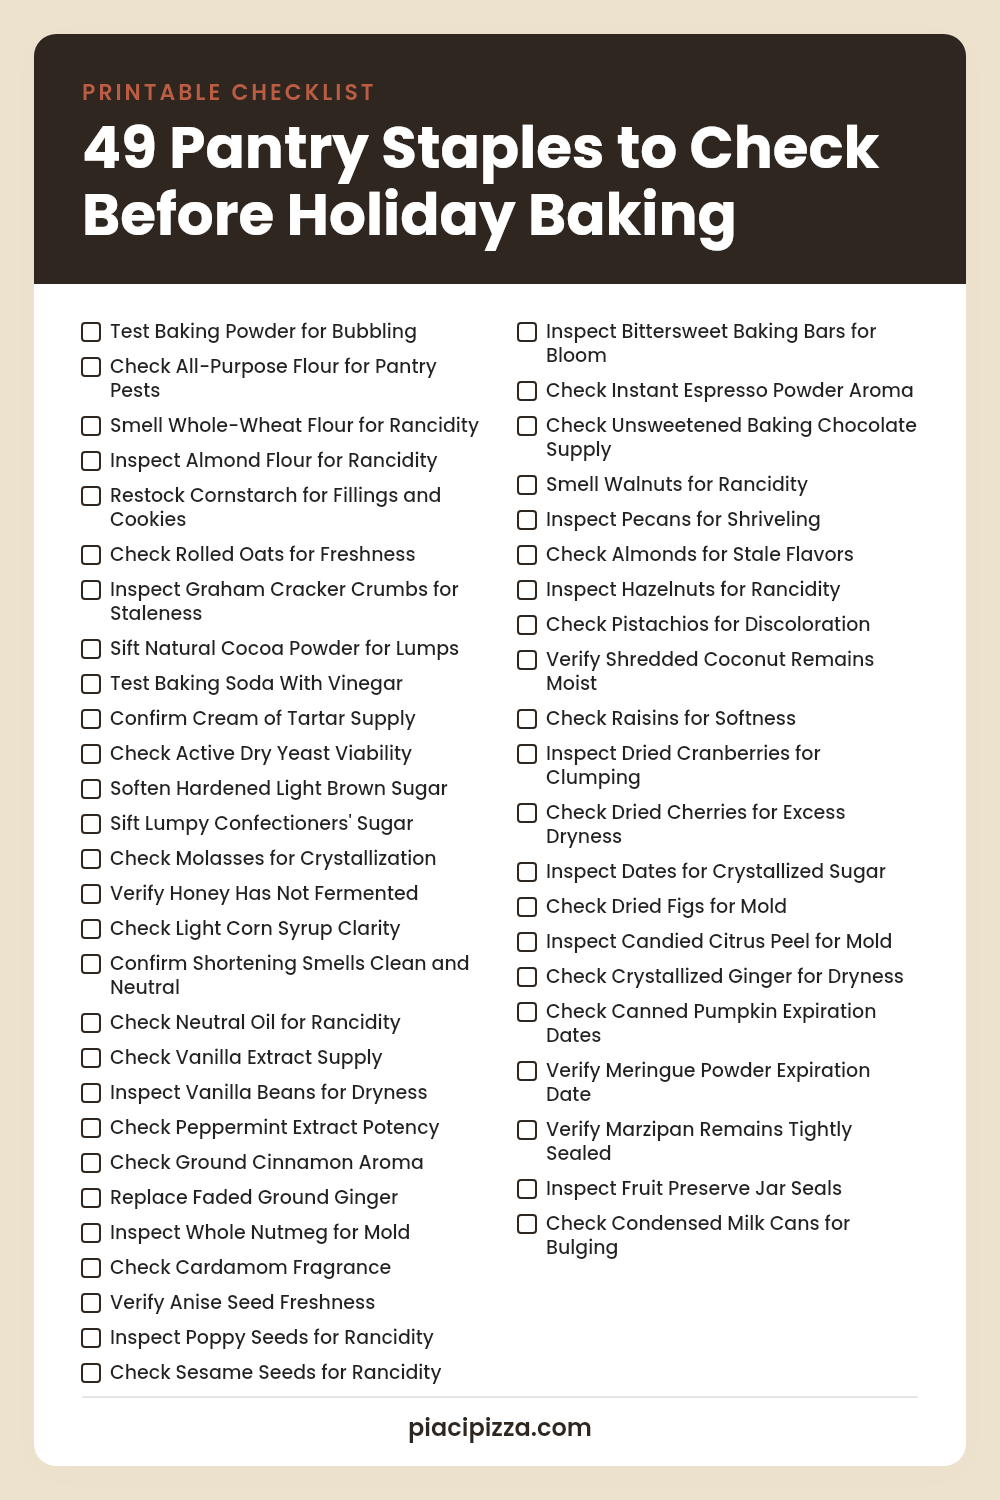
Your Printable Checklist
Save it to Pinterest or print it — every check from the list above on one page.